1. Introduction
This manual provides essential information for the installation and care of your new 15.6" LCD Display Panel, designed as a replacement for the ASUS R541NA-RS01 laptop model. This screen features HD 1366x768 resolution and a 30-pin data connector, and it is a non-touch display. Please read this manual thoroughly before proceeding with installation to ensure proper handling and to avoid damage.
Important Compatibility Note: Computer screen models can be numerous and complex. Some internal screen models are compatible with each other. It is crucial to verify your laptop's model and the original screen's resolution and connector type before purchase and installation. If you are uncertain, please consult a professional or contact the seller with a picture of your original screen.
2. Safety Precautions
Always prioritize safety when working with electronic components. Failure to follow these precautions may result in personal injury or damage to your device.
- Disconnect Power: Before beginning any installation, ensure the laptop is completely powered off. Disconnect the power adapter and remove the battery cable from the laptop. This is a critical step to prevent electrical shock and damage to components.
- Professional Installation Recommended: Screen replacement requires technical expertise. It is highly recommended that installation be performed by a qualified professional. Incorrect installation can lead to damage to the screen or the laptop.
- Handle with Care: LCD panels are fragile. Avoid applying pressure to the screen surface. Handle the panel by its edges.
- Static Electricity: Take precautions against static electricity, which can damage electronic components. Consider using an anti-static wrist strap.
- Keep Original Parts: Do not discard your original screen or any associated components until the new screen is fully installed and confirmed to be working correctly.
3. Package Contents
Your package should contain the following item:
- 1 x 15.6" LCD Display Panel (HD 1366*768, 30 pin, Non-Touch)
Note: This package includes the LCD screen only. It does not include the laptop or any other components such as hinges, bezels, or cables unless explicitly stated.

Figure 3.1: Front and back view of the 15.6" LCD Display Panel. The image shows the front display surface and the rear panel with circuit board.
4. Setup and Installation
This section outlines the general steps for screen replacement. Due to the complexity and variety of laptop designs, detailed step-by-step instructions for your specific laptop model are not provided here. It is strongly advised to seek professional assistance or refer to specific disassembly guides for your ASUS R541NA-RS01 model.
- Initial Inspection: Upon opening the package, immediately inspect the new LCD panel for any physical damage. If any damage is observed, take clear photos and contact the seller immediately before attempting installation. Do not proceed with installation if the item is damaged.
- Power Disconnection: As stated in safety precautions, ensure the laptop is completely powered off, the power adapter is unplugged, and the battery cable is disconnected from the motherboard.
- Disassembly: Carefully disassemble the laptop's display assembly. This typically involves removing the bezel, then unscrewing the old LCD panel from the lid. Be mindful of delicate cables.
- Disconnect Old Screen: Gently disconnect the video cable (30-pin connector) from the old LCD panel.
- Connect New Screen: Carefully connect the laptop's video cable to the 30-pin connector on the new LCD panel. Ensure the connection is secure and properly aligned.
- Test Before Final Assembly: Before fully reassembling the laptop, temporarily reconnect the battery and power adapter (if necessary) and power on the laptop to test the new screen. Check for display issues, dead pixels, or backlight problems. If the screen does not work, refer to the Troubleshooting section.
- Secure New Screen: Once confirmed working, carefully mount the new LCD panel into the laptop lid using the original screws and mounting tabs.
- Reassembly: Reassemble the laptop's display bezel and any other components removed during disassembly.

Figure 4.1: Detailed view of the 30-pin data connector on the LCD panel. Ensure proper alignment when connecting the video cable.

Figure 4.2: Example of mounting tabs on the LCD panel, typically located at the top and bottom corners, used to secure the screen within the laptop lid.
5. Operating the Display
Once the new LCD panel is successfully installed, its operation is integrated with your laptop's existing system. No special drivers or software are typically required for a standard replacement screen.
- Power On: Power on your laptop as usual. The display should illuminate and show the operating system's boot sequence.
- Resolution Check: Verify that the display is operating at its native resolution of 1366x768. This can usually be checked in your operating system's display settings.
- Brightness Adjustment: Adjust screen brightness using your laptop's keyboard function keys or operating system settings.
6. Care and Maintenance
Proper care will extend the lifespan and maintain the clarity of your new LCD display.
- Cleaning the Screen:
- Always power off the laptop and unplug it before cleaning.
- Use a soft, lint-free microfiber cloth specifically designed for electronics.
- For stubborn smudges, lightly dampen the cloth with distilled water or a screen-specific cleaning solution. Never spray liquid directly onto the screen.
- Wipe gently in one direction, avoiding excessive pressure.
- Avoid Pressure: Do not press on the screen surface, especially when closing the laptop lid. Ensure no objects are left on the keyboard before closing.
- Temperature and Humidity: Avoid exposing the laptop to extreme temperatures or high humidity, which can affect display performance and longevity.
7. Troubleshooting
If you encounter issues after installation, consider the following common problems and solutions before returning the product.
- Screen Does Not Turn On / No Display:
- Ensure the 30-pin video cable is securely and correctly connected to both the screen and the laptop's motherboard. A loose connection is a common cause.
- Verify that the battery cable and power adapter are properly reconnected.
- Confirm that the screen model and resolution are indeed compatible with your laptop. Refer to the "Important Compatibility Note" in the Introduction.
- If the issue persists, contact technical support for assistance.
- Incorrect Model Purchased:
- If you realize you have purchased the wrong screen model, it is recommended not to unseal or damage the packaging. Try to restore it to its original packaging form.
- Contact the seller immediately with your laptop's exact model number. They can assist in recommending the correct replacement screen.
- Physical Damage Upon Arrival:
- If the packaging or the screen itself is damaged upon delivery, take photos immediately before opening or attempting installation.
- Contact the seller with the photographic evidence. A replacement will typically be arranged.
8. Product Specifications
| Compatible Model | ASUS R541NA-RS01 |
| Screen Size | 15.6 inches |
| Max Resolution | HD 1366 x 768 |
| Data Cable Pins | 30 pin |
| Touchscreen | No (Non-Touch) |
| Manufacturer | WARWOLFTEAM |
| ASIN | B0CCWV3LCS |
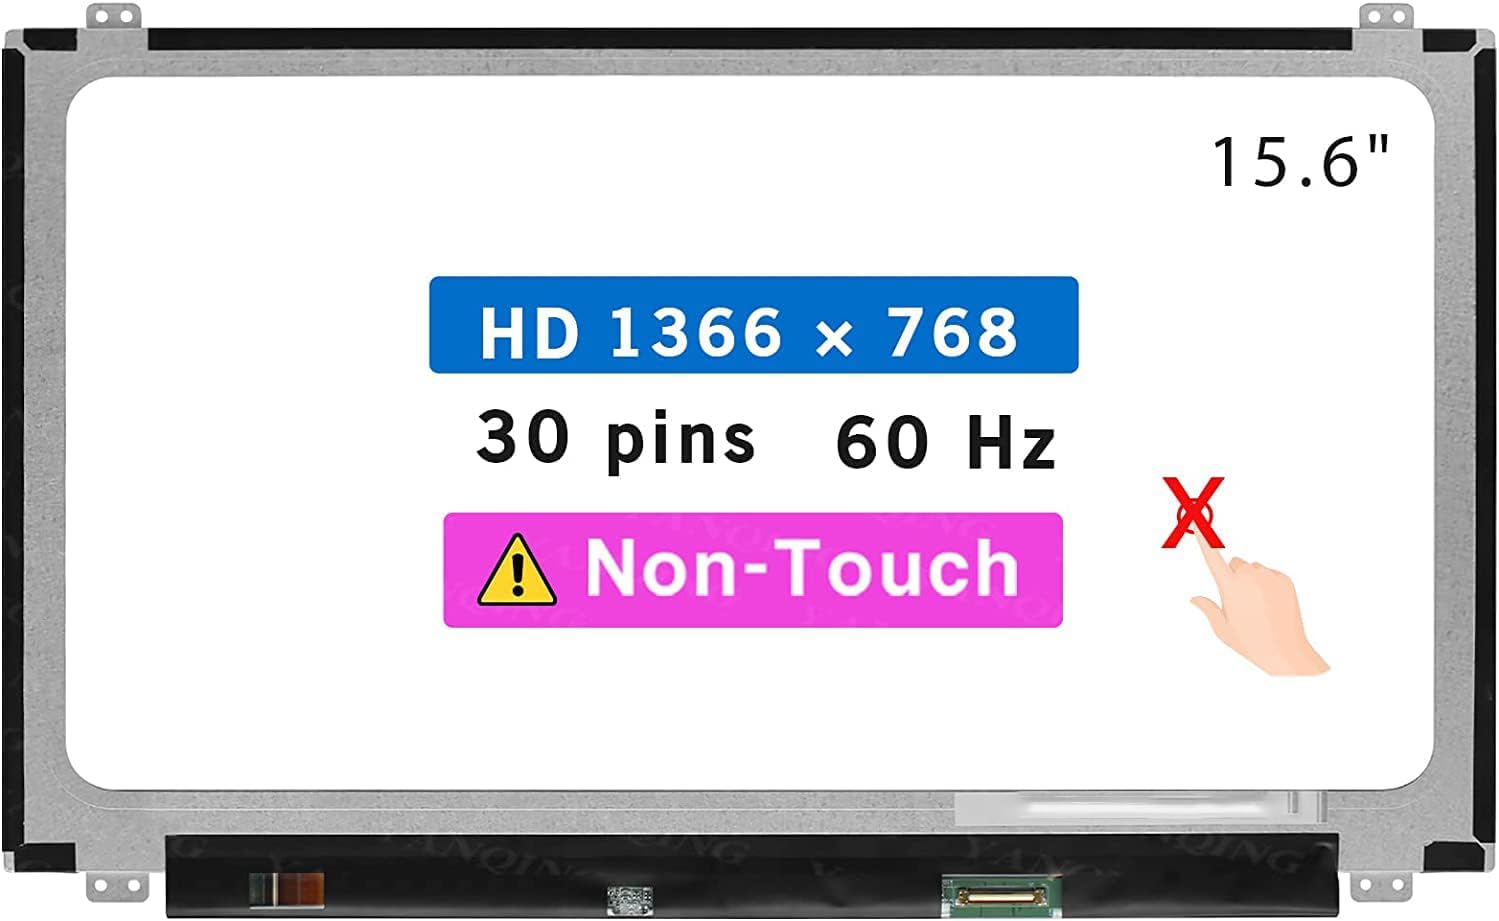
Figure 8.1: Overview of the 15.6" LCD Display Panel highlighting key specifications like size, resolution, and connector type.
9. Warranty and Support
- Warranty: This product comes with a 3-month warranty from the date of purchase. This warranty covers manufacturing defects. It does not cover damage caused by improper installation, misuse, accidents, or unauthorized modifications.
- Technical Support: If you encounter any technical issues or require assistance with installation, please contact the seller directly. They are able to provide technical support and guidance.
- Returns: For return inquiries, please refer to the seller's return policy. Ensure the product is returned in its original condition and packaging if a return is necessary.


