1. Introduction
This manual provides comprehensive instructions for the installation, operation, and maintenance of the Dorman 951-112 Rear Wheel Bearing and Hub Assembly. This assembly is designed to offer a complete repair solution for specific vehicle applications, including Ram ProMaster 1500, 2500, and 3500 models from 2014 to 2022. The Dorman 951-112 includes the wheel hub and critical bearing components, simplifying the replacement process.
For optimal performance and safety, it is crucial to follow all instructions carefully. Always verify compatibility with your specific vehicle model and year before proceeding with installation.
2. Safety Information
WARNING: Improper installation or maintenance can lead to serious injury or vehicle damage.
- Always wear appropriate personal protective equipment (PPE), including safety glasses and gloves, when working on your vehicle.
- Ensure the vehicle is securely supported on jack stands on a level surface before beginning any work. Never rely solely on a jack.
- Disconnect the vehicle's battery before performing any electrical work.
- Use the correct tools for each step and ensure they are in good working condition.
- Refer to your vehicle's service manual for specific torque specifications and additional procedures.
- If you are unsure about any step, consult a qualified automotive technician.
3. What's in the Box
The Dorman 951-112 Rear Wheel Bearing and Hub Assembly package includes:
- 1 x Wheel Hub Assembly
4. Product Specifications
| Attribute | Value |
|---|---|
| Brand | Dorman |
| Material | Alloy Steel |
| Item Dimensions (L x W x H) | 7.48 x 6.89 x 6.29 inches |
| Item Weight | 9.47 Pounds |
| Specification Met | Application-specific Requirements Met |
| Bearing Type | Taper |
| Compatible Lubricant | Grease |
| UPC | 194883509979 |
| Item Model Number | 951-112 |
| OEM Part Number | 68094829AA |
5. Installation Guide
The Dorman 951-112 Rear Wheel Bearing and Hub Assembly is designed for a complete and straightforward replacement, eliminating the need for specialized tools like a shop press to remove and install individual bearings. This integrated design saves time and reduces the risk of damaging components during installation.
5.1. Preparation
- Ensure the vehicle is parked on a level surface and the parking brake is engaged.
- Loosen the lug nuts on the wheel to be serviced.
- Safely lift the vehicle using a jack and secure it with jack stands.
- Remove the wheel and tire assembly.
- Locate the rear wheel bearing and hub assembly.
5.2. Removal of Old Assembly
- Remove the brake caliper and rotor. Support the caliper to prevent damage to the brake hose.
- Disconnect any sensors (e.g., ABS sensor) attached to the hub assembly.
- Remove the bolts securing the old wheel bearing and hub assembly to the vehicle's suspension.
- Carefully remove the old assembly.
5.3. Installation of New Dorman 951-112 Assembly
The Dorman 951-112 is a complete unit, ready for direct installation.
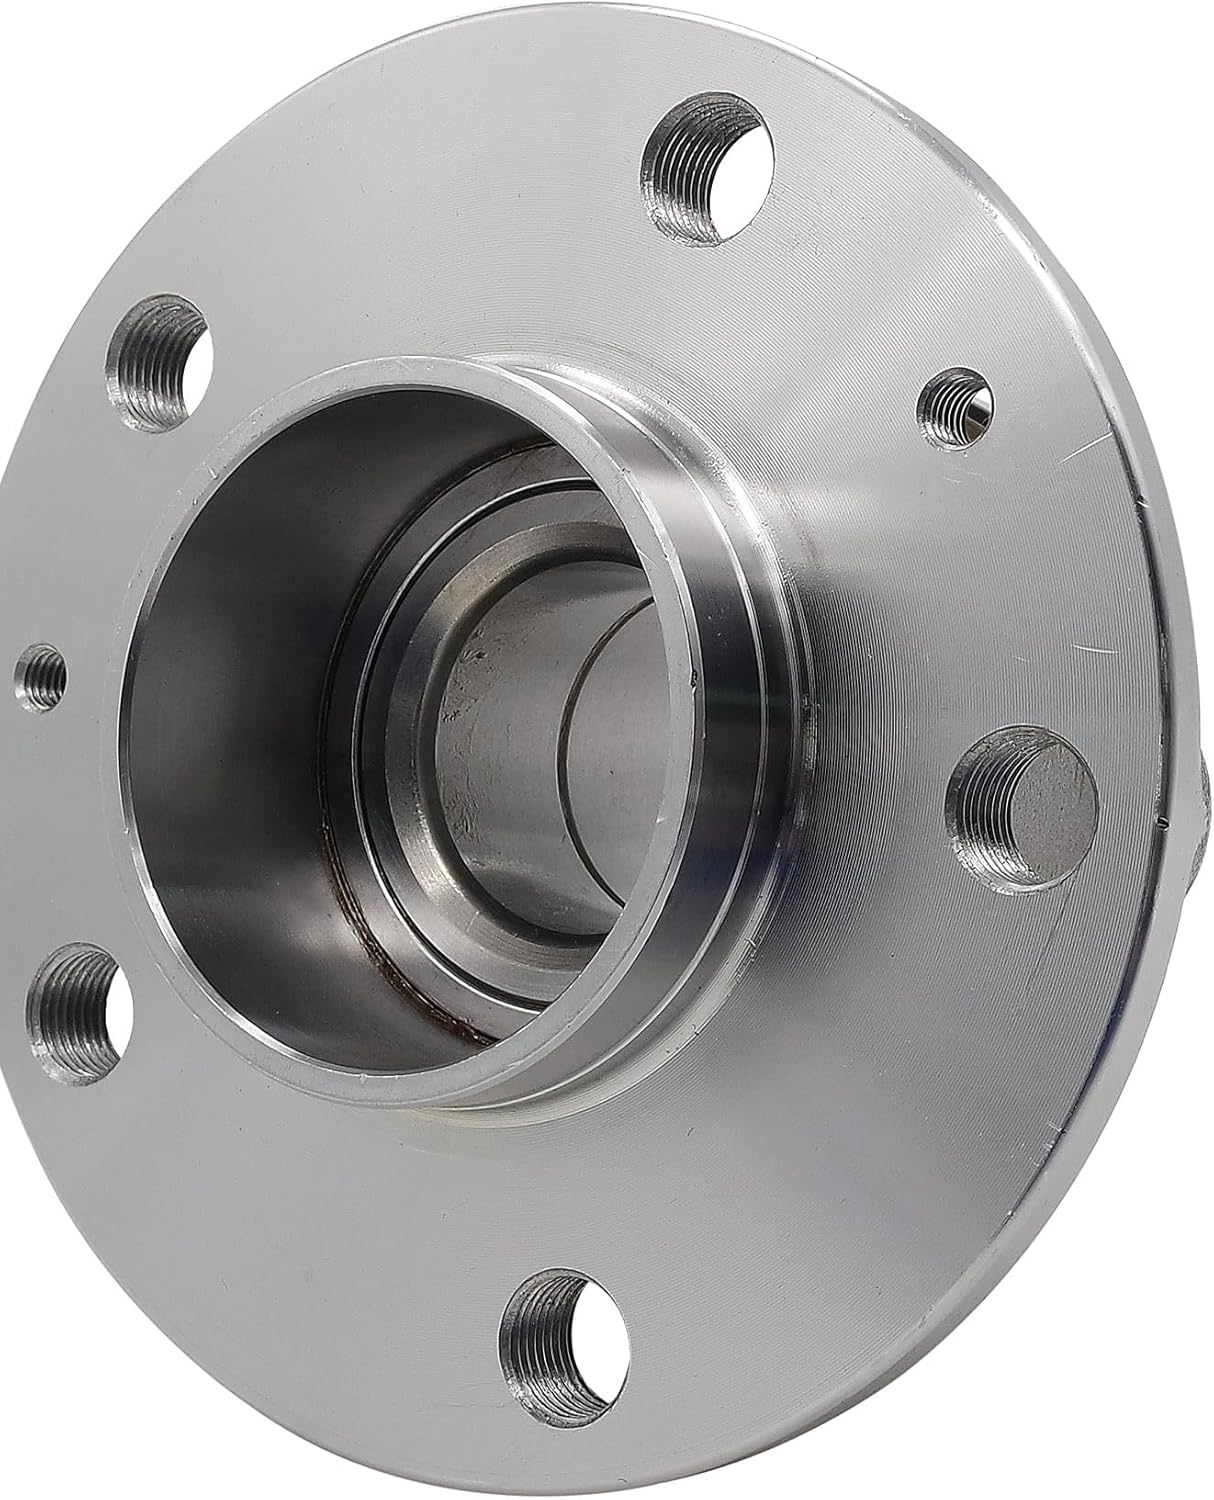
Image: Dorman 951-112 Rear Wheel Bearing and Hub Assembly. This image shows the complete assembly, ready for installation.
- Position the new Dorman 951-112 assembly onto the vehicle's mounting points.
- Secure the assembly with the appropriate bolts. Refer to your vehicle's service manual for correct torque specifications.
- Reconnect any sensors that were disconnected, ensuring proper routing and secure connections.
- Reinstall the brake rotor and caliper. Torque caliper bolts to manufacturer specifications.

Image: Close-up of Dorman 951-112 Hub Assembly. This view highlights the integrated bearing and hub design.
5.4. Final Checks
- Reinstall the wheel and tire assembly. Tighten lug nuts by hand.
- Lower the vehicle to the ground.
- Torque the lug nuts to the vehicle manufacturer's specifications using a torque wrench.
- Pump the brake pedal several times to ensure proper brake caliper engagement before driving.
- Test drive the vehicle in a safe area to confirm proper function and absence of unusual noises or vibrations.
5.5. Informational Video: The Fastest Way to Replace a Wheel Bearing with Dorman Products
Video: This Dorman Products video demonstrates the efficiency of replacing a wheel bearing using a complete loaded knuckle assembly, highlighting how it avoids the complex and time-consuming process of pressing out old bearings and pressing in new ones. It showcases the direct bolt-on advantage for DIYers and professionals.
5.6. Informational Video: Save time, money and effort with Dorman loaded knuckles
Video: This Dorman Products video explains the benefits of using loaded knuckles and spindles, emphasizing how they save time and effort for both commercial shops and DIY enthusiasts by providing a complete, ready-to-install solution that bypasses the need for specialized pressing tools and reduces vehicle downtime.
6. Operating Considerations
Once properly installed, the Dorman 951-112 Rear Wheel Bearing and Hub Assembly operates as an integral part of your vehicle's suspension and drivetrain. Proper installation ensures smooth wheel rotation, accurate alignment, and effective braking. No specific operational adjustments are typically required after correct installation.
7. Maintenance
Regular inspection of your vehicle's suspension components, including the wheel bearing and hub assemblies, is recommended as part of routine vehicle maintenance. Look for:
- Unusual noises (grinding, humming, growling) from the wheel area.
- Excessive play or looseness in the wheel when checked with the vehicle lifted.
- Uneven tire wear.
- Vibrations felt through the steering wheel or floorboard.
While the Dorman 951-112 is a sealed unit and does not require lubrication, ensuring surrounding components (like brake pads and rotors) are in good condition will contribute to the longevity of the hub assembly.
8. Troubleshooting
If you experience issues after installing the Dorman 951-112, consider the following:
- Noise or Vibration: Recheck all mounting bolts for proper torque. Ensure brake components are correctly installed and not dragging. Verify that the lug nuts are tightened to specification.
- ABS/Traction Control Light: Confirm that the ABS sensor (if applicable) is correctly connected and not damaged. The Dorman 951-112 is designed to integrate with the vehicle's ABS system.
- Wheel Looseness: This indicates a critical issue. Immediately re-check all fasteners and ensure the assembly is correctly seated. Do not drive the vehicle if there is any detectable wheel looseness.
If problems persist, it is recommended to have the vehicle inspected by a professional technician.
9. Warranty and Support
For warranty information or technical support regarding your Dorman 951-112 Rear Wheel Bearing and Hub Assembly, please refer to the official Dorman Products website or contact their customer service department. Keep your purchase receipt and product information handy when seeking support.
You can visit the Dorman Store for more information: Dorman Products Store


