1. Introduction
This manual provides essential information for the installation, operation, and maintenance of your Somnambulist H650 512GB SATA III 2.5-inch Solid State Drive (SSD). Please read this manual thoroughly before using the product to ensure proper functionality and longevity.
2. Product Overview
The Somnambulist H650 SSD is a high-performance internal storage device designed to upgrade the speed and responsiveness of your laptop or desktop computer. Utilizing the SATA III 6Gb/s interface, it offers significantly faster data transfer rates compared to traditional hard disk drives (HDDs).

Figure 1: Front and back view of the Somnambulist H650 512GB SSD, showing the SATA data and power connectors.
3. Key Features
- Multiple Capacity Options: The H650 series is available in various capacities, including 128GB, 256GB, 512GB, 1TB, and 2TB, to suit diverse storage needs.
- Excellent Performance: Experience read speeds up to 550MB/s and write speeds up to 450MB/s (performance may vary based on capacity, hardware, test software, and operating system).
- Super Compatibility: The 2.5-inch, 7mm form factor and SATA 3 6Gb/s interface ensure broad compatibility with most desktop and notebook computers. The SSD is pre-formatted with NTFS for optimal performance.
- Capacity Algorithm: The SSD uses a decimal algorithm (1MB = 1000KB, 1GB = 1000MB). Operating systems use a binary algorithm (1MB = 1024KB, 1GB = 1024MB), which may result in a slight difference between nominal and actual usable capacity.
- Long-Term Reliability: Backed by a three-year warranty, ensuring product quality and customer satisfaction.
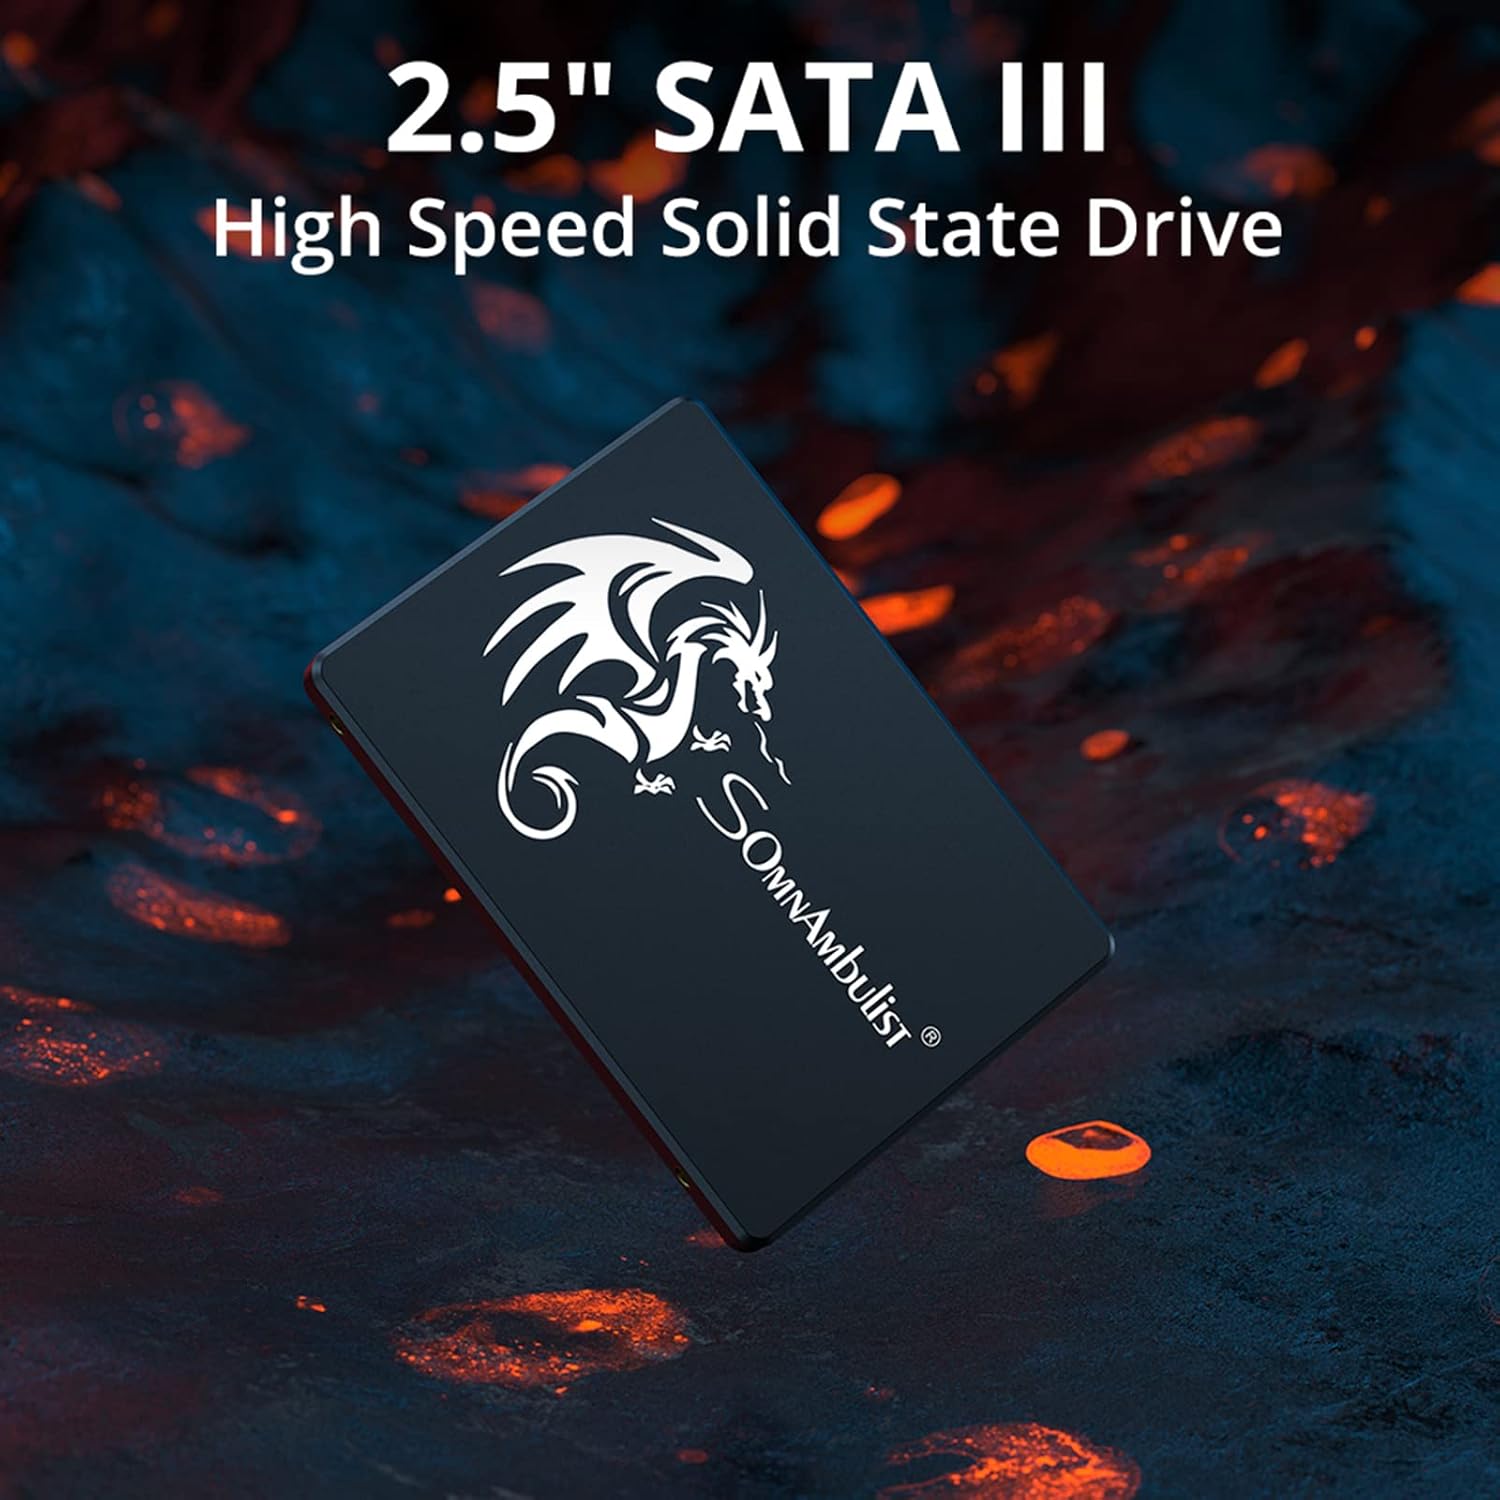
Figure 2: The 2.5-inch SATA III form factor of the Somnambulist H650 SSD.

Figure 3: Performance metrics highlighting the read and write speeds of the SSD.
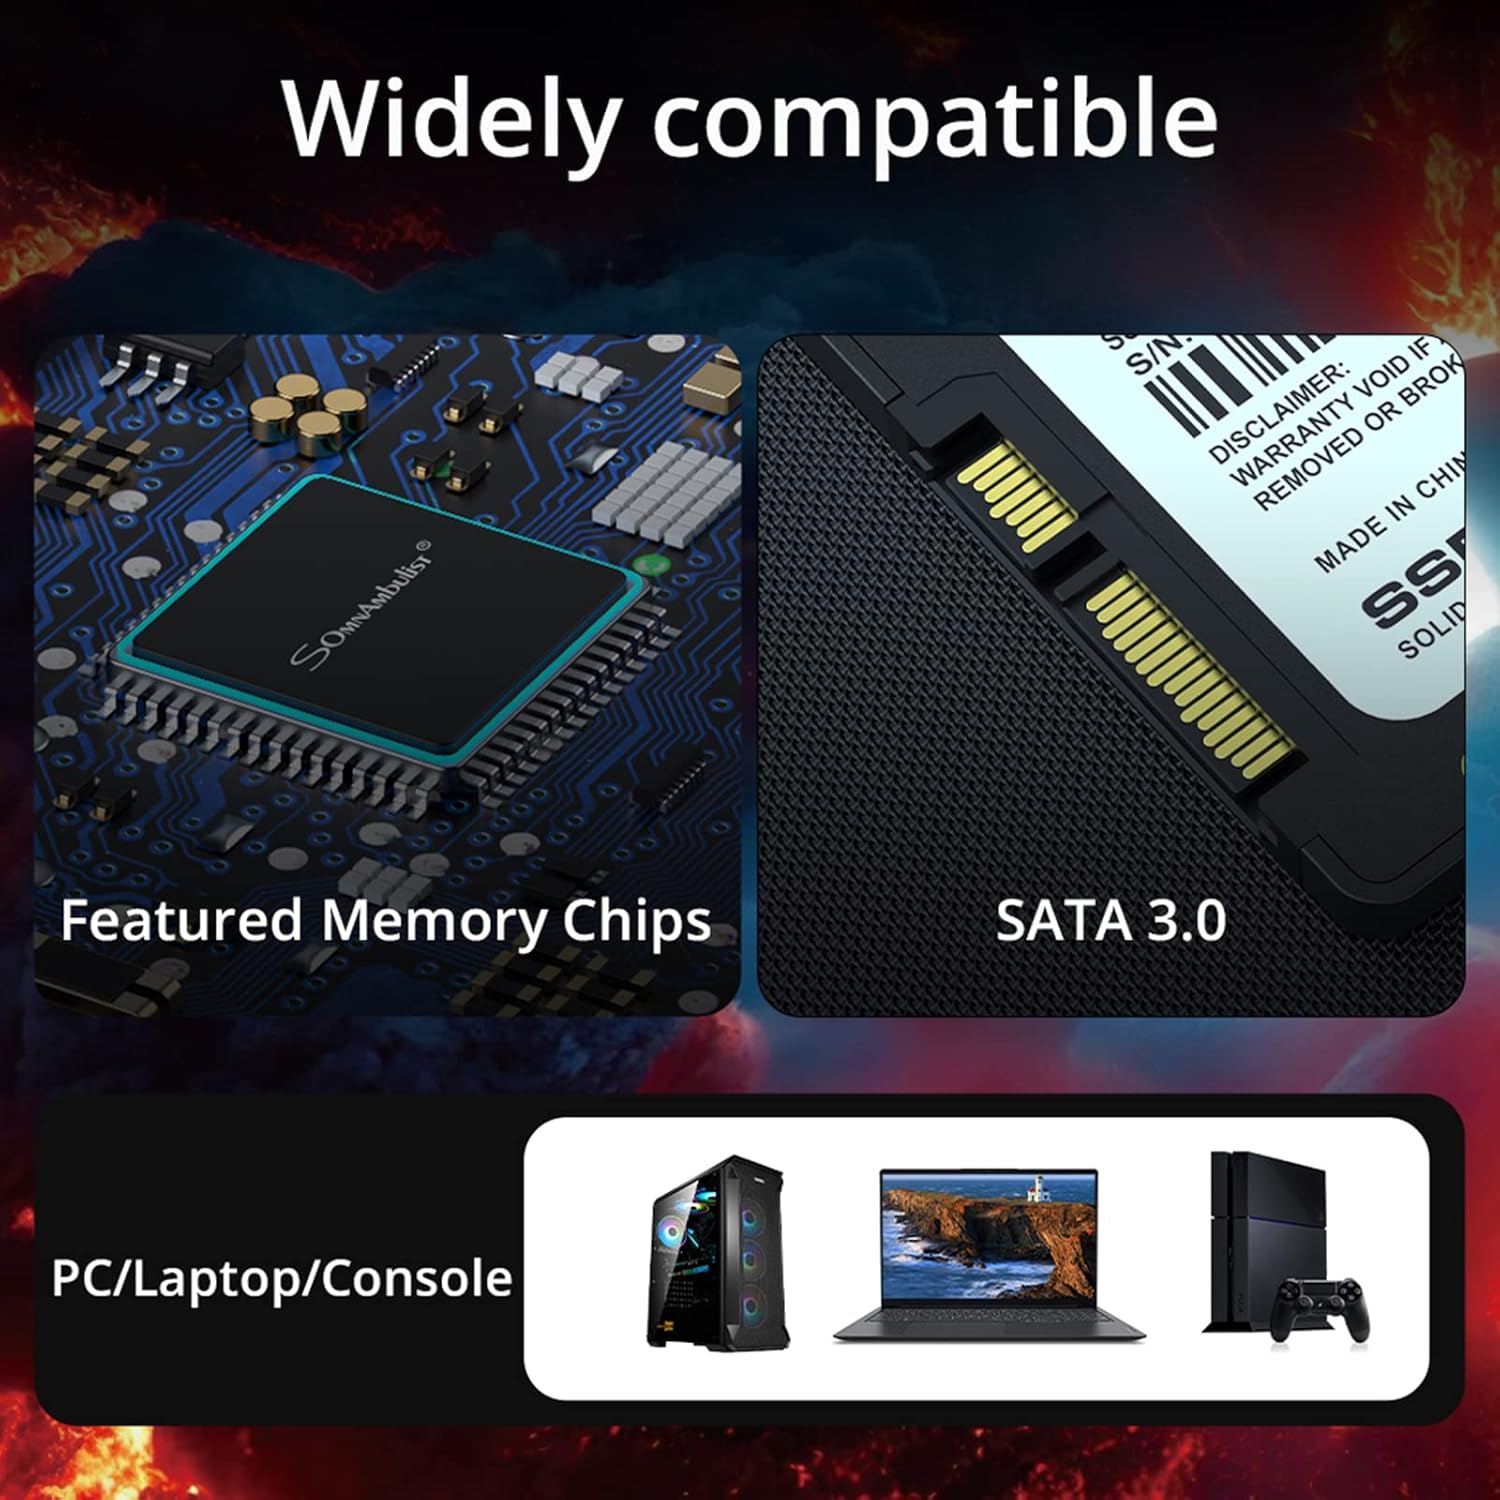
Figure 4: Illustration of the SSD's broad compatibility with various computing devices.
4. Setup and Installation
Installing the Somnambulist H650 SSD involves physical installation into your computer and software configuration. Always back up your data before beginning any hardware installation.
4.1 Physical Installation (Desktop PC)
- Power Off: Shut down your computer completely and disconnect the power cable.
- Open Case: Open your computer case. Refer to your computer's manual for specific instructions.
- Locate Drive Bay: Find an available 2.5-inch drive bay. If only 3.5-inch bays are available, you may need a 2.5-inch to 3.5-inch adapter bracket (not included).
- Mount SSD: Secure the SSD into the drive bay using screws.
- Connect Cables: Connect a SATA data cable from the SSD to an available SATA port on your motherboard. Connect a SATA power cable from your power supply unit (PSU) to the SSD.
- Close Case: Close your computer case and reconnect the power cable.
4.2 Physical Installation (Laptop)
- Power Off: Shut down your laptop, disconnect the power adapter, and remove the battery (if removable).
- Access Drive Bay: Locate the hard drive bay, usually on the bottom or side of the laptop. You may need to remove a panel or the entire bottom cover. Refer to your laptop's manual.
- Remove Old Drive (if applicable): If replacing an existing drive, carefully disconnect and remove it.
- Install SSD: Slide the Somnambulist H650 SSD into the drive bay. Ensure it is securely seated in the SATA connector.
- Secure SSD: Secure the SSD with any screws or brackets that were used for the old drive.
- Reassemble: Reattach the panel/cover and reinsert the battery.
4.3 Software Configuration
- Initial Boot: Power on your computer.
- Initialize Disk: If this is a new installation, the SSD may need to be initialized and partitioned before it can be used. In Windows, open Disk Management (right-click Start > Disk Management). In macOS, use Disk Utility.
- Operating System Installation/Migration: You can perform a clean installation of your operating system on the new SSD or migrate your existing OS from an old drive using cloning software (not included).
5. Operating Instructions
Once installed and configured, your Somnambulist H650 SSD operates like any other storage drive, but with significantly improved performance. Here are some general usage guidelines:
- Primary Drive: For optimal performance, it is recommended to install your operating system and frequently used applications on the SSD.
- Data Storage: Use the SSD for storing important files and applications that benefit from fast access times.
- TRIM Support: Ensure your operating system has TRIM enabled. TRIM helps maintain the performance and longevity of the SSD by allowing the OS to inform the SSD which data blocks are no longer in use and can be wiped internally. Most modern operating systems enable TRIM by default.
6. Maintenance
SSDs require different maintenance practices than traditional HDDs. Follow these guidelines to ensure the longevity and performance of your Somnambulist H650 SSD:
- Avoid Defragmentation: Do not defragment your SSD. Defragmentation is designed for HDDs and can reduce the lifespan of an SSD by performing unnecessary write cycles.
- Keep Firmware Updated: Periodically check the Somnambulist website for any available firmware updates for your H650 SSD. Firmware updates can improve performance, stability, and compatibility.
- Maintain Free Space: While not strictly necessary, keeping some free space (e.g., 10-15%) on your SSD can help maintain optimal performance, especially for write-intensive tasks.
- Regular Backups: Always perform regular backups of your important data to an external drive or cloud storage. While SSDs are reliable, no storage device is immune to failure.
7. Troubleshooting
If you encounter issues with your Somnambulist H650 SSD, refer to the following common problems and solutions:
7.1 SSD Not Detected
- Check Connections: Ensure the SATA data and power cables are securely connected to both the SSD and the motherboard/PSU.
- BIOS/UEFI Settings: Enter your computer's BIOS/UEFI settings during startup and verify that the SATA port the SSD is connected to is enabled. Ensure the SATA mode is set to AHCI for optimal SSD performance.
- Disk Management (Windows): If the SSD is detected in BIOS but not in Windows Explorer, open Disk Management. The drive may need to be initialized, partitioned, and formatted.
- Try Different Port/Cable: Test the SSD with a different SATA data cable, power cable, or SATA port on your motherboard.
7.2 Slow Performance
- SATA III Connection: Ensure the SSD is connected to a SATA III (6Gb/s) port on your motherboard. Connecting to a SATA II (3Gb/s) port will limit performance.
- AHCI Mode: Verify that AHCI mode is enabled in your BIOS/UEFI settings.
- TRIM Enabled: Confirm that TRIM is enabled in your operating system.
- Driver Updates: Ensure your motherboard's SATA controller drivers are up to date.
- Over-provisioning: While not a user-configurable setting, ensure you are not consistently filling the drive to near 100% capacity, as this can impact performance.
7.3 Operating System Errors
- Corrupted Files: If you experience system crashes or errors, run a system file checker (e.g.,
sfc /scannowin Windows Command Prompt) to check for and repair corrupted system files. - Reinstallation: In severe cases, a clean installation of the operating system may be necessary.
8. Specifications
| Feature | Description |
|---|---|
| Brand | Somnambulist |
| Model Number | H650-512GB |
| Form Factor | 2.5-inch |
| Interface | SATA III 6Gb/s |
| Capacity | 512 GB |
| Read Speed (Max) | Up to 550 MB/s |
| Write Speed (Max) | Up to 450 MB/s |
| Dimensions | 10 x 7 x 0.7 cm |
| Item Weight | 39.9 g |
| Compatible Devices | Desktop, Gaming Console, Laptop, Television |
| Hardware Platform | Linux, Mac, PC |
| Special Features | Backward Compatible, Waterproof |
9. Warranty and Support
The Somnambulist H650 SSD comes with a three-year warranty from the date of purchase. This warranty covers defects in materials and workmanship under normal use.
For warranty claims or technical support, please contact your retailer or the Somnambulist customer service through their official channels. Please have your proof of purchase and the product's serial number available when contacting support.
Note: The warranty does not cover damage caused by improper installation, misuse, unauthorized modifications, or natural disasters.


