Introduction
This manual provides detailed instructions for the setup, operation, and maintenance of your Crivit Auriol Radio-Controlled Alarm Clock. Please read this manual thoroughly before using the device to ensure proper function and safety.

Figure 1: Front view of the Crivit Auriol Radio-Controlled Alarm Clock. The LCD screen displays the current time, date, and indoor temperature.
Safety Information
- Do not expose the device to extreme temperatures, direct sunlight, or high humidity.
- Avoid dropping the device or subjecting it to strong impacts.
- Do not disassemble or attempt to repair the device yourself. Refer all servicing to qualified personnel.
- Keep the device away from water and other liquids.
- Use only the provided power adapter or recommended batteries.
- Ensure proper ventilation around the device.
Package Contents
Please check that all items are present and in good condition:
- Crivit Auriol Radio-Controlled Alarm Clock (Model: 373928)
- AC Power Adapter
- User Manual (this document)
- (Batteries not included, typically requires 2x AAA for backup)
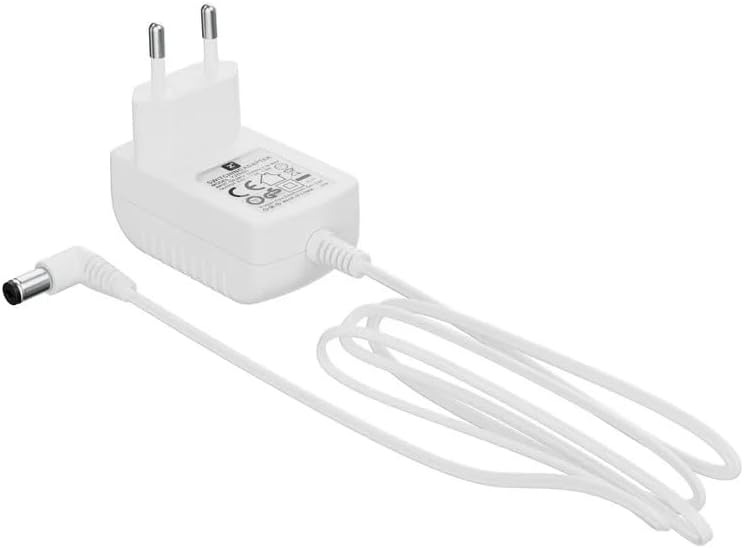
Figure 2: Included AC Power Adapter for the alarm clock.
Product Features
- Radio-Controlled Time: Automatic time synchronization for accuracy.
- Projection Function: Projects time, alarm time, or ambient temperature onto a wall or ceiling.
- Adjustable Projection: 4 adjustable projection orientations and easy focus adjustment via a dial.
- Dual Alarms: Two independent alarms with snooze function.
- LCD Display: Clear display showing time, date (day, month), and day of the week or calendar week.
- Touch Sensor: For short-term projection activation and display backlight.
- Power Options: Operates on battery or AC adapter.
- USB-A Output: 5V, 800mA output for charging electronic devices.
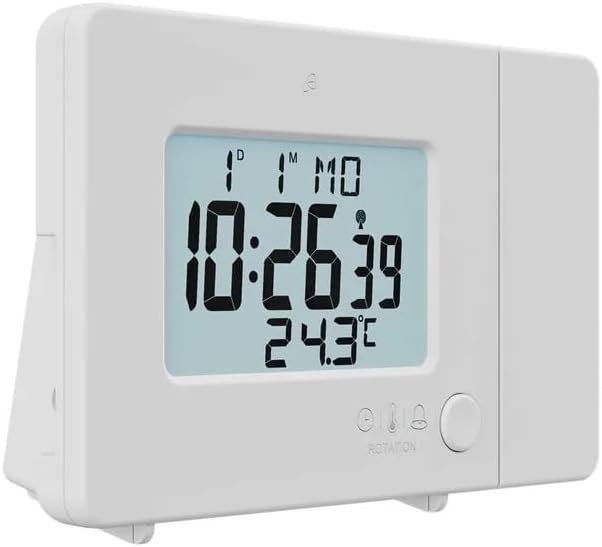
Figure 3: The alarm clock with its projection arm extended, ready to project information onto a surface.
Setup
1. Powering the Device
The alarm clock can be powered by the included AC adapter or by batteries (for backup). For continuous operation and to use the USB charging feature, the AC adapter is recommended.
- AC Power: Connect the provided AC adapter to the DC IN port on the back of the alarm clock. Plug the adapter into a standard wall outlet.
- Battery Backup: Open the battery compartment on the back of the device. Insert 2x AAA batteries (not included), ensuring correct polarity (+/-). Batteries primarily serve as backup in case of power outage, maintaining time settings.

Figure 4: Rear view of the alarm clock, showing the battery compartment cover and various control buttons for settings.
2. Initial Configuration
Upon first power-on, the device will attempt to synchronize with the radio-controlled time signal. This process may take several minutes. Ensure the device is placed away from electronic interference.
- Language Setting: Press the "LANG" button (located on the back) to cycle through the available languages for the day of the week display (e.g., English, German, French, Italian, Spanish).
- Time Format: Press the "12/24" button to switch between 12-hour and 24-hour time formats.
- Temperature Unit: Press the "°C/°F" button to toggle between Celsius and Fahrenheit for temperature display.

Figure 5: Detail of the control buttons on the back of the alarm clock, including LANG, 12/24, and °C/°F buttons, and the FOCUS wheel for the projection.
Operating Instructions
Setting Time and Date Manually (if radio control fails)
In rare cases or areas with poor signal, you may need to set the time manually.
- Press and hold the "MODE" button (usually located on the back or bottom) until the hour digits flash.
- Use the "+" or "-" buttons to adjust the hour.
- Press "MODE" again to move to minutes, then year, month, and day, adjusting each with "+" or "-".
- Press "MODE" to confirm settings and exit.
Setting Alarms
The device supports two independent alarms (Alarm 1 and Alarm 2).
- Press the "ALARM" button (often indicated by a bell icon) once to select Alarm 1, twice for Alarm 2. The alarm icon will flash.
- Press and hold the "ALARM" button until the alarm hour digits flash.
- Use the "+" or "-" buttons to set the desired alarm hour.
- Press "ALARM" again to move to minutes, then adjust with "+" or "-".
- Press "ALARM" to confirm. To activate/deactivate an alarm, press the "ALARM" button briefly until the alarm icon appears/disappears on the display.
Snooze Function
When an alarm sounds, touch the sensor area (or press the snooze button, if present) to activate the snooze function. The alarm will temporarily stop and sound again after approximately 5-10 minutes (duration may vary by model). To turn off the alarm completely, press any other button.
Projection Features
The alarm clock can project time, alarm time, or temperature onto a surface.
- Activating Projection: Extend the projection arm. Touch the sensor area on top of the clock to activate the projection for a short period. For continuous projection, ensure the AC adapter is connected and check if there's a dedicated projection ON/OFF switch (refer to device markings).
- Changing Projected Information: Some models allow cycling through time, alarm time, or temperature projection by pressing a specific button (e.g., "PROJECTION" or "MODE" repeatedly while projection is active).
- Adjusting Projection Angle: The projection arm can be pivoted to direct the projection onto the desired surface (wall or ceiling).
- Focus Adjustment: Use the "FOCUS" wheel (located on the projection arm) to sharpen the projected image.
- Projection Orientation: The device offers 4 adjustable projection orientations. This typically involves rotating the projection lens or using a dedicated button to flip the projected image.

Figure 6: The alarm clock in operation, demonstrating its time projection feature on a wall.
Display Backlight
The LCD display has a backlight for improved visibility in low light conditions. Touch the sensor area to activate the backlight for a few seconds. Some models may have adjustable brightness settings, typically controlled by a dedicated button or by holding the touch sensor.
USB-A Charging Output
The alarm clock features a USB-A port (5V, 800mA) on its side, allowing you to charge small electronic devices like smartphones or MP3 players. Ensure the alarm clock is powered by the AC adapter for this function.
Maintenance
Cleaning
To clean the device, use a soft, dry cloth. Do not use abrasive cleaners, solvents, or chemical sprays, as these may damage the surface or internal components. For the projection lens, use a lens cleaning cloth to avoid scratches.
Troubleshooting
| Problem | Possible Cause | Solution |
|---|---|---|
| Display is blank or dim. | No power, low batteries, or backlight off. | Check AC adapter connection. Replace batteries. Touch sensor for backlight. |
| Time is incorrect. | Poor radio signal, manual setting error. | Relocate device for better signal. Manually set time (see "Setting Time and Date Manually"). |
| Projection is blurry. | Focus not adjusted, incorrect distance. | Adjust the "FOCUS" wheel on the projection arm. Ensure optimal projection distance. |
| Alarm does not sound. | Alarm not activated, volume too low (if adjustable). | Ensure alarm icon is visible on display. Check alarm settings. |
| USB charging not working. | Device not connected to AC power. | The USB charging port only functions when the alarm clock is powered by the AC adapter. |
Specifications
| Attribute | Detail |
|---|---|
| Brand | Crivit |
| Model Number | 373928 |
| Color | Black (Note: Product images show white, but specification states black.) |
| Material | Plastic |
| Product Dimensions (L x W x H) | 15 x 3.81 x 9.5 cm |
| Display Type | Digital |
| Special Features | Snooze, Adjustable Brightness, Projection |
| Power Source | Battery operated, Corded Electric |
| USB Output | 5V, 800mA (for charging external devices) |
Warranty and Support
For warranty information and customer support, please refer to the documentation provided at the time of purchase or contact the retailer/manufacturer directly. Keep your proof of purchase for any warranty claims.
For further assistance, visit the official Crivit website or contact their customer service department.


