1. Introduction
This user manual provides detailed instructions for the installation, operation, and maintenance of your Xprinter XP-D200N Thermal Receipt Printer. The XP-D200N is a high-speed thermal printer designed for reliable and efficient receipt printing in various business environments. Please read this manual thoroughly before using the printer to ensure proper functionality and to prevent damage.
2. Safety Information
To ensure safe operation and prevent damage to the printer or injury to yourself, please observe the following safety precautions:
- Always use the provided power adapter. Using an incorrect adapter may damage the printer and void the warranty.
- Do not expose the printer to water, moisture, or extreme temperatures.
- Avoid placing the printer in direct sunlight or near heat sources.
- Do not attempt to disassemble or repair the printer yourself. Refer all servicing to qualified personnel.
- Ensure the printer is placed on a stable, level surface.
- Keep the printer away from dust and debris to maintain optimal performance.
3. Package Contents
Please check the contents of your package. If any items are missing or damaged, contact your vendor immediately.
- Xprinter XP-D200N Thermal Receipt Printer
- Power Adapter
- Power Cord
- USB Cable
- Thermal Paper Roll (starter)
- User Manual (this document)
4. Product Overview
The Xprinter XP-D200N is a compact and efficient thermal receipt printer. Below are images illustrating its key components and design.
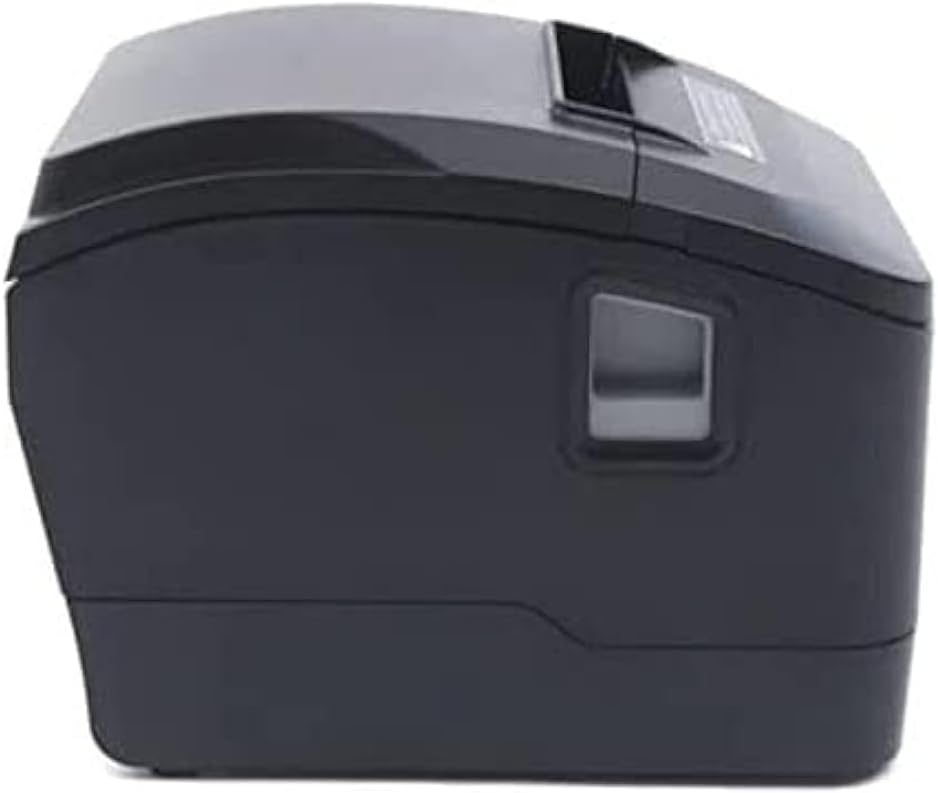
Figure 4.1: Front-side view of the Xprinter XP-D200N Thermal Receipt Printer. This image shows the sleek, black casing and the paper output slot.
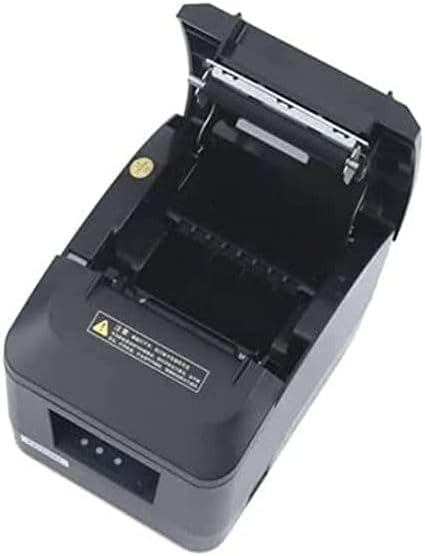
Figure 4.2: Side view of the Xprinter XP-D200N Thermal Receipt Printer. This perspective highlights the compact design and the power switch on the right side.

Figure 4.3: Top view of the Xprinter XP-D200N Thermal Receipt Printer with the cover open, revealing the thermal paper roll compartment and the print head mechanism. This view is essential for paper loading and maintenance.
5. Setup
5.1 Connecting the Power
- Ensure the printer's power switch is in the OFF position.
- Connect the power adapter to the power input port on the back of the printer.
- Plug the power cord into the power adapter, then into a standard electrical outlet.
5.2 Connecting to a Computer
The XP-D200N supports both USB and LAN connectivity.
USB Connection:
- Connect one end of the USB cable to the USB port on the printer.
- Connect the other end of the USB cable to an available USB port on your computer.
LAN (Ethernet) Connection:
- Connect an Ethernet cable to the LAN port on the printer.
- Connect the other end of the Ethernet cable to your network router or switch.
- Refer to the printer's advanced settings or driver utility for network configuration (e.g., IP address settings).
5.3 Loading Thermal Paper
- Open the printer cover by pressing the release button or lifting the cover latch. (Refer to Figure 4.3).
- Insert the thermal paper roll into the compartment with the paper feeding from the bottom and the leading edge extending towards the front of the printer. Ensure the paper is aligned correctly.
- Pull a small amount of paper out past the cutter.
- Close the printer cover firmly until it clicks into place.
5.4 Driver Installation
After connecting the printer, you will need to install the appropriate drivers on your computer. Drivers are typically provided on a CD included with the printer or can be downloaded from the official Xprinter website. Follow the on-screen instructions during installation.
6. Operating Instructions
6.1 Powering On/Off
- To power on: Ensure the power cord is connected, then flip the power switch to the ON position. The indicator light will illuminate.
- To power off: Flip the power switch to the OFF position.
6.2 Basic Printing
Once the printer is connected and drivers are installed, you can print receipts from your point-of-sale (POS) software or other applications. Select the Xprinter XP-D200N as your default printer in your application's print settings.
6.3 Status Indicators
The printer features indicator lights (usually on the front panel) that provide information about its status:
- Power Indicator: Solid light indicates the printer is powered on.
- Error Indicator: Flashing or solid light indicates an error (e.g., paper out, cover open, print head overheat). Refer to the troubleshooting section.
- Paper Out Indicator: Illuminates when the paper roll is empty or nearly empty.
7. Maintenance
7.1 Cleaning the Print Head
Regular cleaning of the print head ensures optimal print quality and extends the printer's lifespan.
- Turn off the printer and disconnect the power cord.
- Open the printer cover.
- Use a cotton swab lightly dampened with isopropyl alcohol (70% or higher) to gently wipe the thermal print head surface. Avoid touching the print head with bare hands.
- Allow the print head to dry completely before closing the cover and reconnecting power (approximately 2-3 minutes).
7.2 General Cleaning
Wipe the exterior of the printer with a soft, damp cloth. Do not use abrasive cleaners or solvents.
7.3 Replacing the Paper Roll
When the paper out indicator illuminates or print quality degrades, it's time to replace the paper roll. Follow the steps in Section 5.3 "Loading Thermal Paper".
8. Troubleshooting
| Problem | Possible Cause | Solution |
|---|---|---|
| Printer does not power on. | No power, faulty power adapter/cord. | Check power connections. Ensure power switch is ON. Test outlet. |
| No printing. | Paper out, cover open, incorrect driver, incorrect printer selected, cable disconnected. | Load paper, close cover, check USB/LAN connection, verify driver installation, select correct printer in software. |
| Poor print quality (faint, blank lines). | Dirty print head, low quality thermal paper, print head damage. | Clean print head (Section 7.1). Replace thermal paper. If problem persists, contact support. |
| Paper jam. | Improper paper loading, foreign object. | Turn off printer, open cover, carefully remove jammed paper. Reload paper correctly. |
| Error indicator light is on/flashing. | General error, paper out, cover open. | Check for paper out, ensure cover is closed. Power cycle the printer. If error persists, consult manufacturer's support. |
9. Specifications
| Brand: | Xprinter |
| Model: | XP-D200N |
| Printer Type: | Thermal Receipt Printer |
| Print Method: | Direct Thermal |
| Print Speed: | 220 mm/sec (as per product description) |
| Maximum Media Size: | 8 cm (80mm) |
| Connectivity: | USB, LAN (Ethernet) |
| Power Input: | 24V – 2.5A |
| Printer Output: | Monochrome |
| Special Features: | Sleek, Compact, Lightweight Design, High Print Quality, Durability, Low Noise, Automatic Paper Cutting |
| Product Dimensions: | 18.4 x 14 x 13.5 cm |
| Item Weight: | 1.63 kg |
10. Warranty and Support
The Xprinter XP-D200N Thermal Receipt Printer comes with a standard manufacturer's warranty. For specific warranty terms and conditions, please refer to the warranty card included with your product or visit the official Xprinter website. For technical support, driver downloads, or service inquiries, please contact your local dealer or the Xprinter customer support team through their official channels.
For the latest information and support resources, please visit: www.xprinter.net


