1. Introduction
The GOOD STORY Ubiquiti NanoStation LOCO 5AC Wireless Bridge Kit provides a pre-configured solution for establishing long-range wireless network connections. This manual offers detailed instructions for installation, operation, and maintenance to ensure optimal performance and reliable data transmission.
2. Product Overview
The Ubiquiti NanoStation LOCO 5AC Wireless Bridge Kit is designed for extending network coverage wirelessly over significant distances. This kit includes two pre-programmed devices that function as a Point-to-Point (PTP) wireless bridge, and can also be configured for Point-to-Multipoint (PTMP) applications.
- High-Speed Connectivity: Operates in the 5GHz frequency band, delivering over 450 Mbps throughput for fast and reliable data transmission.
- Long-Range Capabilities: Supports link ranges of 10+ km, ideal for connecting distant buildings or sites.
- Pre-Configured: Devices are pre-programmed for immediate plug-and-play functionality, minimizing setup time.
- Exceptional Noise Immunity: Engineered to maintain peak performance even in environments with significant wireless interference.
- Versatile Applications: Suitable for expanding network coverage to outbuildings, linking security camera systems, or providing internet access in remote locations.

Image: Overview of the Ubiquiti airMAX NanoStation 5AC LOCO pre-configured kit, highlighting its 10km link distance capability.

Image: Illustrates the pre-programmed advantages of the kit, including rapid deployment, plug-and-play setup, and consistent performance.
3. Package Contents
Verify that all items listed below are present in your package:
- 2 x Ubiquiti NanoStation LOCO 5AC Devices (Pre-configured as a pair)
- 2 x PoE Injectors
- 2 x Power Cords
- 2 x Mounting Straps
- 1 x Installation Guide
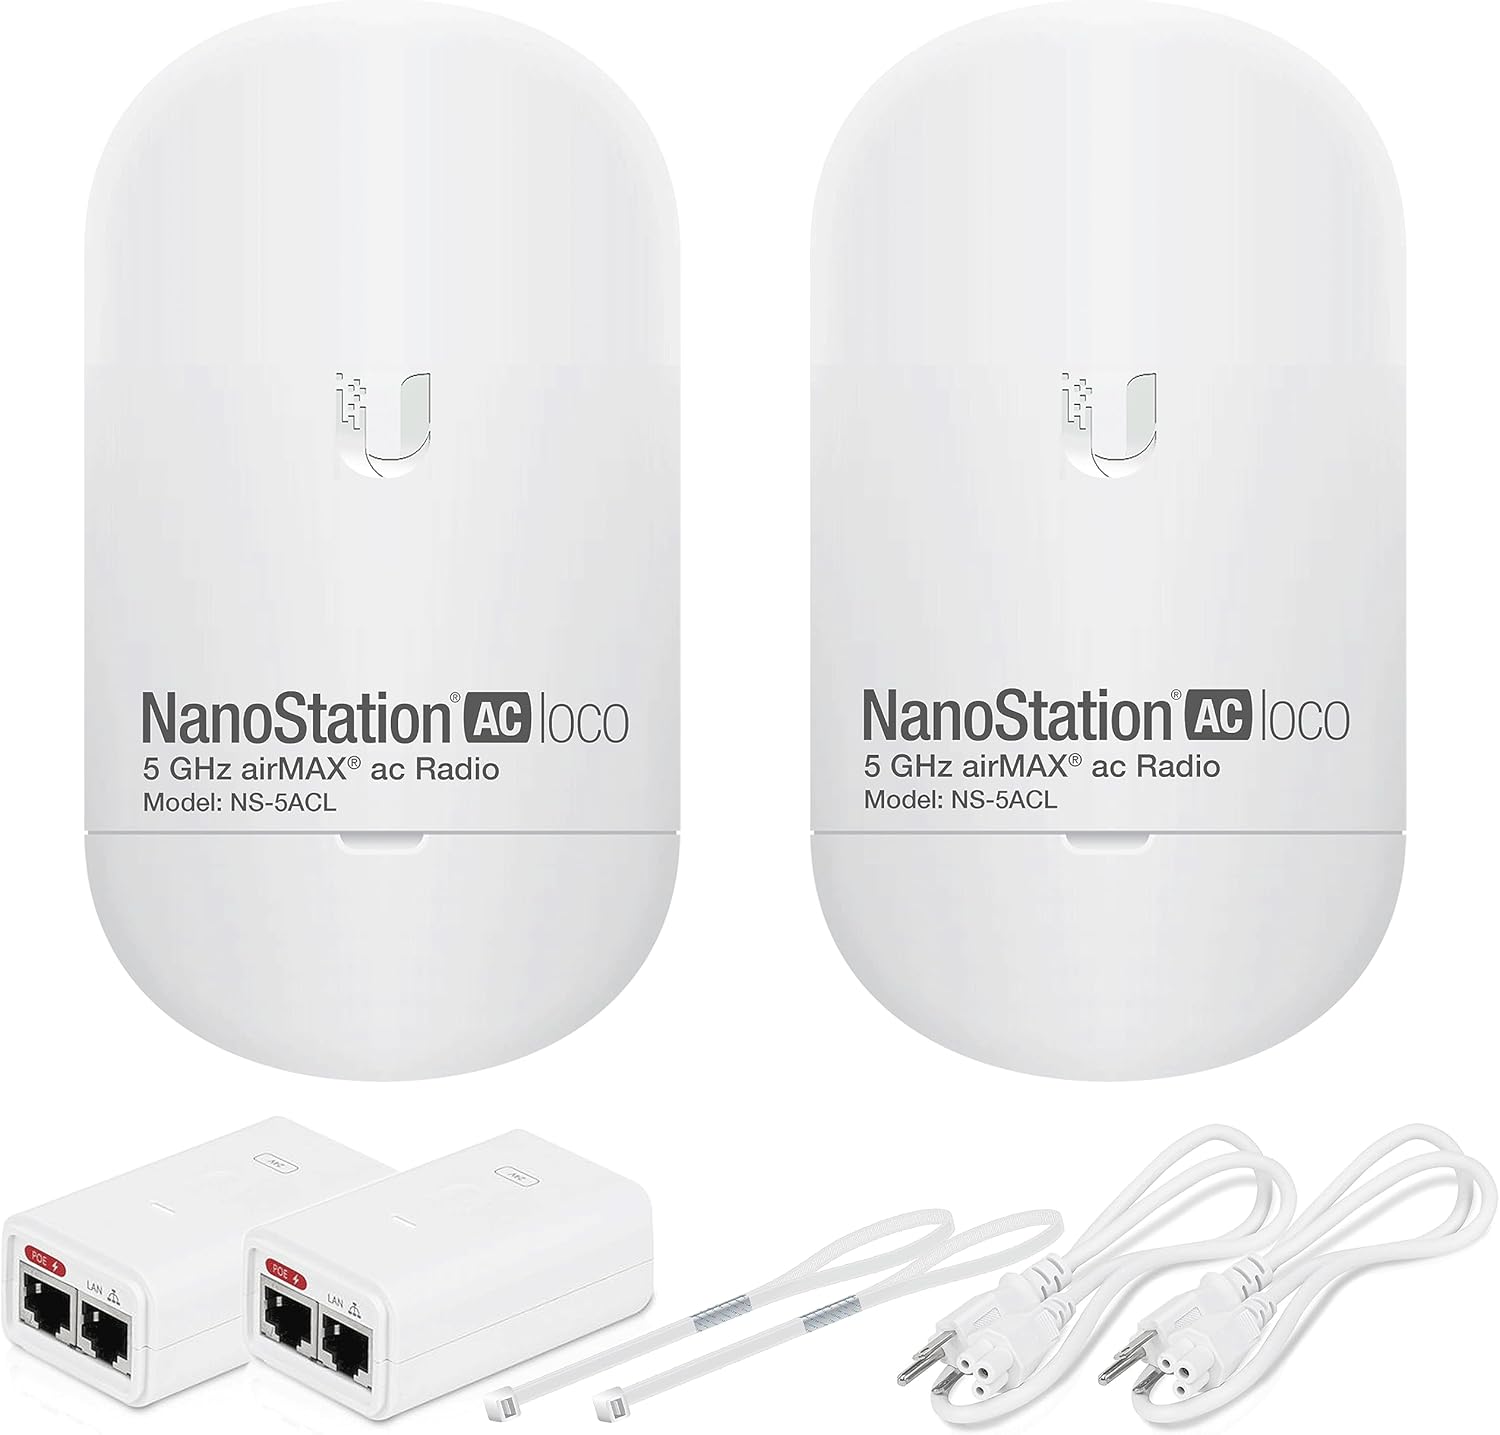
Image: The complete contents of the kit, including two NanoStation devices, two PoE injectors, power cords, and mounting straps.
4. Setup Instructions
The GOOD STORY Ubiquiti NanoStation LOCO 5AC devices are pre-configured for ease of installation. Follow these steps to set up your wireless bridge:
4.1. Identify Devices and Components
Each kit contains two NanoStation devices. One device will act as the 'Access Point' (AP) and the other as the 'Station' (STA). They are pre-paired. Identify the PoE injectors, power cords, and mounting straps.

Image: A detailed view of the NanoStation device, showing the Power LED, Ethernet Port, Reset Button, and Mounting Bracket.
4.2. Connect Power over Ethernet (PoE)
- Connect an Ethernet cable from the LAN port of your router/network switch to the 'LAN' port on one PoE injector. This will be for the Access Point device.
- Connect another Ethernet cable from the 'POE' port on the same injector to the Ethernet port on the NanoStation device designated as the Access Point.
- Plug the power cord into the PoE injector and then into a power outlet. The device should power on.
- Repeat steps 1-3 for the second NanoStation device (Station), connecting its PoE injector's 'LAN' port to your remote network device (e.g., a second router, switch, or directly to a computer/camera system).
4.3. Mounting and Aiming
For optimal performance, ensure a clear line of sight between the two NanoStation devices. Obstructions like trees or buildings can degrade signal quality.
- Attach the mounting straps to secure each NanoStation device to a pole or suitable mounting surface.
- Position the Access Point device at your primary network location.
- Position the Station device at the remote location where you want to extend network access.
- Carefully aim both devices directly at each other. Slight adjustments may be necessary to achieve the best signal strength.

Image: Demonstrates how to mount the NanoStation device onto a pole using the provided straps.
4.4. Connection Diagrams

Image: Diagram showing how to extend a Starlink network using the wireless bridge, connecting the Starlink Ethernet Adapter to the Access Point.

Image: A Point-to-Point network extension setup, illustrating connection from a main router to a remote station with its own router.

Image: Diagram showing a Point-to-Point setup for multiple IP cameras, connecting them via a switch to the remote station.

Image: A Point-to-MultiPoint setup for IP cameras, demonstrating how one Access Point can connect to multiple remote stations, each with cameras.
5. Operating Instructions
Once properly installed and aimed, the Ubiquiti NanoStation LOCO 5AC wireless bridge operates automatically. The pre-configuration ensures that the devices establish a link and pass network traffic without further user intervention.
5.1. Verifying Connection
- LED Indicators: Observe the LED lights on the NanoStation devices. Typically, a solid green or blue light indicates a successful power-on and network link. Refer to the included Installation Guide for specific LED status meanings.
- Network Connectivity: Test network access from a device connected to the remote (Station) side of the bridge. If internet access or local network resources are available, the bridge is functioning correctly.
5.2. Network Extension
The wireless bridge acts as a transparent Ethernet cable, extending your existing network. Any device connected to the remote NanoStation (via a switch or router) will be part of your main network, allowing for seamless data transfer and internet access.
6. Maintenance
Regular maintenance helps ensure the longevity and optimal performance of your wireless bridge.
- Physical Inspection: Periodically check the physical condition of the devices, mounting straps, and Ethernet cables for any signs of wear, damage, or loose connections.
- Cleaning: Keep the devices clean from dust, dirt, and debris, especially the front panel where the antenna is located. Use a soft, dry cloth for cleaning.
- Firmware Updates: While the devices are pre-configured, Ubiquiti may release firmware updates to improve performance or security. Consult the Ubiquiti support website for information on manual firmware updates if desired.
- Environmental Factors: Ensure the devices are not exposed to extreme weather conditions beyond their operational specifications. Verify that water drainage is clear around the mounting area.
7. Troubleshooting
If you encounter issues with your wireless bridge, try the following troubleshooting steps:
- No Power: Ensure both PoE injectors are properly plugged into power outlets and that the power cords are securely connected. Check the Power LED on each NanoStation.
- No Link/Connectivity:
- Verify that Ethernet cables are securely connected between the router/switch, PoE injectors, and NanoStation devices.
- Confirm that there is a clear line of sight between the two NanoStation devices. Any new obstructions could interfere with the signal.
- Re-aim the devices slightly to optimize the signal. Even small adjustments can make a difference over long distances.
- Check the network settings of the devices connected to the remote NanoStation to ensure they are configured for DHCP or have correct static IP addresses.
- Slow Speed:
- Ensure optimal aiming for the strongest signal.
- Minimize interference by ensuring no other strong 5GHz wireless signals are directly in the path.
- Check for physical obstructions that might have appeared since installation.
- Resetting Devices: If all other troubleshooting fails, you may perform a factory reset. Locate the reset button on the NanoStation (refer to Section 4.1 image) and press and hold it for approximately 10 seconds while the device is powered on. Note that this will erase the pre-configuration, and you may need to re-configure the devices or contact support.
For more detailed troubleshooting, refer to the comprehensive Installation Guide included with your product.
8. Specifications
| Feature | Specification |
|---|---|
| Model Name | Ubiquiti NanoStation LOCO 5AC |
| Item Model Number | P2P-WIRELESS-Configuration |
| Frequency Band Class | Single-Band (5GHz) |
| Wireless Communication Standard | 802.11ac |
| Throughput | 450+ Mbps |
| Link Range | 10+ km |
| Connectivity Technology | Wireless |
| Antenna Type | Fixed |
| Compatible Devices | Security Camera, Network Devices |
| Item Weight | 2 pounds (total for kit) |
| Package Dimensions | 9.96 x 9.06 x 4.72 inches |
9. Warranty Information
For specific warranty details regarding your GOOD STORY Ubiquiti NanoStation LOCO 5AC Wireless Bridge Kit, please refer to the documentation provided with your purchase or contact the seller directly. Any extended protection plans offered are typically separate services and not part of the manufacturer's standard warranty.
10. Support
Should you require further assistance or have questions not covered in this manual, please utilize the following resources:
- Included Installation Guide: Refer to the detailed guide provided in your product package.
- GOOD STORY Customer Support: Contact the seller or manufacturer for product-specific support. You can visit the GOOD STORY Store on Amazon for contact information.
- Ubiquiti Resources: For technical specifications and advanced configuration options, consult the official Ubiquiti Networks documentation for the NanoStation LOCO 5AC.


