1. Introduction
This manual provides instructions for the iMounTEK Electric Training Collar, designed to function as part of a 2-in-1 Wireless Dog Fence and Remote Dog Training System. This collar (Model B0CCL51DY4) is compatible with the iMounTEK wireless dog fence system GPCT4117. It offers both boundary containment and remote training capabilities to help manage your dog's behavior and ensure their safety within a designated area.
2. Product Components
The iMounTEK Electric Training Collar package typically includes the following items:
- Receiver Collar (Model B0CCL51DY4)
- Adjustable and Reflective Collar Strap
- Metal Probes (Contact Points)
- Silicone Caps for Probes
- USB Charging Cable
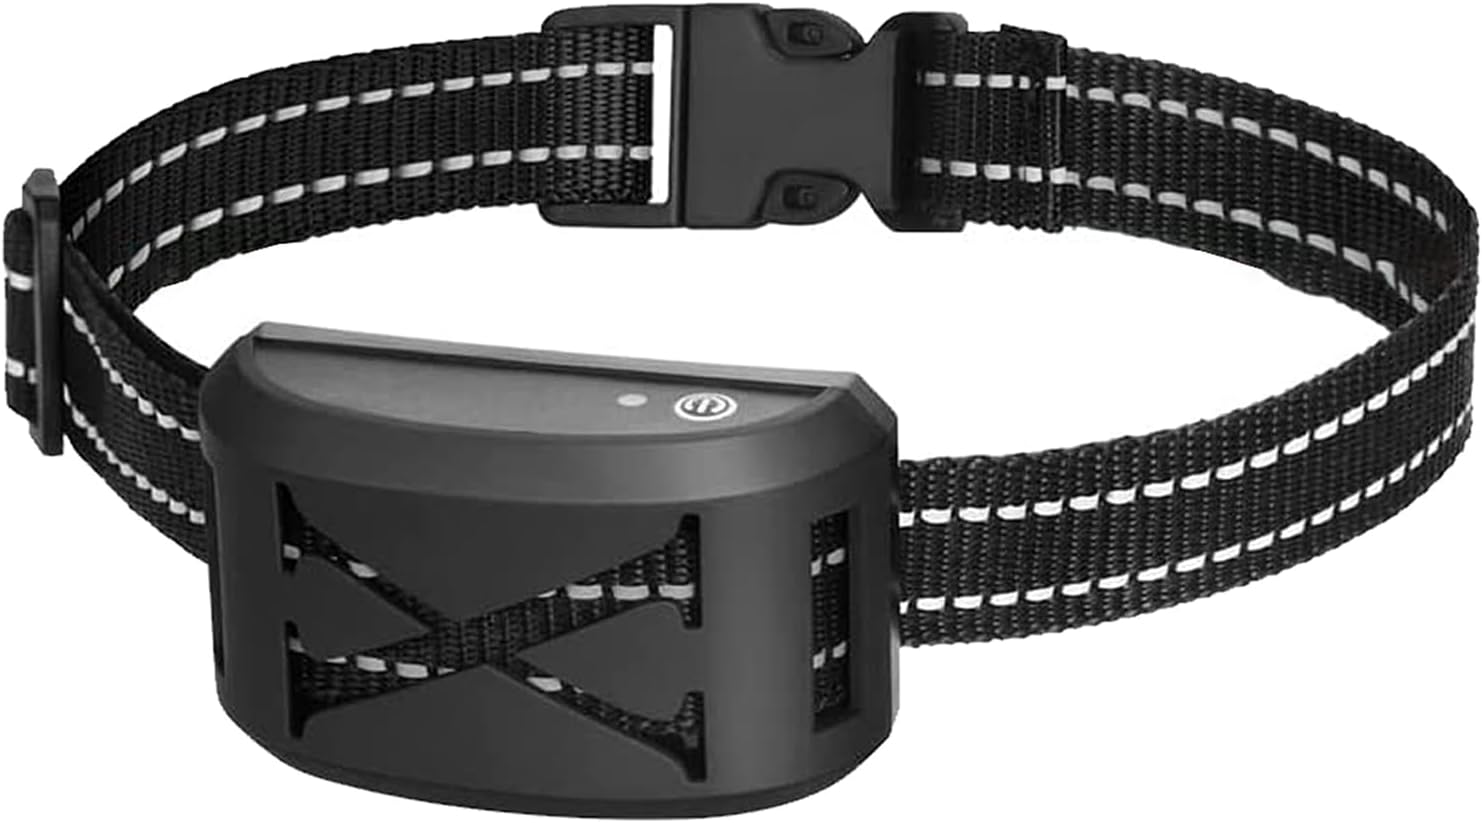
Image 2.1: The iMounTEK Electric Training Collar Receiver.

Image 2.2: Detailed introduction of the collar receiver, showing metal probes, silicone caps, micro charging port, LED indicator, and power switch.
3. Setup
3.1. Collar Assembly
- Attach the receiver unit to the adjustable collar strap. Ensure it is securely fastened.
- Screw the metal probes into the designated holes on the receiver.
- Place the silicone caps over the metal probes. These caps provide comfort and help prevent skin irritation for your dog.
3.2. Fitting the Collar
The collar is adjustable from 9.45 inches to 22.83 inches, suitable for dogs aged 6 months and older, weighing between 15-120 lbs. Ensure the collar is snug but not too tight, allowing two fingers to fit comfortably between the collar and your dog's neck. The contact points should touch your dog's skin. If the collar strap is too long, the excess part can be cut off. Remember to singe the end to prevent fraying.

Image 3.1: Guide for fitting the collar to dogs of various sizes (15-150 lbs) and instructions for adjusting the collar strap length.
3.3. Pairing Transmitter with Receiver
To ensure the collar receiver responds to the transmitter (sold separately, e.g., GPCT4117), follow these pairing steps:
- Turn on both the transmitter and the receiver collar.
- In Remote Training Mode (signal symbol on transmitter screen should stop flashing), press the "CH" button on the transmitter to select the desired dog number (channel).
- Long press the Mode button on the transmitter for 3 seconds until the dog icon starts flashing on the screen.
- While the dog icon is flashing, long press the power button of the receiver collar until you hear a "Di" sound from both the transmitter and receiver. This indicates successful pairing.
Video 3.1: Demonstrates the process of pairing the collar receiver with the transmitter and adjusting training levels.
3.4. Wireless Fence Setup (Requires compatible iMounTEK wireless dog fence system GPCT4117)
When using the collar with a compatible wireless dog fence system (e.g., GPCT4117), the system establishes a circular boundary. The transmitter (sold separately) controls the range of this boundary.
Video 3.2: Illustrates the functionality of the 2-in-1 Wireless Dog Fence and Remote Dog Training Mode, including how the collar interacts with the wireless boundary.
4. Operating Modes
4.1. Wireless Dog Fence Mode
When your dog approaches the boundary of the wireless fence (established by a compatible transmitter like GPCT4117), the receiver collar will activate. It will first emit a warning beep. If your dog continues to approach or crosses the boundary, continuous vibration and/or static stimulation will be delivered until the dog returns to the safe zone. The setting range for the wireless fence is adjustable from 30ft to 800ft, with 1-16 levels shown on the LED screen of the transmitter. You can adjust the setting level using the '+' and '-' buttons on the transmitter.
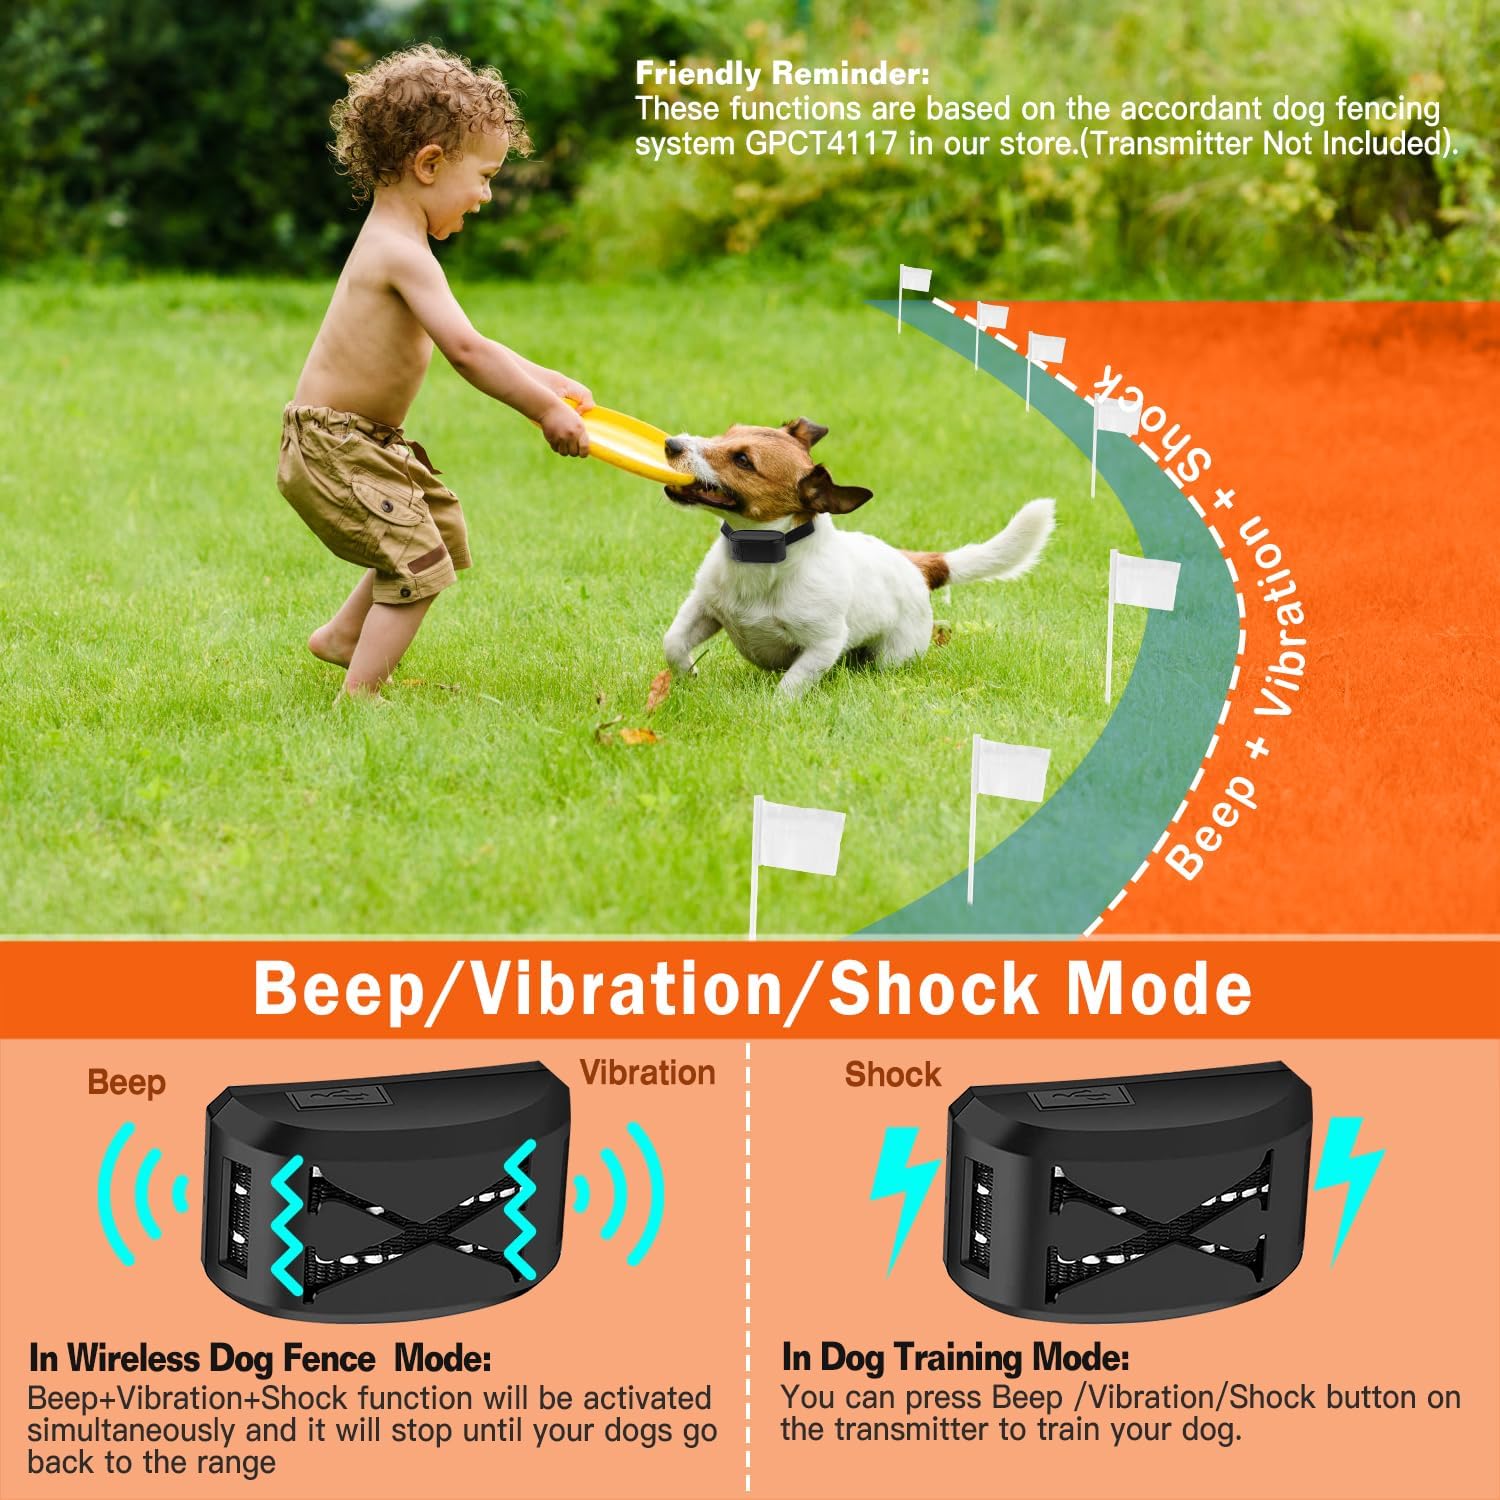
Image 4.1: Illustrates the different modes (Beep, Vibration, Shock) and their activation in both Wireless Dog Fence Mode and Dog Training Mode.
4.2. Remote Dog Training Mode
When connected to a compatible wireless dog fence transmitter (e.g., GPCT4117), you can use the remote training mode to send specific commands to your dog. The transmitter allows you to select different channels (up to 3 dogs) and apply sound, vibration, or static stimulation. Both vibration and static stimulation have 9 adjustable levels. Use the '+' and '-' buttons on the transmitter to adjust the intensity levels.
5. Charging
The receiver collar has a built-in 400mAh rechargeable battery. It can be fully charged in approximately 1-2 hours using the provided USB cable. Ensure the charging port is sealed when not charging to maintain its waterproof rating.

Image 5.1: Shows the USB charging process for both the collar receiver and the transmitter.
6. Safety Guidelines
- Do not leave the collar on your dog for more than 12 consecutive hours to prevent skin irritation.
- Regularly check your dog's neck for any signs of irritation or sores. If found, discontinue use until the skin heals.
- Ensure the collar is properly fitted; it should be snug enough for the contact points to make contact with the skin, but not so tight as to restrict breathing or cause discomfort.
- The collar is IPX6 waterproof, meaning it can withstand splashes and rain. However, avoid immersing the receiver in water for prolonged periods and ensure the charging port is sealed.
- This product is intended for dogs 6 months and older, weighing between 15-120 lbs.
- Use the static stimulation feature responsibly and only when necessary, starting with the lowest effective level.
- The reflective strips on the collar enhance visibility at night, improving your dog's safety.

Image 6.1: The reflective collar enhances visibility for your dog during nighttime.
7. Maintenance
- Clean the receiver collar and contact points regularly with a damp cloth.
- Ensure the charging port cover is securely closed to maintain the IPX6 waterproof rating.
- Store the collar and transmitter in a dry, cool place when not in use.

Image 7.1: The IPX6 waterproof collar receiver is resistant to water splashes and rain, but the charging port must be sealed.
8. Troubleshooting
If you encounter issues with your iMounTEK Electric Training Collar, consider the following:
- Collar not responding: Ensure both the transmitter and receiver are powered on and fully charged. Re-attempt the pairing process (Section 3.3). Check if the correct channel is selected on the transmitter.
- No stimulation/vibration: Verify the contact points are making proper contact with your dog's skin. Ensure the intensity level for vibration or static stimulation is not set to '0' on the transmitter.
- Inconsistent fence boundary: Ensure the transmitter for the wireless fence system (e.g., GPCT4117) is placed in an optimal location, away from large metal objects or other sources of interference. Adjust the range setting on the transmitter.
- Skin irritation: Remove the collar immediately. Clean your dog's neck and the collar. Ensure the collar is not too tight and is not worn for excessive periods. Consult a veterinarian if irritation persists.
9. Specifications
| Feature | Detail |
|---|---|
| Brand | iMounTEK |
| Model (Collar) | B0CCL51DY4 |
| Compatible Wireless Fence System | GPCT4117 |
| Waterproof Rating | IPX6 (Receiver Collar) |
| Collar Adjustment Range | 9.45in to 22.83in |
| Recommended Dog Weight | 15-120 lbs |
| Recommended Dog Age | 6 months+ |
| Battery Capacity (Receiver) | 400mAh |
| Charging Time | Approx. 1-2 hours |
| Vibration/Shock Levels | 9 levels |
| Wireless Fence Range | 30ft to 800ft (adjustable) |
10. Warranty and Support
Specific warranty information for the iMounTEK Electric Training Collar (Model B0CCL51DY4) is not provided in the product data. For detailed warranty terms, technical support, or customer service inquiries, please refer to the product packaging or contact iMounTEK directly through their official website or the retailer where the product was purchased.


