1. Introduction
This user manual provides comprehensive instructions for the MoreJoy Smart Projector CUBE2. It covers setup, operation, maintenance, and troubleshooting to ensure optimal performance and longevity of your device. Please read this manual thoroughly before using the projector.
2. Package Contents
Upon opening the package, verify that all the following items are included:
- MoreJoy Smart Projector CUBE2
- TV dongle
- Remote Control
- Power Adapter
- User Manual (this document)

Image: The MoreJoy Smart Projector CUBE2 shown with its included accessories, including the remote control and power cable.
3. Product Features
The MoreJoy Smart Projector CUBE2 is equipped with advanced features for an enhanced viewing experience:
- 4K Projector & HDR10: Supports 4K resolution input with HDR10 for vibrant and clear images, even in well-lit environments. Features 1300 ANSI lumens brightness.
- Auto Focus & Auto 6D Keystone Correction: Built-in displacement gyroscope and sensor automatically adjust picture clarity and shape without manual intervention.
- 50% Zoom Function: Allows image size reduction from 100% to 50% without moving the projector.
- Large Display: Capable of projecting up to a 500-inch screen.
- Android TV Integration: Access to over 8000+ apps, including popular streaming services like Prime Video, YouTube, Disney+, and HBO Max. The TV dongle is detachable.
- WiFi6 & Dual-band (2.4G+5G): Provides faster and more stable wireless screen mirroring connections.
- Bluetooth 5.2: Bidirectional Bluetooth for easy connection to headphones, speakers, or other audio devices.
- Fully Sealed Engine: Optical core designed to prevent dust entry, reducing black spots and maintaining image quality.
- USB Presentation: Supports direct reading of PPT, XLSX, and DOCX files via USB.

Image: A visual comparison demonstrating the enhanced brightness and clarity of the MoreJoy projector (1080P Native, Support 4K) compared to other 720P native projectors.

Image: The projector displaying a high-quality image in a room during both daytime and nighttime conditions, highlighting its adaptability to different lighting environments.
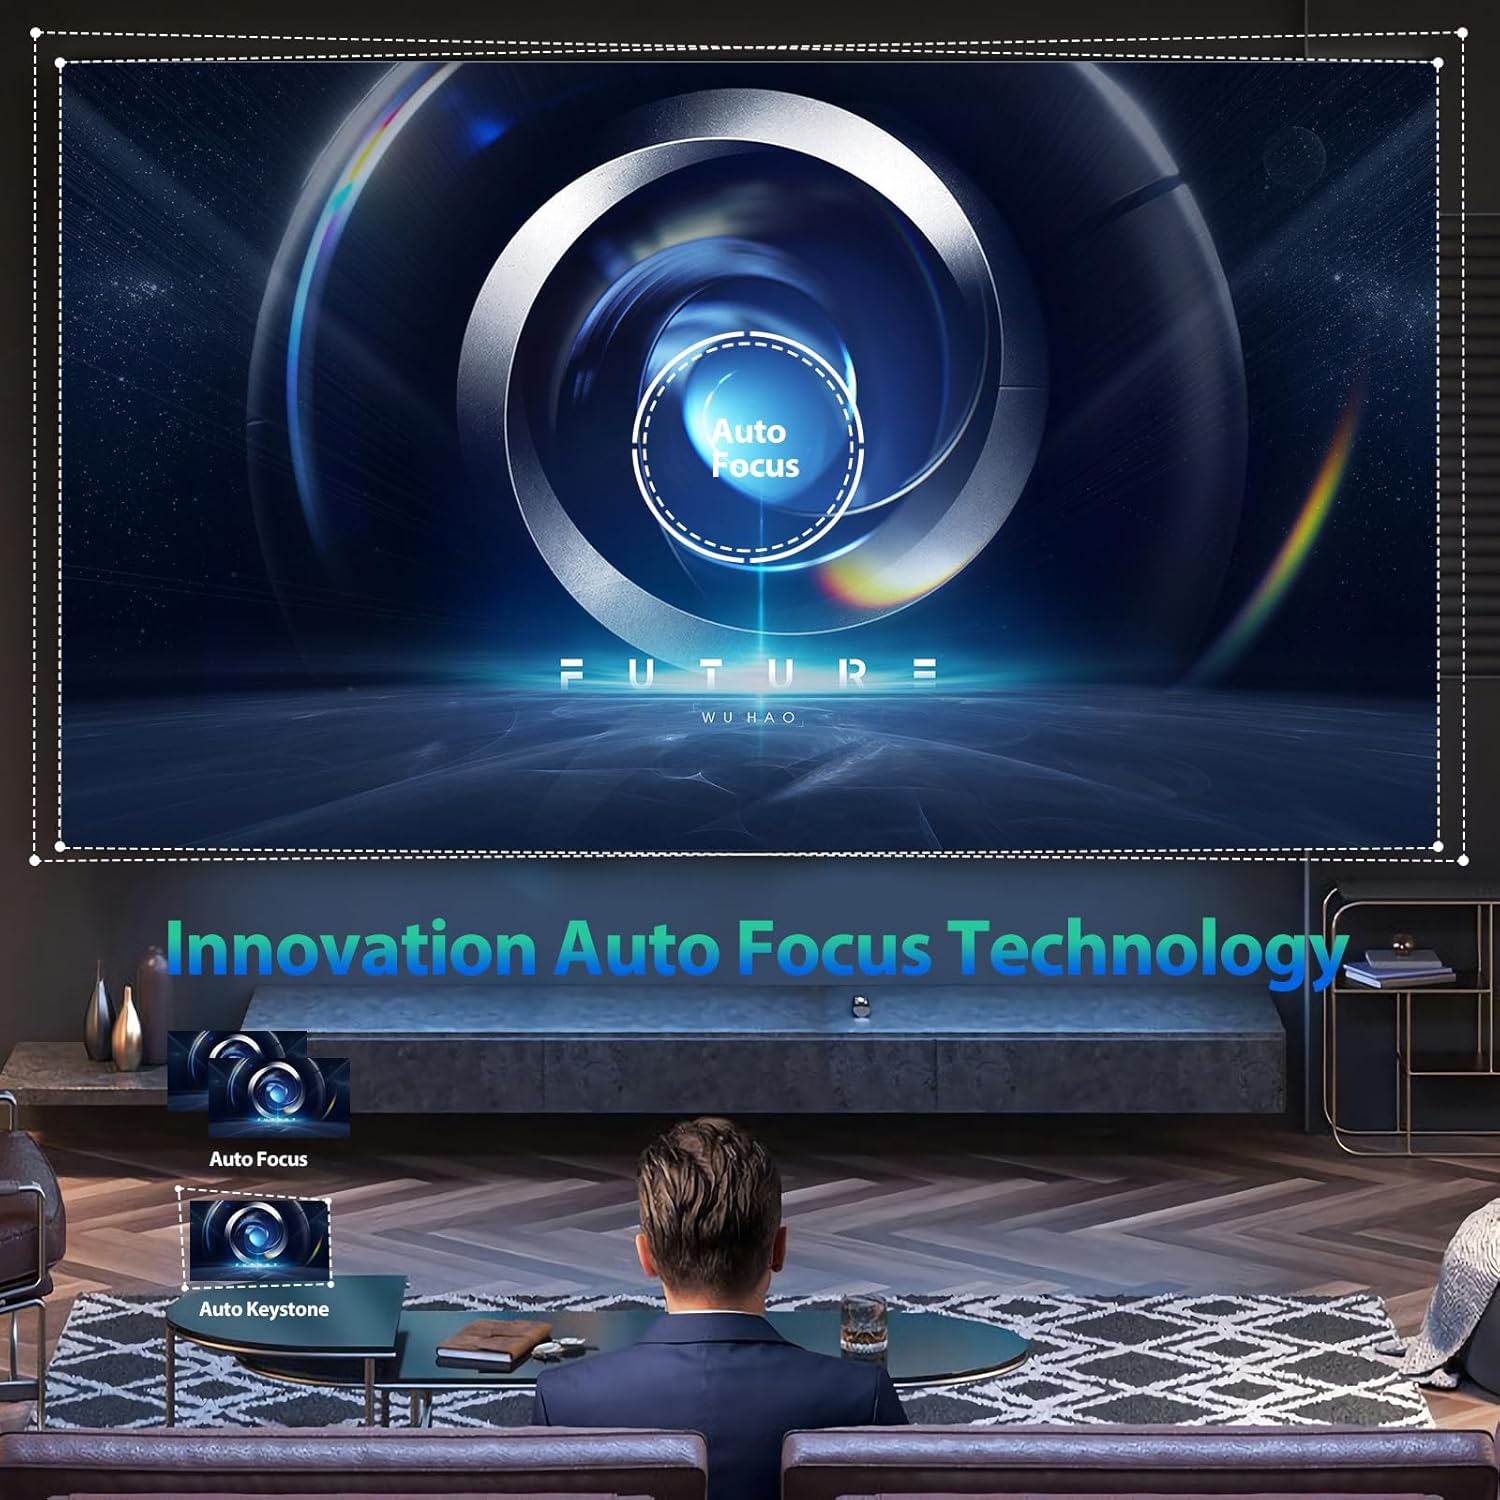
Image: An illustration of the projector's innovative auto-focus and auto-keystone correction technology, showing how it automatically adjusts the image for optimal clarity and shape.

Image: The projector demonstrating its capability to project adjustable screen sizes, ranging from 220 inches at 3.2 meters distance to 500 inches at 8 meters distance.
4. Setup
4.1 Physical Placement
Place the projector on a stable, flat surface. Ensure there is adequate ventilation around the device to prevent overheating. Position the projector at a suitable distance from the projection surface (wall or screen) to achieve the desired screen size. Refer to the specifications for recommended projection distances.
4.2 Power Connection
- Connect the power adapter to the projector's power input port.
- Plug the power adapter into a standard electrical outlet.
- Press the power button on the projector or remote control to turn on the device.
4.3 Focus and Keystone Adjustment
The CUBE2 projector features automatic focus and 6D keystone correction. Upon power-on or movement, the projector will automatically adjust the image for clarity and correct geometric distortion. Manual adjustments are generally not required.
4.4 Network Connection (Wi-Fi)
To access online content and streaming services, connect the projector to a Wi-Fi network:
- Navigate to the "Settings" menu on the projector's interface.
- Select "Network & Internet" or "Wi-Fi Settings".
- Turn on Wi-Fi and select your desired network from the list.
- Enter the Wi-Fi password if prompted and confirm the connection.

Image: The projector illustrating its 2.4G and 5G dual-band WiFi screen synchronization technology, showing seamless connectivity with Android, iOS, and Windows devices.
4.5 Bluetooth Pairing
Pair Bluetooth audio devices (e.g., speakers, headphones) with the projector:
- Go to "Settings" and select "Bluetooth".
- Ensure Bluetooth is enabled on both the projector and your audio device.
- Select your audio device from the list of available devices to pair.

Image: The projector's display showing the Android TV interface with a wide selection of streaming applications such as Netflix, YouTube, Prime Video, and Hulu, indicating its smart capabilities.
5. Operating Instructions
5.1 Connecting External Devices
The projector supports various input sources:
- HDMI: Connect gaming consoles, Blu-ray players, laptops, or other HDMI-enabled devices using an HDMI cable. Select the corresponding HDMI input from the projector's source menu.
- USB: Insert a USB drive into the USB port to play media files (photos, videos, music) or view documents (PPT, XLSX, DOCX).
- Ethernet: For a stable wired internet connection, connect an Ethernet cable to the LAN port.

Image: The projector highlighting its wide compatibility, showing connections for HDMI devices (Fire TV stick, X-BOX, Switch, PC), 5G WiFi for mobile phones (Android and iOS) and tablets, and USB for photos, videos, music, and office files.
Image: The projector demonstrating its versatility for different applications, including video yoga, competitive gaming, and business office presentations, all projected onto a large 500-inch screen.
5.2 Using Android TV
The integrated Android TV system allows you to stream content directly. Use the remote control to navigate the interface, download apps from the Google Play Store, and access your favorite movies and TV shows.
5.3 Screen Mirroring
To mirror your smartphone or tablet screen:
- Ensure both the projector and your mobile device are connected to the same Wi-Fi network.
- On the projector, select the "Screen Mirroring" or "Cast" option.
- On your mobile device, enable screen mirroring (e.g., "Smart View" on Android, "Screen Mirroring" on iOS) and select the projector from the list of available devices.
5.4 Adjusting Settings
Access the "Settings" menu to customize various aspects of the projector:
- Picture Settings: Adjust brightness, contrast, color saturation, and sharpness.
- Sound Settings: Control volume, audio output mode, and equalizer settings.
- Projection Mode: Change projection orientation (front, rear, ceiling front, ceiling rear).
- Language: Select your preferred language for the user interface.
6. Maintenance
6.1 Cleaning
- Lens: Use a soft, lint-free cloth specifically designed for optical lenses. Gently wipe the lens in a circular motion. Do not use abrasive cleaners or excessive force.
- Exterior: Wipe the projector's exterior with a soft, dry cloth. For stubborn marks, a slightly damp cloth can be used, followed by a dry wipe.
- Ventilation Ports: Periodically check and clean the ventilation ports to ensure unobstructed airflow. Use a soft brush or compressed air to remove dust.
Note: The CUBE2 features a fully sealed optical engine, which significantly reduces dust accumulation inside the projector, minimizing the need for internal cleaning.

Image: A visual representation highlighting the benefits of the MoreJoy projector's fully sealed optical engine, which prevents light decay and the appearance of black spots, ensuring a longer lifespan compared to normal non-sealed designs.
6.2 Storage
When not in use for extended periods, store the projector in a cool, dry, and dust-free environment. Use the original packaging or a protective case to prevent damage.
7. Troubleshooting
If you encounter issues with your MoreJoy Smart Projector CUBE2, refer to the following common problems and solutions:
| Problem | Possible Cause | Solution |
|---|---|---|
| No Power | Power cable not connected; Power outlet issue. | Ensure power cable is securely connected. Try a different power outlet. |
| No Image | Incorrect input source; Device not connected properly. | Select the correct input source (HDMI, USB). Check cable connections. |
| Fuzzy/Blurry Image | Projector moved; Auto-focus issue. | Allow the auto-focus to recalibrate. Ensure the lens is clean. |
| No Sound | Volume too low; Incorrect audio output; Bluetooth not paired. | Increase volume. Check audio output settings. Re-pair Bluetooth device. |
| Wi-Fi Connection Issues | Incorrect password; Router too far; Network interference. | Verify Wi-Fi password. Move projector closer to router. Restart router. |
If the problem persists after trying these solutions, please contact MoreJoy customer support for assistance.
8. Specifications
| Feature | Detail |
|---|---|
| Brand | MoreJoy |
| Model | CUBE2 |
| Display Resolution | 1920 x 1080 (Native), Supports 4K input |
| Brightness | 1300 ANSI Lumens |
| Projection Size | Up to 500 inches |
| Focus | Auto Focus |
| Keystone Correction | Auto 6D Keystone Correction |
| Zoom Function | 50% Digital Zoom |
| Operating System | Android TV |
| Wi-Fi Connectivity | WiFi6, 2.4G + 5G Dual-band |
| Bluetooth | Bluetooth 5.2 (Bidirectional) |
| Input Ports | HDMI, USB, Ethernet |
| Special Features | Fully Sealed Optical Engine, HDR10, USB Document Playback |
| Item Weight | 7.87 pounds |
| Product Dimensions | 500 x 500 x 500 inches (Note: This dimension seems incorrect for a projector, likely a placeholder or error in source data.) |
9. Warranty and Support
The MoreJoy Smart Projector CUBE2 comes with a Lifetime Warranty as stated in the product features. For warranty claims, technical support, or any inquiries not covered in this manual, please contact MoreJoy customer service through the official channels provided at the point of purchase or on the MoreJoy official website.
Please retain your proof of purchase for warranty purposes.