
WONNIE W-HD1106S
WONNIE 12-inch Portable Car DVD Player
Model: W-HD1106S - Instruction Manual
1. Introduction
This manual provides detailed instructions for the setup, operation, and maintenance of your WONNIE 12-inch Portable Car DVD Player, Model W-HD1106S. Please read this manual thoroughly before using the device to ensure proper functionality and to maximize your viewing experience. This player is designed to provide entertainment during car journeys, supporting various media formats and offering flexible installation options.

Image: The WONNIE 12-inch Portable Car DVD Player shown with a smartphone connected via HDMI and a car charger, highlighting its portability and connectivity.
2. What's in the Box
Verify that all items listed below are included in your package:
- 1x WONNIE 12-inch Portable Car DVD Player
- 1x Remote Control (includes 2 AAA batteries)
- 1x Car Charger
- 1x AC Adapter
- 1x 3.5mm-RCA Cable
- 2x Headrest Straps
- 1x Detachable Mounting Bracket (includes 5 pairs of plastic buckles and 2 U-shape metal pieces)
- 1x User Manual

Image: A visual representation of all components included in the WONNIE 12-inch Portable Car DVD Player package, such as the player, remote, cables, and mounting accessories.
3. Product Features
3.1. 12-inch 1080P Full HD Display
The WONNIE W-HD1106S features a 12-inch screen with a 1920*1080p resolution, providing a clear and expansive viewing area. This enhanced resolution offers a superior visual experience compared to standard 720P displays, making it ideal for watching movies and videos during travel.

Image: A side-by-side comparison illustrating the larger size and higher resolution (1080P) of the 12-inch WONNIE display versus a smaller 10.1-inch 720P display.
3.2. Versatile Installation Options
The player includes two customized mounting brackets and two headrest straps, designed to fit most car headrests. This allows for quick and convenient installation, and easy transfer between different seats or vehicles. The clamshell design facilitates disc changes without removing the player from its mount.

Image: The WONNIE DVD player securely mounted on the back of a car headrest, displaying a movie, demonstrating its in-car use.
3.3. HDMI Input and Output
The HDMI input allows you to sync up to 1080P video from various external devices such as mobile phones, computers, Raspberry Pi, Xbox, or Kindle Fire. The AV OUT/HDMI OUT ports enable synchronized playback to a larger TV screen or projector, expanding your viewing possibilities.

Image: An illustration showing the WONNIE DVD player connected via HDMI to a smartphone, with icons representing other compatible devices like tablets, computers, and gaming consoles.

Image: A family watching content from the WONNIE DVD player mirrored onto a large television screen, demonstrating the HDMI output function.
3.4. Region-Free and Multi-Format Compatibility
This DVD player supports region-free discs, allowing playback from DVD, DVD+R, DVD-R, DVD+RW, DVD-RW, CD, CD+R, CD-R, CD+RW, CD-RW, VCD, and SVCD (Blu-ray discs are not supported). It also supports USB cards (up to 32GB) for playing various digital media formats, including:
- Images: JPG, PNG, BMP, JPEG
- Audio: MP3, MAV, FLAC, WMA, M4A
- Video: MP4, MKV, WMV, RMVB, RM, AVI, FLV, TRP, VOB, 3GP, DTP, TS, MPG, M2TS, F4V, DAT
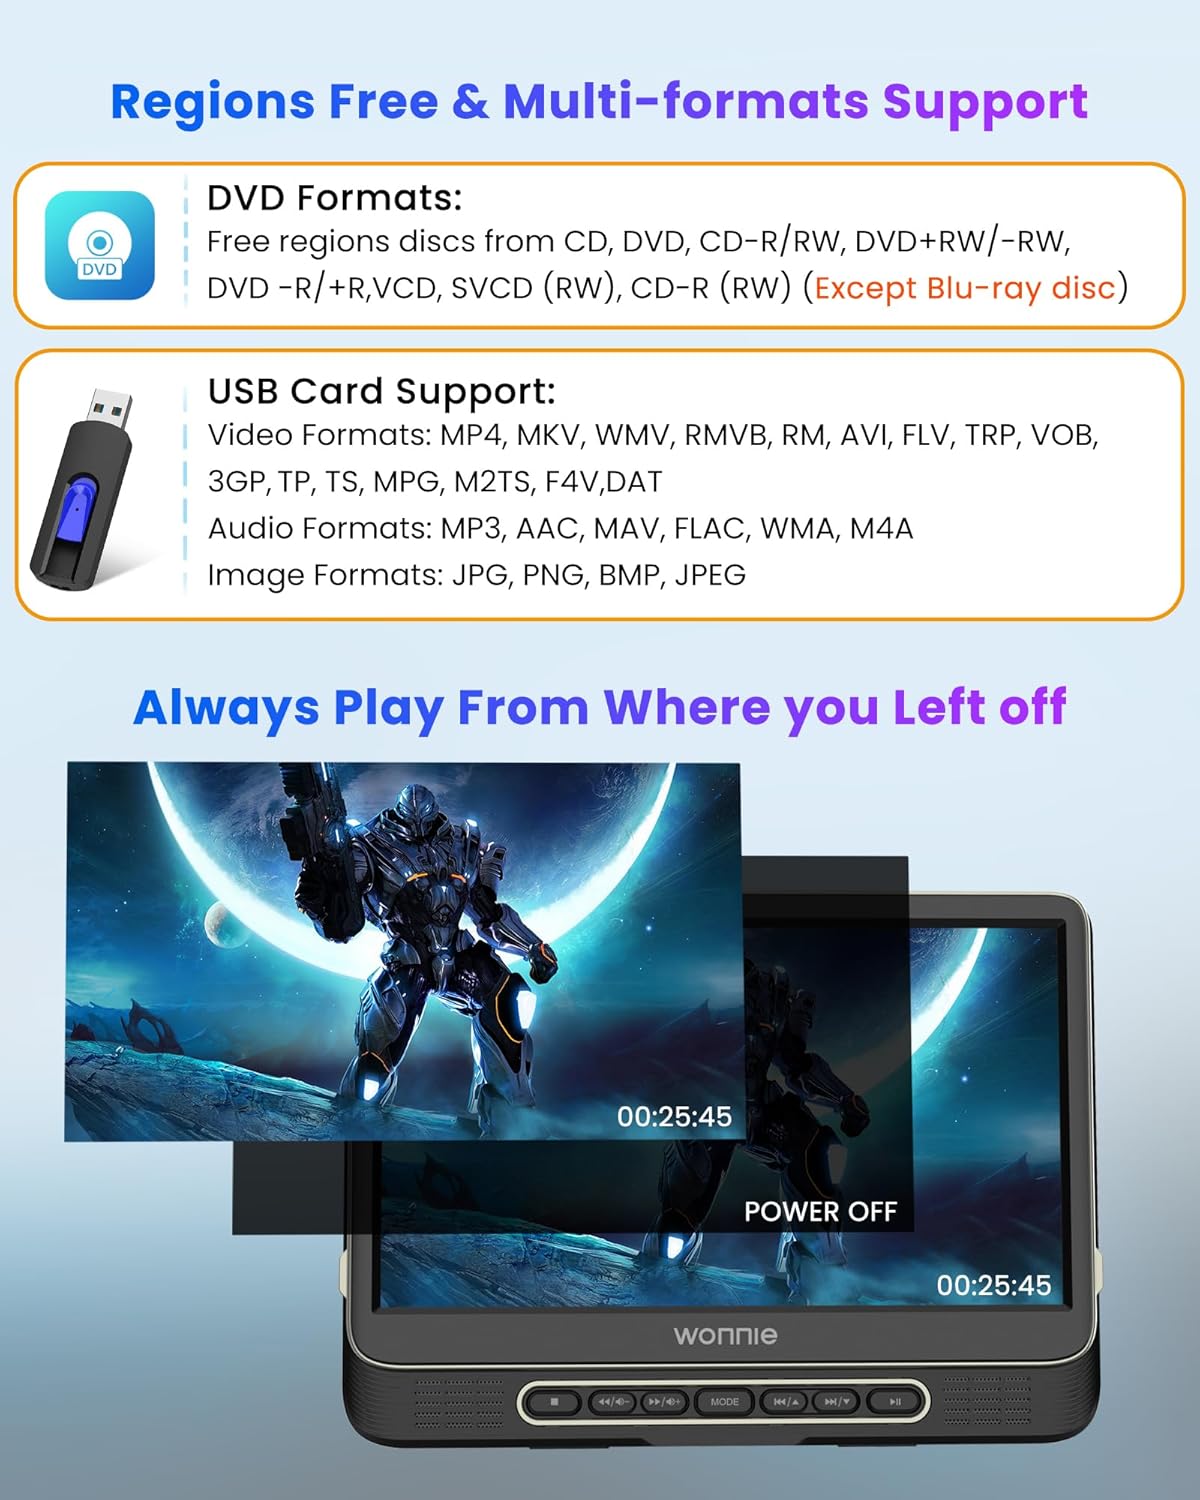
Image: A graphic illustrating the wide range of DVD and digital media formats (video, audio, image) supported by the WONNIE DVD player, including USB card compatibility.
3.5. Enhanced Stereo Speakers and Last Memory Function
Equipped with two 2W stereo box speakers, the player delivers clear and loud audio. Volume can be adjusted from 0 to 100 via the monitor or remote control. A headphone jack is also available for private listening. The device features a 'last memory' function, allowing it to resume playback from where it was last stopped.

Image: A close-up view of the WONNIE DVD player highlighting its dual stereo speakers and audio output capabilities, with sound waves emanating from the device.
4. Setup
4.1. Headrest Installation
Follow these steps to install the player on a car headrest:
- Select Buckles: Choose the correct pair of plastic buckles that match the size of your vehicle's headrest poles.
- Assemble Bracket: Connect the U-shape metal pieces with the selected plastic buckles and the plastic plate to form the mounting bracket.
- Attach to Headrest: Insert the plastic stand into the round hole on the back of the player and slide it into the suitable position. Tighten the screws to secure it.
- Lock and Adjust: Insert the assembled stand to the plastic plate and lock it. Adjust the screen angle for optimal viewing.
Image: A multi-panel image demonstrating the step-by-step process of assembling and installing the WONNIE DVD player onto a car headrest using the provided bracket and buckles.
4.2. Power Connection
The player does not contain an internal battery and requires external power for operation.
- In-Car Use: Connect the provided car charger to the player's DC IN port and plug the other end into your vehicle's cigarette lighter socket.
- Home Use: Connect the provided AC adapter to the player's DC IN port and plug it into a standard wall outlet.
5. Operating Instructions
5.1. Basic Controls
The player features control buttons on the unit and a remote control for convenient operation.
- Power On/Off: Use the power button on the unit or remote.
- Volume Control: Long press VOL+/VOL- on the player or use the dedicated volume buttons on the remote to adjust volume. Short pressing VOL+/VOL- on the player during playback may change playback speed.
- Navigation: Use the arrow keys and OK button on the remote to navigate menus.
- Playback Controls: Play, Pause, Stop, Fast-forward, Rewind, Next/Previous Track buttons are available on both the unit and remote.
5.2. Disc Playback
- Ensure the player is powered on.
- Gently open the disc cover.
- Insert a compatible DVD or CD with the label side facing up.
- Close the disc cover. The player will automatically detect and begin playing the disc.
5.3. USB/SD Card Playback
- Insert a USB flash drive (max 32GB) or SD card into the corresponding port.
- Use the 'MODE' button on the player or remote to select 'USB' or 'CARD' input.
- Navigate through the folders and files using the remote control to select your desired media.
5.4. HDMI Input (Screen Mirroring)
- Connect your external device (e.g., smartphone, tablet, gaming console) to the player's HDMI IN port using an HDMI cable (not included).
- Ensure your external device supports HDMI output.
- Select 'HDMI IN' as the input source using the 'MODE' button. The player will mirror the content from your connected device.
5.5. AV/HDMI Output (Sync to TV/Projector)
- To connect to a TV or projector, use the provided 3.5mm-RCA cable for AV output or an HDMI cable (not included) for HDMI output.
- Connect one end of the cable to the player's AV OUT or HDMI OUT port and the other end to the corresponding input on your TV or projector.
- Select the correct input source on your TV or projector. The player's content will be displayed on the larger screen.
6. Maintenance
- Cleaning: Use a soft, dry cloth to clean the player's screen and exterior. Do not use liquid cleaners or abrasive materials.
- Disc Care: Handle discs by their edges. Keep discs clean and free of scratches to ensure optimal playback. Store discs in their cases when not in use.
- Storage: When not in use for extended periods, store the player in a cool, dry place away from direct sunlight and extreme temperatures.
- Battery Replacement (Remote): Replace the two AAA batteries in the remote control when its functionality diminishes.
7. Troubleshooting
- Player does not power on: Ensure the car charger or AC adapter is securely connected and receiving power. Check the power outlet or car's cigarette lighter for functionality.
- "No Signal" or "No Disc" message: Verify that a compatible disc is inserted correctly with the label side up. Ensure the disc is clean and free of scratches. If using HDMI input, confirm the external device is powered on and sending a signal, and the correct input source is selected.
- No sound: Check the volume level on the player and any connected external speakers or headphones. Ensure cables are securely connected.
- Picture quality is poor or distorted: Ensure the screen is clean. If connected to an external display, check the cable connection and the display's input settings.
- Player cuts off randomly: Ensure a stable power supply. Avoid using damaged cables.
- HDMI output not working (no video, only audio): Verify the HDMI cable is fully inserted at both ends. Ensure the connected TV/projector is set to the correct HDMI input. Test with a different HDMI cable if possible. Note that some HDMI cables may not be compatible or may be too long for stable signal transmission.
8. Specifications
| Brand | WONNIE |
| Model Number | W-HD1106S |
| Screen Size | 12 Inches (31 cm visible diagonal) |
| Display Type | LCD |
| Resolution | 1920*1080p (Full HD) |
| Media Type Supported | CD, CD+R, CD-R, CD+RW, CD-RW, SVCD, VCD, DVD, DVD+R, DVD-R, DVD+RW, DVD-RW (Excluding Blu-ray disc) |
| Digital Formats Supported | Images: JPG, PNG, BMP, JPEG; Audio: MP3, MAV, FLAC, WMA, M4A; Video: MP4, MKV, WMV, RMVB, RM, AVI, FLV, TRP, VOB, 3GP, DTP, TS, MPG, M2TS, F4V, DAT |
| USB/SD Card Support | Max 32GB, 1920*1080 pixel |
| HDMI Input/Output | Supports up to 1080P video, HDMI protocol version up to 1.4 |
| Audio Output | 2x 2W Stereo Speakers, 3.5mm Headphone Jack |
| Power Source | AC Adapter, Car Charger (No internal battery) |
| Item Weight | 4.4 pounds |
| Package Dimensions | 17.04 x 10.75 x 3.58 inches |
9. Warranty and Support
WONNIE is committed to providing quality products and customer satisfaction. If you encounter any issues with your product, such as missing accessories or a defective item, please contact WONNIE customer service for assistance and a potential replacement. While specific warranty details are not provided in this manual, customer support is available to address product-related concerns.
For support, please refer to the contact information provided with your purchase or visit the official WONNIE website.
Related documentsW-HD1106S


Ask a question about this manual
Ask about setup, troubleshooting, compatibility, parts, safety, or missing instructions. Manuals+ will review the question and use this page’s manual context to help answer it.