1. Important Safety Instructions
Read all instructions carefully before using the appliance. Keep this manual for future reference.
- Always connect the dehumidifier to a grounded power outlet.
- Do not operate the unit with a damaged power cord or plug. If damaged, contact qualified service personnel.
- Ensure the unit is placed on a stable, level surface to prevent water spillage.
- Do not block the air inlet or outlet. Maintain at least 20 cm clearance from walls or other objects.
- Do not insert objects into the air vents.
- Unplug the unit before cleaning, moving, or performing any maintenance.
- Do not use the dehumidifier in areas where flammable gases or liquids are stored.
- This appliance is not intended for use by persons (including children) with reduced physical, sensory or mental capabilities, or lack of experience and knowledge, unless they have been given supervision or instruction concerning use of the appliance by a person responsible for their safety.
- Children should be supervised to ensure that they do not play with the appliance.
2. Product Overview
The EuropAce EDH3122A is a smart dehumidifier designed to control humidity levels, purify air, and assist with laundry drying. It features a compact design with a user-friendly control panel and mobile app connectivity.
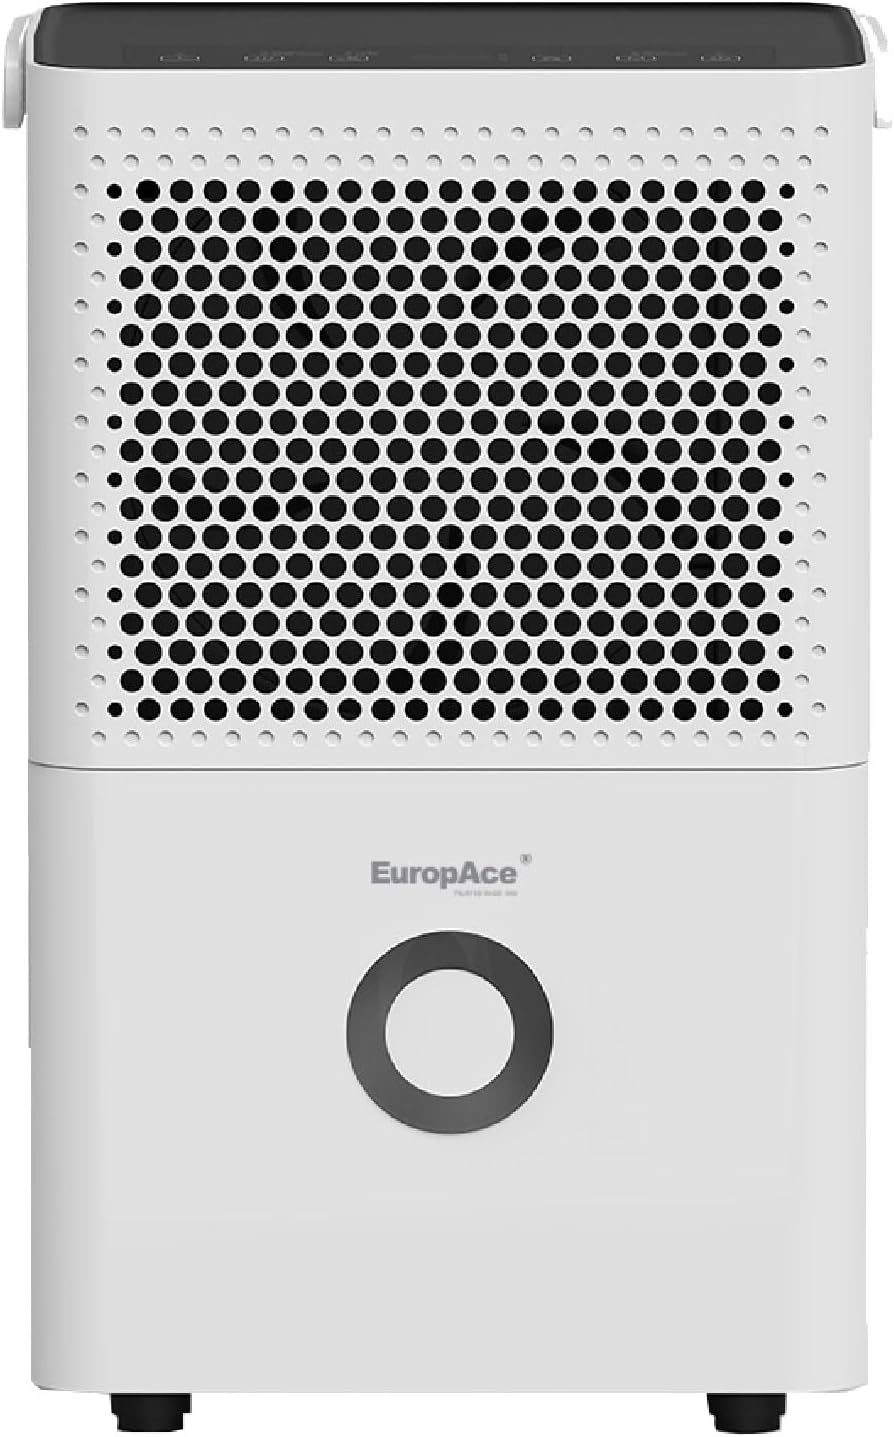
Figure 2.1: Front View. This image shows the front of the dehumidifier, highlighting the air intake grille and the EuropAce logo.

Figure 2.2: Side View. This image displays the side profile of the dehumidifier, showing its compact depth.

Figure 2.3: Rear View. This image illustrates the back of the dehumidifier, including the air outlet, power cord storage, and continuous drainage port.
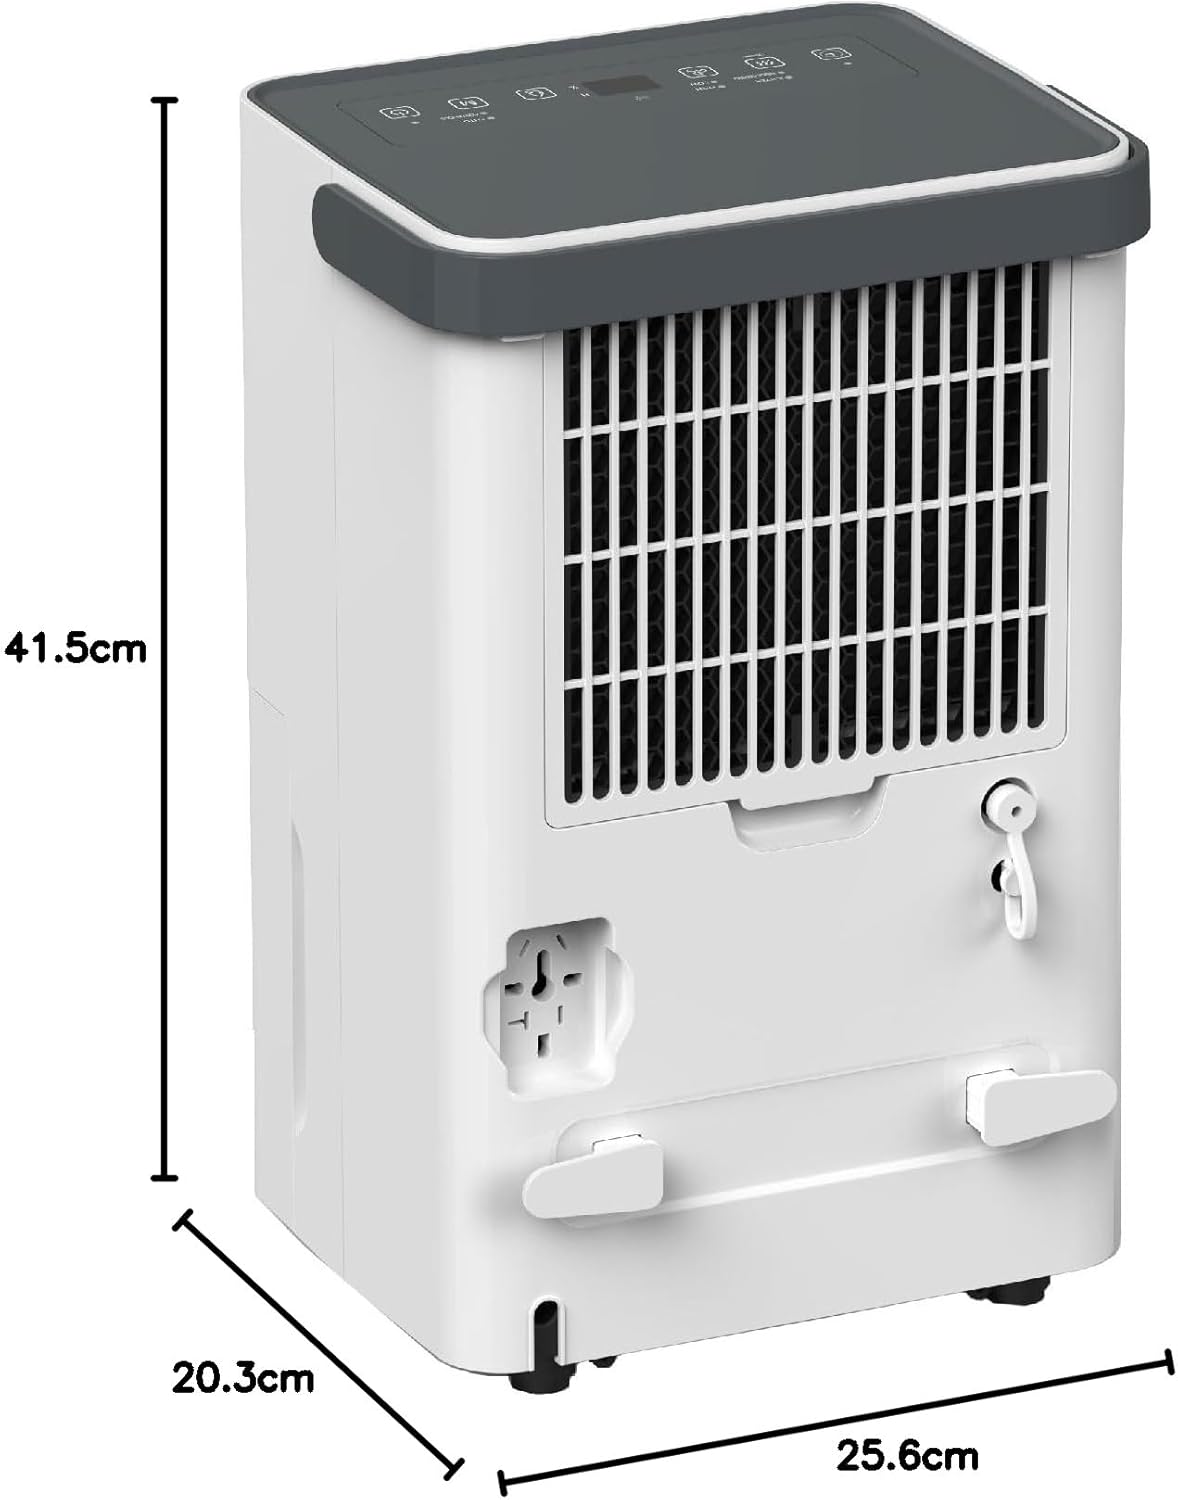
Figure 2.4: Product Dimensions. This image provides a visual representation of the dehumidifier's height (41.5 cm), depth (20.3 cm), and width (25.6 cm).
Key Features:
- 3-in-1 Functionality: Dehumidifier, Air Purifier, and Laundry Drying.
- Moisture Removal: Up to 12 liters per day (at 30°C, 80% RH).
- Water Tank Capacity: 2.0 liters with anti-spillage auto-stop.
- Quiet Operation: Noise level as low as 40 dB.
- Smart Control: Wi-Fi enabled with smart app connectivity.
- Odour Remover: Integrated carbon filter for air purification.
- Humidity Control: Digital humidity setting between 30% to 80% RH.
- Operating Modes: Turbo, Dry, Comfort, Continuous.
- Timer Function: Up to 24 hours.
- Mobility: Equipped with 360° castors and a strong handle for easy movement.
3. Setup
3.1 Unpacking
- Carefully remove the dehumidifier from its packaging.
- Remove all packing materials, including any tape or protective films.
- Check for any damage that may have occurred during transit. If the unit is damaged, do not operate it and contact your retailer.
3.2 Placement
- Place the dehumidifier on a firm, level surface that can support its weight when the water tank is full.
- Ensure there is at least 20 cm (8 inches) of space around the unit for proper air circulation. Do not place it against walls, curtains, or furniture that could obstruct airflow.
- Avoid placing the unit near heat sources (e.g., heaters, dryers) or in direct sunlight.
- For best results, operate the dehumidifier in an enclosed area. Close all doors and windows in the room where the unit is operating.
3.3 Power Connection
- Ensure the power cord is fully extended and not tangled.
- Plug the power cord into a suitable grounded electrical outlet (220-240V / 50Hz).
- The unit will emit a beep, and the display will briefly illuminate, indicating it is ready for operation.
3.4 Continuous Drainage (Optional)
For continuous operation without needing to empty the water tank, you can connect a drainage hose (not included).
- Locate the continuous drainage port at the back of the unit (refer to Figure 2.3).
- Remove the rubber stopper from the drainage port.
- Connect a suitable drainage hose (with an inner diameter of approximately 10mm) to the port. Ensure the connection is secure to prevent leaks.
- Route the hose downwards to a floor drain or a larger container, ensuring there are no kinks or blockages in the hose. The water must flow downhill by gravity.
4. Operating Instructions
4.1 Control Panel Overview
The control panel is located on the top of the unit. It features a digital display and touch-sensitive buttons for various functions.
- Power Button: Turns the unit ON or OFF.
- Mode Button: Cycles through operating modes: Turbo, Dry, Comfort, Continuous.
- Humidity Setting Buttons (Up/Down): Adjusts the desired humidity level (30% - 80% RH).
- Timer Button: Sets the auto-ON or auto-OFF timer (1-24 hours).
- Fan Speed Button: Adjusts fan speed (High/Low) in certain modes.
- Wi-Fi Indicator: Shows Wi-Fi connection status.
- Full Tank Indicator: Illuminates when the water tank is full, and the unit will automatically stop operating.
4.2 Basic Operation
- Press the Power Button to turn on the dehumidifier. The display will show the current room humidity.
- Press the Mode Button repeatedly to select your desired operating mode:
- Turbo: Operates at maximum fan speed and continuous dehumidification for rapid moisture removal.
- Dry: Maintains a comfortable humidity level, typically around 50-55% RH.
- Comfort: Automatically adjusts operation to maintain optimal comfort based on ambient temperature and humidity.
- Continuous: Dehumidifies continuously regardless of the set humidity level.
- In Dry or Comfort mode, use the Humidity Setting Buttons to set your desired humidity level between 30% and 80% RH in 5% increments. The unit will operate until the set humidity is reached, then cycle on/off to maintain it.
- To turn off the unit, press the Power Button again.
4.3 Timer Function
The timer can be set for auto-ON or auto-OFF operation.
- Auto-OFF: While the unit is ON, press the Timer Button. Use the Humidity Setting Buttons to select the desired number of hours (1-24) after which the unit will turn off.
- Auto-ON: While the unit is OFF, press the Timer Button. Use the Humidity Setting Buttons to select the desired number of hours (1-24) after which the unit will turn on.
- The timer indicator will illuminate when the timer is active. To cancel the timer, press the Timer Button until '00' is displayed or turn the unit off and on again.
4.4 Wi-Fi Connectivity (Smart App)
The EuropAce EDH3122A can be controlled remotely via a smart app on your mobile device.
- Download the EuropAce Smart App from your device's app store.
- Follow the in-app instructions to register an account and add your EDH3122A dehumidifier. This typically involves putting the unit into pairing mode (refer to app instructions for specific steps, often by pressing and holding a button on the control panel).
- Once connected, you can control the dehumidifier's power, mode, humidity settings, and timer from your smartphone.
5. Maintenance
Regular maintenance ensures optimal performance and extends the lifespan of your dehumidifier. Always unplug the unit before performing any maintenance.
5.1 Emptying the Water Tank
When the water tank is full, the unit will automatically stop operating, and the Full Tank Indicator will illuminate.
- Gently pull out the water tank from the front of the unit.
- Carefully carry the tank to a sink or drain.
- Pour out the collected water.
- Rinse the tank with clean water. Do not use harsh detergents or abrasive cleaners.
- Slide the empty tank back into the unit until it clicks into place. The unit will resume operation if the humidity is above the set level.
5.2 Cleaning the Air Filter
The air filter should be cleaned every two weeks or more frequently depending on usage and air quality.
- Unplug the dehumidifier from the power outlet.
- Locate the air filter, typically behind the front air intake grille. Gently remove it.
- Use a vacuum cleaner to remove dust and debris from the filter.
- For a more thorough cleaning, wash the filter with warm, soapy water. Rinse thoroughly and allow it to air dry completely before reinserting. Do not expose the filter to direct sunlight or high heat.
- Once dry, reinsert the filter into its slot.
5.3 Cleaning the Exterior
- Wipe the exterior of the unit with a soft, damp cloth.
- Do not use abrasive cleaners, waxes, or solvents, as these can damage the surface.
5.4 Storage
If the unit will not be used for an extended period:
- Empty and clean the water tank.
- Clean the air filter.
- Unplug the power cord and coil it neatly.
- Store the unit upright in a cool, dry place, away from direct sunlight and extreme temperatures.
6. Troubleshooting
Before contacting customer service, please refer to the following troubleshooting guide for common issues.
| Problem | Possible Cause | Solution |
|---|---|---|
| Unit does not turn on. | No power supply. Power cord not properly plugged in. Water tank is full or not correctly inserted. | Check power outlet and circuit breaker. Ensure power cord is securely plugged in. Empty the water tank and ensure it is correctly seated. |
| No dehumidification or insufficient effect. | Air filter is dirty. Room temperature is too low. Doors/windows are open. Humidity setting is too high. | Clean the air filter. Dehumidifiers are less effective below 5°C. Close all doors and windows in the room. Lower the desired humidity setting. |
| Unit is noisy. | Unit is not on a level surface. Air filter is dirty. Internal components vibrating. | Place the unit on a flat, stable surface. Clean the air filter. This may be normal during operation; if excessive, contact support. |
| Water leaks from the unit. | Water tank not properly inserted. Continuous drainage hose is blocked or loose. | Ensure the water tank is fully and correctly inserted. Check the drainage hose for kinks, blockages, or loose connections. |
| Wi-Fi connection issues. | Incorrect Wi-Fi password. Router too far or signal weak. Unit not in pairing mode. | Verify Wi-Fi password. Move unit closer to router or check router settings. Follow app instructions to put unit into pairing mode. |
7. Specifications
Technical specifications for the EuropAce EDH3122A Smart Dehumidifier.
| Feature | Specification |
|---|---|
| Model | EDH3122A |
| Rated Voltage / Frequency | 220 - 240V / 50Hz |
| Rated Power | 200W |
| Max. Coverage Area | 25m² |
| Digital Humidity Setting Range | 30% to 80% RH |
| Noise Level | <40 dB(A) |
| Moisture Removal Capacity | 12L/day (at 30°C/80%RH) |
| Water Tank Capacity | 2.0 Liters |
| Product Dimensions (D x W x H) | 20.3 x 25.6 x 41.5 cm |
| Product Weight | 9.7 kg |
| Included Components | Dehumidifier, Filter |
8. Warranty and Support
For warranty information, please refer to the warranty card included with your product or visit the official EuropAce website. For technical support, spare parts, or service inquiries, please contact EuropAce customer service directly.