
Introduction
This manual provides essential information for the safe and effective operation of your POCOCO Galaxy Star Projector. Please read these instructions thoroughly before use and retain them for future reference. The projector is designed to display realistic celestial and aquatic patterns using interchangeable discs.
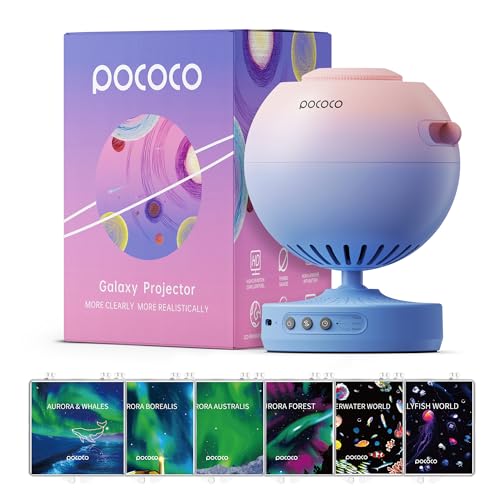
Image: The POCOCO Galaxy Star Projector, a spherical device with a blue base and pink top, shown alongside its colorful packaging box.
Safety Information
- Do not expose the projector to water or moisture.
- Avoid direct eye exposure to the projection lens.
- Keep the device away from heat sources and direct sunlight.
- Use only the provided USB-C charging cable.
- Do not attempt to disassemble or repair the device. Contact customer support for assistance.
- Ensure proper ventilation around the projector during operation.
Package Contents
Verify that all items are present in your package:
- POCOCO Galaxy Star Projector (x1)
- Packaging Box (x1)
- Postcard (x1)
- User Manual (x1)
- USB-C Charging Cable (x1)
- Diamond Stars Disc (x1)
- Westerlund2 Disc (x1)
- Aurora and Deep Sea Series Discs (6 Pieces)
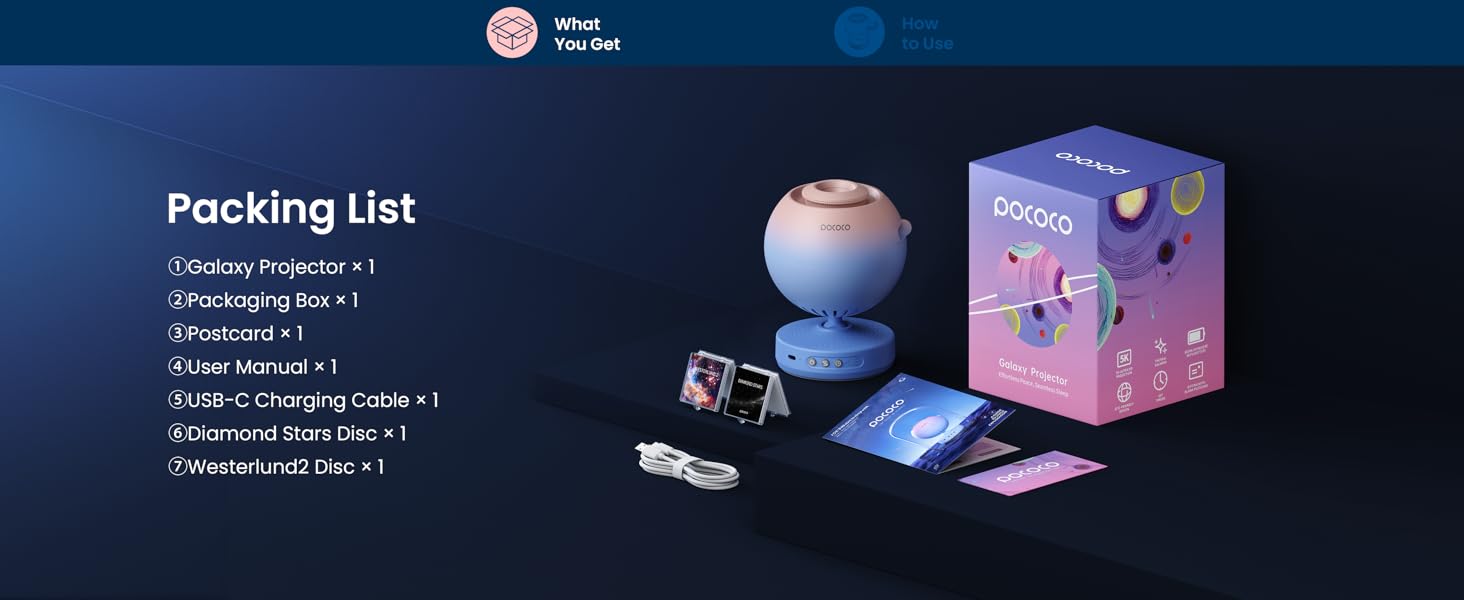
Image: A visual representation of the POCOCO Galaxy Star Projector's packing list, including the projector, packaging box, postcard, user manual, USB-C charging cable, and two included discs (Diamond Stars, Westerlund2).
Setup
Charging the Projector
Before first use, fully charge the projector using the provided USB-C cable. Connect the cable to the charging port on the projector and a compatible USB power adapter (not included). The charging indicator light will show the charging status.
Disc Installation
- Gently pull out the projection disc tray from the side of the projector.
- Place the desired disc into the slot, ensuring the straight edges align correctly.
- Carefully push the disc tray back into the projector until it clicks into place.
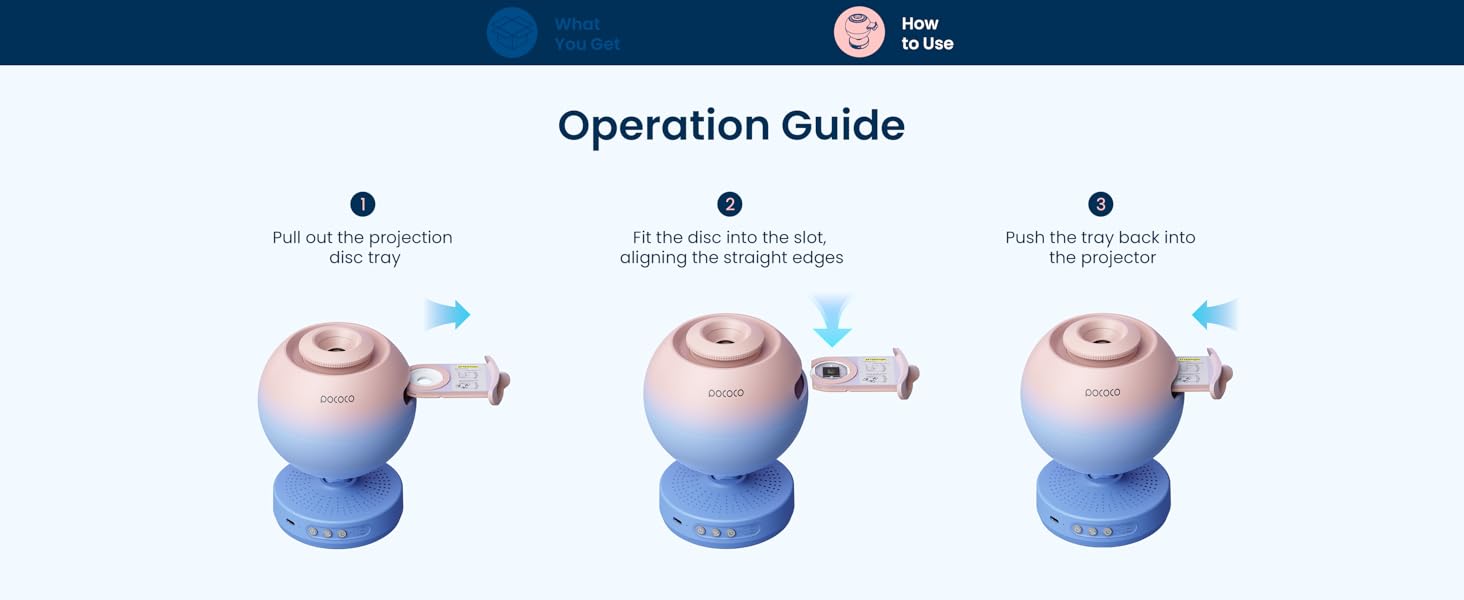
Image: A three-step diagram illustrating how to pull out the disc tray, insert a projection disc, and push the tray back into the projector.
Operating Instructions
Power On/Off
Press and hold the power button located on the base of the projector to turn the device on or off. A short press will cycle through different projection modes or brightness levels, if available.
Focus Adjustment
Rotate the focus ring around the lens to achieve a clear and sharp projection image on your desired surface. Adjust until the image is crisp.
Timer Function
The projector features a 3-stage adjustable timer. Use the dedicated timer button to set the automatic shut-off duration to 15, 30, or 60 minutes. This function helps conserve battery and promotes a dark environment for sleep.

Image: A graphic illustrating the 3-stage timer options: 15 minutes, 30 minutes, and 60 minutes, designed for sleep aid.
Angle Adjustment
The projector allows for angle adjustment to direct the projection onto various surfaces, such as walls or ceilings. Gently tilt the projector head to achieve the desired projection angle.
Key Features
- High-Definition Projection: Equipped with a 2-megapixel lens and 5K resolution discs, the projector delivers clear and detailed images.
- Portable and Rechargeable: The wireless design and 6-hour battery life allow for flexible placement and use without constant power connection.
- Soft Light Design: A gentle 1-watt light source ensures comfortable viewing that is easy on the eyes.
- Quiet Operation: The device operates below 20dB, ensuring a consistently quiet ambiance.
- Interchangeable Discs: A variety of discs are available to project different celestial and aquatic scenes.

Image: A diagram illustrating the multi-layer lens system, highlighting its 2 million high resolution, >75% relative illumination, and <0.5% distortion for enhanced optical performance.

Image: Visuals demonstrating the projector's portability, including its 6-hour maximum battery life, USB-C charging capability, 6000-hour lifespan, and lightweight design (comparable to two phones).
Interchangeable Discs
The POCOCO Galaxy Star Projector comes with a variety of discs to create different immersive environments. The bundle includes Aurora and Deep Sea Series discs.

Image: A collection of six projection discs, including Aurora Forest, Jellyfish World, Aurora & Whales, Aurora Australis, Aurora Borealis, and Underwater World, displayed in their individual cases.
Aurora Series Discs

Image: Aurora Borealis disc, projecting vibrant green and blue northern lights.
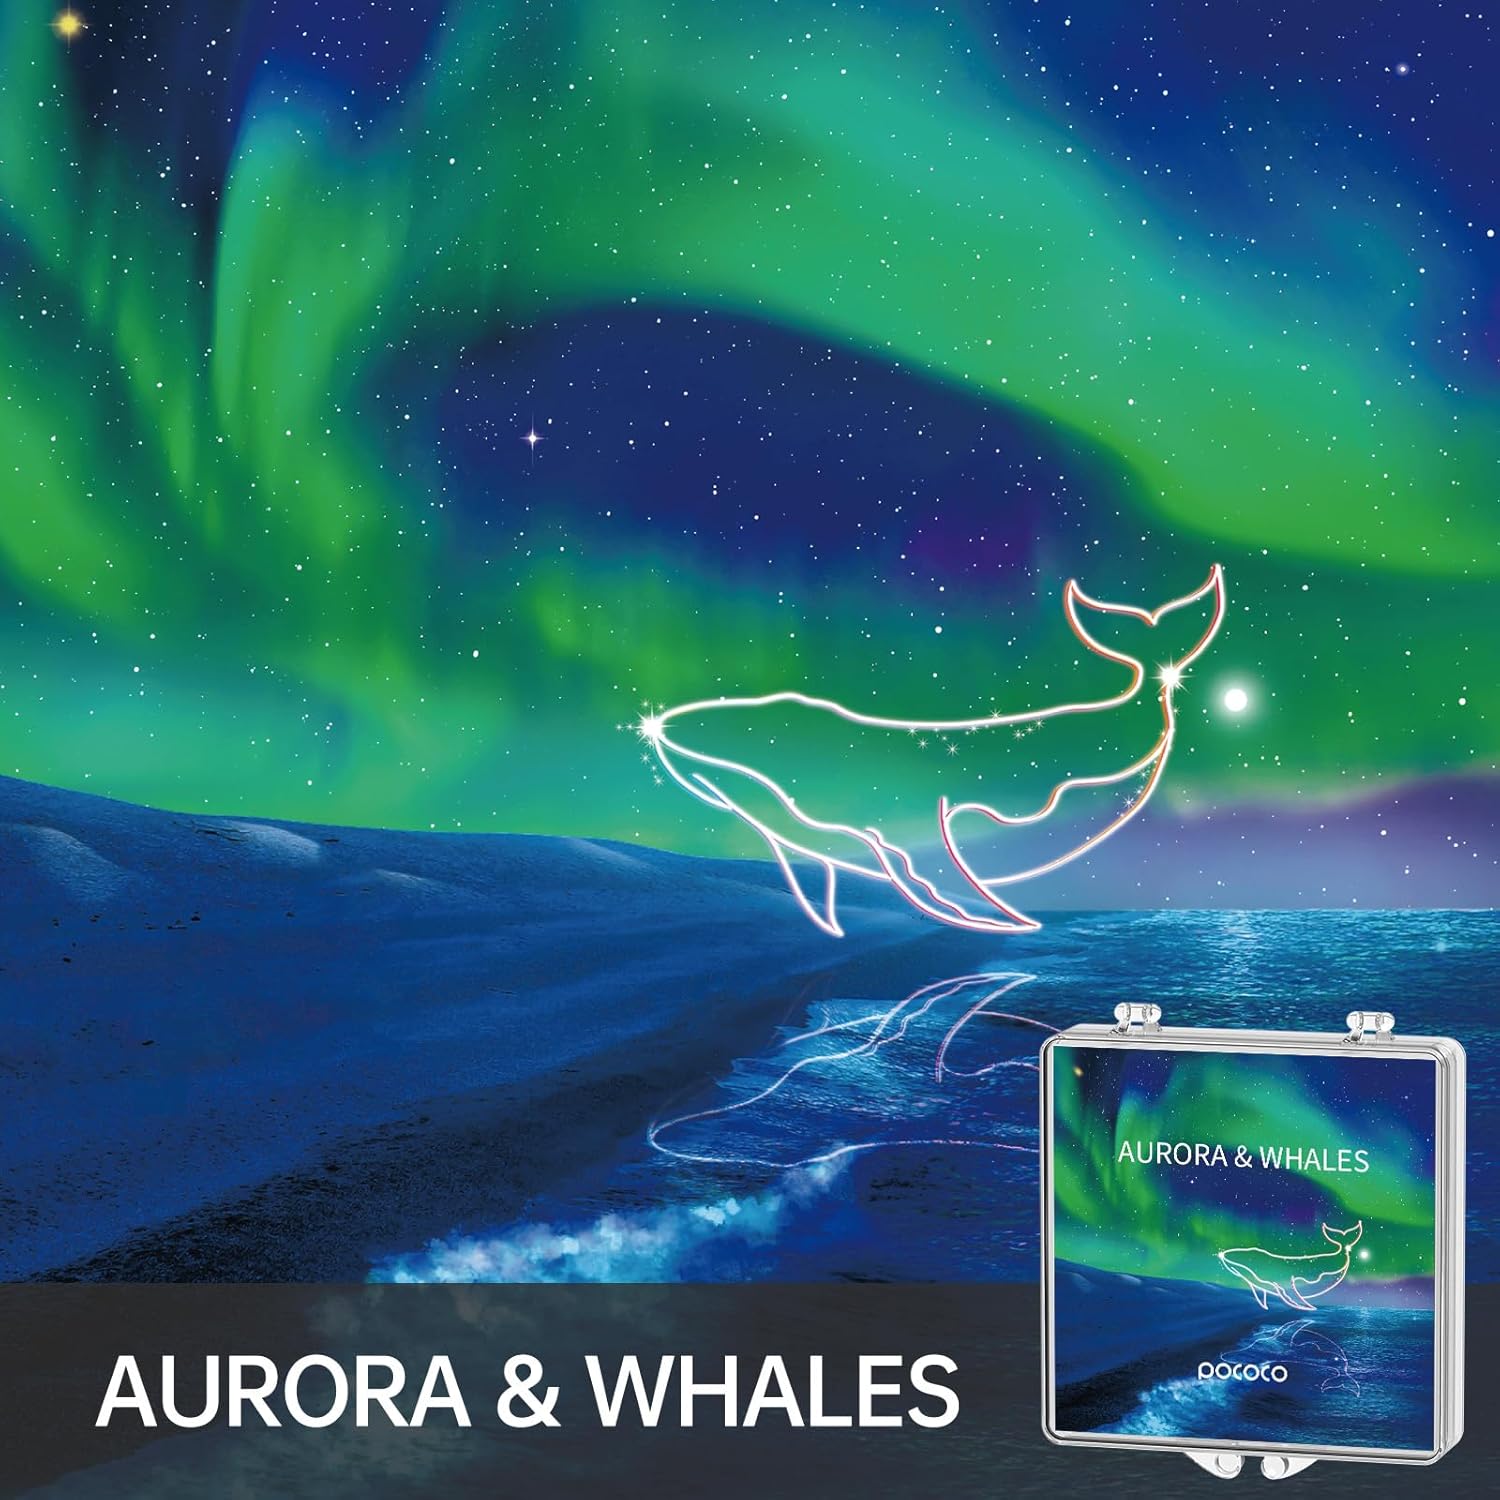
Image: Aurora & Whales disc, projecting green aurora with whale constellations.
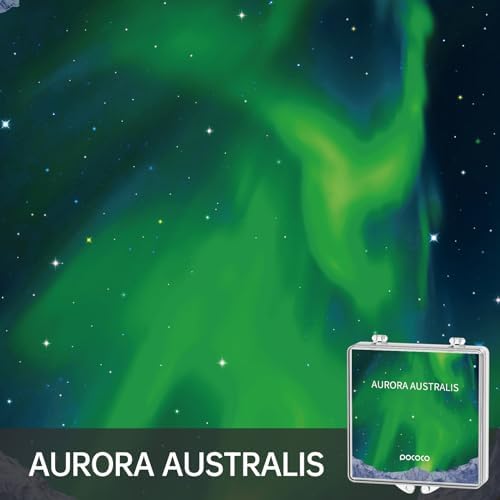
Image: Aurora Australis disc, projecting green southern lights.

Image: Aurora Forest disc, projecting colorful aurora over a forest silhouette.
Deep Sea Series Discs

Image: Underwater World disc, projecting various colorful fish and marine life.

Image: Jellyfish World disc, projecting glowing jellyfish in deep blue water.
Maintenance
- Cleaning the Projector: Use a soft, dry cloth to wipe the exterior of the projector. Do not use abrasive cleaners or solvents.
- Cleaning the Lens: Use a lens cleaning cloth or a soft, lint-free cloth specifically designed for optical surfaces. Avoid touching the lens with your fingers.
- Disc Care: Handle discs by their edges to avoid fingerprints. Store discs in their protective cases when not in use to prevent scratches and deterioration. Avoid prolonged exposure to high temperatures or direct sunlight, which can cause image degradation over time.
- Storage: When not in use for extended periods, store the projector in a cool, dry place.
Troubleshooting
- No Projection: Ensure the projector is charged and powered on. Check if a disc is properly inserted.
- Blurry Image: Adjust the focus ring around the lens until the image is clear. Ensure the projection surface is within the optimal distance (approximately 8 feet for a 13-foot diameter image).
- Dim Projection: Ensure the projector is fully charged. Check for any obstructions in front of the lens.
- Discolored or Deteriorated Image on Disc: This can occur with prolonged use or improper storage. Ensure discs are stored in their cases and away from direct light or heat. If deterioration is significant, consider replacing the disc.
- Device Not Responding: Try resetting the device by turning it off and on again. If the issue persists, ensure it is fully charged.
Specifications
| Feature | Specification |
|---|---|
| Brand | POCOCO |
| Model Number | B0CC24NRBK |
| Light Source Type | LED |
| Wattage | 1 watts |
| Lens | 2 Megapixel |
| Disc Resolution | 5K |
| Battery Life | Up to 6 hours (rechargeable) |
| Control Method | Remote Control |
| Connectivity Technology | USB |
| Mounting Type | Tabletop |
| Material | Plastic |
| Indoor/Outdoor Usage | Indoor |
Warranty and Support
For warranty information or technical support, please refer to the contact details provided on the product packaging or visit the official POCOCO website. Keep your purchase receipt as proof of purchase for warranty claims.


