
Introduction
This manual provides essential information for the safe and effective use of your YESWELDER 180 Panoramic Welding Helmet, Model LYG-1980GK-BE. Please read these instructions thoroughly before operation to ensure proper function and safety.
Package Contents
Verify that all items are present in the package:
- 1 x Welding Helmet
- 2 x Outer Replacement Lens
- 3 x Inner Replacement Lens
- 1 x Type-C Charging Cable
- 1 x Storage Bag
Setup
1. Headgear Adjustment
The headgear is designed for comfort and a secure fit. Adjust the straps and knobs to position the helmet correctly on your head and ensure the viewing lens is at an optimal distance from your eyes.
- Size Adjustment: Use the top strap to adjust the overall fit around your head.
- Tightness Adjustment: Rotate the knob at the back of the headgear to tighten or loosen the fit.
- Angle Adjustment: Adjust the side knobs to set the helmet's angle when in the down position.
- Distance Adjustment: Adjust the mechanism to control the distance between the helmet and your face for comfortable observation.

Figure 1: Comfortable Headgear with Adjustment Points

Figure 2: Detailed Headgear Adjustment Diagram
2. Initial Charging
The welding helmet features an integrated Type-C rechargeable battery and a solar panel. For initial use, connect the helmet to a power source using the provided Type-C charging cable. The solar panel assists in maintaining the charge during use.

Figure 3: Type-C Charging Port
3. Headgear Adjustment Video
Video 1: Demonstrates the adjustment of the welding helmet headgear for optimal fit and comfort.
Operating Instructions
1. Mode Selection
The helmet supports different operational modes. Select the appropriate mode for your task:
- Weld Mode: Darkened state No. 9-13.
- Cut Mode: Darkened state No. 5-9.
- Grind Mode: Light state No. 3.

Figure 4: Operational Modes and Shade Levels
2. Sensitivity and Delay Control
Adjust the sensitivity to control how quickly the lens darkens in response to an arc. The delay control sets the time the lens remains darkened after the arc ceases, ranging from 0.1 to 1.0 seconds.

Figure 5: Delay, Shade, and Sensitivity Controls
3. Panoramic View and True Color Technology
The helmet features a 180° panoramic view with a main viewing area of 4.31" x 3.82" and side views (DIN5, auto-darkening). True Color Technology provides a clear and realistic view of the welding zone, enhancing precision.

Figure 6: True Color Lens Technology

Figure 7: 180° Large Viewing Lens
4. Blue Light Filtering Technology
The helmet incorporates a Blue Light Blocking outer lens to filter harmful high-energy blue light rays, reducing eye fatigue and enhancing visual comfort during extended welding sessions.

Figure 8: Blue Light Filtering Mechanism
5. Auto-Darkening Sensors
Equipped with 6 advanced arc sensors, the helmet switches from light to dark in 1/30,000 seconds, providing rapid eye protection from harmful rays during welding operations.
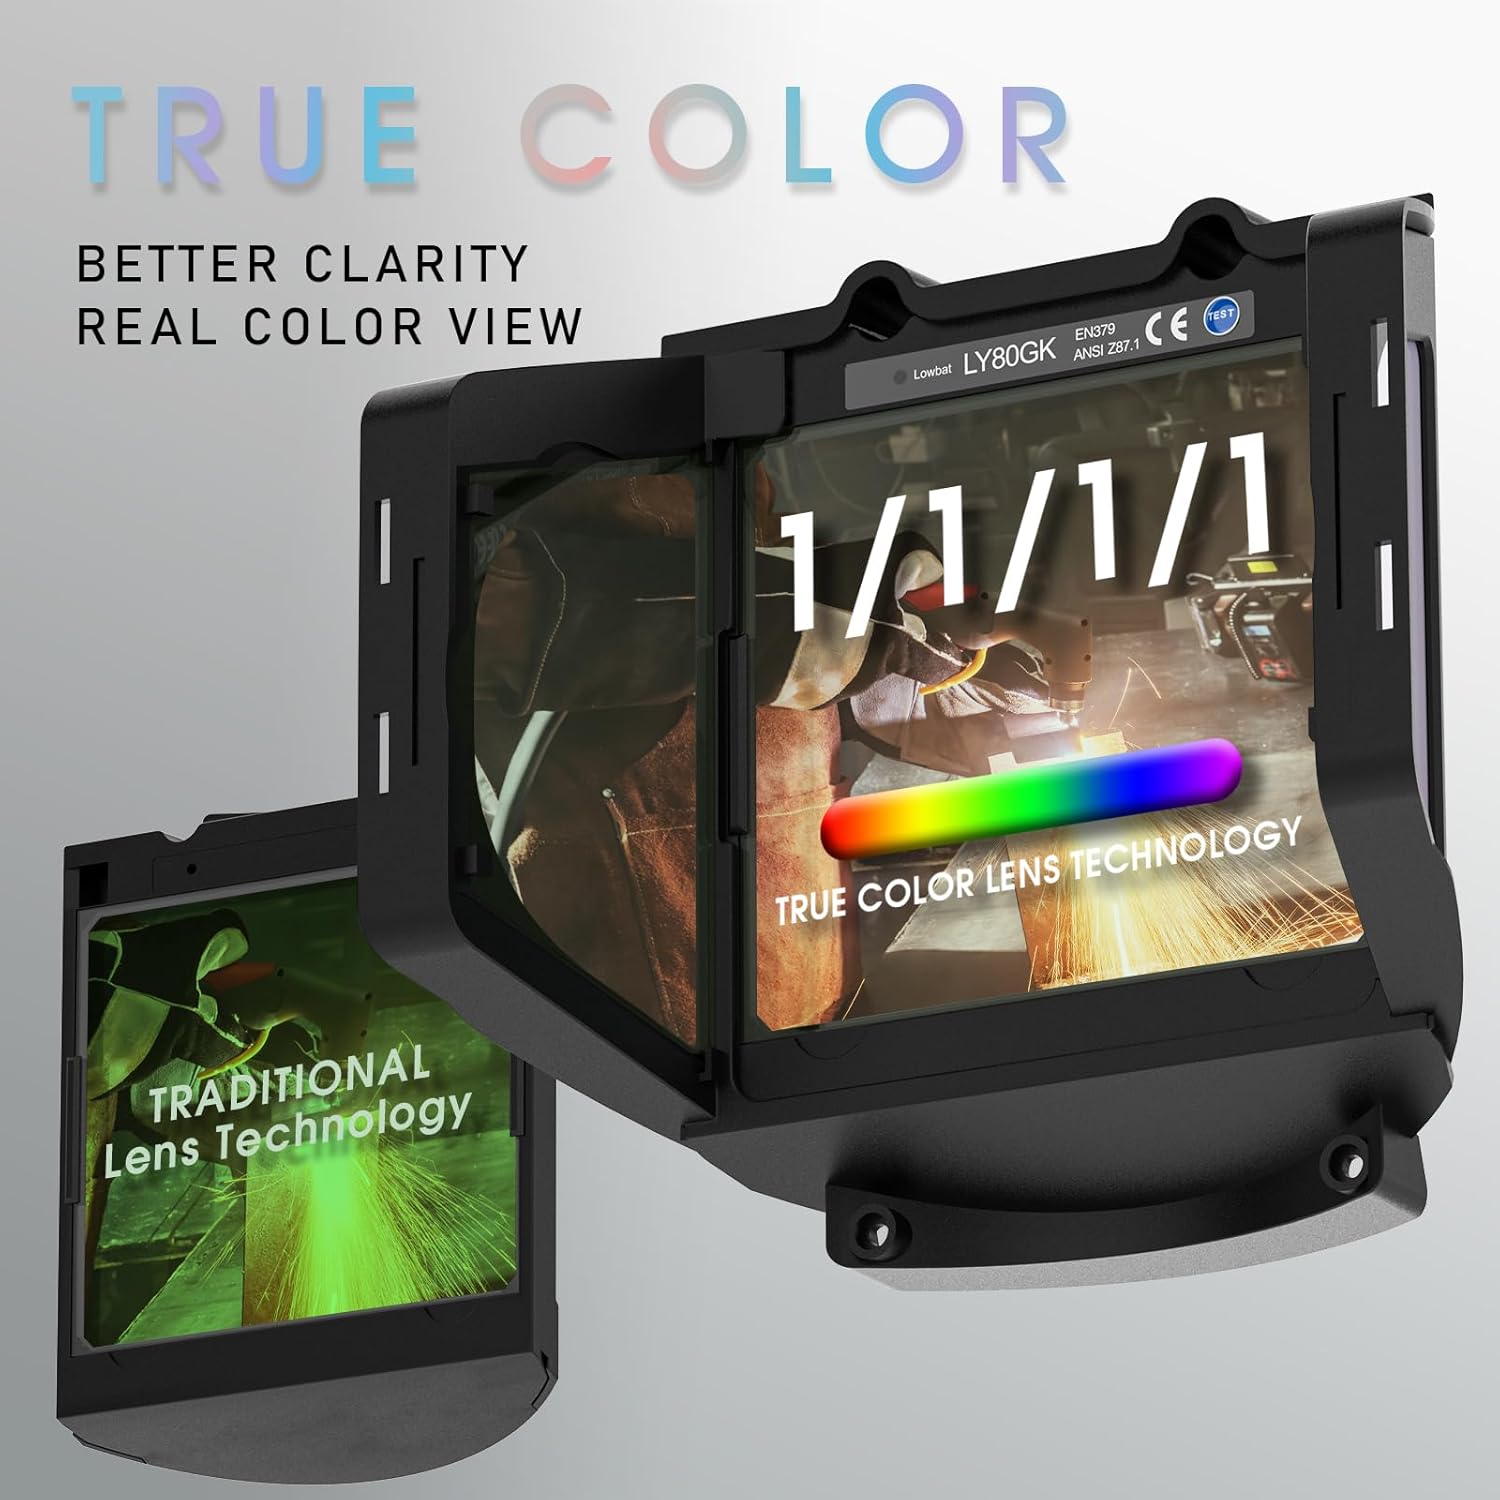
Figure 9: 6 Arc Sensors and Fast Response Time
Maintenance
1. Cleaning
Regularly clean the helmet body and lenses. Use a soft, damp cloth for the helmet shell. For the viewing lenses, use a clean, lint-free cloth and a mild lens cleaning solution. Avoid abrasive materials or harsh chemicals that could scratch or damage the lenses.
2. Battery Care
To ensure optimal battery life, fully charge the helmet every 5 months, especially before long-term storage. The solar panel helps maintain the charge during regular use.

Figure 10: Battery Charging and Storage Recommendation
3. Lens Replacement
Replace outer and inner protective lenses when they become scratched, pitted, or otherwise impair visibility. Use only genuine YESWELDER replacement lenses to maintain optical clarity and protection standards.
Troubleshooting
| Problem | Possible Cause | Solution |
|---|---|---|
| Helmet fails to darken or flickers | Obstructed sensors, low battery, or sensor malfunction. | Ensure sensors are clear of obstructions. Press the Test/Reset button. Fully charge the battery. If the issue persists, contact customer support. |
| Uncomfortable fit or helmet slips | Improper headgear adjustment. | Re-adjust the headgear for size, tightness, angle, and distance as described in the Setup section. Ensure all knobs are securely fastened. |
| Reduced visibility or unclear view | Scratched or dirty lenses. | Clean lenses with a soft cloth and appropriate cleaner. Replace outer and inner protective lenses if damaged. |
Specifications
| Feature | Detail |
|---|---|
| Main Viewing Field | 4.31" x 3.82" |
| Side Viewing Field | 3.74" x 0.47" |
| True Color | Yes |
| Optical Clarity | 1/1/1/1 |
| Light State | No. 3 |
| Dark State | No. 5-13 |
| Wide Shade Range | UV and IR Protection: DIN 13 |
| Operating Temperature | 23°F ~ 131°F / -5°C ~ +55°C |
| Switching Time | 1/30,000s |
| Power Supply | Type-C charging cable for charging |
| Sensors | Independent / Redundant (Six) |
| Standard | ANSI Z87.1-2015 and CSA |

Figure 11: Product Specifications
Warranty and Support
The YESWELDER 180 Panoramic Welding Helmet comes with a 1-Year Warranty. For any product inquiries, technical assistance, or warranty claims, please contact YESWELDER customer support. We offer 24/7 customer support to assist you.
You can find more information and contact details on the official YESWELDER store page: YESWELDER Store


