1. Introduction
The DD Audio M5000 is a high-performance monoblock amplifier designed for car audio systems. It features an optimized high-current power supply and a robust design to deliver significant power output within a compact footprint. Key enhancements include an expanded operating voltage range up to 16V, making it suitable for modern battery configurations, and improved thermal management through an efficient heat sink and redesigned end panels for better airflow.

Image 1.1: The DD Audio M5000 Monoblock Amplifier shown with its included remote control unit.
2. Safety Information
- Always disconnect the vehicle's battery before making any electrical connections to prevent electrical shock or damage.
- Ensure proper grounding to prevent electrical hazards and ensure stable operation.
- Avoid mounting the amplifier in locations exposed to excessive heat, moisture, or direct sunlight, as this can lead to malfunction or damage.
- Use appropriate wire gauges for power, ground, and speaker connections as specified in this manual to prevent overheating and ensure optimal performance.
- Consult a professional installer if you are unsure about any installation steps or electrical connections.
3. Package Contents
Verify that all items are present in the package:
- DD Audio M5000 Monoblock Amplifier
- Remote Control / LCD Voltage Display and Clipping Indicator
- Mounting Hardware (screws)
- User Manual (this document)
4. Setup and Installation
4.1 Mounting the Amplifier
Mount the amplifier securely in a location that allows for adequate ventilation. The M5000 features redesigned end panels that raise the amplifier off the mounting surface, improving airflow for the internal fan. Ensure these panels are not obstructed and that there is sufficient space around the amplifier for heat dissipation.

Image 4.1: Side view of the amplifier, highlighting the ventilation fins and mounting brackets.
4.2 Wiring Connections
Proper wiring is crucial for performance and safety. Refer to the specifications for recommended wire gauges.
- Power Connection: Connect the main power cable (2 x 0 AWG recommended) from the vehicle battery (with an appropriate inline fuse) to the amplifier's +12V terminals.
- Ground Connection: Connect the ground cable (2 x 0 AWG recommended) from the amplifier's GND terminals to a solid, clean chassis ground point. Ensure a good metal-to-metal contact.
- Remote Turn-On: Connect the remote turn-on wire from your head unit or signal processor to the amplifier's REM terminal. This wire signals the amplifier to turn on and off with your audio system.
- RCA Audio Input: Connect the RCA audio input cables from your head unit or signal processor to the amplifier's RCA input jacks (L/R).
- Speaker Output: Connect your subwoofer(s) to the speaker output terminals using 10 AWG speaker wire, observing correct polarity.
- ZVL Input: The amplifier includes a ZVL Linking Module Input for advanced system configurations, allowing for linking multiple amplifiers.

Image 4.2: Close-up view of the power, ground, and remote turn-on terminals on the amplifier.

Image 4.3: View of the amplifier's input panel, showing RCA inputs, gain, filter controls, and speaker outputs.
5. Operating the Amplifier
5.1 Initial Power-Up and Gain Adjustment
After all connections are made and verified, turn on your audio system. Start with the amplifier's GAIN control at its minimum setting. Gradually increase the GAIN until the desired volume and sound quality are achieved without audible distortion. The remote control's clipping indicator is a valuable tool to prevent signal clipping, which can damage speakers.
5.2 Filter Adjustments
- SUBSONIC Filter: This control adjusts the low-frequency cut-off (20 - 250Hz). Use it to filter out frequencies below the audible range or below the resonant frequency of your subwoofer enclosure, protecting your subwoofers from over-excursion.
- LOW-PASS Filter (LPF): This control adjusts the high-frequency cut-off (50 - 500Hz). Use it to ensure that only low frequencies are sent to your subwoofer(s), preventing them from playing mid-range or high-range sounds.
5.3 Remote Control
The included remote control features an LCD voltage display and a clipping indicator. Use this to monitor your system's voltage and to visually identify when the audio signal is clipping. Adjust the gain or source volume to eliminate clipping, ensuring clean audio output and protecting your equipment.
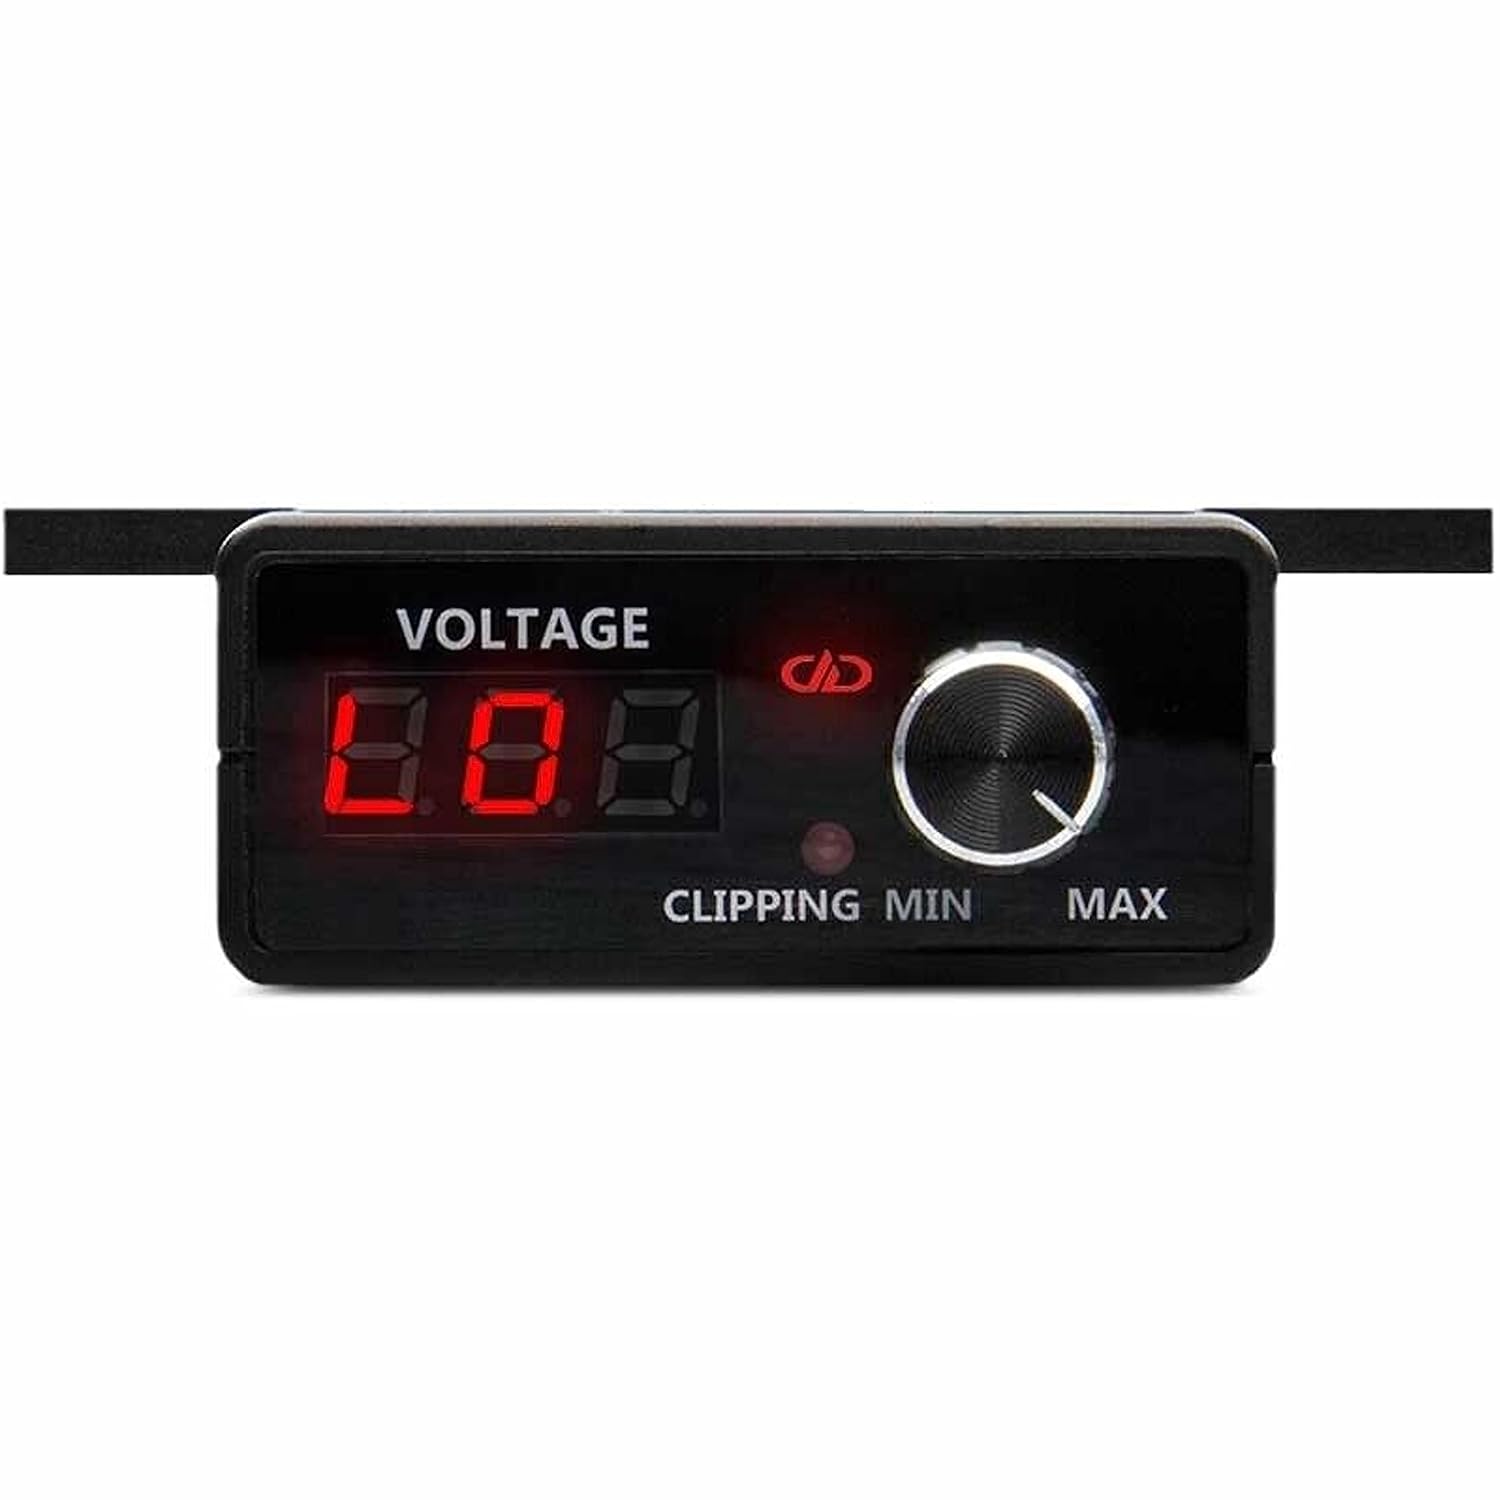
Image 5.1: The remote control unit with voltage display and clipping indicator.
6. Maintenance
- Keep the amplifier clean and free from dust and debris. Use a soft, dry cloth for cleaning.
- Ensure ventilation fins are not blocked to maintain proper cooling and prevent overheating.
- Periodically check all wiring connections for tightness and corrosion. Loose or corroded connections can lead to poor performance or damage.
7. Troubleshooting
- No Power: Check power, ground, and remote connections. Verify the inline fuse is intact. Ensure the vehicle battery has sufficient charge.
- No Sound: Check RCA input connections. Verify speaker wiring polarity and connections. Ensure the head unit is powered on and outputting a signal.
- Distorted Sound: Reduce the gain setting. Check for clipping using the remote indicator. Verify speaker impedance matches amplifier capabilities. Check for damaged speakers or wiring.
- Amplifier Overheating: Ensure adequate ventilation around the amplifier. Check speaker impedance to ensure it is within the amplifier's rated range. Reduce prolonged high-volume operation.
8. Specifications
| Feature | Specification |
|---|---|
| Operating Voltage | 9 - 16 Volts (DC) |
| Test Voltage | 14.4 Volts |
| Input Channel(s) | 1 |
| Continuous Wattage @4ohm | 1900 Watts |
| Continuous Wattage @2ohm | 3000 Watts |
| Continuous Wattage @1ohm | 5000 Watts |
| Dynamic Wattage | 7000 Watts |
| Max Current Draw | 700 Amps |
| RCA Input Voltage Sensitivity | 8 - 0.2 Volts |
| RCA Input S/N | > 97 dB |
| Damping Factor | > 400 |
| Frequency Response | 20 - 500 Hz |
| Sub-Sonic Filter | 20 - 250 Hz |
| Low-Pass Filter | 50 - 500 Hz |
| ZVL Input | Yes |
| Pass Thru Output | No |
| Remote Control | Included |
| Power Wire Gauge | 2 x 0 AWG |
| Speaker Wire Gauge | 10 AWG |
| Dimensions (Inches) | 13.4 x 9 x 2.6 inches |
| Dimensions (MM) | 340 x 230 x 66 mm |
| Product Weight | 20 Pounds |
9. Warranty and Support
For detailed warranty information and technical support, please refer to the official DD Audio website or contact your authorized DD Audio dealer. Keep your purchase receipt as proof of purchase for any warranty claims.


