
PEXMOR PEXMOR 26" Electric Bike
Contents
PEXMOR Electric Bike User Manual
Model: PEXMOR 26" Electric Bike
1. Introduction
Thank you for choosing the PEXMOR Electric Bike. This manual provides essential information for the safe operation, maintenance, and troubleshooting of your new electric bicycle. Please read this manual thoroughly before your first ride to ensure proper assembly, safe usage, and to maximize the lifespan of your bike.
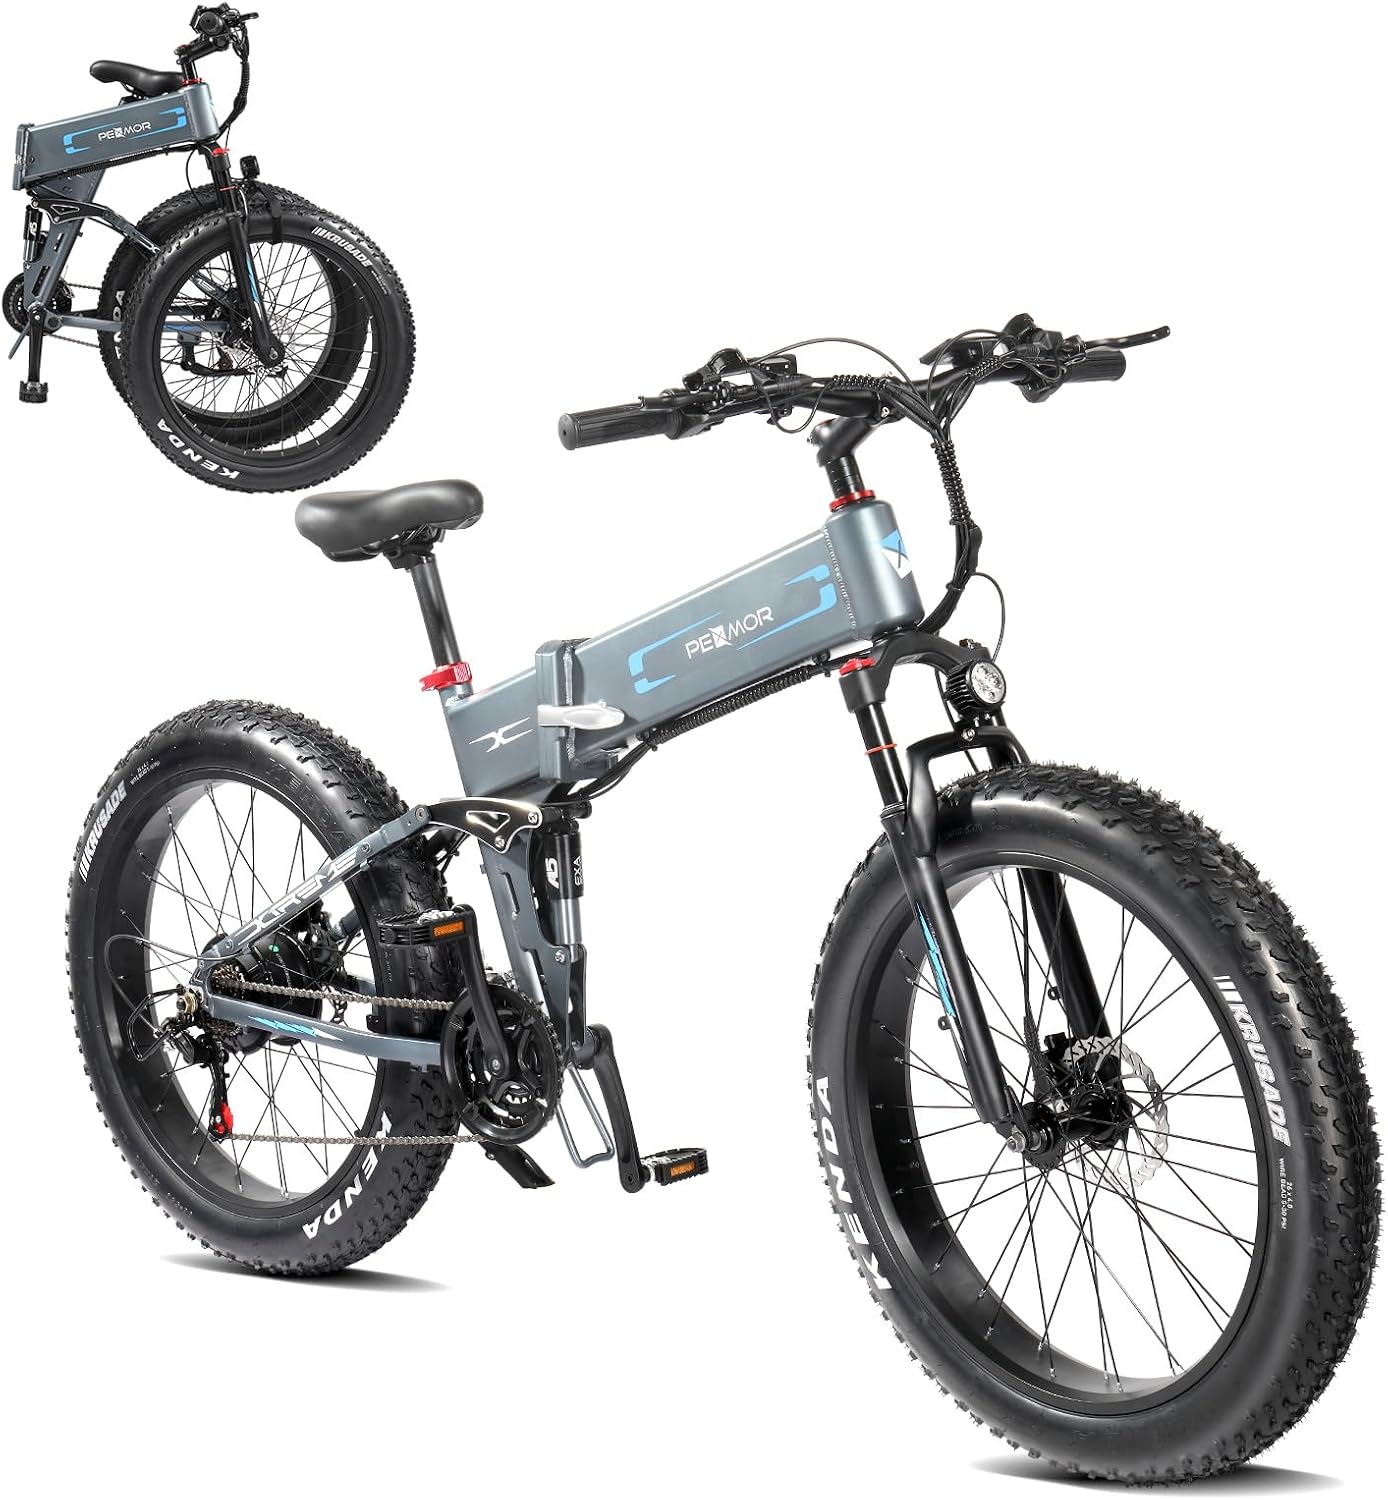
Figure 1.1: PEXMOR 26" Electric Bike (Unfolded and Folded)
2. Safety Information
Your safety is paramount. Always adhere to the following safety guidelines:
- Always wear a helmet that meets safety standards (e.g., CPSC, CE).
- Perform a pre-ride inspection before each use, checking brakes, tire pressure, battery charge, and all fasteners.
- Obey all local traffic laws and regulations.
- Do not ride under the influence of alcohol or drugs.
- Be aware of your surroundings and other road users.
- Adjust your speed to road conditions, weather, and your riding ability.
- Ensure the battery is securely locked in place before riding.
- Do not attempt to modify the electrical system or motor.
- The maximum weight capacity for this bike is 396 lbs (180 kg). Do not exceed this limit.
- Keep hands and feet clear of moving parts, especially the chain and wheels.
3. Product Overview
3.1 Key Components and Features
- 750W High-Speed Brushless Motor: Provides strong power for speeds up to 30 MPH (50 KM/H).
- 48V 12AH Removable Lithium Battery: Offers a range of 46-50 miles in electric mode and 62-75 miles in pedal-assist mode.
- Full Suspension System: Features a lockable hydraulic suspension fork and a central shock absorber for a comfortable ride on varied terrain.
- 26" x 4.0" Fat Tires: Kenda brand tires designed for strong grip and puncture resistance, suitable for snow, sand, mountain, and city roads.
- Shimano 21-Speed Gear System: Allows for versatile riding and efficient power transfer.
- Mechanical Dual Disc Brakes: Provides reliable stopping power for enhanced safety.
- Foldable Aluminum Alloy Frame: Enables easy storage and transport.
- HD Smart Meter Display: Shows speed, battery level, and mileage.
- Bright LED Headlight: Improves visibility for night riding.
- Upgrade Comfort Seat: Designed for long-distance riding comfort.
- Convenient Phone Holder: Integrated for easy access to your device.
- Sturdy Aluminum Pedals: Provides stable support.
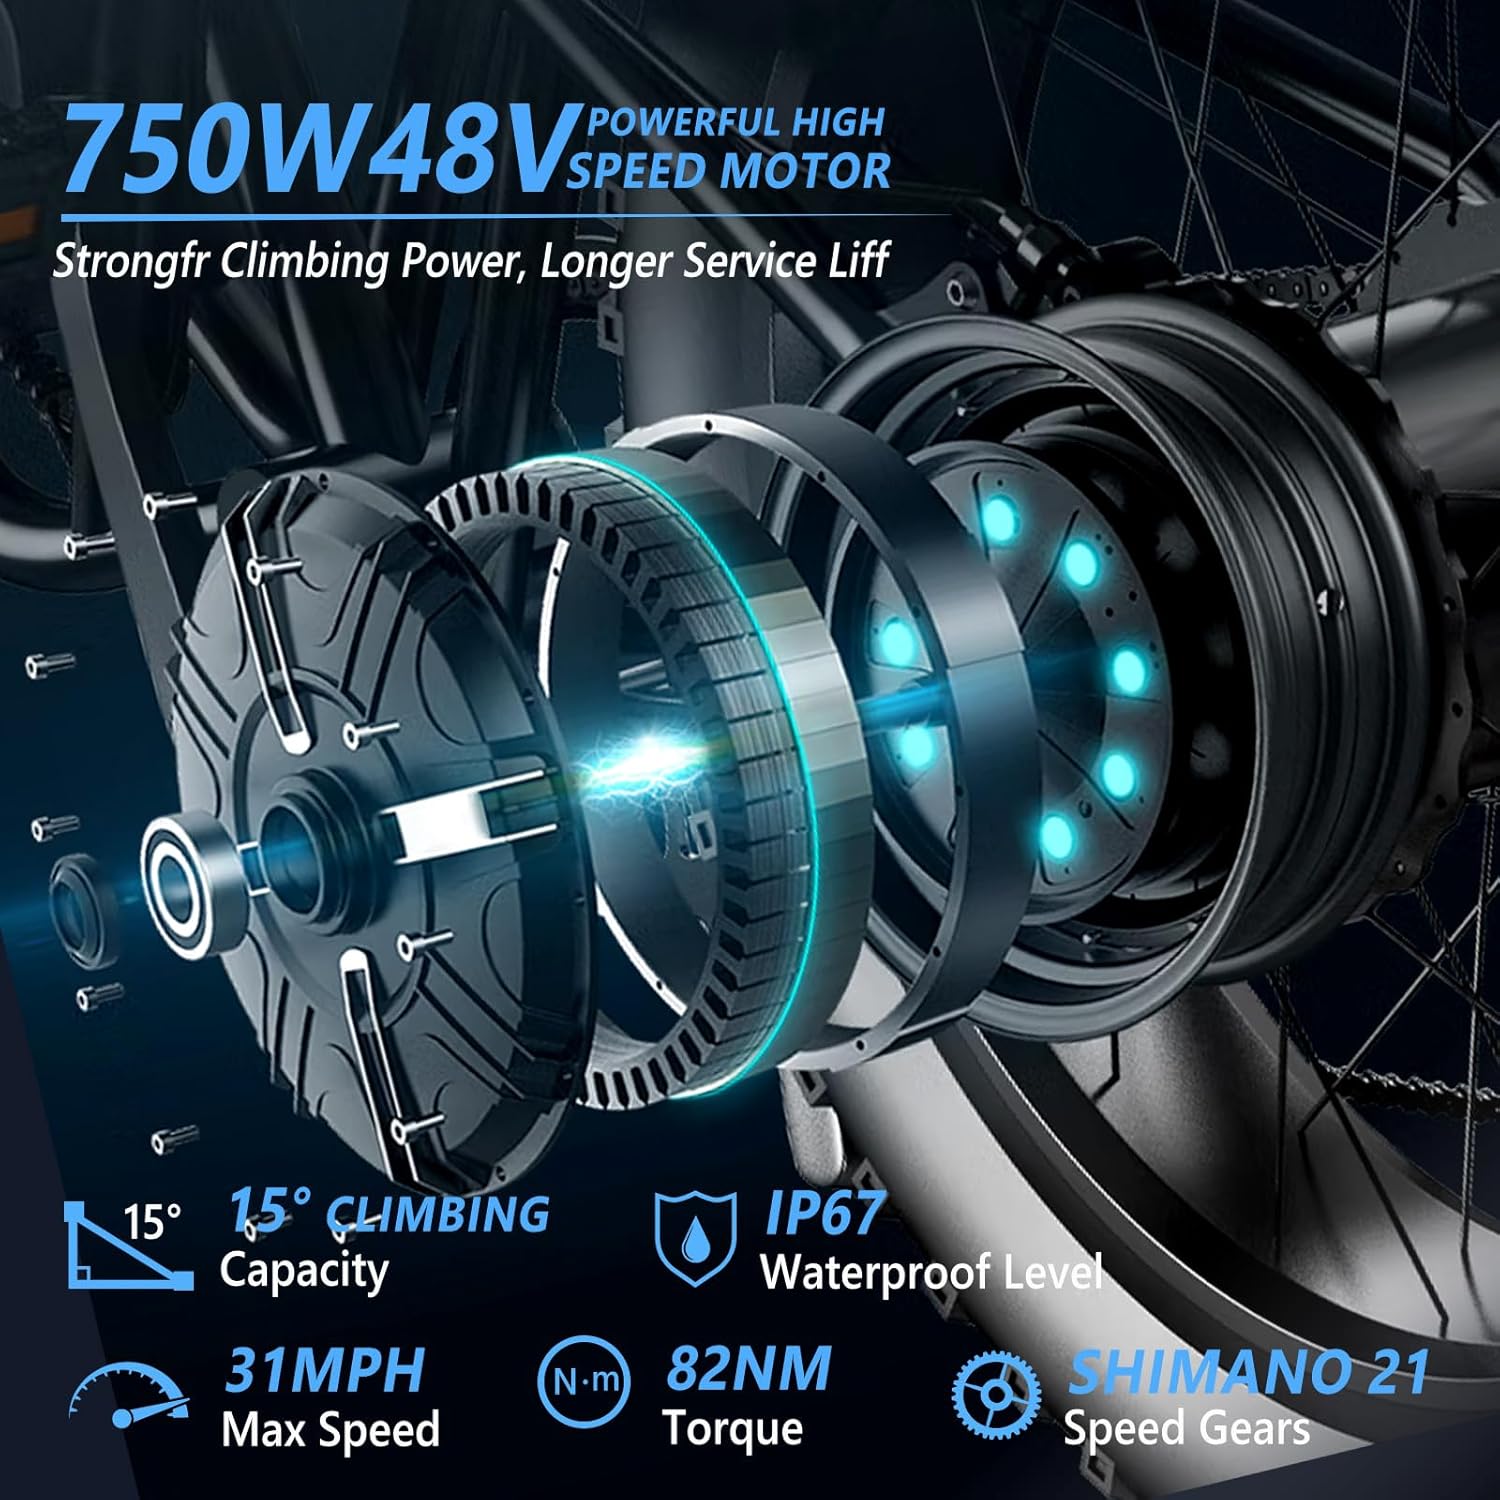
Figure 3.1: Motor and Performance Specifications
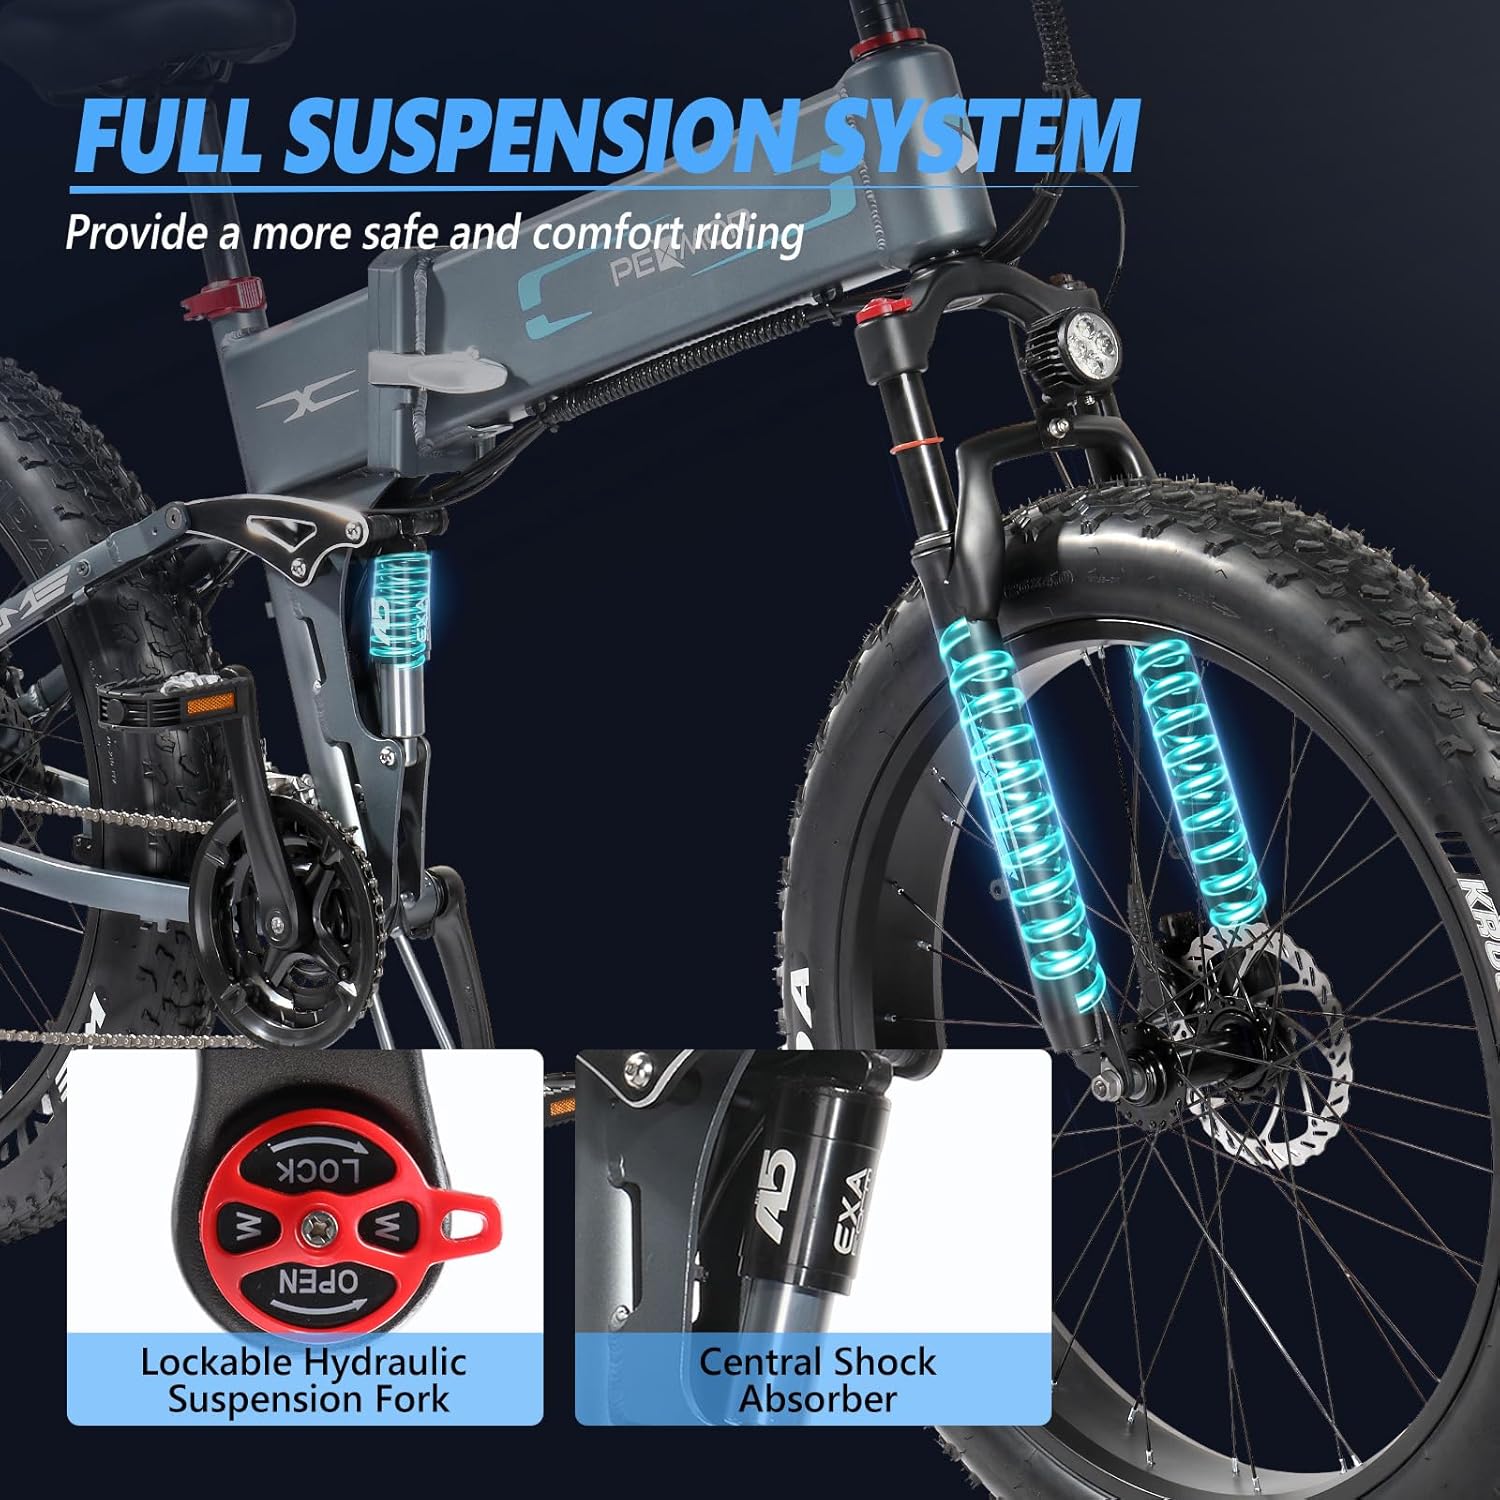
Figure 3.2: Full Suspension System

Figure 3.3: Kenda Fat Tires for All Terrain
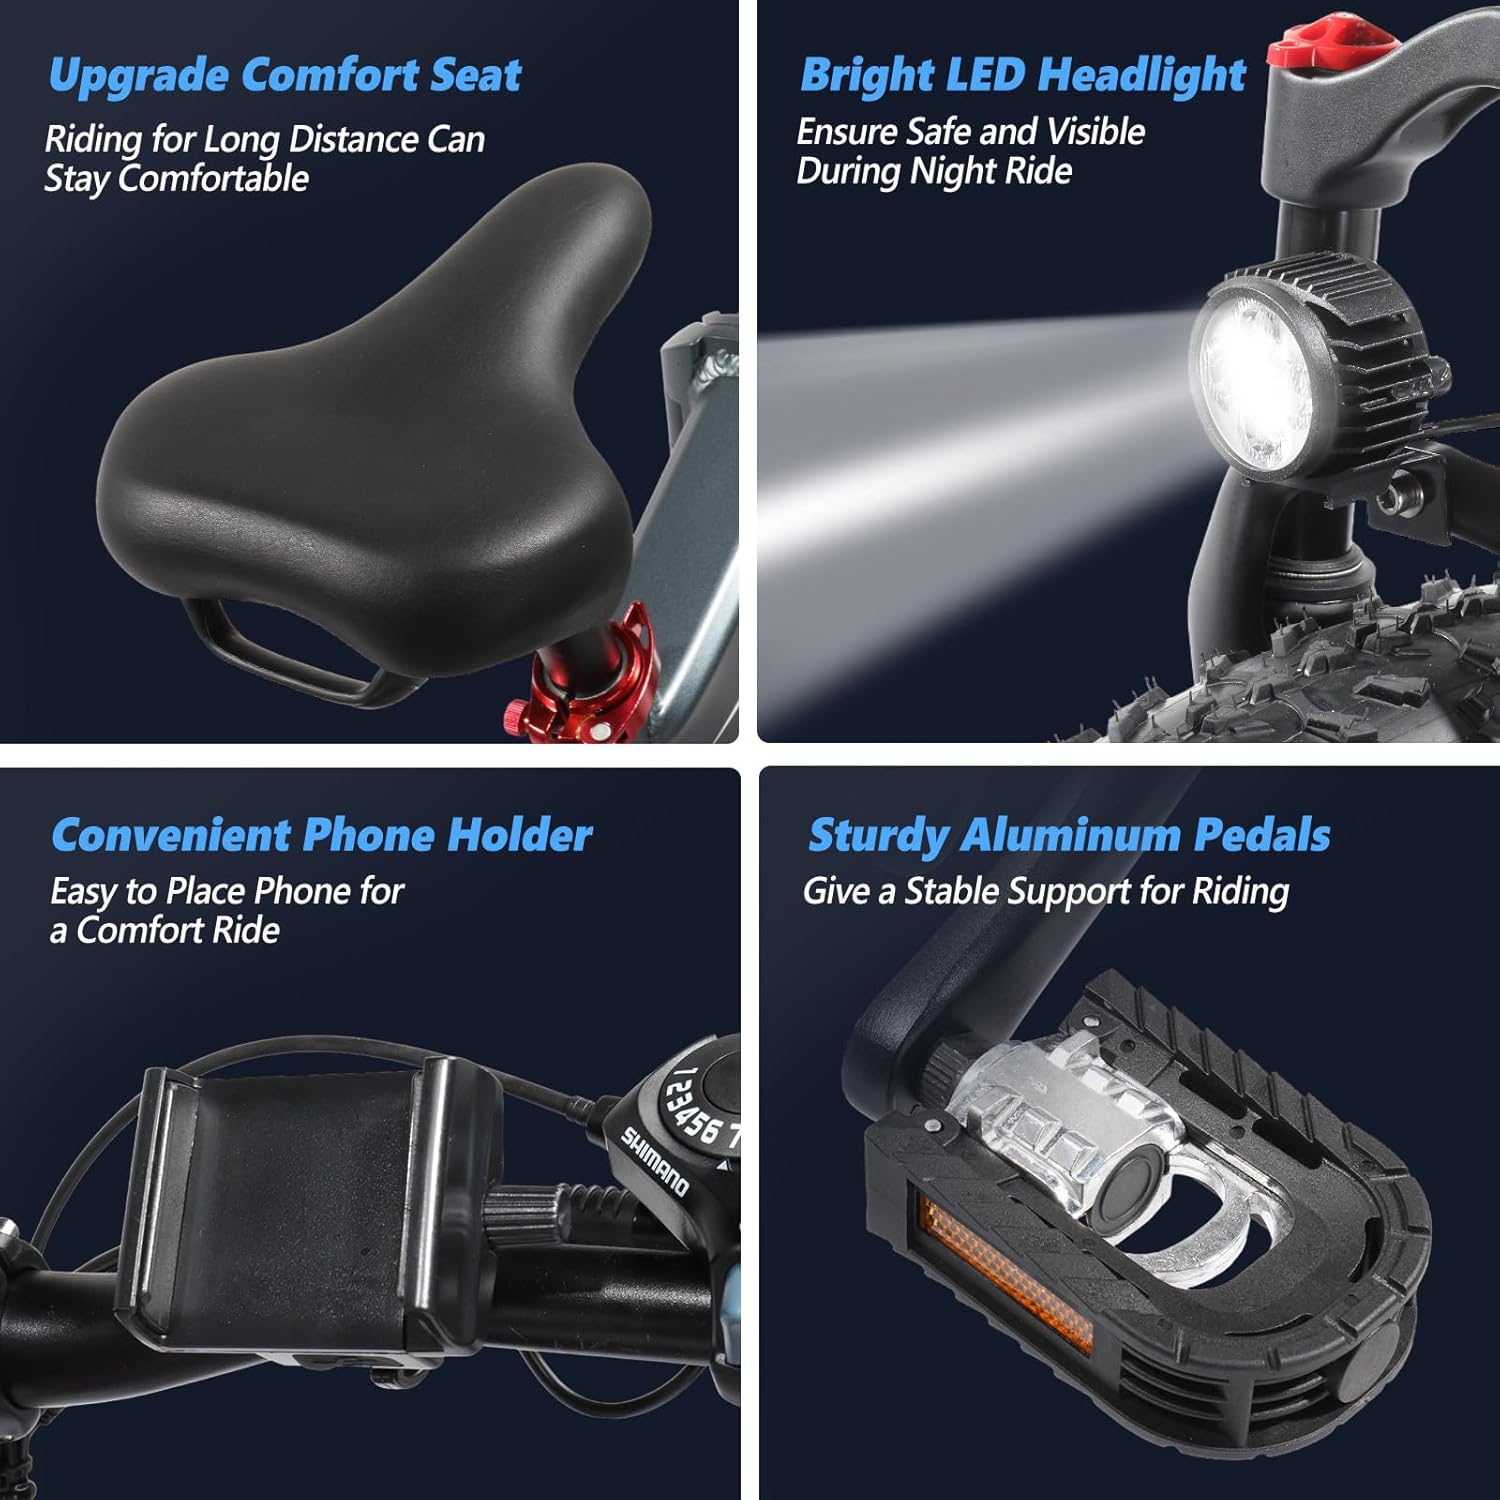
Figure 3.4: Comfort and Convenience Features
4. Setup and Assembly
The PEXMOR Electric Bike arrives 85% assembled. The remaining assembly typically involves attaching the front wheel, handlebars, seat post, and pedals. A tool kit and detailed instructions are included to assist with the process.
4.1 Unpacking
- Carefully remove the bike and all components from the packaging.
- Remove all protective packaging materials and zip ties.
- Check the packing list against the contents to ensure all parts are present.
4.2 Assembly Steps (General)
- Install the Front Wheel: Align the wheel with the fork dropouts and secure it with the quick-release skewer or axle nuts. Ensure the brake rotor is correctly seated in the caliper.
- Attach the Handlebars: Insert the handlebar stem into the fork steerer tube or clamp the handlebars to the stem, ensuring they are centered and tightened securely.
- Install the Seat Post: Insert the seat post into the frame's seat tube and adjust the height to a comfortable riding position. Secure with the quick-release lever.
- Attach the Pedals: Note that pedals are typically marked 'L' for left and 'R' for right. The right pedal tightens clockwise, and the left pedal tightens counter-clockwise. Ensure they are fully tightened to prevent stripping.
- Install the Battery: Slide the battery into its compartment on the frame and lock it securely with the key.
- Final Checks: Before riding, double-check all bolts, nuts, and quick releases for tightness. Ensure brakes are functioning correctly and tires are inflated to the recommended pressure.
Refer to the specific assembly instructions included in your product packaging for detailed, step-by-step guidance.
5. Operating Instructions
5.1 Powering On/Off
- To power on the bike, press and hold the power button on the smart display.
- To power off, press and hold the power button again.
5.2 Riding Modes
Your PEXMOR Electric Bike offers three riding modes:
- Electric Mode (Throttle Only): Use the twist throttle to engage the motor without pedaling. This mode provides a range of 46-50 miles per charge.
- Pedal-Assist System (PAS) Mode: The motor provides assistance as you pedal. You can adjust the level of assistance via the display. This mode offers an extended range of 62-75 miles per charge.
- Normal Bike Mode: Ride the bike like a traditional bicycle with no motor assistance.
5.3 Smart Display (LCD)
The HD smart meter display provides crucial riding information:
- Speed Display: Shows your current riding speed.
- Battery Power Display: Indicates the remaining battery charge.
- Mileage Display: Tracks your total distance traveled.
- Assist Level Indicator: Shows the current pedal-assist level (usually 0-5).

Figure 5.1: Control Features (Display, Shifter, Brakes)
5.4 Gear Shifting (Shimano 21-Speed)
Use the Shimano 21-speed shifter to change gears according to terrain and desired pedaling effort. Shift gears smoothly to avoid strain on the drivetrain.
5.5 Braking (Mechanical Dual Disc Brakes)
The bike is equipped with mechanical dual disc brakes for effective stopping. Apply both front and rear brakes simultaneously for balanced and controlled braking. Avoid sudden, hard braking, especially with the front brake, to prevent skidding.
5.6 Folding the Bike
The high-quality aluminum alloy frame is foldable for convenient storage and transport.
- Ensure the bike is powered off.
- Locate the folding mechanism on the frame (usually a lever or latch).
- Follow the specific instructions in your product manual to safely unlock and fold the frame.
- You may also need to fold the handlebars and pedals for a more compact size.
Figure 5.2: Folding the Electric Bike for Storage
6. Battery Information
6.1 Charging the Battery
The 48V 12AH removable lithium battery can be fully charged in approximately 5-6 hours.
- Connect the charger to the battery charging port.
- Plug the charger into a standard electrical outlet.
- The charger indicator light will typically turn red during charging and green when fully charged.
- Do not overcharge the battery. Disconnect the charger once charging is complete.
- Charge the battery in a well-ventilated area, away from flammable materials.

Figure 6.1: Removable Lithium Battery
6.2 Battery Care and Storage
- Store the battery in a cool, dry place, away from direct sunlight and extreme temperatures.
- If storing for an extended period, charge the battery to approximately 50-70% every 1-2 months to maintain its health.
- Do not expose the battery to water or moisture.
- If the battery is damaged or shows signs of malfunction, discontinue use immediately and contact customer support.
7. Maintenance
Regular maintenance ensures the longevity and safe operation of your PEXMOR Electric Bike.
7.1 Routine Checks
- Tires: Check tire pressure before each ride. Recommended pressure is usually indicated on the tire sidewall. Inspect for wear, cuts, or punctures.
- Brakes: Test brake levers for proper function and responsiveness. Ensure brake pads are not excessively worn.
- Chain: Keep the chain clean and lubricated. Inspect for rust or damage.
- Fasteners: Periodically check all bolts, nuts, and quick releases for tightness. Loose components can lead to safety hazards.
- Frame: Inspect the frame for any signs of cracks or damage.
7.2 Cleaning
Clean your bike regularly with a damp cloth and mild soap. Avoid using high-pressure washers directly on electrical components, bearings, or the motor.
7.3 Professional Servicing
It is recommended to have your electric bike professionally serviced at least once a year, or more frequently if you ride often or in challenging conditions. A professional can inspect critical components, adjust gears, and ensure the electrical system is functioning correctly.
8. Troubleshooting
This section addresses common issues you might encounter with your PEXMOR Electric Bike. For problems not listed here, or if solutions do not resolve the issue, please contact customer support.
| Problem | Possible Cause | Solution |
|---|---|---|
| Bike does not power on. | Battery not charged, battery not properly seated, power cable loose. | Charge the battery. Ensure battery is fully inserted and locked. Check all electrical connections. |
| Motor not assisting/working. | Low battery, assist level set to 0, brake levers engaged, motor error. | Check battery level. Increase assist level on display. Ensure brake levers are fully released. Check display for error codes (e.g., E7 mentioned in reviews, though specific codes are not in product data). If error code persists, contact support. |
| Short battery range. | Under-inflated tires, riding uphill frequently, heavy load, frequent use of throttle. | Ensure tires are properly inflated. Use pedal-assist more often. Reduce load if possible. |
| Brakes feel weak or noisy. | Worn brake pads, misaligned calipers, contaminated rotors. | Inspect and replace brake pads if worn. Adjust brake calipers. Clean rotors with disc brake cleaner. |
| Gears are not shifting smoothly. | Derailleur misalignment, stretched cable, dirty chain. | Clean and lubricate the chain. Adjust derailleur limits and cable tension. Professional adjustment may be required. |
| Pedal crank arm loose. | Loose crank arm bolt. | Tighten the crank arm bolt securely. If deformed, replacement may be necessary. |
9. Specifications
| Feature | Detail |
|---|---|
| Bike Type | Electric Bike |
| Brand | PEXMOR |
| Model Name | PEXMOR 26" Electric Bike |
| Motor | 750W High-Speed Brushless (Peak 1000W) |
| Max Speed | 30 MPH (50 KM/H) |
| Battery | 48V 12AH Removable Lithium Battery (0.58 Kilowatt Hours) |
| Charging Time | 5-6 hours |
| Electric Mode Range | 46-50 miles (75-80 km) |
| PAS Mode Range | 62-75 miles (100-110 km) |
| Wheel Size | 26 Inches (Fat Tire) |
| Frame Material | Aluminum Alloy |
| Suspension Type | Dual (Front Adjustable Hydraulic, Rear Shock) |
| Number of Speeds | 21 (Shimano) |
| Brake Style | Disc (Mechanical Dual) |
| Maximum Weight Recommendation | 396 Pounds (180 kg) |
| Foldable | Yes |
| Included Components | Tool Kit |
| Assembly Required | Yes (85% pre-assembled) |

Figure 9.1: Bike Dimensions and Rider Suitability
10. Warranty and Support
10.1 Warranty Information
PEXMOR provides a one-year service warranty for the electric motor, battery, and other main replaceable parts. This warranty covers manufacturing defects and issues arising from normal use within the warranty period.
10.2 Customer Support
For any questions, concerns, or warranty claims, please contact PEXMOR customer service. Have your purchase details and product model number ready for faster assistance.
Contact information for PEXMOR customer support can typically be found on the official PEXMOR website or your purchase receipt.
11. Official Product Videos
No official seller-provided videos were available for embedding in this manual based on the provided product data.
Ask a question about this manual
Ask about setup, troubleshooting, compatibility, parts, safety, or missing instructions. Manuals+ will review the question and use this page’s manual context to help answer it.