
1. Introduction
This manual provides essential information for the safe and efficient operation of your POWLSOJX MPPT Solar Charge Controller 80A. This controller is designed to optimize power conversion from solar panels to your battery system, supporting 12V, 24V, 36V, and 48V systems with automatic voltage identification. It features an intuitive LCD display and multiple protection mechanisms to ensure reliable performance.
2. Key Features
- Versatile Operation Modes: Offers seven distinct modes including charging, light control, time-delay control, general control, manual control, timing control, and factory test mode.
- Intuitive LCD Display: Provides real-time information on battery and solar panel status, mode control, load output status, and various parameters for easy monitoring.
- Efficient MPPT Charging: Automatic Maximum Power Point Tracking (MPPT) ensures optimal charging efficiency, maximizing power conversion from solar panels.
- Flexible Discharge Control: Multiple discharge modes allow for versatile management of the discharge process based on specific needs.
- Wide Compatibility and Protection: Compatible with 12V, 24V, 36V, and 48V systems and various battery types (Seal, GEL, Flooded, LiFePO4). Includes low-voltage protection and optional air switch integration.
- Robust Design: Features a die-cast aluminum heat sink for efficient heat dissipation, ensuring durability and stable operation.
3. Installation and Connection
Proper installation is crucial for the safe and efficient operation of the solar charge controller. Please follow the recommended connection sequence carefully.
3.1 Recommended Connection Sequence
- Connect the Battery: First, connect the battery to the controller. Ensure correct polarity (positive to positive, negative to negative).
- Connect the Solar Panels: Next, connect the solar panels to the controller. Verify correct polarity.
- Connect the DC Load: Finally, connect your DC load to the controller.
Warning: Always connect the battery first and disconnect the load first when disassembling the system. Incorrect connection order can damage the controller.


3.2 Wiring Diagram Overview

3.3 Installation Video
Watch this video for a visual guide on unboxing and initial setup of the solar charge controller.
Video: POWLSOJX MPPT Solar Charge Controller Overview (17 seconds). This video demonstrates the physical appearance and basic connections of the controller.
4. Operating Modes
The controller supports seven different operating modes to suit various application requirements:

- Charging Mode: Standard battery charging.
- Light Control Mode: Load turns on/off based on ambient light levels.
- Light and Time Delay Control Mode: Load turns on with light, then off after a set time delay.
- Universal Control Mode: Load is continuously on.
- Manual Control Mode: Load is manually switched on/off.
- Timing Control Mode: Load operates for a set duration.
- Testing Mode: For factory testing purposes only.
5. LCD Display and Controls
The integrated LCD provides comprehensive system status at a glance. Use the buttons below the display to navigate menus and adjust settings.

The display typically shows:
- Battery voltage and charging current.
- Solar panel voltage and current.
- Load output status (on/off) and current.
- Selected operating mode.
- System fault indicators.
6. Protection Functions
The POWLSOJX MPPT Solar Charge Controller is equipped with multiple protection features to ensure the safety and longevity of your system.
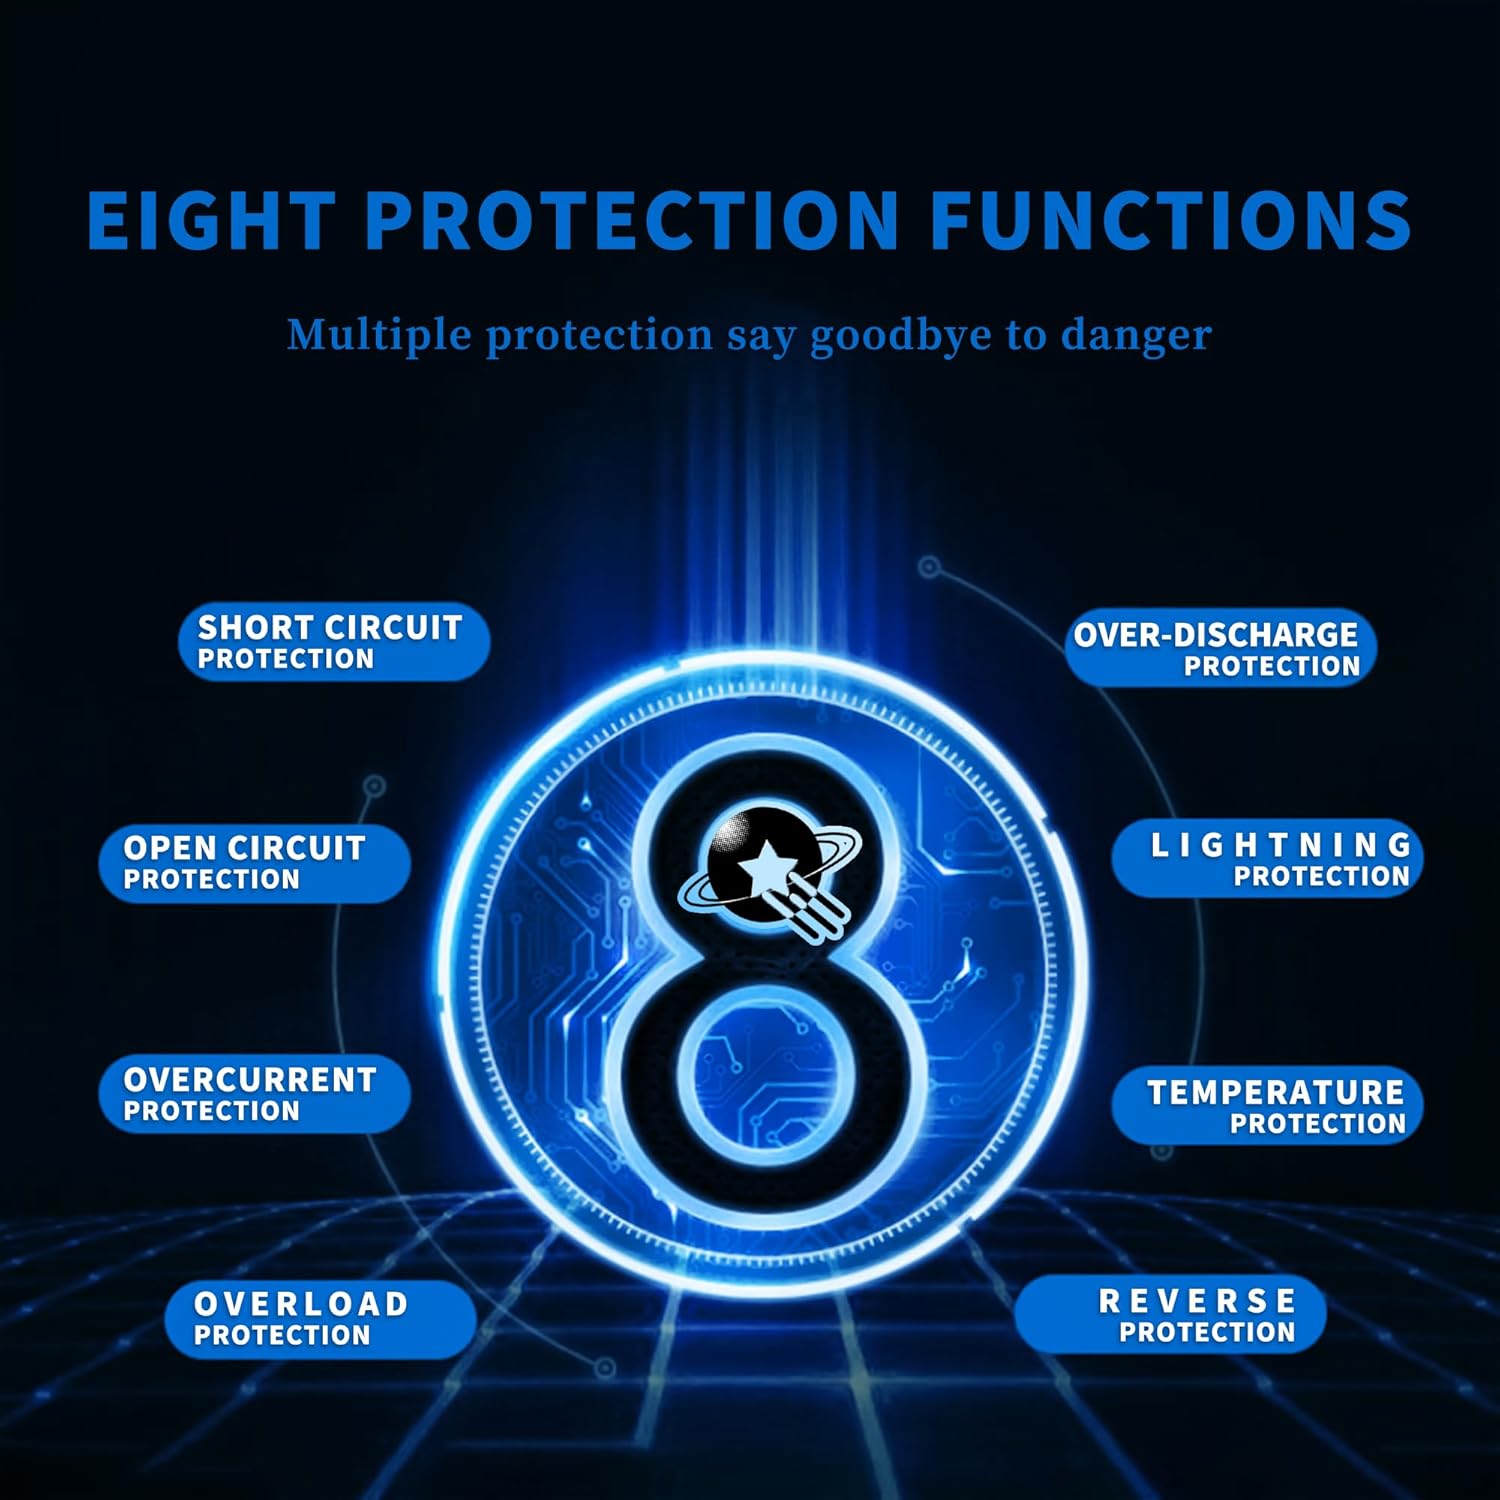
- Short Circuit Protection: Prevents damage from short circuits in the system.
- Over-Discharge Protection: Protects the battery from excessive discharge, extending its lifespan.
- Open Circuit Protection: Safeguards against damage if a circuit becomes open.
- Lightning Protection: Offers protection against lightning strikes.
- Overcurrent Protection: Prevents damage from excessive current flow.
- Temperature Protection: Monitors and regulates internal temperature to prevent overheating.
- Overload Protection: Protects against excessive load on the output.
- Reverse Protection: Guards against damage from incorrect polarity connections.

7. Battery Compatibility
The controller is compatible with various battery types, automatically identifying 12-48V batteries.

8. Specifications
Technical specifications for the POWLSOJX MPPT Solar Charge Controller 80A:
| Feature | Specification |
|---|---|
| Model | 80A |
| Brand | POWLSOJX |
| System Voltage | 12V / 24V / 36V / 48V Auto |
| Display Type | LCD |
| Color | Black |
| UPC | 715748231233 |
| Heat Dissipation | Die-cast aluminum heat sink |
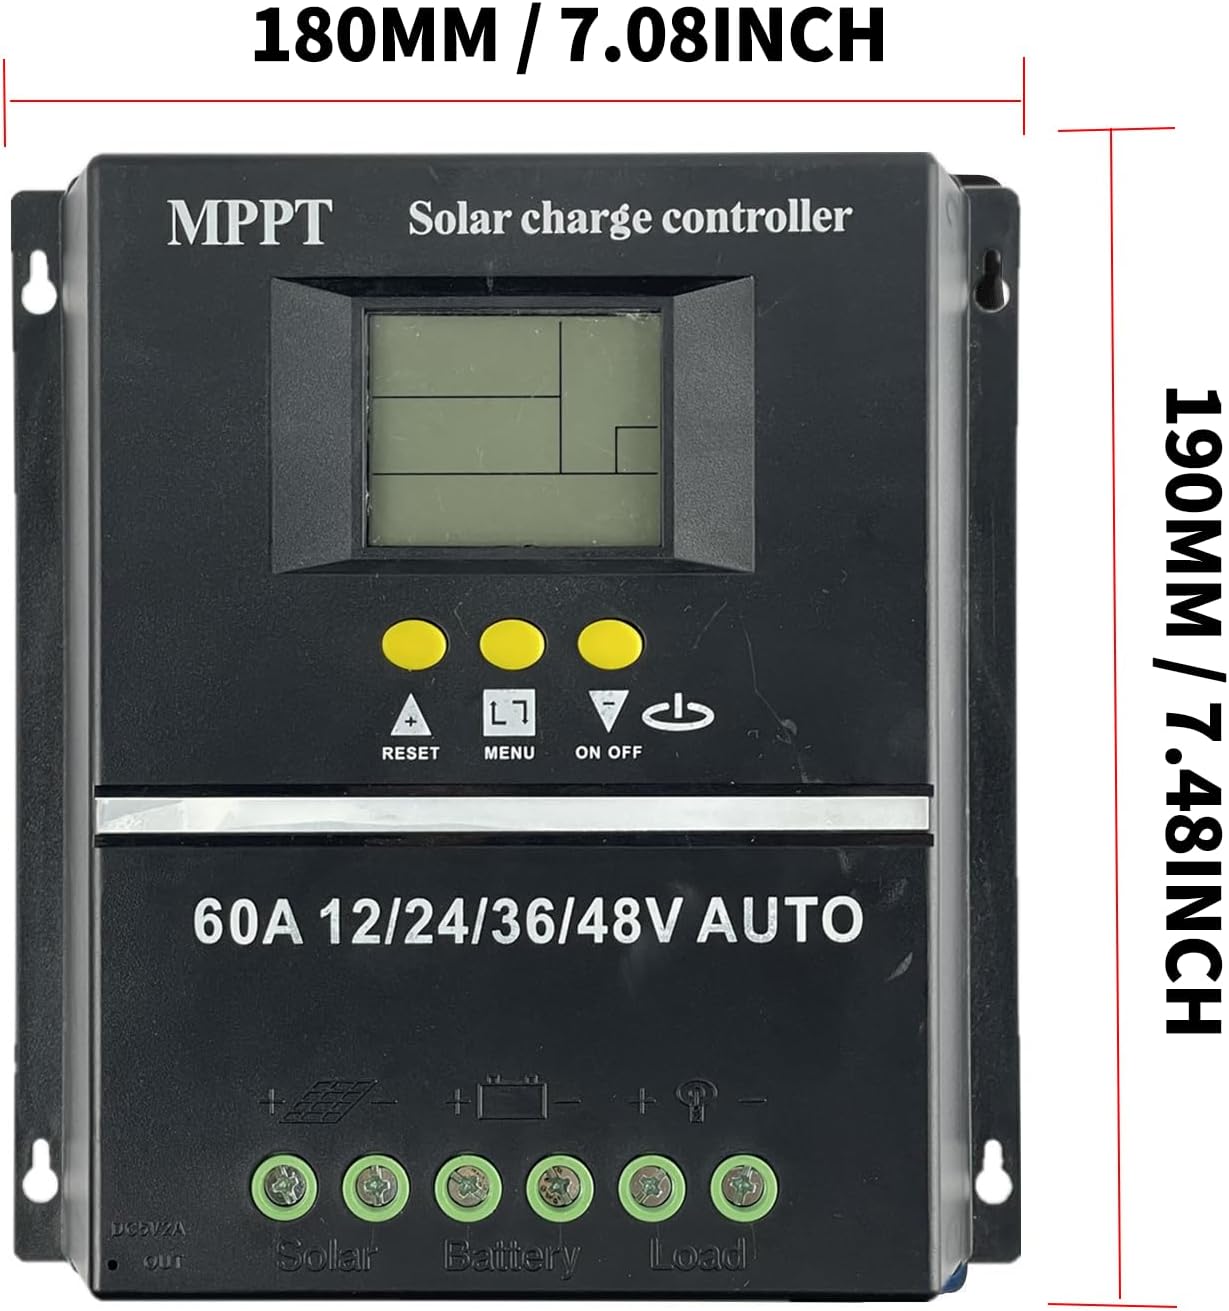
8.1 Dimensions
8.2 Efficient Heat Dissipation

9. Maintenance
To ensure optimal performance and longevity of your solar charge controller, regular maintenance is recommended:
- Inspect Connections: Periodically check all wiring connections for tightness and corrosion. Loose connections can cause overheating and poor performance.
- Clean the Controller: Keep the controller clean and free from dust and debris. Use a dry cloth to wipe the exterior. Ensure ventilation openings are not blocked.
- Monitor Performance: Regularly check the LCD display for normal operation and any error codes. Compare actual system performance with expected values.
- Battery Health: Monitor battery voltage and health. Ensure batteries are maintained according to their manufacturer's guidelines.
- Environmental Conditions: Ensure the controller is installed in a well-ventilated area, away from direct sunlight, moisture, and corrosive environments.
10. Troubleshooting
If you encounter issues with your solar charge controller, refer to the following basic troubleshooting steps:
- No Display/Power:
- Check battery connections and ensure the battery has sufficient charge.
- Verify all wiring is correctly connected and secure.
- Battery Not Charging:
- Ensure solar panels are connected correctly and receiving adequate sunlight.
- Check solar panel voltage and current.
- Verify battery type settings are correct on the controller.
- Load Not Working:
- Check load connections and ensure the load is not faulty.
- Verify the selected operating mode allows for load output.
- Check for overcurrent or short circuit protection activation.
- Error Codes: Refer to the specific error code displayed on the LCD (if any) and consult the manufacturer's support for detailed solutions.
For persistent issues, contact customer support.
11. Warranty and Support
For warranty information, please refer to the documentation provided with your purchase or contact POWLSOJX customer service. Keep your purchase receipt as proof of purchase.
For technical support, product inquiries, or assistance with troubleshooting, please contact POWLSOJX directly through their official channels or the retailer where the product was purchased.
