
Golpart
Golpart Heavy Duty Rolling Garment Rack User Manual
Brand: Golpart
Introduction
Welcome to the user manual for your new Golpart Heavy Duty Rolling Garment Rack. This manual provides essential information for assembly, operation, maintenance, and troubleshooting to ensure optimal performance and longevity of your product. Please read this manual thoroughly before assembly and use.
Safety Information
WARNING: Failure to follow these safety instructions may result in injury or damage to the product.
- Do not exceed the maximum load capacity of 350 pounds for the entire unit, or 80 pounds for the hanging rod.
- Ensure all connections are securely fastened before placing items on the rack.
- Assemble the rack on a flat, stable surface to prevent tipping.
- Keep hands and fingers clear of moving parts during assembly and adjustment.
- Engage wheel locks when the rack is in a stationary position to prevent unintended movement.
- This product is intended for indoor use only.
Package Contents
Verify that all components listed below are present before beginning assembly:
| Component | Quantity |
|---|---|
| Wire Shelf | 1 Pc |
| Wire Basket | 2 Pcs |
| Connection Pipe | 12 Pcs |
| Caster (Wheel) | 4 Pcs |
| Hanging Rod | 1 Pc |
| Installation Accessories | 1 Pack |
| Plastic Hook | 4 Pcs |
| User Manual | 1 Pc |
Setup and Assembly
Follow these steps for quick and easy assembly. It is recommended to have a second person assist during certain steps for stability.
Step-by-Step Assembly
- Install Plastic Clips: Ensure the flange fits into the groove on the connection pipes. Follow the arrow directions (upwards) on the plastic clip. These clips create a structural design that firmly anchors the shelves.
- Assemble the Wire Shelves: Slowly slide each wire shelf down until its sleeves fit snugly onto the plastic clips on the poles. The end with a notch should face downward.
- Adjust the Height of Shelf: The wire shelves can be adjusted up and down to customize your storage space. Ensure all four corners of a shelf are at the same height for stability.
- Attach Baskets and Hanging Rod: Secure the wire baskets and hanging rod to their desired positions using the provided clips and accessories.
- Install Casters (Wheels): Screw the casters into the bottom of the poles. Ensure two of the casters with locking mechanisms are installed on the same side for easy access.
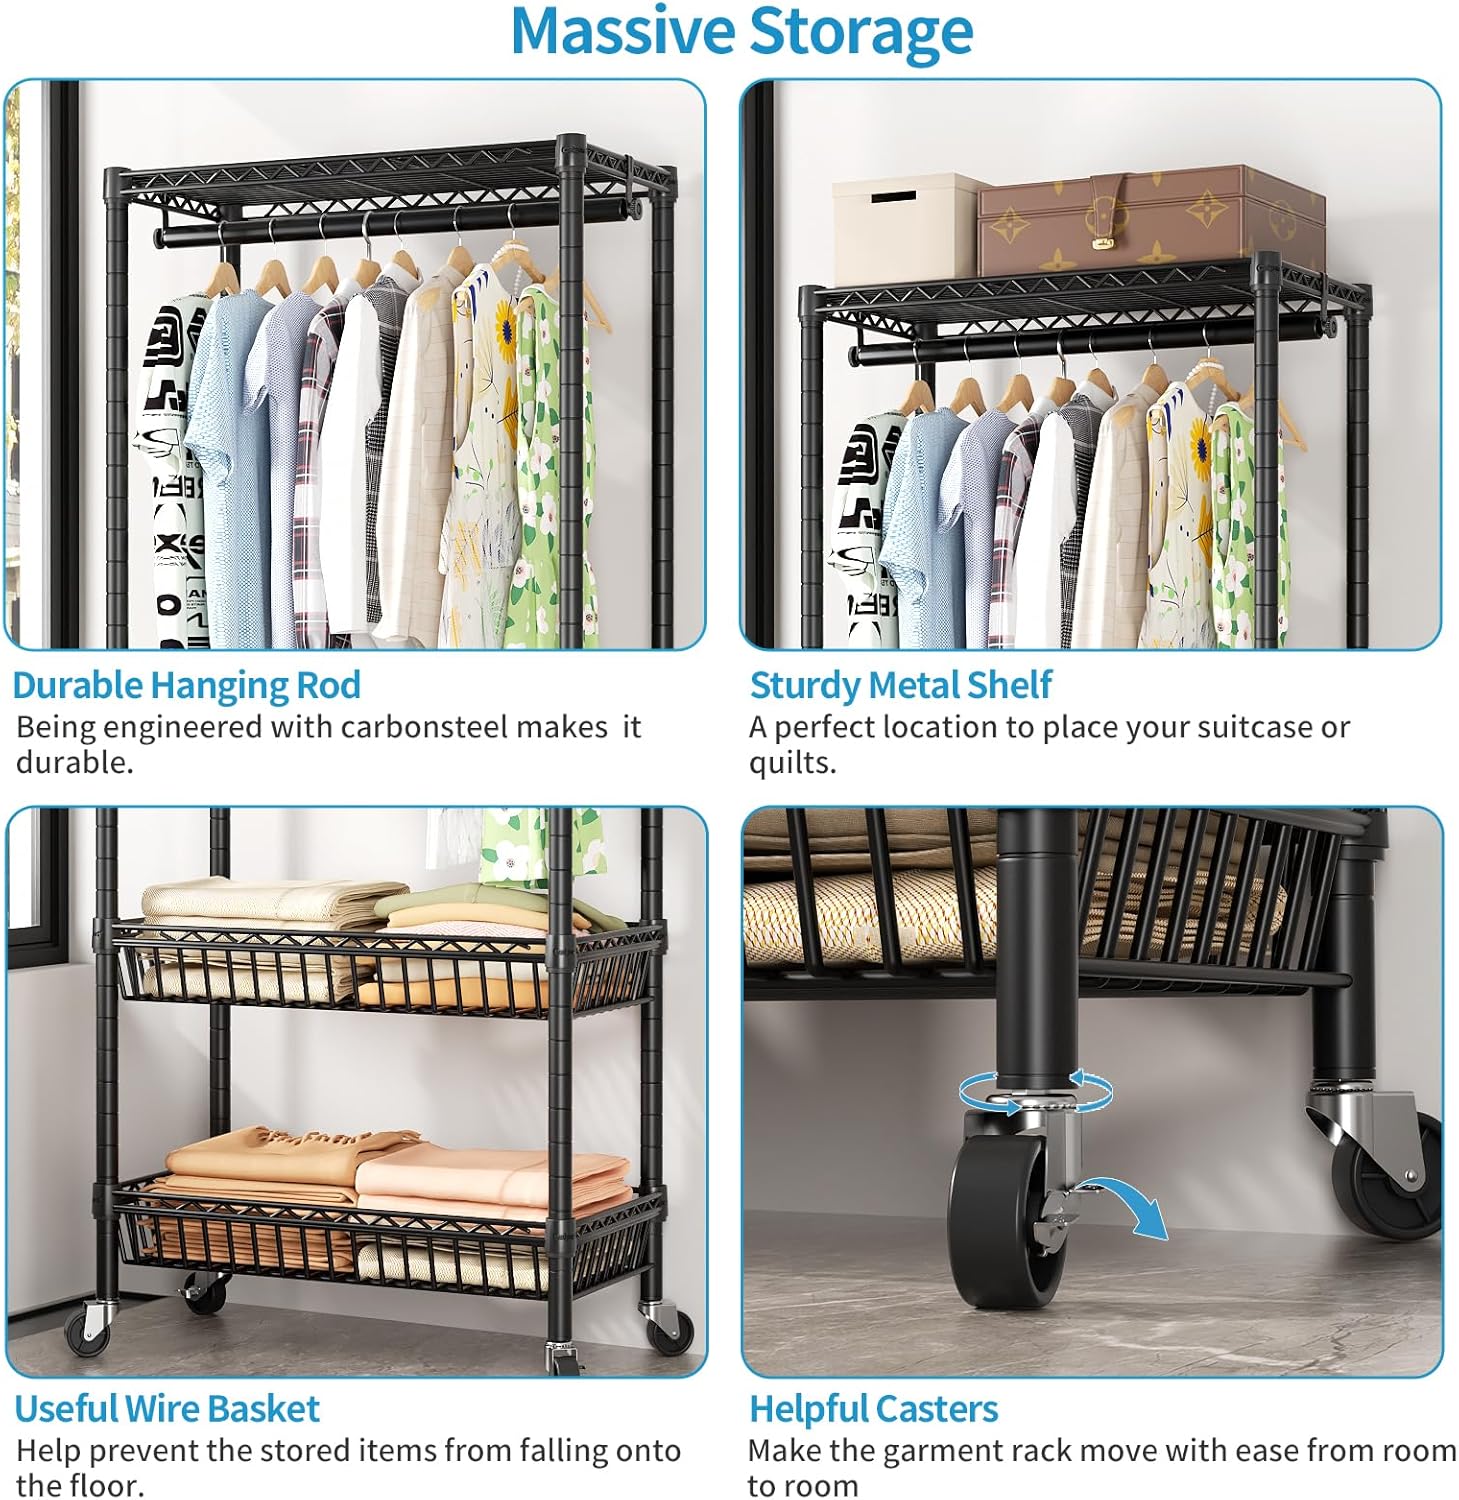
Figure 1: Proper installation of plastic clips on the poles.

Figure 2: Adjusting shelf height for customized storage.
Assembly Video Guide
Video 1: Official Installation Video of Golpart Garment Rack with Basket. This video demonstrates the assembly process for the garment rack, including attaching shelves, baskets, and casters.
Operating Instructions
Using Your Garment Rack
- Hanging Clothes: Utilize the sturdy hanging rod for coats, dresses, shirts, and other garments. The rod can confidently accommodate up to 80 pounds.
- Basket Storage: The double wire baskets provide segmented storage for smaller items such as folded clothes, accessories, shoes, or bags.
- Mobility: The four 360° rotating wheels allow for effortless movement of the rack. To move, ensure wheel locks are disengaged.
- Secure Fixation: Two of the casters are lockable. Press down on the lever of these casters to engage the lock and keep the rack securely in place. Lift the lever to disengage.
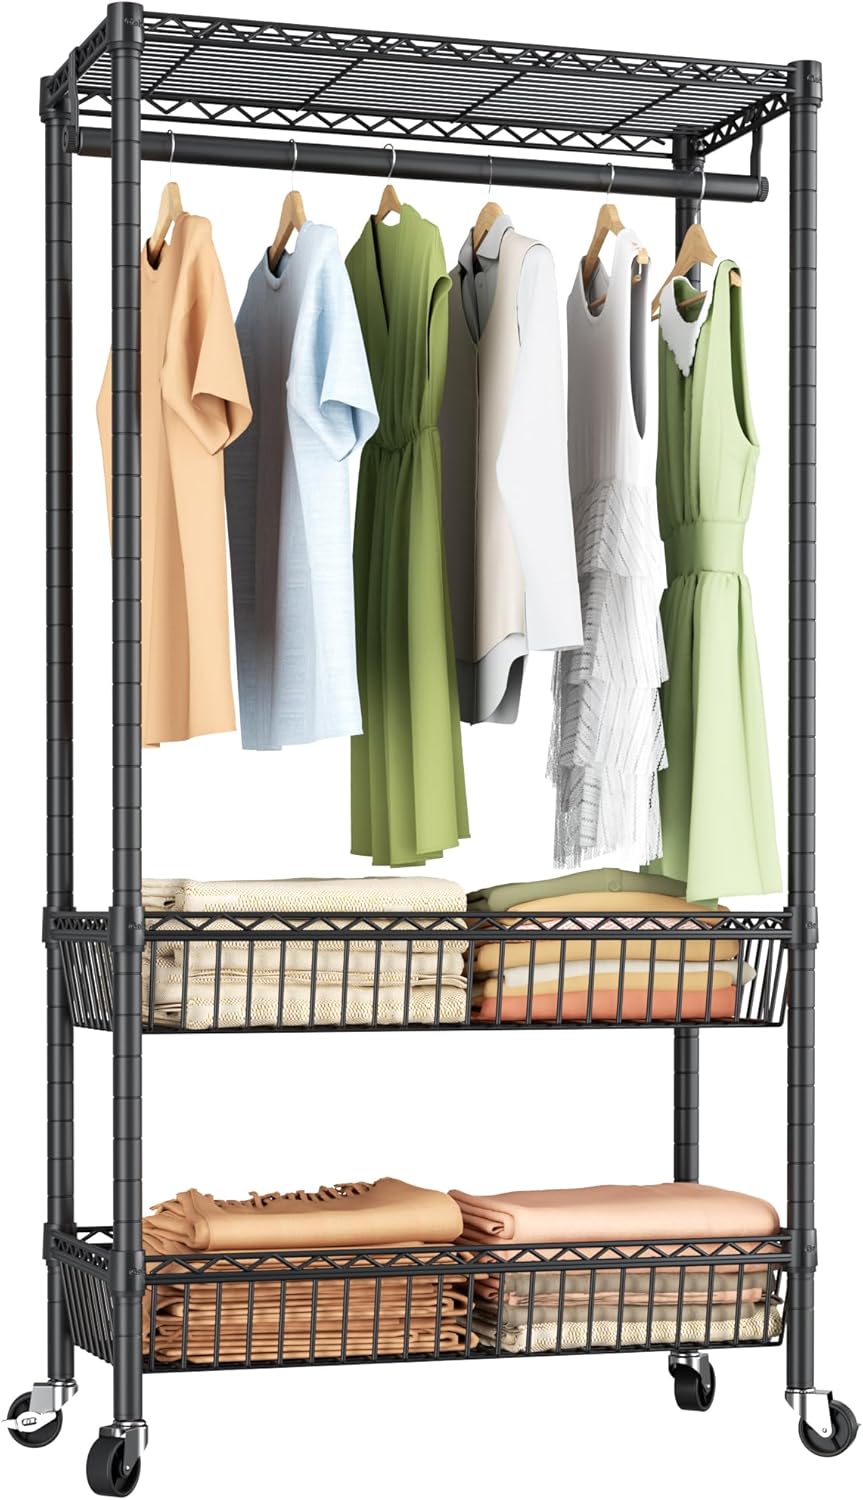
Figure 3: Garment rack in use, showcasing hanging space and basket storage.

Figure 4: Garment rack providing organized storage in a bedroom setting.

Figure 5: Detail of the helpful casters with locking feature.
Maintenance
- Cleaning: Wipe down the metal surfaces with a soft, damp cloth. Avoid abrasive cleaners or harsh chemicals that could damage the finish.
- Regular Checks: Periodically check all connections, screws, and plastic clips to ensure they remain tight and secure. Tighten any loose components as needed.
- Wheel Care: Keep the wheels free of dust, lint, and hair to ensure smooth rolling. If wheels become stiff, clean them and apply a small amount of silicone lubricant if necessary.
Troubleshooting
This section addresses common issues you might encounter with your garment rack.
| Problem | Possible Cause | Solution |
|---|---|---|
| Rack is unstable or wobbly. | Loose connections; uneven assembly; overloaded. | Ensure all plastic clips are correctly installed and shelves are level. Tighten all screws. Redistribute weight evenly and do not exceed capacity. |
| Wheels do not roll smoothly or lock. | Debris in wheels; lock engaged; damaged caster. | Clean any debris from the wheels. Ensure the locking mechanism is fully disengaged. If damaged, contact customer support for replacement parts. |
| Clothes drag on the lower shelf/floor. | Shelf positioned too high; long garments. | Adjust the height of the lower shelf downwards. For very long garments, consider folding them or using the top shelf for hanging. |
| Missing parts. | Packaging error. | Refer to the 'Package Contents' section and contact Golpart customer support immediately with your purchase details. |
Product Specifications
| Attribute | Detail |
|---|---|
| Brand | Golpart |
| Model Number | EA_411B |
| Product Dimensions (D x W x H) | 15.75"D x 23.62"W x 72.44"H |
| Color | Black, Medium-Double Baskets |
| Material | Carbon Steel |
| Total Load Capacity | 350 Pounds |
| Hanging Rod Capacity | 80 Pounds |
| Installation Type | Free Standing |
| Special Features | Portable, Easy to Install, Rolling, Lockable, Adjustable Shelves & Basket |
| Assembly Required | Yes |
| Item Weight | 18.04 Pounds |
Warranty and Support
Golpart products are manufactured to high-quality standards. For any questions, concerns, or warranty claims, please contact Golpart customer support. Keep your purchase receipt for warranty purposes.
For more information and to explore other Golpart products, visit the official Golpart Store.
Related documents


Ask a question about this manual
Ask about setup, troubleshooting, compatibility, parts, safety, or missing instructions. Manuals+ will review the question and use this page’s manual context to help answer it.