
1. Introduction
The SCULPFUN CAM500 is a 5MP high-definition industrial camera designed for use with laser engravers, fully compatible with Lightburn software's CAM function. It enables precise object positioning, pattern extraction, batch engraving, and video recording of the engraving process. This manual provides instructions for its installation, operation, and maintenance.
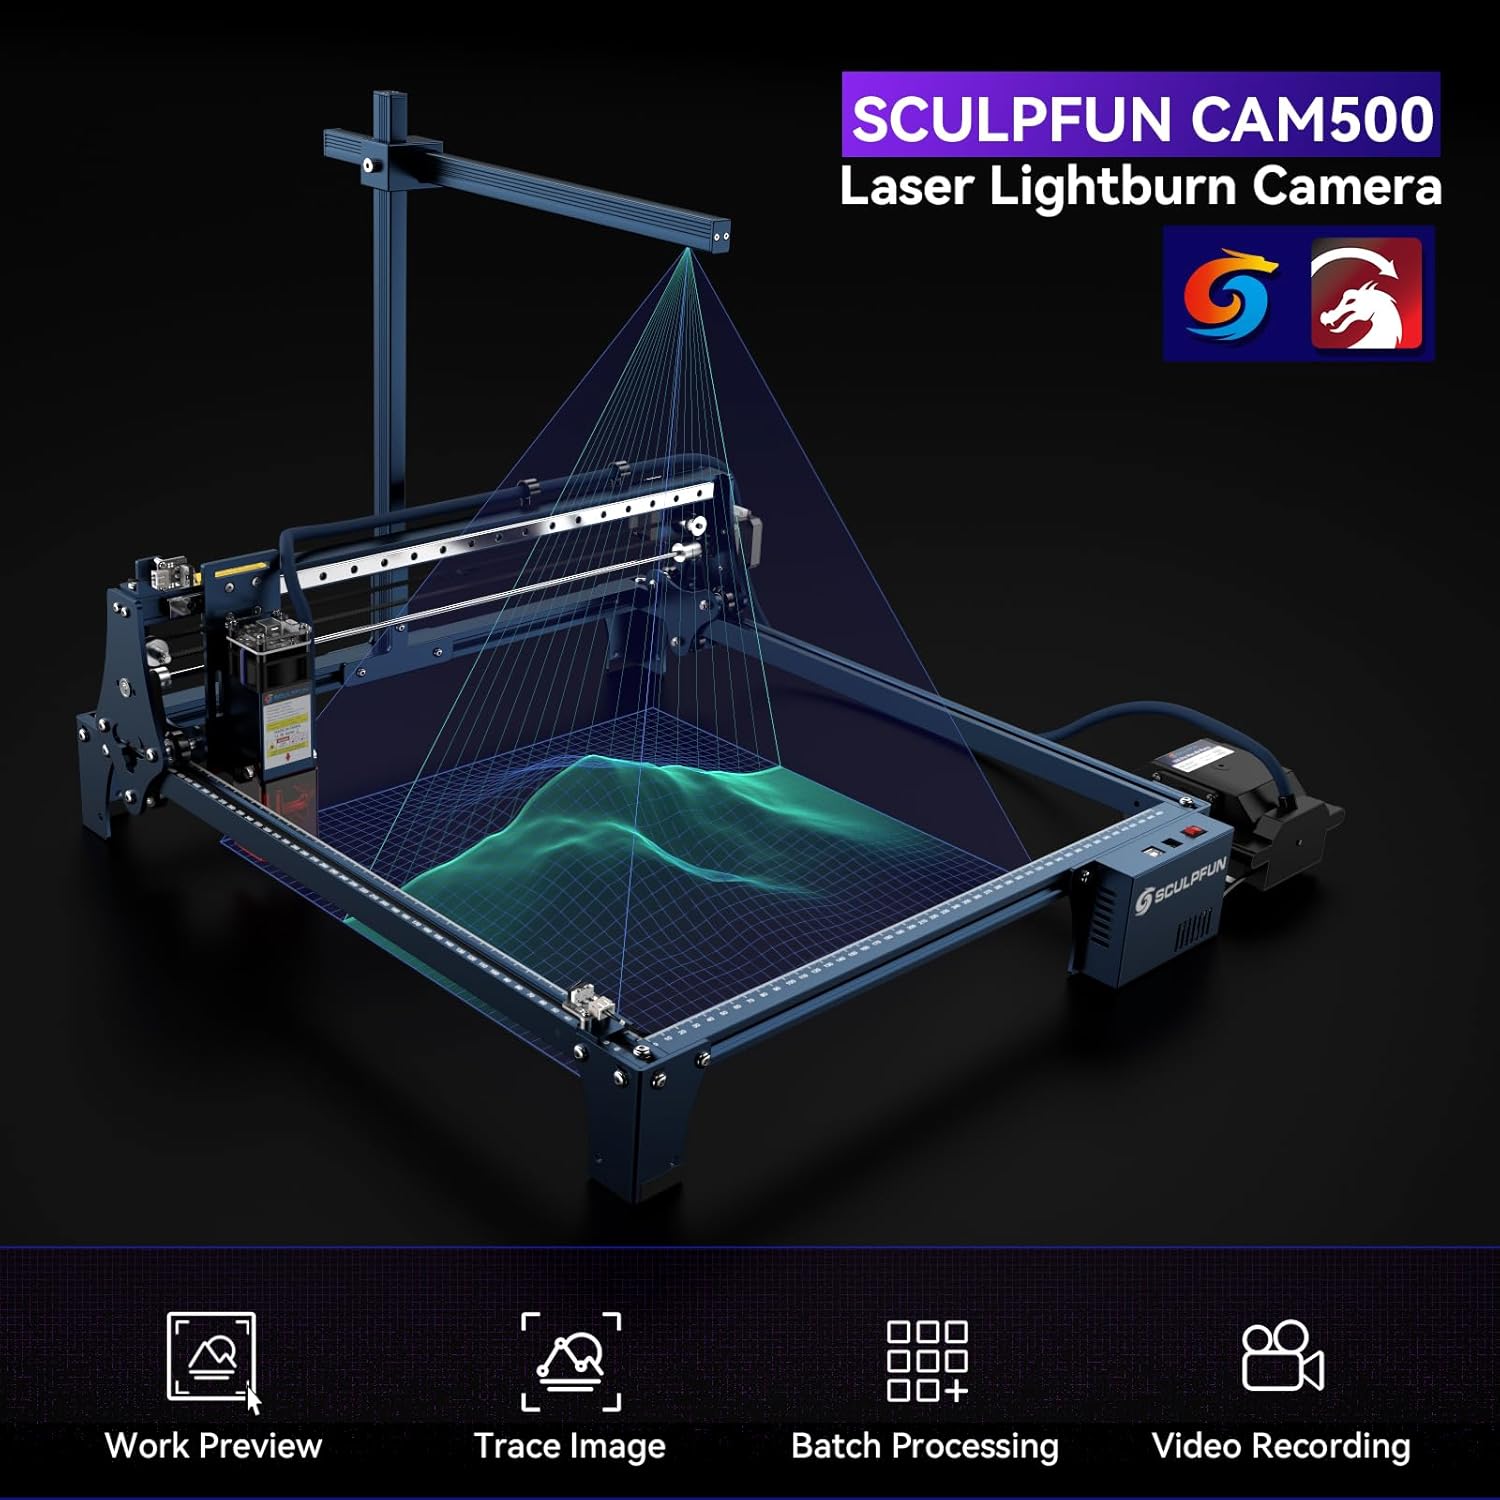
Figure 1: SCULPFUN CAM500 Lightburn Camera overview, highlighting its capabilities like work preview, image tracing, batch processing, and video recording.
2. Product Components
The SCULPFUN CAM500 package includes the following components:
- SCULPFUN CAM500 Camera Module
- Camera Horizontal Assembly
- Camera Vertical Assembly
- T-shaped Fixation Clamp
- U-shaped Fixation Clip (41-77mm)
- Mounting Screws and Tools
- USB Cable
- A4 Grid Calibration Paper
- Soft Ruler
- Sample Wood Pieces
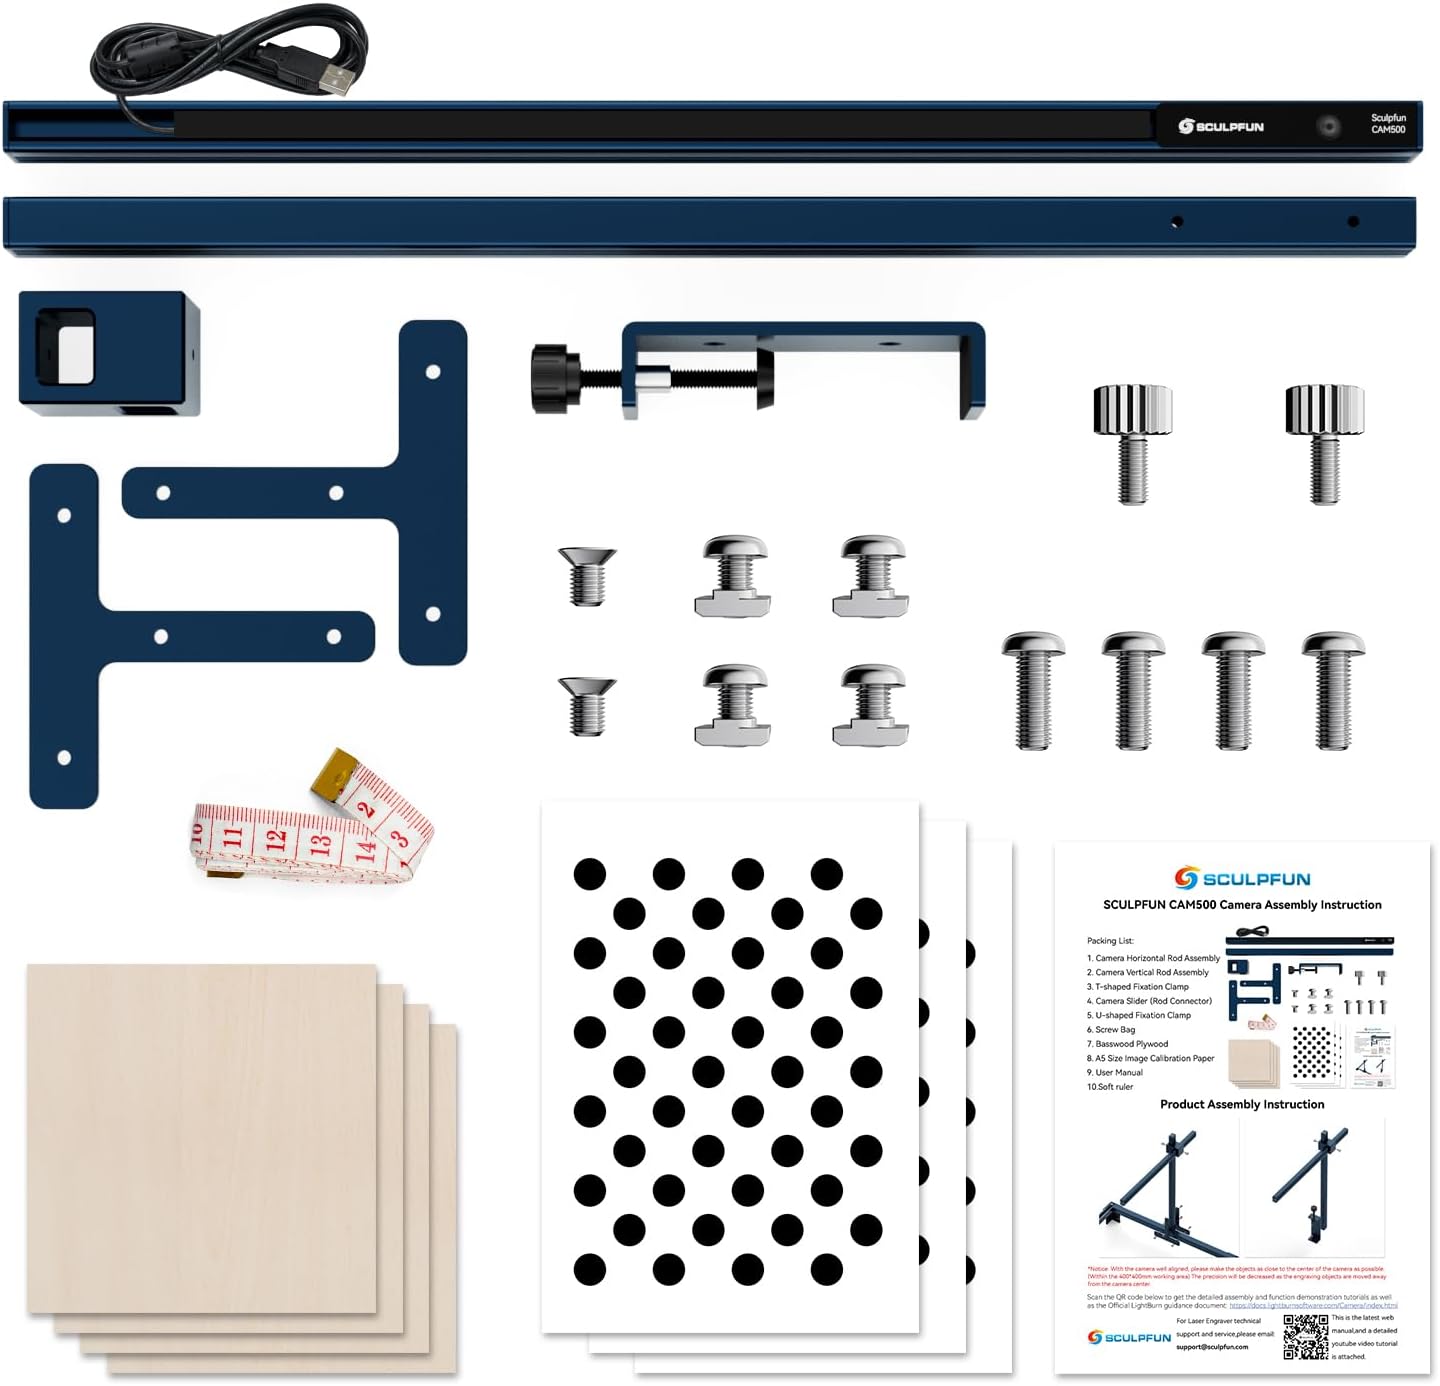
Figure 2: Contents of the SCULPFUN CAM500 package.
3. Setup Instructions
- Mounting the Camera:
Attach the camera module to your laser engraver using either the T-shaped fixation clamp or the U-shaped fixation clip. Ensure the camera is securely fastened and its position is stable relative to the engraver's frame.

Figure 3: High adaptability support structure with T-shaped and U-shaped fixing clamps.
Important: For optimal performance and consistent calibration, the camera's support structure must be firmly fixed to the engraver's chassis to prevent any relative movement.
- Connecting the Camera:
Connect the camera to your computer using the provided USB cable. The camera uses a USB 2.0 interface.
- Software Installation and Configuration:
The SCULPFUN CAM500 is designed for use with Lightburn software. Ensure Lightburn is installed on your computer. Follow the Lightburn software's instructions for camera setup and calibration. This typically involves:
- Selecting the CAM500 camera within Lightburn's device settings.
- Performing camera lens calibration using the provided A4 grid calibration paper.
- Adjusting the camera's offset for precise positioning.
Note: Some engravers may require limit switches for X and Y axes to function correctly with the camera's positioning features. Ensure your engraver has these installed if experiencing positioning issues.
4. Operating Instructions
The CAM500 camera enhances your laser engraving workflow with several key features:
4.1 Work Preview
The camera provides a real-time preview of your work area directly within the Lightburn software. This eliminates the need for manual positioning and allows you to monitor the engraving progress visually.

Figure 4: Work Preview in Lightburn, showing the camera's view of the engraving area.
4.2 Precise Positioning
With the CAM500, you can precisely position your design on the material. After calibration, the camera offers a positioning deviation of less than 1mm. You can drag and drop your design onto the material's image in Lightburn, and the laser will engrave it at the specified location.

Figure 5: Precise positioning of a design on material using the camera feed in Lightburn.
4.3 Pattern Extraction (Trace Image)
The CAM500 can identify and extract patterns from the surface of objects, such as T-shirt designs or other simple graphics. It converts these patterns into vector files within Lightburn, which can then be used for engraving or cutting. This feature simplifies the process of digitizing physical designs.

Figure 6: Using the Trace Image function to extract patterns from an object.
4.4 Batch Engraving
For multiple items, the CAM500 allows you to add several engraving objects and process them simultaneously. The camera automatically locates each object, eliminating the need for individual positioning previews. This significantly improves work efficiency and material utilization.

Figure 7: Batch engraving multiple workpieces using the CAM500.
4.5 HD Video Recording
The CAM500 features a 120° wide-angle lens and can record the entire engraving process in high definition. This allows for time-lapse recording, making the engraving and cutting process visible and shareable.

Figure 8: Video recording of the engraving process.
5. Maintenance
To ensure the longevity and optimal performance of your SCULPFUN CAM500 camera, follow these general maintenance guidelines:
- Lens Cleaning: Regularly clean the camera lens with a soft, lint-free cloth to remove dust or debris that may affect image clarity. Avoid abrasive materials or harsh chemicals.
- Secure Mounting: Periodically check that the camera's mounting hardware is secure. Loose connections can lead to inaccurate positioning and require frequent recalibration.
- Software Updates: Keep your Lightburn software updated to the latest version to ensure compatibility and access to new features or bug fixes related to camera functionality.
- Environmental Conditions: Operate the camera in a clean, dry environment. Avoid excessive dust, moisture, or extreme temperatures, which can damage the electronic components.
6. Troubleshooting
If you encounter issues with your SCULPFUN CAM500, refer to the following troubleshooting tips:
| Problem | Possible Cause | Solution |
|---|---|---|
| Inaccurate Positioning / Frequent Recalibration Needed |
|
|
| Poor Image Quality / Low Definition |
|
|
| Camera Not Recognized by Lightburn |
|
|
| Compatibility Issues with Engraver |
|
|
7. Specifications
| Feature | Detail |
|---|---|
| Brand | SCULPFUN |
| Model | CAM500 |
| Color Image Sensor | 1/4-inch CMOS |
| Maximum Resolution | 2592*1944 (5MP) |
| Pixel Size | 1.4um*1.4um |
| Focus Mode | Fixed Focus |
| Interface | USB 2.0 |
| Application Area | 400*400mm (working area) |
| Perspective Breadth | 120° |
| Power Type | DC |
| Package Dimensions | 45 x 17 x 6 cm |
| Weight | 890 grams |
Note: This product must be used with a limit switch for optimal functionality.

Figure 9: SCULPFUN CAM500 5MP Camera Module and its detailed specifications.
8. Warranty and Support
Specific warranty information for the SCULPFUN CAM500 is not provided in the product details. For warranty claims, technical support, or spare parts inquiries, please contact SCULPFUN customer service directly or refer to the official SCULPFUN website for the most up-to-date information.
You can often find support resources, FAQs, and contact details on the manufacturer's official website or through the retailer where the product was purchased.


