Introduction
Thank you for choosing the PM POPMAKE WiFi Light Bulb Camera. This innovative security camera is designed for easy installation and comprehensive home monitoring, offering 2K resolution, 360° pan/tilt, motion detection, two-way audio, and flexible storage options. This manual provides detailed instructions for setting up, operating, and maintaining your camera to ensure optimal performance and security.
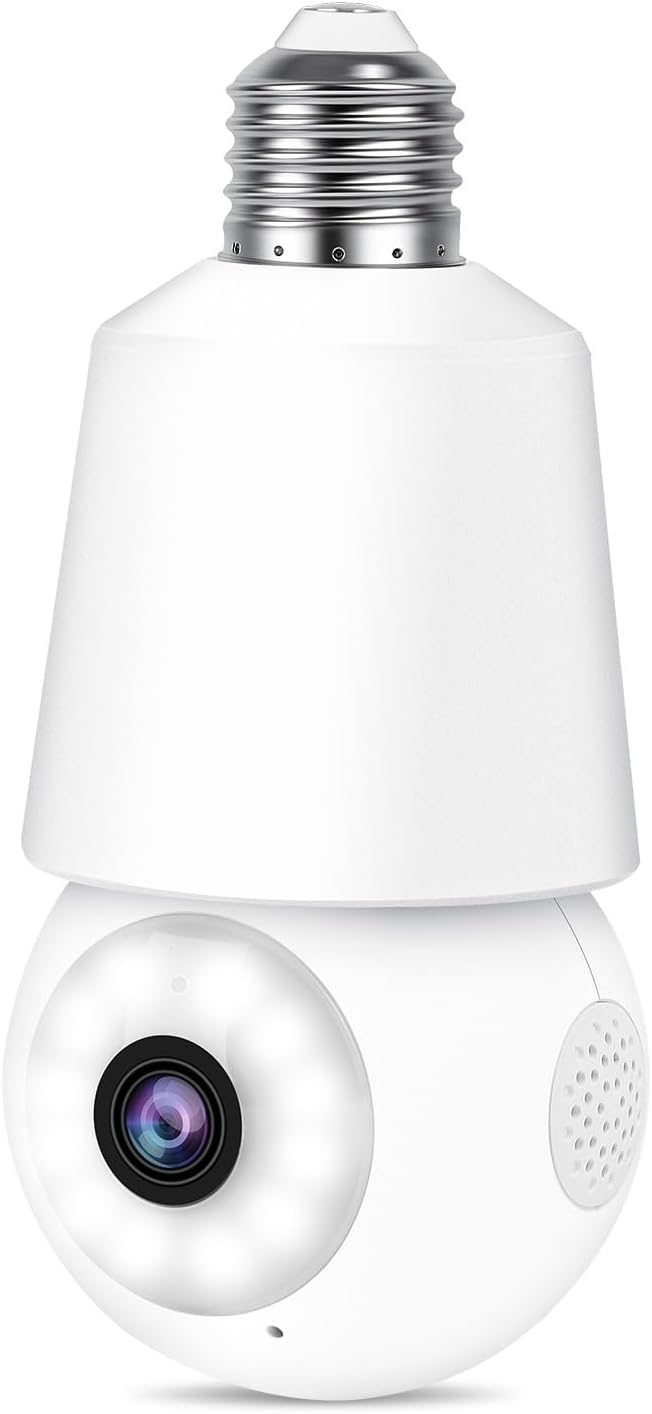
Figure 1: PM POPMAKE WiFi Light Bulb Camera (Model LC323)
Key Features
- Easy Installation: Screws directly into a standard E27 light socket, no complex wiring or drilling required.
- 2K Resolution & Color Night Vision: Captures clear 2K footage with both infrared and vivid full-color night vision capabilities.
- 360° Pan/Tilt/Zoom (PTZ): Offers 352° horizontal pan and 46.5° vertical tilt for comprehensive area coverage with 8X digital zoom.
- AI Motion Detection & Tracking: Intelligently detects and tracks persons, pets, vehicles, and packages, sending real-time alerts.
- Two-Way Audio: Enables real-time communication with visitors or intruders through the built-in microphone and speaker.
- Flexible Storage: Supports free 7-day rolling cloud storage and local storage via Micro SD card (up to 128GB, not included).
- Privacy Protection: Allows users to disable the camera and encrypt recordings via the app for enhanced privacy.
- Multi-User Access: Share camera access with family members for collaborative monitoring.

Figure 2: Overview of PM POPMAKE WiFi Light Bulb Camera features including 2K resolution, 360° viewing, motion tracking, and two-way talk.
Setup Guide
1. Package Contents
- Light Bulb Security Camera
- Charger (for initial setup with adapter)
- User Manual (this document)
2. Initial Setup and Installation
- Download the CloudEdge App: Search for "CloudEdge" in your smartphone's app store (iOS App Store or Google Play Store) and download the free application.
- Power On the Camera: Screw the camera into the provided adapter and plug it into a power outlet. The camera will power on and emit a voice prompt.
- Connect to WiFi: Open the CloudEdge app, create an account or log in. Follow the in-app instructions to add your new device. Ensure your phone is connected to a 2.4GHz WiFi network (5GHz WiFi is not supported). The camera will guide you through the connection process with voice prompts.
- Install in E27 Light Socket: Once connected to WiFi, carefully screw the camera into a standard E27 light socket. Ensure the light socket is powered on.

Figure 3: Step-by-step guide for easy installation and app setup.


Figure 4: The camera is designed for E27 light sockets and connects via 2.4GHz WiFi for extended range.
Operating Instructions
1. Live View and PTZ Control
Access the live video feed through the CloudEdge app. Use the on-screen controls to pan (352° horizontally) and tilt (46.5° vertically) the camera lens to achieve a 360-degree panoramic view of your surroundings. The camera also supports 8X digital zoom for closer inspection.
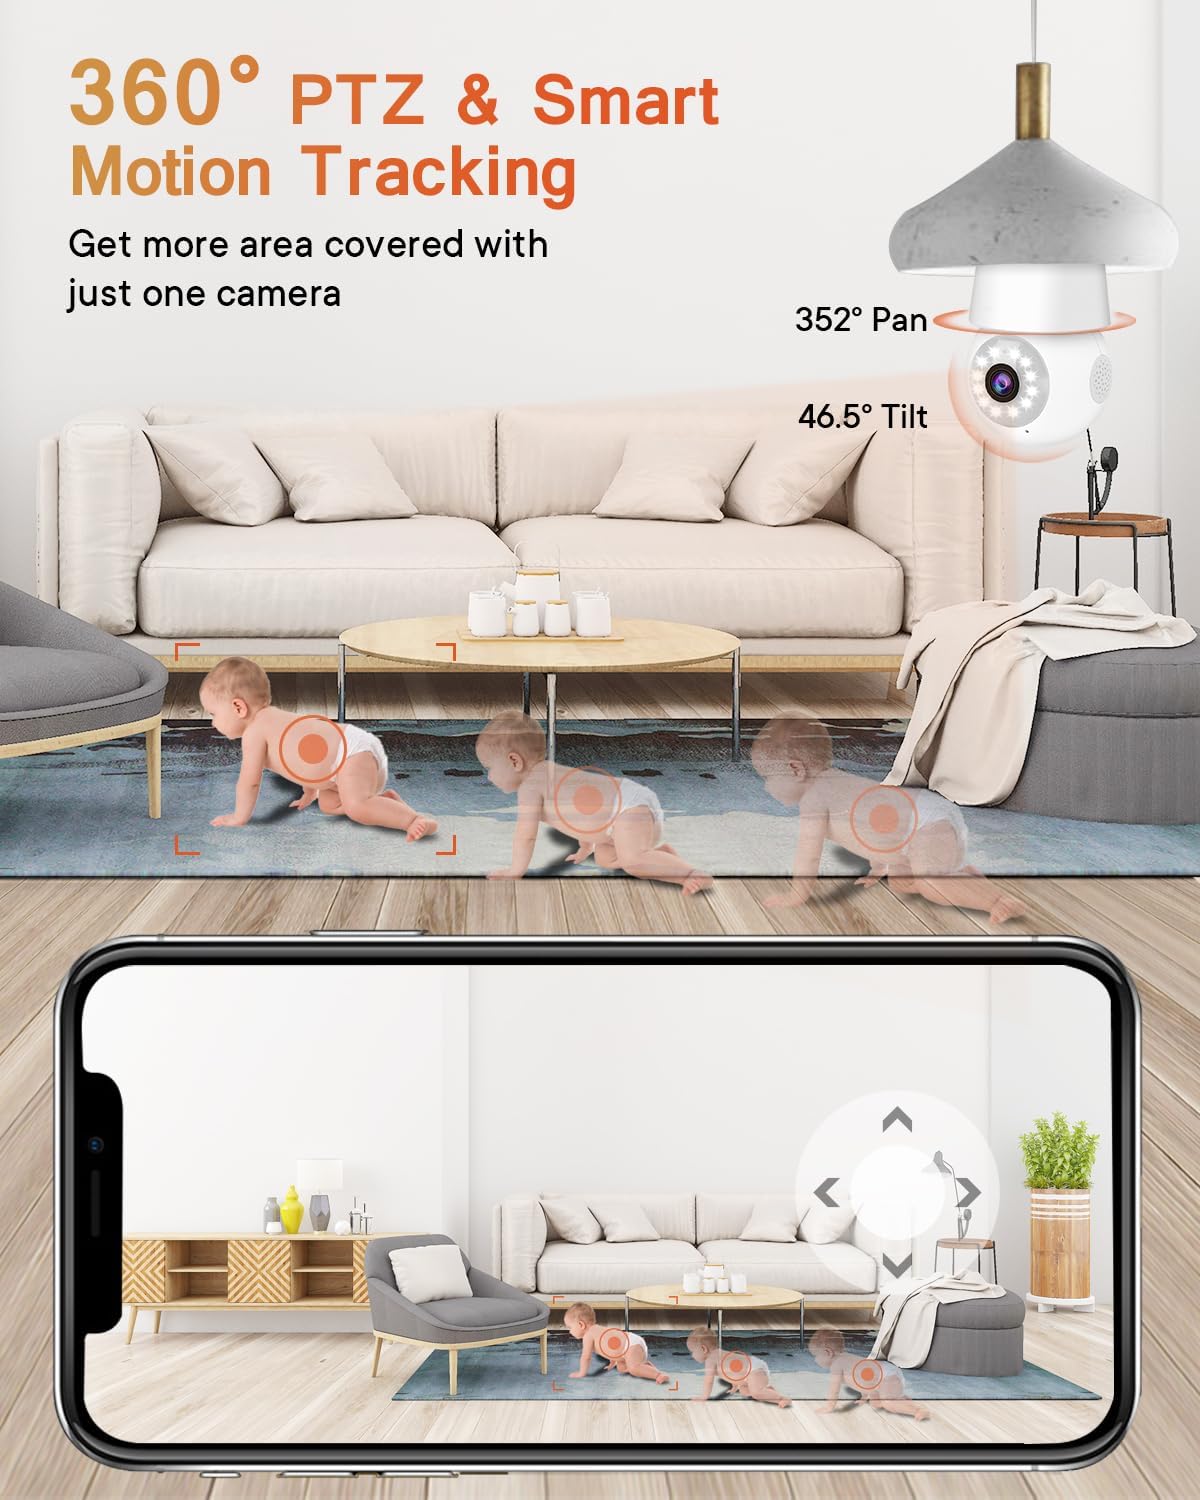
Figure 5: The camera offers 360° pan and tilt functionality for comprehensive coverage.

Figure 6: Illustrates the camera's 352° pan and 46.5° tilt capabilities with 8X digital zoom.
2. Night Vision Modes
The camera features advanced night vision. It can automatically switch between infrared (black and white) and shimmer full-color night vision depending on ambient light conditions, ensuring clear visibility even in low-light environments.

Figure 7: Demonstrates the camera's 2K resolution and color night vision capabilities.

Figure 8: Comparison of standard infrared night vision versus the camera's shimmer full-color night vision.
3. Motion and Sound Detection
The camera is equipped with AI-powered motion and sound detection. It can differentiate between persons, pets, vehicles, and packages, reducing false alarms. When motion or sound is detected, the camera will automatically track the movement, record the event, and send real-time notifications to your CloudEdge app.
- Adjust Sensitivity: You can customize detection sensitivity and set specific detection zones within the app.
- Alarms: Manual or automatic activation of flashlight and siren alarms is available for deterrence.

Figure 9: The camera detects motion and sound, sending instant alerts to your smartphone.

Figure 10: The camera's AI can distinguish between different types of motion, such as pets, vehicles, humans, and packages.

Figure 11: Customize motion detection areas and schedules within the app.
Video 1: An official product video demonstrating the camera's ability to capture and track movement, featuring a curious cat. This highlights its use for pet monitoring.
Video 2: An official product video showcasing the camera's general outdoor performance and motion detection capabilities.
4. Two-Way Audio
Utilize the two-way audio feature to communicate directly through the camera. This is ideal for speaking with delivery personnel, family members, or deterring unwanted visitors.

Figure 12: Real-time two-way audio allows communication with individuals near the camera.
5. Storage and Playback
The camera offers two storage options:
- Cloud Storage: Enjoy free 7-day rolling cloud storage for event recordings, accessible from anywhere.
- Micro SD Card: Insert a Micro SD card (up to 128GB, not included) for 24/7 continuous recording or event-triggered recording, even without internet access.
View recorded footage directly from the CloudEdge app. You can select specific dates and times for playback and adjust playback speed.

Figure 13: The app interface for viewing continuous and event-triggered recordings.

Figure 14: The app allows seamless playback of both cloud and local SD card recordings.


Figure 15: Details on free cloud storage and Micro SD card compatibility.
6. Privacy Protection
To protect your privacy, you can disable the camera's live view and recording functions directly from the CloudEdge app. You can also encrypt your recorded videos for added security.

Figure 16: Easily manage your privacy settings, including scheduling on/off times for the camera.
Maintenance
- Cleaning: Regularly wipe the camera lens and body with a soft, dry cloth to remove dust and smudges. Do not use harsh chemicals or abrasive materials.
- Firmware Updates: Check the CloudEdge app periodically for firmware updates. Keeping your camera's firmware up-to-date ensures optimal performance, new features, and security enhancements.
- Environmental Considerations: While designed for outdoor use, ensure the camera is installed in a location protected from direct heavy rain or extreme weather conditions to prolong its lifespan.
Troubleshooting
| Problem | Possible Solution |
|---|---|
| Camera fails to connect to WiFi. | Ensure your WiFi network is 2.4GHz (5GHz is not supported). Check WiFi signal strength at the camera's location. Move the camera closer to the router if necessary. Restart your router and the camera. |
| Frequent disconnections or poor video quality. | Verify strong 2.4GHz WiFi signal. Reduce interference from other electronic devices. Ensure sufficient internet bandwidth. |
| Motion detection alerts are too frequent or not triggering. | Adjust motion detection sensitivity in the CloudEdge app. Utilize the "Human Only" detection mode to filter out non-human movements. Define specific activity zones to monitor only relevant areas. |
| Two-way audio is unclear or has echo. | Ensure there is no obstruction near the microphone or speaker. Reduce background noise. Adjust volume settings in the app. |
| SD card not recognized or not recording. | Ensure the Micro SD card is correctly inserted (up to 128GB, Class 10 or higher recommended). Format the SD card through the app settings. Replace the SD card if it's faulty. |
Specifications
| Feature | Detail |
|---|---|
| Model Number | LC323 |
| Video Capture Resolution | 2K (3MP Max Webcam Image Resolution) |
| Connectivity | 2.4GHz Wi-Fi (Not support 5GHz WiFi) |
| Power Source | E27 Light Base/Light Socket |
| Pan Range | 352 Degrees |
| Tilt Range | 46.5 Degrees |
| Night Vision Range | 33 Feet (Infrared and LED) |
| Storage Options | Cloud Storage (Free 7-day Rolling), Micro SD Card (Max 128GB) |
| Two-Way Talk | Yes |
| Motion Detection | AI-powered (Persons, Pets, Vehicles, Packages) |
| Dimensions (L x W x H) | 5.98 x 2.76 x 2.76 inches |
| Item Weight | 6.6 ounces |
| Indoor/Outdoor Usage | Indoor & Outdoor (Note: Not waterproof, ensure protected outdoor installation) |
Warranty and Support
For warranty information, technical support, or further assistance, please refer to the official PM POPMAKE website or contact their customer service directly. You may also find additional resources and FAQs on the product's purchase page on Amazon.
Additional user guides and manuals may be available in PDF format:


