1. Introduction
This manual provides essential information for the safe and efficient operation of your LG F4WR6011A0W 11kg AI Direct Drive washing machine. Please read it thoroughly before using the appliance and keep it for future reference. This washing machine features advanced technologies such as AI Direct Drive for fabric care, TurboWash 360 for quick and efficient washing, and Steam+ for enhanced hygiene.
2. Safety Information
Always follow basic safety precautions when using this appliance to reduce the risk of fire, electric shock, or injury to persons. Keep children away from the appliance. Do not allow children to play on or in the appliance. Ensure the power cord is not damaged. Do not install the washing machine in areas exposed to freezing temperatures. Always unplug the appliance before cleaning or performing maintenance. Do not wash items that have been contaminated with flammable substances.
3. Product Overview
3.1 Key Features
- AI Direct Drive: Utilizes artificial intelligence to detect fabric characteristics and load weight, optimizing wash patterns to reduce fabric wear by up to 10%.
- TurboWash 360: Provides a fast wash cycle, completing a full load in 39 minutes while saving up to 28% electricity. Four spray nozzles cover the drum 360 degrees.
- Steam+: Reduces 99.9% of viruses, bacteria, and allergens, offering maximum hygiene and wrinkle reduction.
- Wi-Fi ThinQ App: Allows remote control, monitoring, and downloading of additional wash programs, including a microplastic reduction program.
- Durable Construction: Features stainless steel lifters for enhanced hygiene (99% anti-bacterial) and durability, along with a scratch-resistant tempered glass door.
- Smart Diagnosis System: Transmits incidence data to technical service via your mobile device, saving time and effort for troubleshooting.
3.2 Components
Familiarize yourself with the main parts of your washing machine:
Front view of the LG F4WR6011A0W washing machine, showcasing the control panel, detergent dispenser, and main door.

The washing machine with its door open, revealing the drum interior.

Close-up of the detergent dispenser tray, showing compartments for pre-wash, main wash, and softener.

Interior view of the stainless steel drum with lifters, designed for effective washing and fabric care.
4. Setup and Installation
4.1 Unpacking and Positioning
Carefully remove all packaging materials. Ensure the washing machine is placed on a firm, level surface. Adjust the leveling feet to prevent vibration and noise during operation. Maintain adequate space around the machine for ventilation and service access.
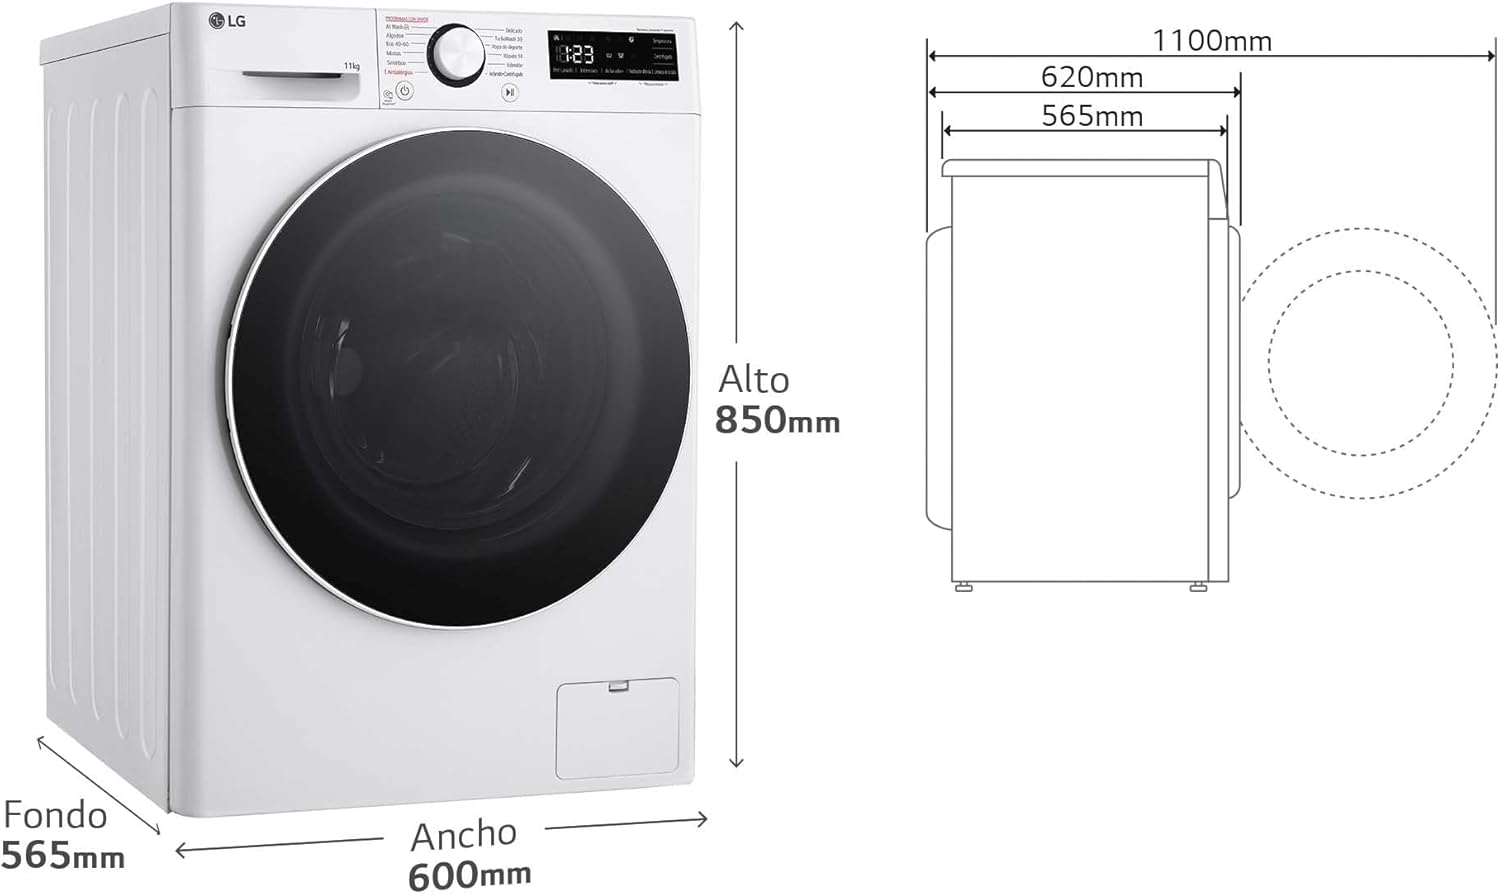
Diagram illustrating the dimensions of the washing machine: 850mm height, 600mm width, and 565mm depth.
4.2 Water and Drain Connections
Connect the water inlet hoses to the hot and cold water taps. Ensure connections are tight to prevent leaks. Position the drain hose securely into a standpipe or laundry tub, ensuring it is not kinked or blocked.
4.3 Electrical Connection
Plug the power cord into a grounded electrical outlet. Do not use extension cords or adapters. Ensure the voltage and frequency match the specifications of your appliance.
5. Operating Instructions
5.1 Control Panel Overview

Close-up of the control panel, featuring the program selector dial, digital display, and various function buttons.
The control panel consists of a program selector dial, a digital display, and touch buttons for various functions such as temperature, spin speed, and special options.
5.2 Loading Laundry
Open the door and load laundry into the drum. Do not overload the machine; ensure there is enough space for clothes to tumble freely. Close the door firmly.
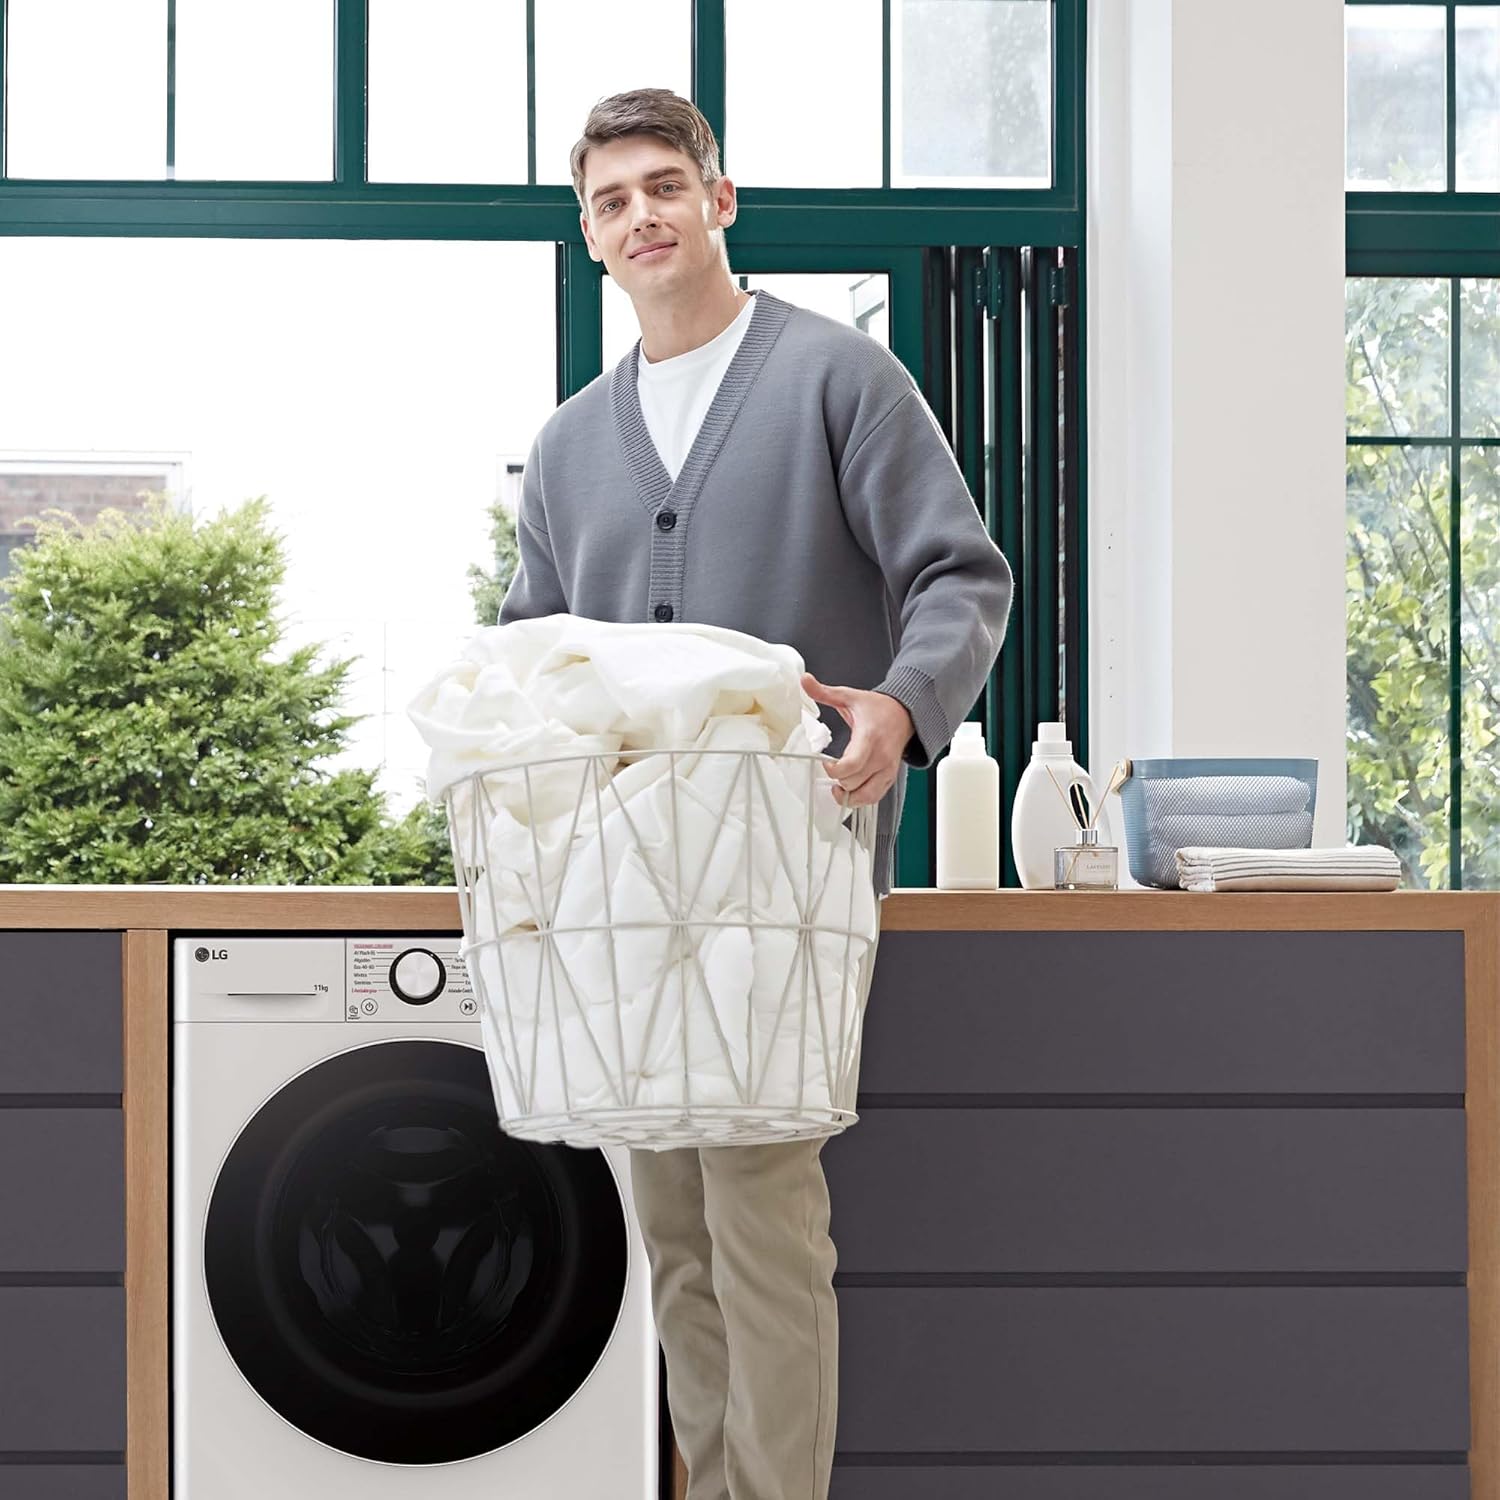
A person loading clothes into the washing machine drum.
5.3 Adding Detergent and Softener
Pull out the detergent dispenser drawer. Add the appropriate amount of detergent to the main wash compartment and fabric softener to its designated compartment. Close the drawer gently.
5.4 Selecting a Wash Program
Turn the program selector dial to choose the desired wash program (e.g., Cotton, Eco 40-60, Mixed, Synthetics, Delicates, TurboWash 39, AI Wash). The digital display will show the estimated cycle time and default settings.
5.5 Using Special Functions
- AI DD: This function automatically detects fabric type and load weight to optimize washing motions.
- TurboWash 360: Select this option for a faster, efficient wash cycle.
- Steam+: Activate this for enhanced hygiene and wrinkle care.
- Wi-Fi ThinQ: Connect your washing machine to the LG ThinQ app for remote control and additional program downloads.

Visual explanation of AI Direct Drive technology, showing how it detects fabric and load to optimize washing.

Image depicting TurboWash 360 technology, highlighting a 39-minute wash time.

Illustration of Steam+ technology, showing its effectiveness against viruses and bacteria.
5.6 Starting the Wash Cycle
Press the Start/Pause button to begin the selected wash cycle.
6. Maintenance
6.1 Cleaning the Detergent Dispenser
Regularly clean the detergent dispenser drawer to prevent residue buildup. Remove the drawer, rinse it under running water, and use a brush if necessary. Dry thoroughly before reinserting.
6.2 Cleaning the Drum
Run a 'Tub Clean' cycle periodically to maintain drum hygiene and prevent odors. Refer to the control panel for specific instructions on activating this cycle.
6.3 Cleaning the Drain Filter
The drain filter should be cleaned regularly to ensure proper drainage. Locate the filter access panel at the bottom front of the machine, open it, and carefully remove the filter. Clean any lint or debris and reinsert it securely.
6.4 Exterior Care
Wipe the exterior of the washing machine with a soft, damp cloth. Avoid abrasive cleaners or solvents that could damage the finish.
7. Troubleshooting
If you encounter any issues with your washing machine, refer to the following common problems and solutions:
- Machine does not start: Check if the power cord is securely plugged in, the door is fully closed, and the water supply taps are open.
- Water leakage: Ensure all hose connections are tight and the drain hose is properly installed. Check the drain filter for blockages.
- Unusual noise or vibration: Verify that the machine is level and all transit bolts have been removed. Ensure the load is balanced inside the drum.
- Poor washing results: Check detergent dosage, water temperature, and selected wash program. Avoid overloading.
7.1 Smart Diagnosis
For more complex issues, utilize the Smart Diagnosis feature. Bring your mobile phone close to the washing machine, and it will transmit diagnostic information to LG service, helping to identify and resolve problems efficiently.

Illustration of the Smart Diagnosis system, showing a phone interacting with the washing machine to transmit data.
8. Specifications
| Feature | Specification |
|---|---|
| Model Number | F4WR6011A0W |
| Capacity | 11 Kilograms |
| Dimensions (D x W x H) | 56.6 x 60 x 85 cm |
| Weight | 74 kg |
| Max Spin Speed | 1400 rpm |
| Energy Efficiency Class | A |
| Loading Type | Front Load |
| Color | White |
| Material | Stainless steel, Tempered glass |
| Special Features | AI Direct Drive, TurboWash 360, Steam+, Wi-Fi ThinQ |
9. Warranty and Support
9.1 Motor Warranty
This LG washing machine features a lifetime warranty on the motor. This coverage extends for 30 years on the part itself (3 years legal warranty + 27 years commercial warranty). This warranty specifically covers the cost of the part; additional expenses are the responsibility of the customer. The coverage provided exceeds the average lifespan of the product (11 years, according to an independent study). For more information, please visit https://tuserviciolg.com/promociones/garantiadeporvida.

Image highlighting the lifetime warranty on the LG washing machine motor.
9.2 Customer Support
For further assistance, technical support, or warranty claims, please contact LG Customer Service. Refer to your product documentation or the official LG website for contact details specific to your region.