
A-MIND CPH2195, OPG02
A-MIND Screen Replacement Kit User Manual
For Oppo A54 5G CPH2195 OPG02 LCD Display Full Assembly
1. Introduction
This user manual provides essential information and guidelines for the installation and proper handling of the A-MIND LCD Display Full Assembly Repair Kit for the Oppo A54 5G. It is designed to assist users in understanding the product's components, safety precautions, and testing procedures. Please read this manual carefully before attempting any installation.
2. Compatibility
This screen replacement kit is specifically designed for the OPPO A54 5G model, identified by model numbers CPH2195 and OPG02, with a screen size of 6.5 inches. Please verify your device's model number before proceeding with the installation to ensure compatibility.
3. Package Contents
Upon opening your A-MIND screen replacement kit, please ensure all the following items are present and undamaged:
- 1 x LCD Touch Digitizer Assembly for Oppo A54 5G
- 1 x Set of Repair Tools (may include screwdrivers, prying tools, suction cup, SIM ejector tool, adhesive strips)

Image: Contents of the A-MIND screen replacement kit, showing the LCD assembly and included repair tools.
4. Important Safety Information and Precautions
Installation of this product requires a certain level of technical skill and specialized equipment. For personal use or non-professionals, it is strongly recommended to seek professional service for installation. Damage caused by incorrect installation is not covered by warranty.
- Fragile Component: The LCD is a fragile component. Handle with extreme care. Avoid applying excessive force or bending the screen or flex cables.
- Static Electricity: Pay close attention to static electricity. Always ground yourself using an ESD (Electrostatic Discharge) wrist strap before handling electronic components to prevent damage.
- Battery Disconnection: Before beginning any work, ensure the phone's battery cable is disconnected to prevent short circuits or damage.
- Pre-Installation Test: It is crucial to test the new screen assembly before full installation. Do not remove any protective films or labels until the screen has been fully tested and confirmed to be working correctly.
- No Forcible Installation: If the screen does not fit or connect easily, do not force it. Re-check compatibility and alignment.
- Tool Limitations: The provided tools are universal and may not be suitable for all phone models or specific repair steps. Additional tools may be required.
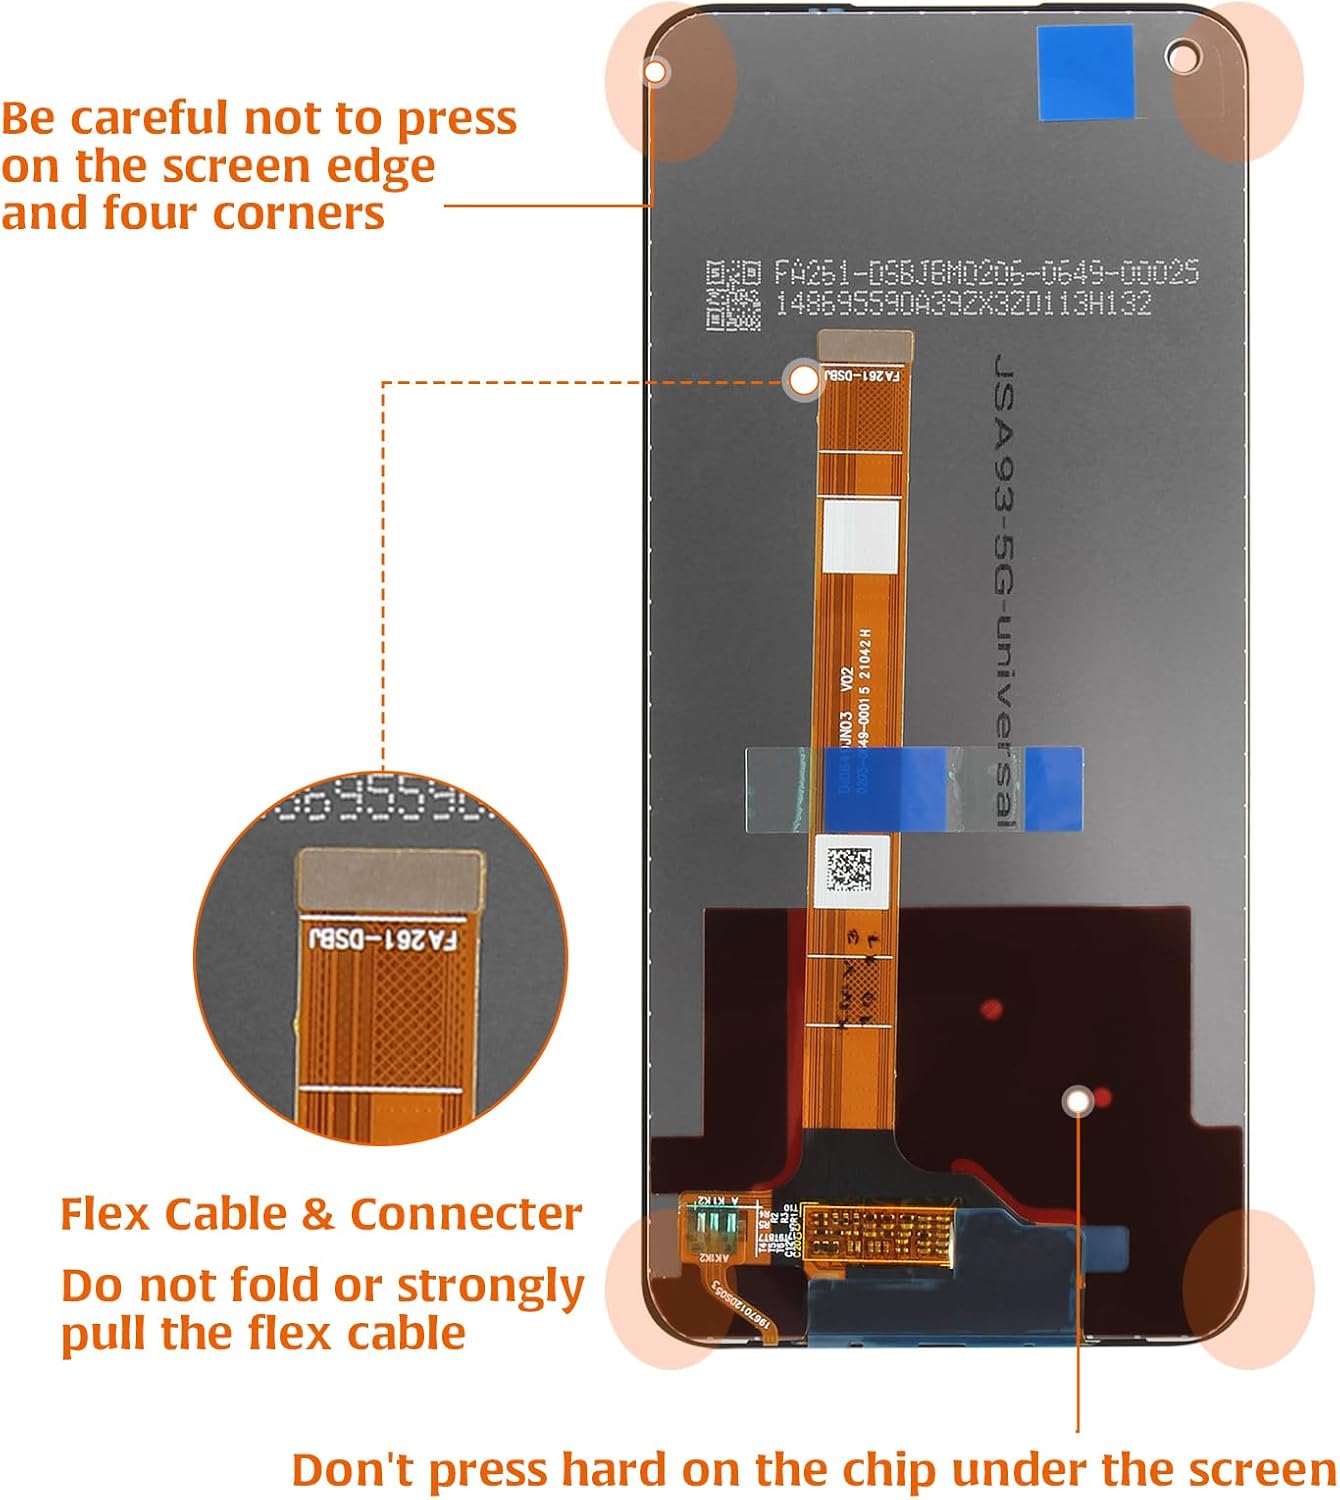
Image: Visual guide highlighting sensitive areas of the screen and flex cable, emphasizing not to press on edges or fold the cable.
5. Installation Guide
This kit does not include detailed installation tutorials. We highly recommend watching comprehensive installation videos on platforms like YouTube by searching for "Oppo A54 5G screen replacement" before attempting the repair. The following steps provide a general overview of the process:
- Preparation:
- Power off your phone completely.
- Gather all necessary tools, including those provided and any additional tools you may need (e.g., heat gun/hair dryer for adhesive).
- Ensure you are working in a clean, well-lit, and static-free environment. Use an ESD wrist strap.
- Disassembly:
- Carefully remove the SIM card tray.
- Apply heat to the edges of the phone to soften the adhesive holding the back cover or screen.
- Use prying tools to carefully separate the back cover or screen from the phone frame.
- Disconnect the battery flex cable from the motherboard. This is a critical safety step.
- Disconnect the old screen's flex cable(s) from the motherboard and remove the damaged screen.
- Pre-Installation Test (Simulation Test):
- Without fully installing the new screen, carefully connect its flex cable(s) to the corresponding connectors on the phone's motherboard.
- Reconnect the battery cable.
- Power on the phone.
- Test all functions of the new screen: touch responsiveness across the entire display, display quality (check for dead pixels, lines, color issues), brightness adjustment, and any other relevant functions.
- If any abnormality is observed, power off the phone, disconnect the battery, and contact customer support immediately with video or photo evidence. Do NOT proceed with full installation.
- Final Installation:
- If the pre-installation test is successful, power off the phone and disconnect the battery.
- Carefully remove all protective films and labels from the new screen.
- Apply new adhesive to the phone frame if necessary.
- Carefully align and secure the new screen assembly into the phone frame.
- Reconnect all flex cables, including the battery cable.
- Reassemble the phone, ensuring all screws and covers are properly secured.
- Post-Installation Check:
- Power on the phone and perform a final check of all screen functions.
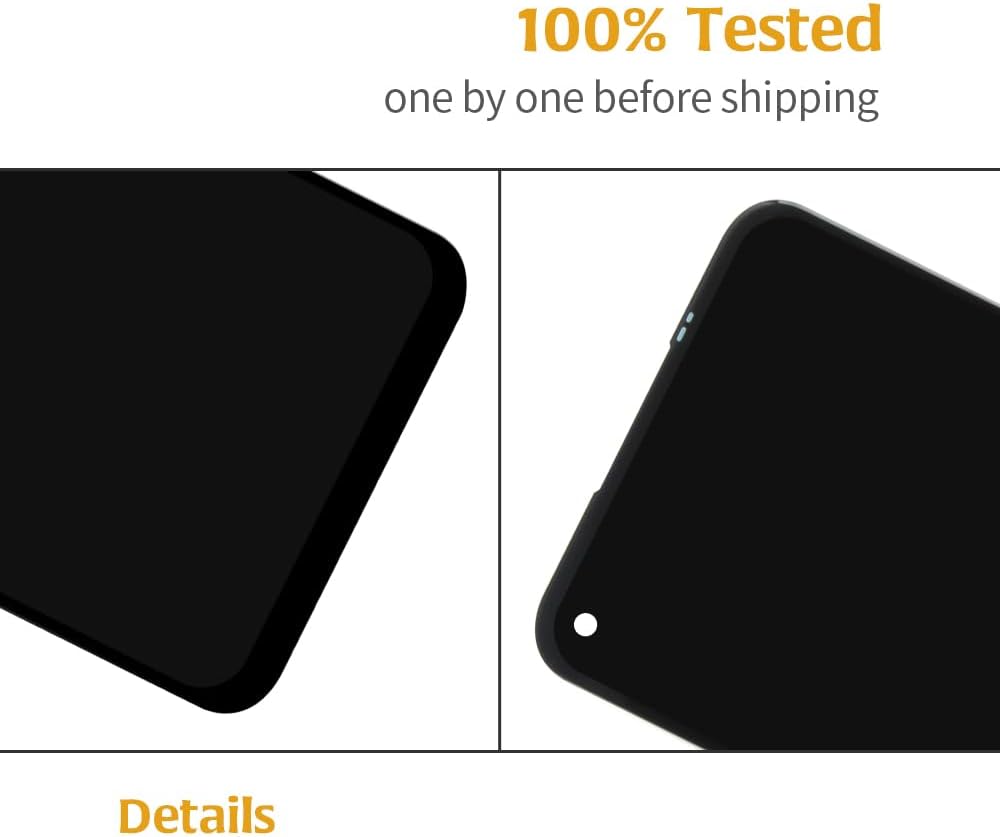

Images: These close-up views demonstrate the quality control process, showing the screen's edges and flex cable, which are 100% tested before shipment.
6. Maintenance
Once installed, treat your new screen with care to ensure its longevity:
- Avoid dropping the phone or subjecting it to strong impacts.
- Do not place heavy objects on the screen.
- Clean the screen with a soft, lint-free cloth. Avoid harsh chemicals or abrasive materials.
- Consider using a screen protector and a protective case for added durability.
7. Troubleshooting
If you encounter issues after installation or during the pre-installation test, refer to the following common problems and solutions:
| Problem | Possible Cause | Solution |
|---|---|---|
| Screen does not turn on / Black screen | Loose flex cable connection, damaged flex cable, battery not connected, faulty screen. | Ensure all flex cables (screen and battery) are securely connected. Re-test. If issue persists, contact support. |
| Touch not responding / Partial touch | Loose digitizer flex cable, damaged digitizer, software glitch. | Check digitizer flex cable connection. Restart phone. If issue persists, contact support. |
| Lines on screen / Discoloration / Dead pixels | Damaged LCD, pressure applied during installation, faulty screen. | This usually indicates a hardware issue with the LCD. If observed during pre-installation test, do not install and contact support. |
| Screen flickers | Loose connection, power issue, faulty screen. | Check all connections. Ensure battery is properly connected. If issue persists, contact support. |
Important: If you receive a broken, damaged, or missing item, or if you encounter any abnormalities during the pre-installation test, do not install the screen. Take photos or videos of the issue and contact our service team immediately.
8. Specifications
| Feature | Specification |
|---|---|
| Product Model Numbers | CPH2195, OPG02 |
| Compatible Device | Oppo A54 5G |
| Screen Size | 6.5 inches |
| Resolution | 1080*2400 pixels |
| Pixel Density | 405 ppi |
| Color | Black |
| Item Weight | 4.6 ounces |
| Package Dimensions | 7.56 x 4.06 x 1.26 inches |

Image: Detailed specifications of the screen, including screen size, resolution, pixel density, and compatible model.
9. Warranty and Support
A-MIND offers a 3-month free replacement or refund coverage for non-human product damage and faults. This warranty does not cover damages or malfunctions caused by incorrect installation work or misuse.
If you require further assistance, have questions, or need to report an issue, please email our service team with attached photos or videos of the problem. Our customer service staff is always available to assist you.
Related documentsCPH2195, OPG02


Ask a question about this manual
Ask about setup, troubleshooting, compatibility, parts, safety, or missing instructions. Manuals+ will review the question and use this page’s manual context to help answer it.