
1. Introduction
Thank you for choosing the Luqeeg K6 Drone. This advanced folding quadcopter is equipped with three HD cameras, offering a real-time viewing experience and versatile shooting angles. Designed for both beginners and experienced users, it features innovative stability with optical positioning hovering and an intelligent four-way obstacle avoidance system for safe and enjoyable flights. This manual provides essential information for setting up, operating, and maintaining your K6 Drone.
2. What's in the Box
Upon unboxing your Luqeeg K6 Drone, please verify that all the following components are included:
- 1 x K6 Drone
- 1 x Remote Control
- 1 x Storage Bag
- 1 x Body Battery
- 4 x Spare Blades
- 4 x Protective Frames
- 1 x USB Charging Cable
- 1 x Screwdriver
- 2 x Instructions Manuals


3. Setup
3.1. Unfolding the Drone
- Carefully unfold the drone arms until they lock into place.
- Ensure all four arms are fully extended and stable before flight.
3.2. Battery Installation and Charging
- Insert the fully charged body battery into the designated compartment on the drone until it clicks securely.
- To charge the battery, remove it from the drone and connect it to the USB charging cable. Connect the cable to a suitable USB power source.
3.3. Controller Setup
- Power on the remote control.
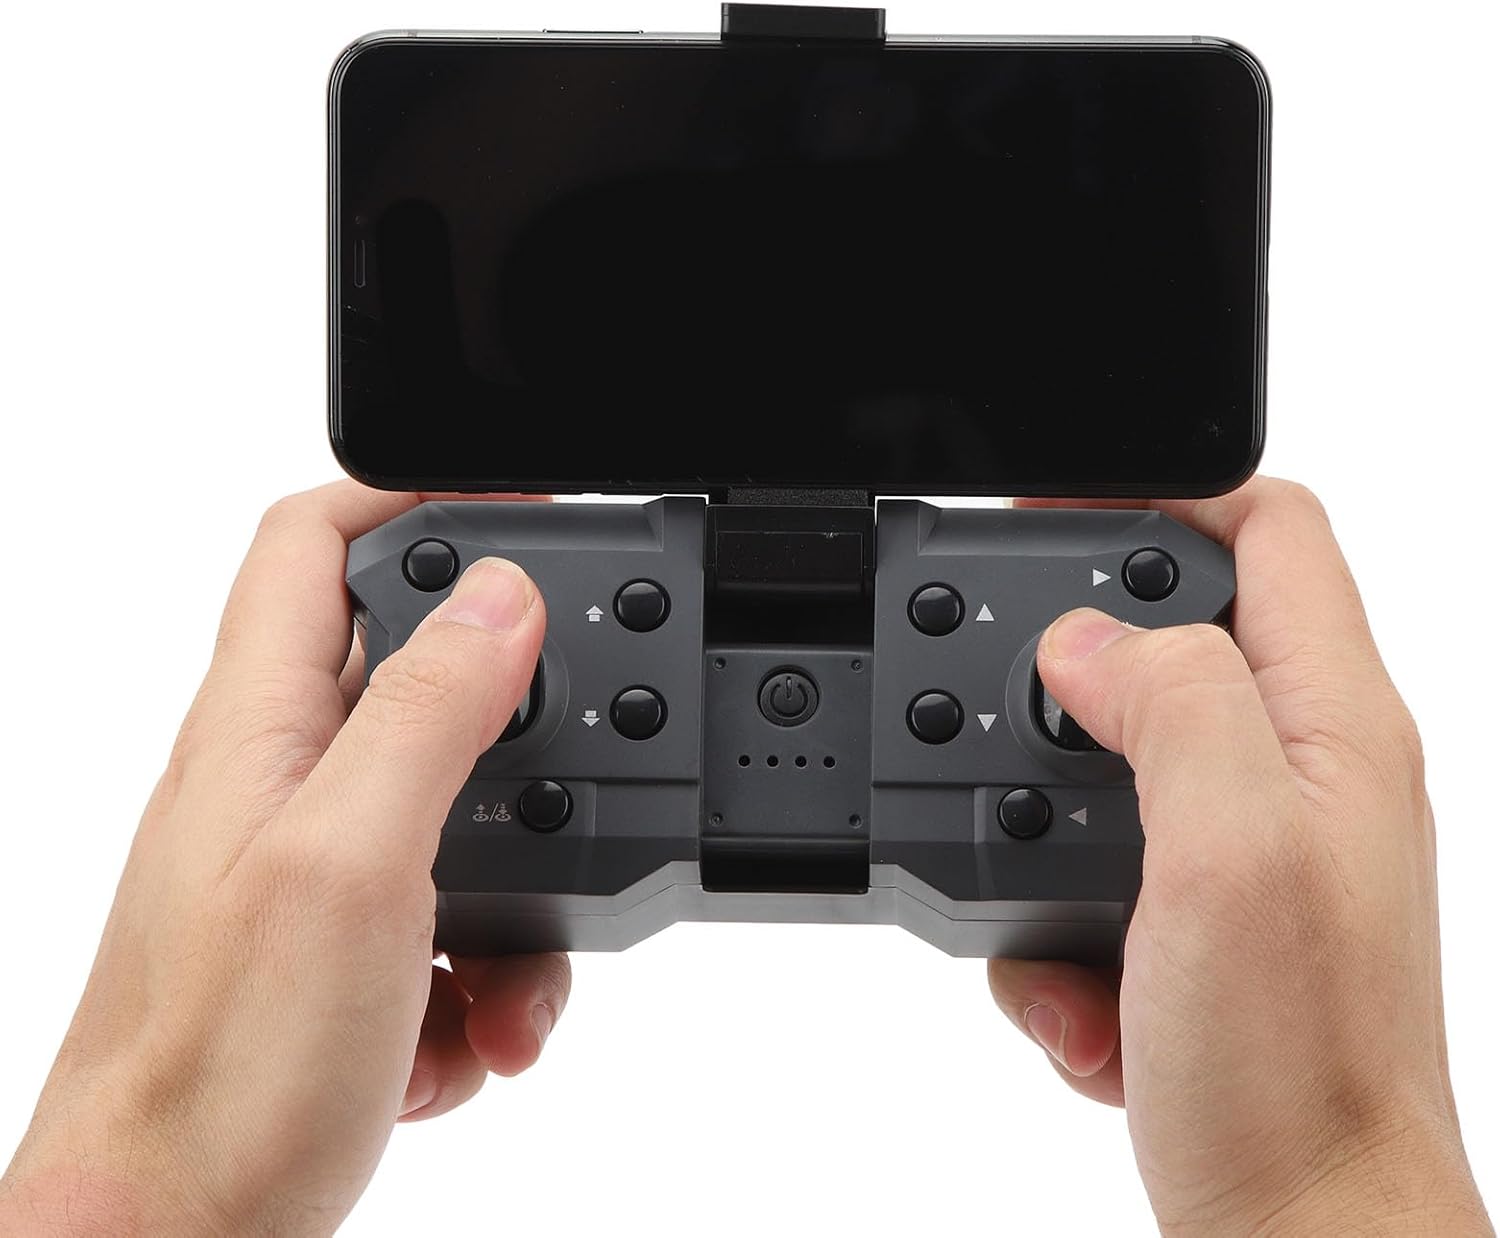
- If using a smartphone for real-time viewing, extend the phone holder on the remote and securely place your smartphone.
- Download the compatible mobile app for the K6 Drone from your device's app store.
- Connect your smartphone to the drone's Wi-Fi network (details in the app or quick start guide).
4. Operating the Drone
4.1. Basic Flight Controls
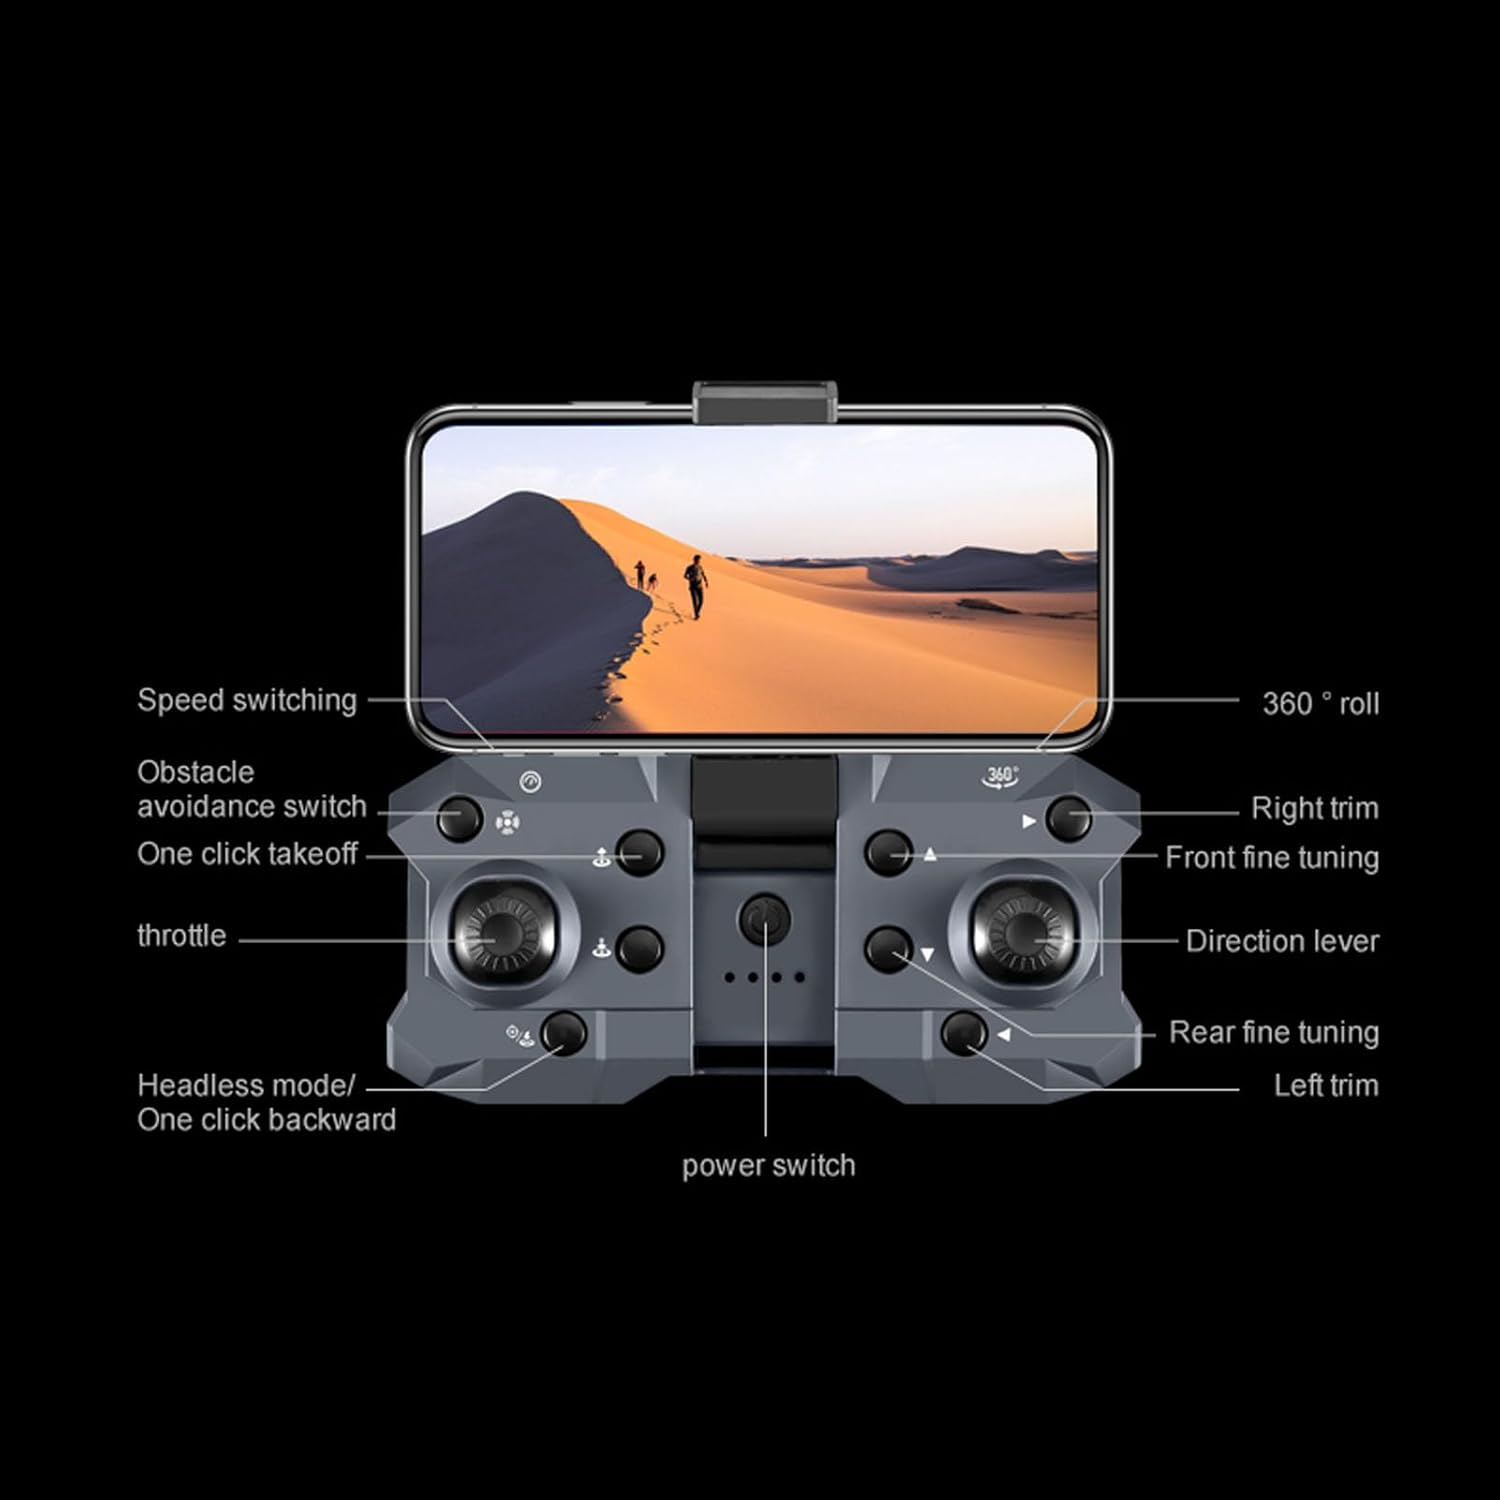
- Power On: Press and hold the power button on the drone until indicator lights illuminate.
- Calibration: Perform one-touch calibration as indicated in the quick guide or app to ensure stable flight.
- Takeoff/Landing: Use the one-touch takeoff/landing button on the remote for automated ascent and descent.
- Throttle: The left joystick controls altitude (up/down).
- Direction: The right joystick controls forward/backward and left/right movement.
- Trim: Use trim buttons to correct any unintended drifting during flight.
4.2. Camera Operation
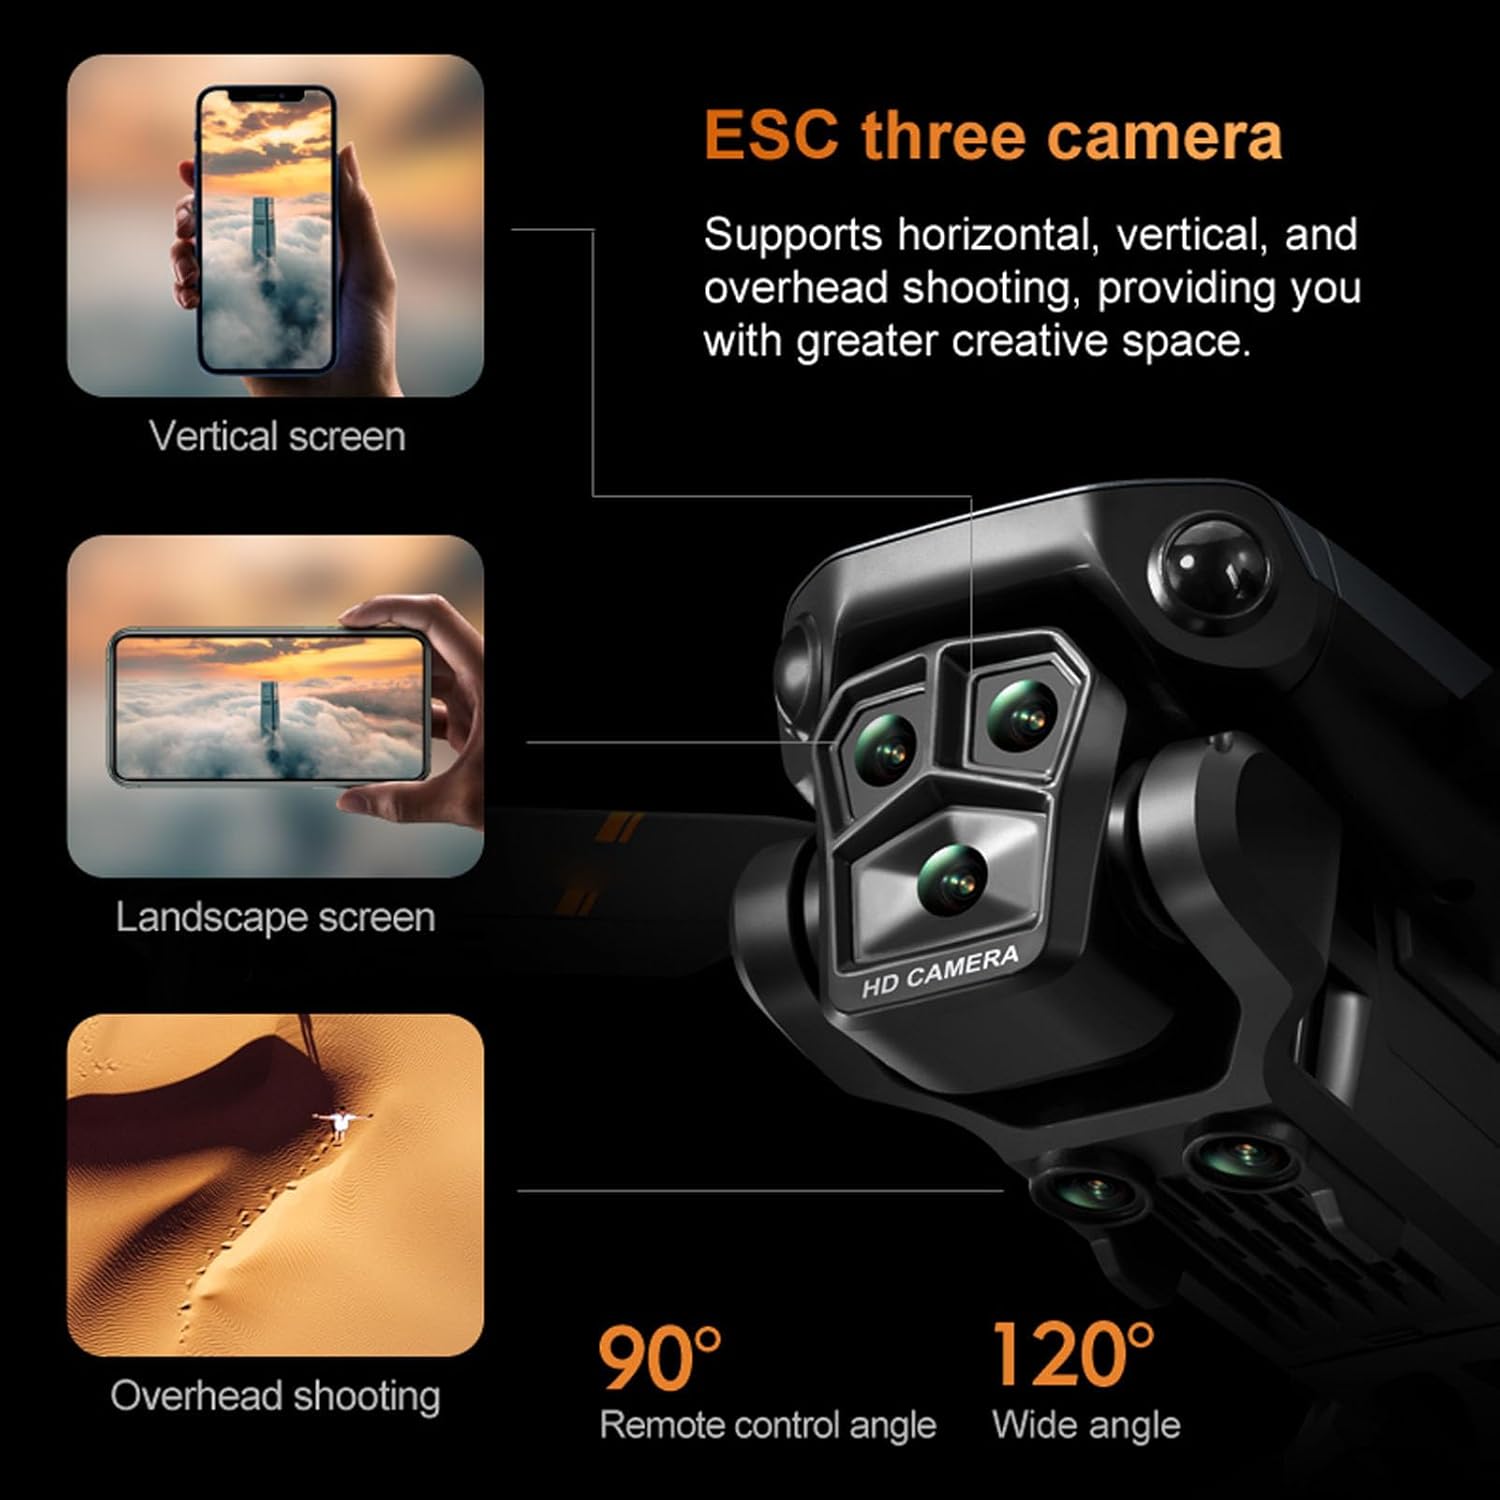
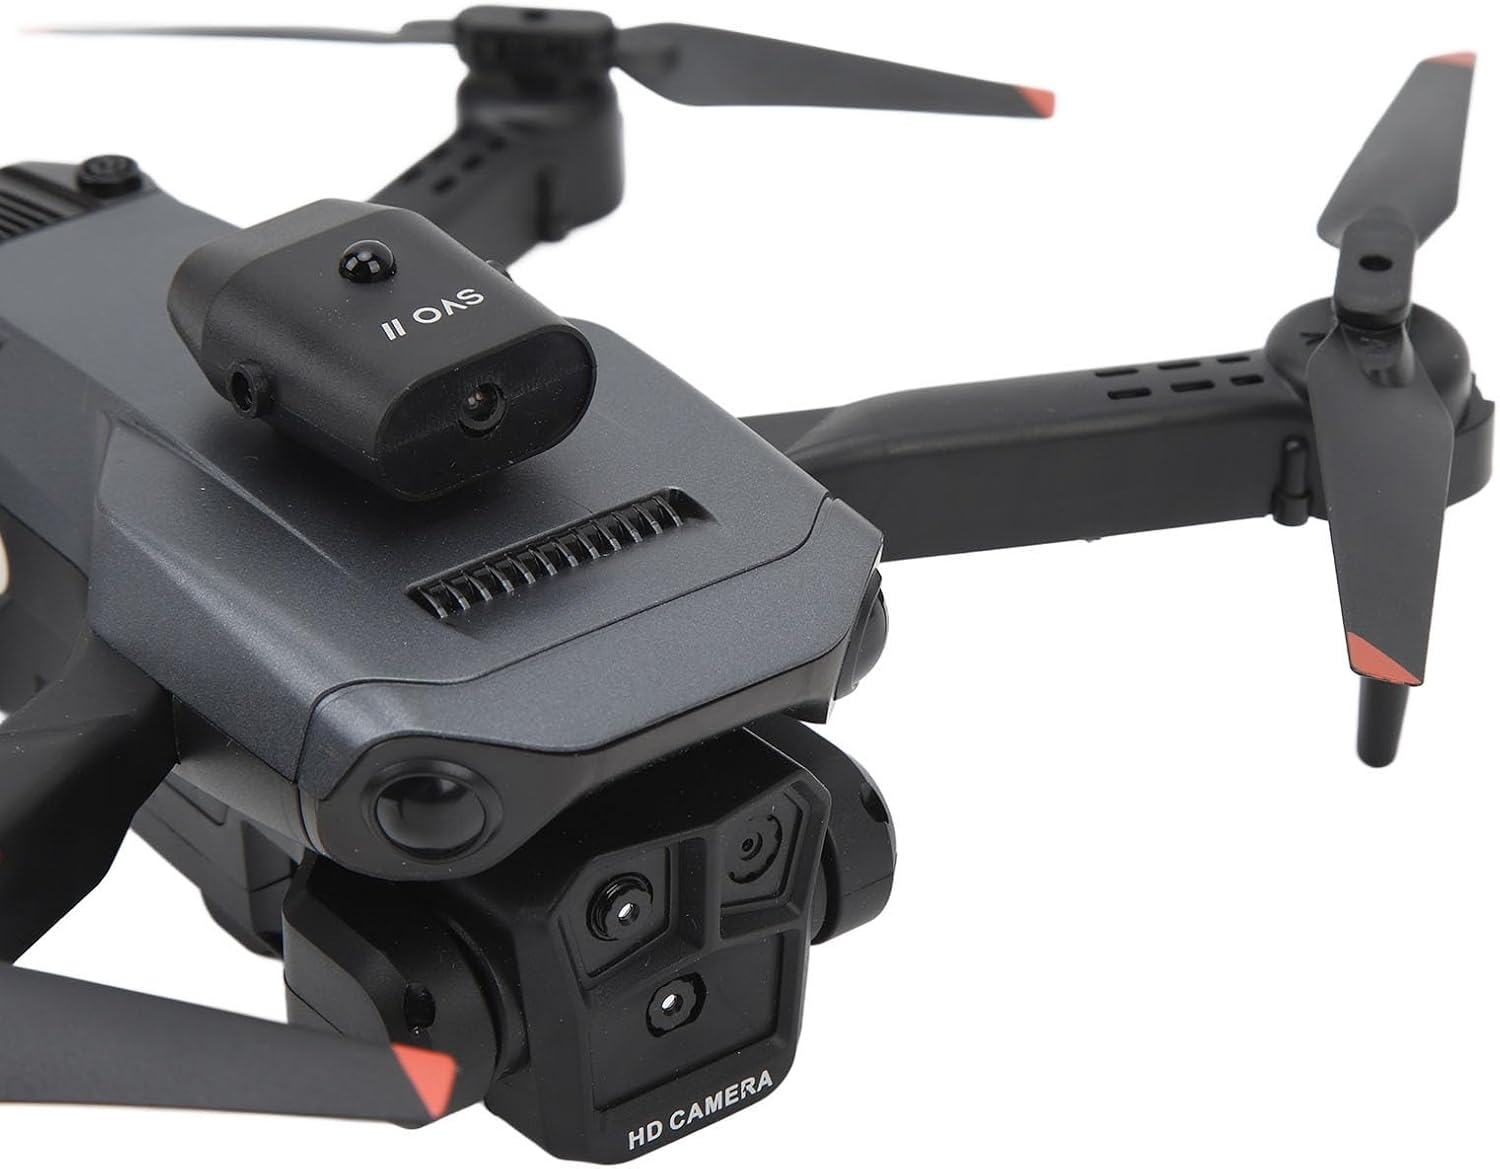
The K6 Drone features a high-quality three-camera system supporting horizontal, vertical, and overhead shooting. The camera angle can be adjusted via the remote control.
- Angle Adjustment: Use the dedicated buttons on the remote to pan the camera up and down 90 degrees.
- Photo/Video: Use the photo and video buttons on the remote to capture images or start/stop video recording.

4.3. Special Features
- Optical Positioning Hovering: The drone can maintain its flight altitude stably, making it easier to control and capture steady shots.
- Intelligent Obstacle Avoidance: Equipped with a four-way intelligent obstacle avoidance system, the drone detects potential barriers and adjusts its course to prevent collisions.
- Speed Modes: Select from various flight performance modes (slow, medium, high) to match your skill level and desired flight experience.
- 360° Flip: Use the dedicated 360° trick button on the remote to perform aerial maneuvers (left, right, forward, or back flips).

5. Maintenance
- Battery Care: Always use the provided USB charging cable. Do not overcharge or completely drain the battery. Store batteries in a cool, dry place.
- Propeller Replacement: In case of damage, replace propellers using the spare blades and screwdriver provided. Ensure correct orientation of new propellers.
- Cleaning: Gently wipe the drone body and camera lenses with a soft, dry cloth. Avoid using liquids or harsh chemicals.
6. Troubleshooting
- Drone not calibrating: Ensure the drone is placed on a flat, level surface before initiating one-touch calibration. Repeat calibration if necessary.
- Camera not working with controller: Verify that the mobile app is correctly connected to the drone's Wi-Fi. Ensure the drone battery is sufficiently charged.
- Short flight time: Ensure batteries are fully charged before each flight. Flight duration can vary based on flight speed, maneuvers, and wind conditions.
- Drone drifting: Use the trim buttons on the remote control to adjust and stabilize the drone's hover.
7. Specifications
| Brand | Luqeeg |
| Model Name | Luqeegmk86ewyruz |
| Special Feature | Four-way intelligent obstacle avoidance system |
| Age Range (Description) | 14+ years (168 months) |
| Video Capture Resolution | 4K |
| Connectivity Technology | Wi-Fi |
| Skill Level | Beginner |
| Battery Capacity | 1800 Milliamp Hours |
| Maximum Range | 100 Meters |
| Material | Plastic |
| Product Dimensions | 7.9"L x 6.1"W x 2.8"H |
| Item Weight | 11.6 ounces |

8. Warranty and Support
For warranty information or technical support, please refer to the contact details provided in the included instruction manuals or visit the official Luqeeg website. Keep your purchase receipt for warranty claims.