
1. Introduction
The RunCam Racer Nano 4 is a compact FPV camera designed for racing drones, featuring a waterproof and dustproof construction suitable for all-weather conditions. It offers a 1200TVL Super WDR CMOS sensor, a wide field of view, and enhanced durability for reliable performance in demanding environments.

Image 1: The RunCam Racer Nano 4 FPV Camera, showcasing its compact design and lens.
2. What's in the Box
Upon unboxing your RunCam Racer Nano 4, verify that all components are present:
- 1x Camera
- 1x ABS bracket
- 1x Control Cable
- 1x Set of screws

Image 2: Diagram illustrating the components included in the RunCam Racer Nano 4 package, including the camera, ABS bracket, control cable, and screws.
3. Specifications
| Feature | Detail |
|---|---|
| Product Name | RunCam Racer Nano 4 |
| Image Sensor | Super WDR CMOS Sensor |
| Horizontal Resolution | 1200TVL |
| Lens FOV | D:160° H:125° V:97° |
| Screen Format | 4:3 / Widescreen Switchable |
| Mirror/Flip | Available |
| Signal System | NTSC/PAL |
| Shutter | Rolling Shutter |
| WDR | Super WDR |
| Day/Night | Color |
| Menu Control | Cable Control |
| Power | DC 5-36V |
| Current | 120mA@5V, 70mA@12V |
| Housing Material | ABS |
| Net Weight | 4.5g |
| Dimensions | 14mm x 14mm x 20mm (0.55 x 0.55 x 0.79 inches) |
| Special Features | Waterproof Design, Professional LED Lighting Track Mode, Enhanced Durability |
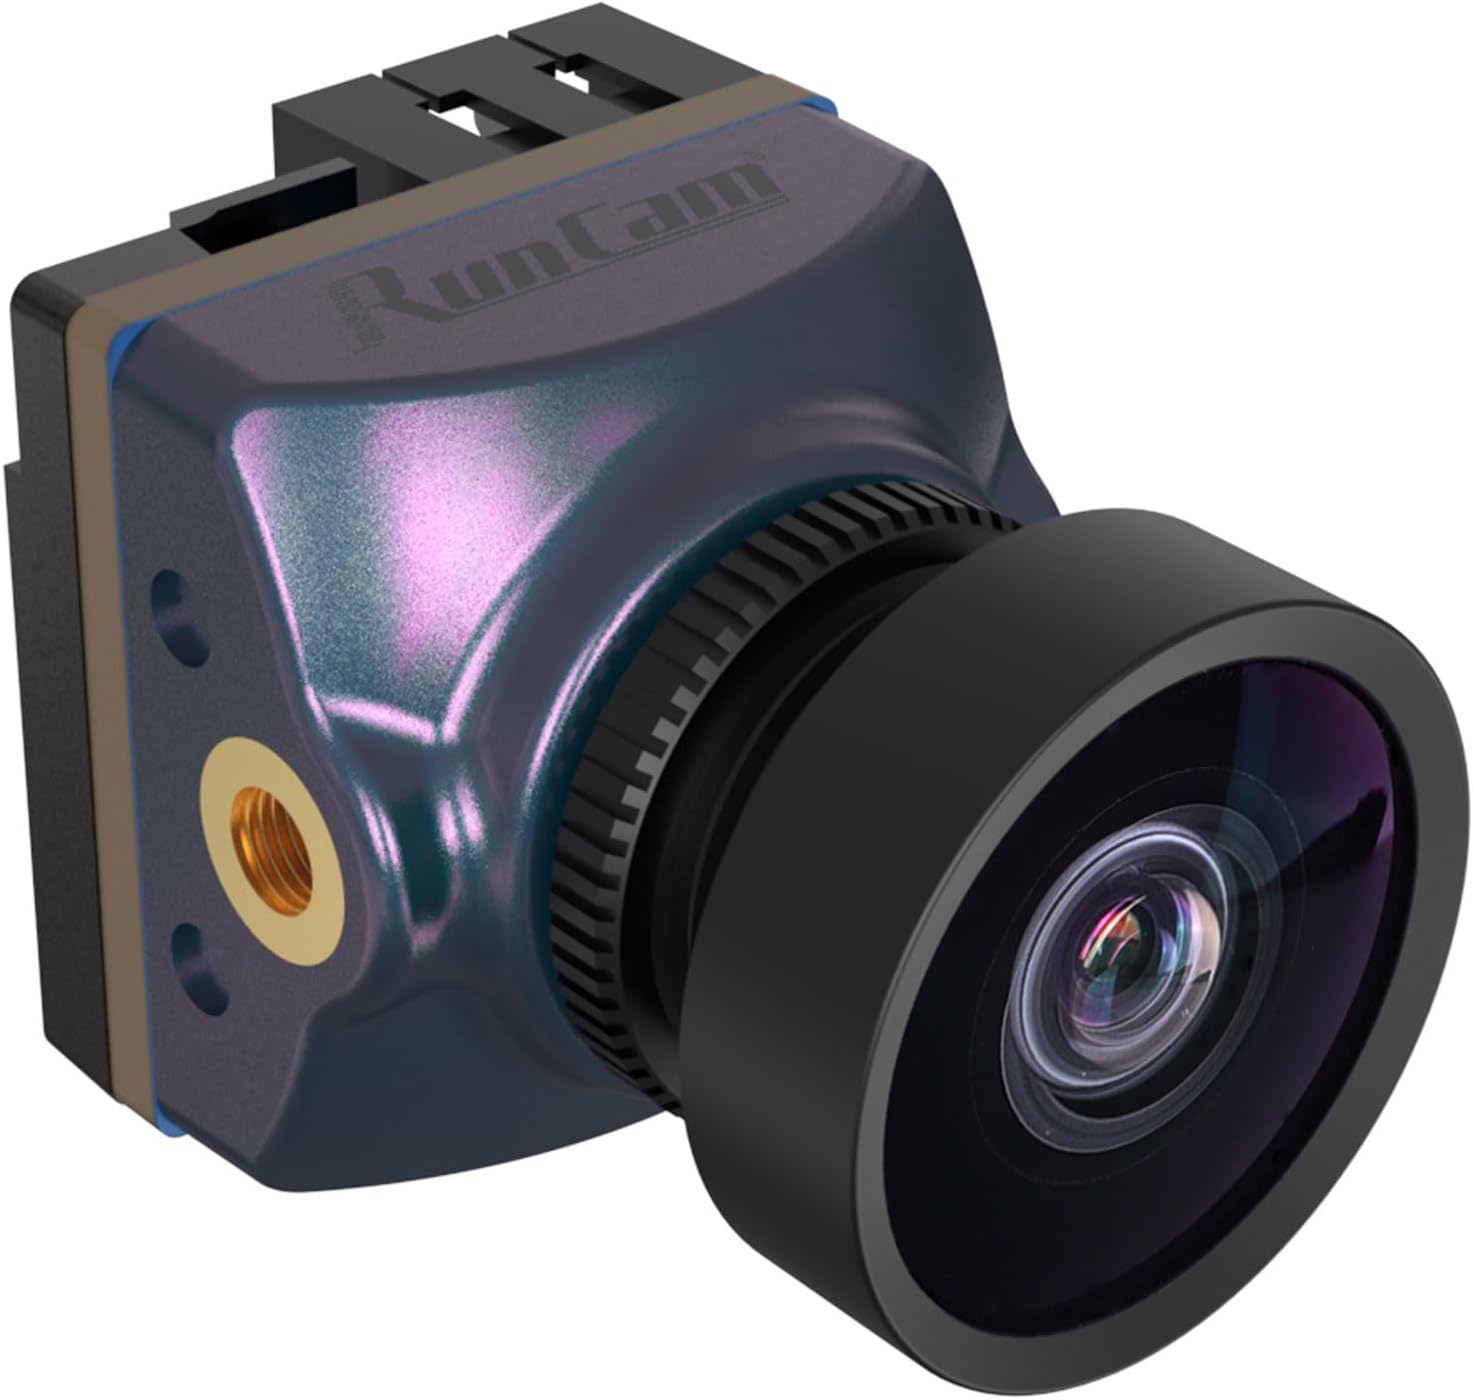
Image 3: Detailed diagram showing the dimensions of the RunCam Racer Nano 4 camera and its components, including the M8 lens and M2 screws.
4. Setup & Installation
Proper installation is crucial for optimal performance and longevity of your RunCam Racer Nano 4. Follow these general guidelines:
- Mounting: Use the provided ABS bracket and screws to securely mount the camera to your FPV drone. Ensure the camera is positioned to provide a clear, unobstructed field of view.
- Wiring: Connect the camera to your flight controller or video transmitter using the supplied control cable. The cable typically includes connections for power (DC 5-36V), ground (GND), video output, and menu control. Refer to your flight controller's manual for specific wiring diagrams.
- Power Supply: Ensure the camera receives power within its specified voltage range (DC 5-36V). Incorrect voltage can damage the camera.
- Rear Cover: The added rear cover helps prevent short circuits and provides moderate collision protection. Ensure it is properly installed after wiring.

Image 4: An exploded view of the RunCam Racer Nano 4, highlighting the rear cover designed for enhanced durability and short-circuit prevention.
Video: FPV Camera Razer Mini Unboxing and Setup
Video 1: This video demonstrates the unboxing and basic setup of an FPV camera, including wiring connections. While it features a different model (Razer Mini), the general principles of FPV camera installation and wiring are applicable to the RunCam Racer Nano 4.
5. Operating Instructions
The RunCam Racer Nano 4 is designed for straightforward operation. Once powered, it will output video according to its current settings.
- Menu Control: The camera features a cable control for accessing and adjusting its settings. This allows you to switch between 4:3 and Widescreen formats, enable Mirror/Flip functions, and fine-tune other parameters.
- Day/Night Mode: The camera operates in color mode during the day and automatically adjusts for optimal performance in low-light conditions.
- WDR (Wide Dynamic Range): The Super WDR CMOS sensor ensures clear images even in challenging lighting conditions with high contrast.
- LED Lighting Track Mode: Utilize the professional LED lighting track mode for enhanced visibility and performance during racing, especially in varying light.

Image 5: The RunCam Racer Nano 4 camera capturing footage with LED lighting, demonstrating its specialized track mode for optimal performance.
Video: RunCam Phoenix 2 SE FPV Footage
Video 2: This video displays FPV footage captured by a RunCam Phoenix 2 SE camera, illustrating the visual quality and field of view typical of RunCam FPV cameras in a racing environment.
6. Maintenance
To ensure the longevity and optimal performance of your RunCam Racer Nano 4, adhere to these maintenance practices:
- Cleaning: Gently clean the lens with a soft, lint-free cloth. Avoid abrasive materials or harsh chemicals that could scratch the lens.
- Waterproof Integrity: Although the camera is waterproof, regularly inspect the housing for any signs of damage or cracks that could compromise its sealed design.
- Cable Inspection: Periodically check the control cable for fraying, cuts, or loose connections. Replace damaged cables immediately to prevent electrical issues.
- Storage: When not in use, store the camera in a dry, cool place away from direct sunlight and extreme temperatures.
7. Troubleshooting
If you encounter issues with your RunCam Racer Nano 4, consider the following common solutions:
- No Video Output:
- Verify power connections and ensure the camera is receiving the correct voltage (5-36V DC).
- Check the video output cable for secure connections and damage.
- Confirm the video receiver/monitor is correctly configured and functioning.
- Poor Image Quality (Blurry/Distorted):
- Clean the camera lens.
- Ensure the lens is securely tightened and focused (if adjustable).
- Check for electromagnetic interference from other drone components.
- Menu Not Accessible:
- Ensure the menu control cable is properly connected to the camera and the control board.
- Verify the control board is receiving power and functioning correctly.
- Intermittent Power:
- Inspect all power connections for looseness or damage.
- Check the power source (e.g., flight controller BEC) for stable voltage output.
8. Warranty & Support
For warranty information, technical support, or service inquiries regarding your RunCam Racer Nano 4 FPV Camera, please refer to the official RunCam website or contact your authorized dealer. Keep your proof of purchase for any warranty claims.
Additional protection plans may be available for purchase separately. Consult your retailer for details on extended coverage options.