
1. Introduction
Thank you for purchasing the Vonyx Verve38 Portable PA System. This manual provides essential information for the safe and efficient operation of your device. Please read this manual thoroughly before use and retain it for future reference.
1.1 Important Safety Instructions
- Power Source: Ensure the power supply matches the voltage specified on the unit. Use only the provided power cable.
- Water and Moisture: Do not expose the unit to rain or moisture to prevent fire or electric shock. Do not place objects filled with liquids, such as vases, on the unit.
- Ventilation: Ensure adequate ventilation. Do not block ventilation openings.
- Heat: Keep the unit away from heat sources such as radiators, heat registers, stoves, or other apparatus (including amplifiers) that produce heat.
- Cleaning: Clean only with a dry cloth.
- Servicing: Do not attempt to service the unit yourself. Refer all servicing to qualified service personnel.
- Battery Safety: The unit contains a lead-acid battery. Do not expose to extreme temperatures or dispose of in fire. Recycle batteries responsibly.
- Placement: Place the unit on a stable, level surface. If using a tripod, ensure it is stable and rated for the unit's weight.
2. Package Contents
Please check that all items are present and in good condition upon unpacking:
- Vonyx Verve38 Portable PA System
- 2x UHF Wireless Microphones
- Remote Control
- Power Cable
- User Manual
3. Product Overview
Familiarize yourself with the components and controls of your Vonyx Verve38 PA system.
3.1 Front and Side View

Image 3.1: The Vonyx Verve38 Portable PA System, showing the main speaker unit, two wireless microphones, and the remote control. The speaker features a trolley handle and wheels for portability.

Image 3.2: Front view of the Vonyx Verve38 Portable PA System, highlighting the speaker grille and horn tweeter.

Image 3.3: Side view of the Vonyx Verve38 Portable PA System with its retractable trolley handle extended, demonstrating its portability.
3.2 Rear Control Panel

Image 3.4: The rear control panel of the Vonyx Verve38 Portable PA System, detailing all input/output connections and control knobs.

Image 3.5: A closer view of the Vonyx Verve38's rear control panel, highlighting the media player display, microphone inputs, and equalization controls.
- Media Player: USB port, SD card slot, Bluetooth receiver, and display for media playback.
- MIC INPUT: XLR and 6.3mm Jack inputs for wired microphones.
- AUX INPUT: RCA and 3.5mm Jack inputs for external audio devices.
- LINE OUT: RCA output for connecting to another audio system.
- MIC LEVEL: Adjusts the volume of connected microphones.
- BASS/TREBLE: Equalizer controls for adjusting low and high frequencies.
- ECHO: Controls the echo effect for microphones.
- MASTER VOLUME: Overall volume control for the system.
- UHF Wireless Microphone Section: Indicators and controls for the two wireless microphones.
- Battery Information: LED indicators for battery charge status.
- POWER: Main power switch.
- AC INPUT: Connection for the power cable to charge the battery and operate the unit.
3.3 Wireless Microphones and Remote Control
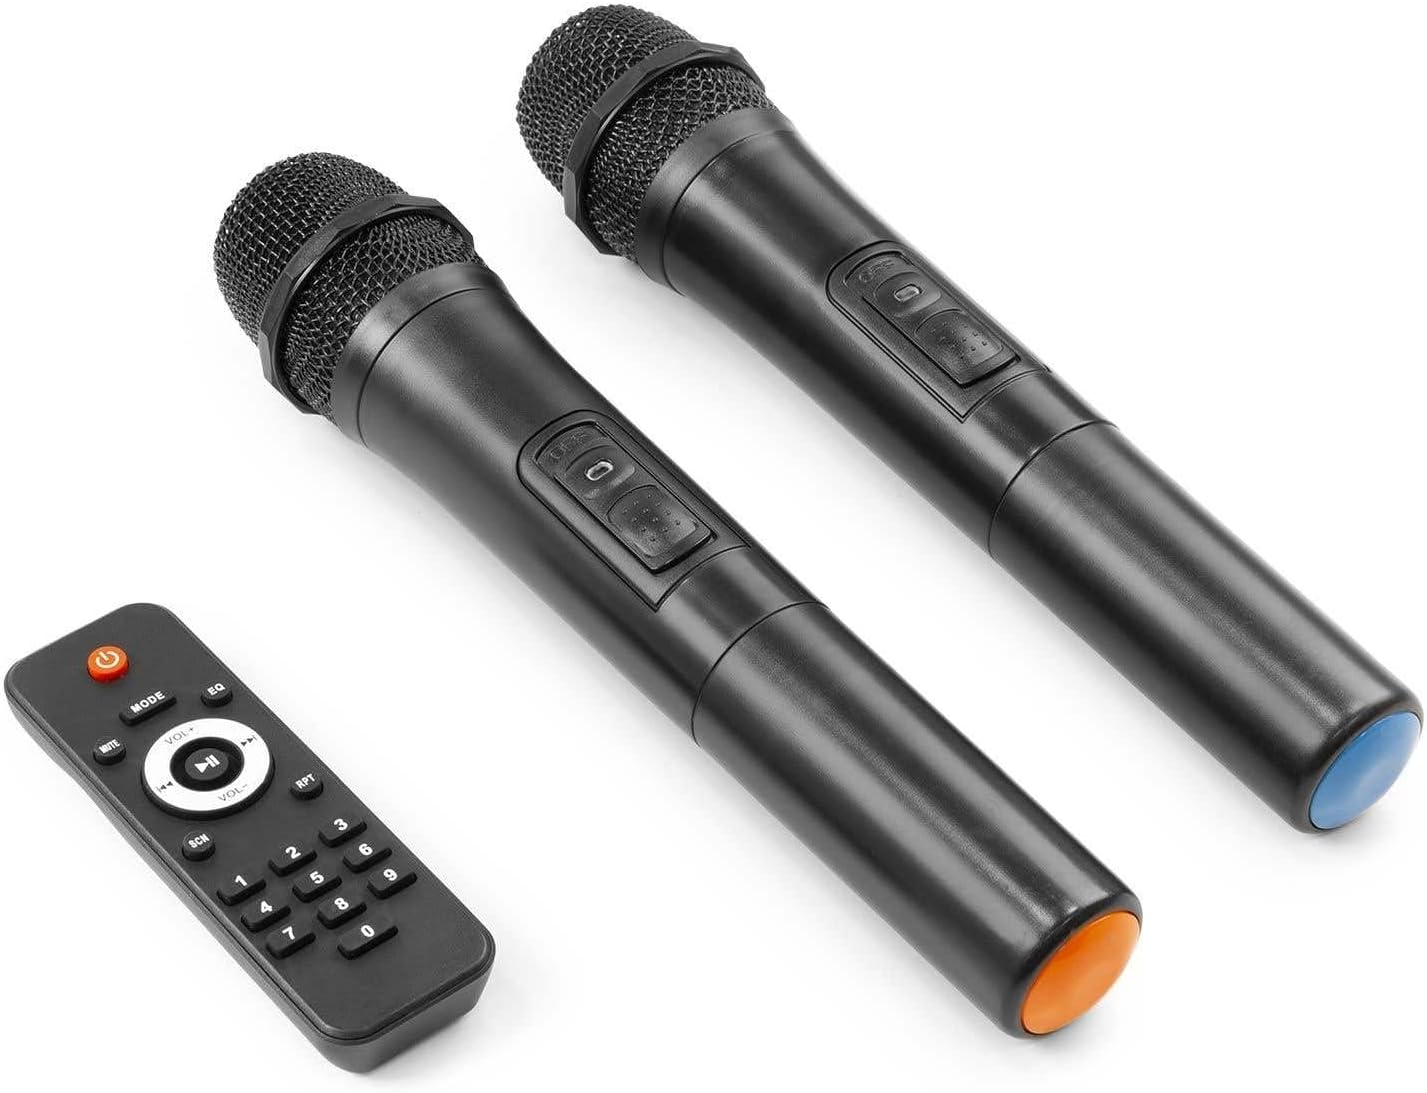
Image 3.6: The two included UHF wireless microphones and the remote control for the media player functions.
4. Setup
4.1 Initial Charging
Before first use, fully charge the internal battery. Connect the power cable to the AC INPUT on the rear panel and plug it into a suitable power outlet. The battery indicator LEDs will show the charging status. A full charge can take several hours.
4.2 Powering On/Off
Locate the POWER switch on the rear panel. Flip it to the 'ON' position to power on the system. Flip it to 'OFF' to power down.
4.3 Wireless Microphone Setup
- Open the battery compartment of each wireless microphone and insert the required batteries (not specified in product data, typically AA or 9V).
- Turn on the microphones using their respective power switches.
- The PA system should automatically detect and pair with the microphones. Ensure the UHF Wireless Microphone section on the rear panel indicates activity.
4.4 Positioning the PA System
Place the PA system on a stable, flat surface. For optimal sound projection, consider placing it at ear level. The unit also features a 35mm tripod mount on the bottom for use with a speaker stand (sold separately).
5. Operating Instructions
5.1 Media Player Functions
The integrated media player supports USB, SD card, and Bluetooth playback.
- USB/SD Playback: Insert a USB drive or SD card into the respective slot. The system will automatically switch to USB/SD mode and begin playing compatible audio files. Use the media player controls or the remote control to navigate tracks, play/pause, and adjust volume. The display shows ID3 tag information for MP3 files.
- Bluetooth Connection:
- Ensure the PA system is powered on.
- Activate Bluetooth on your smartphone or other device.
- Select "Vonyx Verve38" (or similar name) from the list of available devices.
- Once paired, you can stream audio wirelessly from your device to the PA system.
- AUX Input: Connect external audio sources (e.g., CD player, laptop) using a 3.5mm jack cable or RCA cables to the AUX INPUT ports. Select the AUX input mode on the media player.
5.2 Microphone Usage
- Wireless Microphones: Turn on the wireless microphones. Adjust their volume using the MIC LEVEL control on the rear panel.
- Wired Microphones: If using wired microphones (not included), connect them to the MIC INPUT (XLR or 6.3mm Jack) and adjust their volume with the MIC LEVEL control.
- Echo Effect: Use the ECHO control to add a reverberation effect to the microphone audio.
- Signal Priority: The 'MIC PRIORITY' function (if available, check panel) allows microphone audio to automatically lower the music volume when speaking.
5.3 Audio Adjustments
- BASS/TREBLE: Use these controls to adjust the low (bass) and high (treble) frequencies of the overall sound output to suit your preference or environment.
- MASTER VOLUME: This knob controls the total output volume of the PA system. Adjust it carefully to avoid distortion.
6. Maintenance
6.1 Cleaning
Wipe the exterior of the unit with a soft, dry cloth. Do not use abrasive cleaners or solvents. Keep the speaker grilles free of dust and debris.
6.2 Battery Care
- To maximize battery life, fully charge the unit after each use.
- If storing the unit for an extended period, charge the battery every 3 months to prevent deep discharge.
- The battery is a sealed lead-acid type. Do not attempt to replace it yourself; contact qualified service personnel if replacement is needed.
6.3 Storage
Store the PA system in a cool, dry place, away from direct sunlight and extreme temperatures.
7. Troubleshooting
| Problem | Possible Cause | Solution |
|---|---|---|
| No power | Power cable not connected; Battery discharged; Power switch off. | Connect power cable and charge; Turn power switch ON. |
| No sound output | Master Volume too low; Input source not selected; Input device not connected/playing. | Increase Master Volume; Select correct input mode (BT, USB, SD, AUX); Ensure input device is connected and playing. |
| Wireless microphone not working | Microphone off; Batteries low/dead; Microphone volume (MIC LEVEL) too low. | Turn on microphone; Replace batteries; Increase MIC LEVEL. |
| Bluetooth connection fails | PA system not in Bluetooth mode; Device too far; Device already connected to another unit. | Ensure PA system is in BT mode; Move device closer; Disconnect from other devices and try again. |
| Distorted sound | Volume too high (Master, Mic, or Input); Input signal too strong. | Reduce Master Volume, MIC LEVEL, or input device volume. |
8. Specifications
| Feature | Specification |
|---|---|
| Output Power (Max) | 800W |
| Output Power (RMS) | 400W |
| Frequency Response | 45Hz - 18,000Hz |
| Tweeter Diameter | 1" (Titanium compression driver) |
| Woofer Diameter | 12" (Ferrite magnet) |
| Battery Type | 12V - 7.2Ah Lead Acid |
| Battery Operation Time | Up to 7 hours |
| Input Connections | 3.5mm Jack, 6.3mm Jack, RCA, SD, USB, XLR (3-pin) |
| Output Connections | RCA |
| Wireless Microphone Frequencies | 863.100 MHz, 864.500 MHz |
| Power Supply | 100-240V AC 50/60Hz |
| Dimensions (L x W x H) | 43 x 36 x 67 cm |
| Weight | 15.4 kg |
| Material | Acrylonitrile Butadiene Styrene (ABS) |
| Connectivity Technology | Bluetooth, USB |
9. Warranty and Support
9.1 Warranty Information
This product is covered by a manufacturer's warranty. Spare parts availability in the EU is guaranteed for 2 years from the date of purchase. Please retain your proof of purchase for any warranty claims.
9.2 Technical Support
For technical assistance, troubleshooting beyond this manual, or warranty inquiries, please contact your retailer or the manufacturer's customer service. Refer to the contact information provided with your purchase documentation.