1. Introduction
Thank you for choosing the ApeStellar Keyless Entry Door Lock. This product is designed to provide convenient and secure access to your property without the need for traditional keys. It features a robust keypad for code entry, auto-locking capabilities, and is built with durable materials for long-lasting performance. This manual will guide you through the installation, programming, and daily operation of your new lock.
2. Key Features
- Multiple Access Codes: Supports one administrator code and up to 49 user codes, including one-time codes.
- Durable Construction: Made from heavy zinc alloy for enhanced stability and durability, meeting ANSI Grade 3 requirements.
- Weather Resistance: IP54 rated for protection against dust and water, suitable for various weather conditions.
- Automatic Locking: Customizable auto-lock feature with adjustable delay from 5 to 900 seconds.
- One-Touch Locking: Dedicated button for quick and easy locking.
- Anti-Peep Code Protection: Allows entry of random digits before or after the actual code to prevent code exposure.
- Backlit Keypad: Illuminated keypad for visibility in low-light conditions.
- Low Battery Warning: Alerts when battery power is low, ensuring timely replacement.
- Vacation Mode: Disables all user codes for extended security when away.
- Mute Mode: Silences keypad tones for quiet operation.
3. Product Overview
The ApeStellar Keyless Entry Door Lock consists of an exterior keypad assembly and an interior knob assembly, designed for easy integration with standard door preparations.
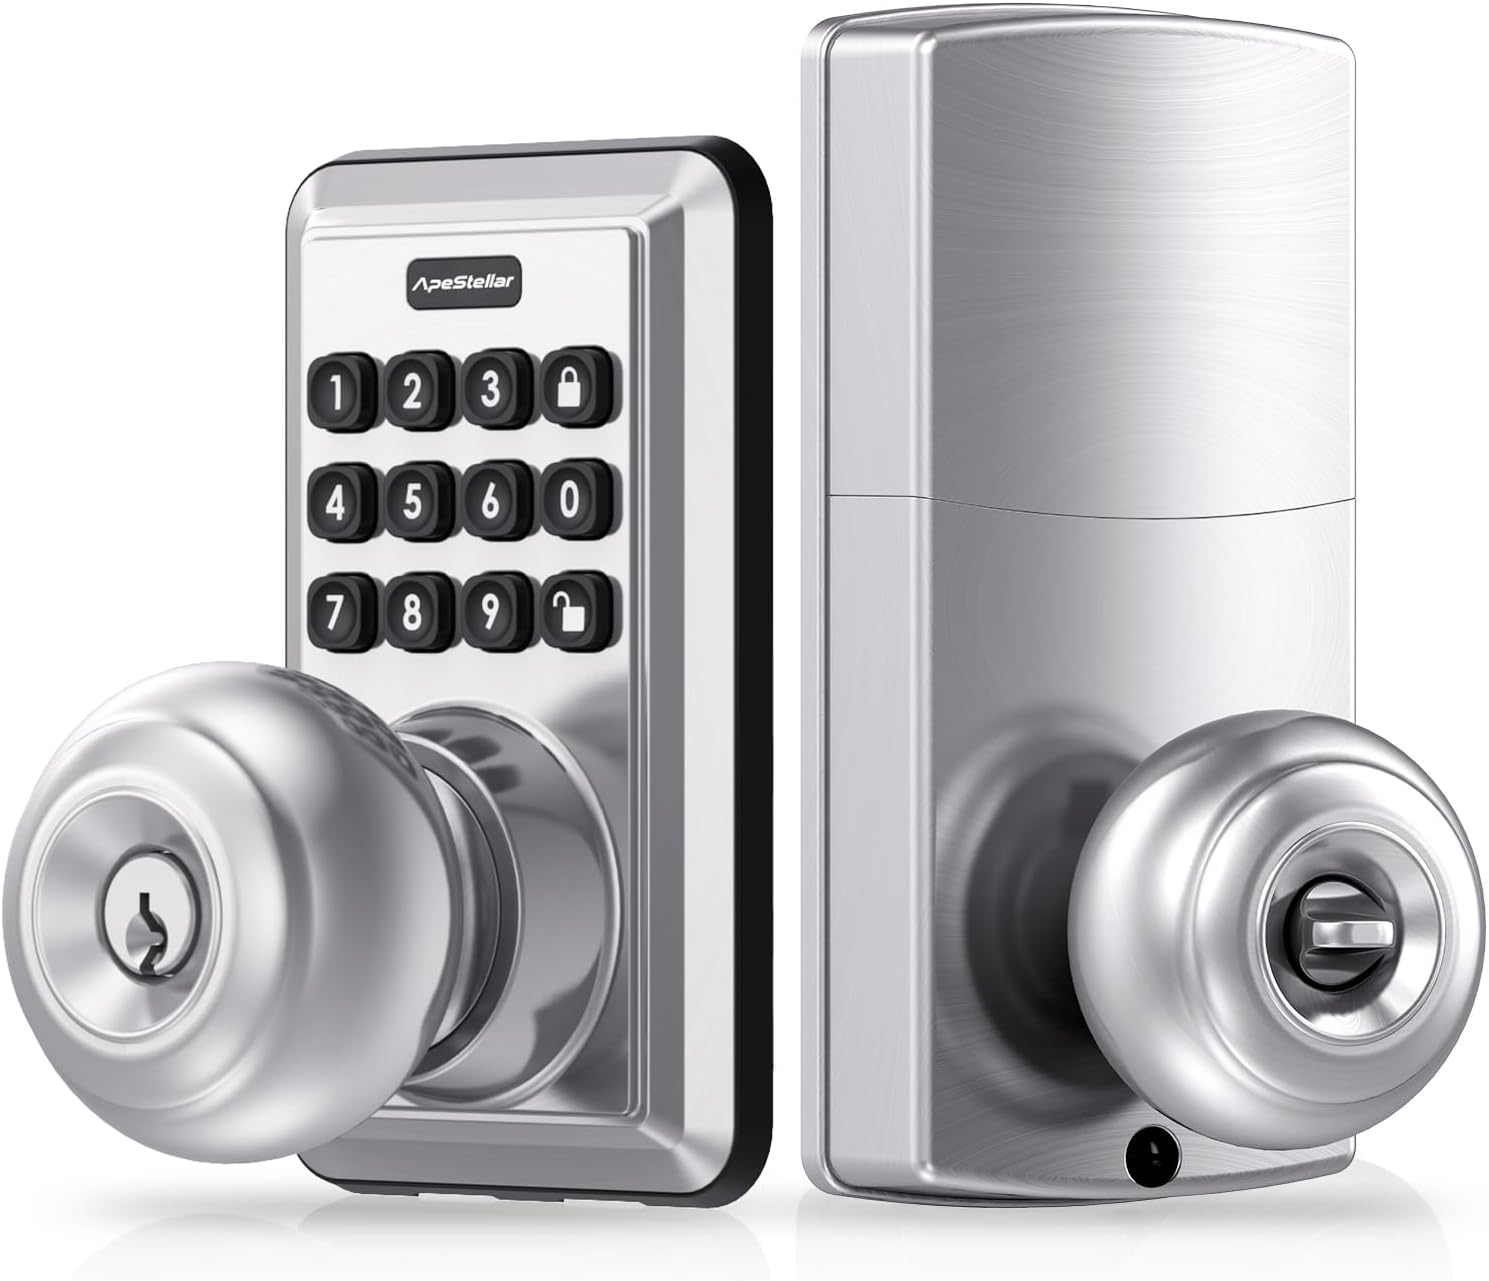
Figure 3.1: Front and back view of the ApeStellar Keyless Entry Door Lock components.

Figure 3.2: The lock supports up to 50 user codes, suitable for various access needs.

Figure 3.3: The lock is constructed from heavy zinc alloy, offering superior durability and meeting ANSI Grade 3 standards.
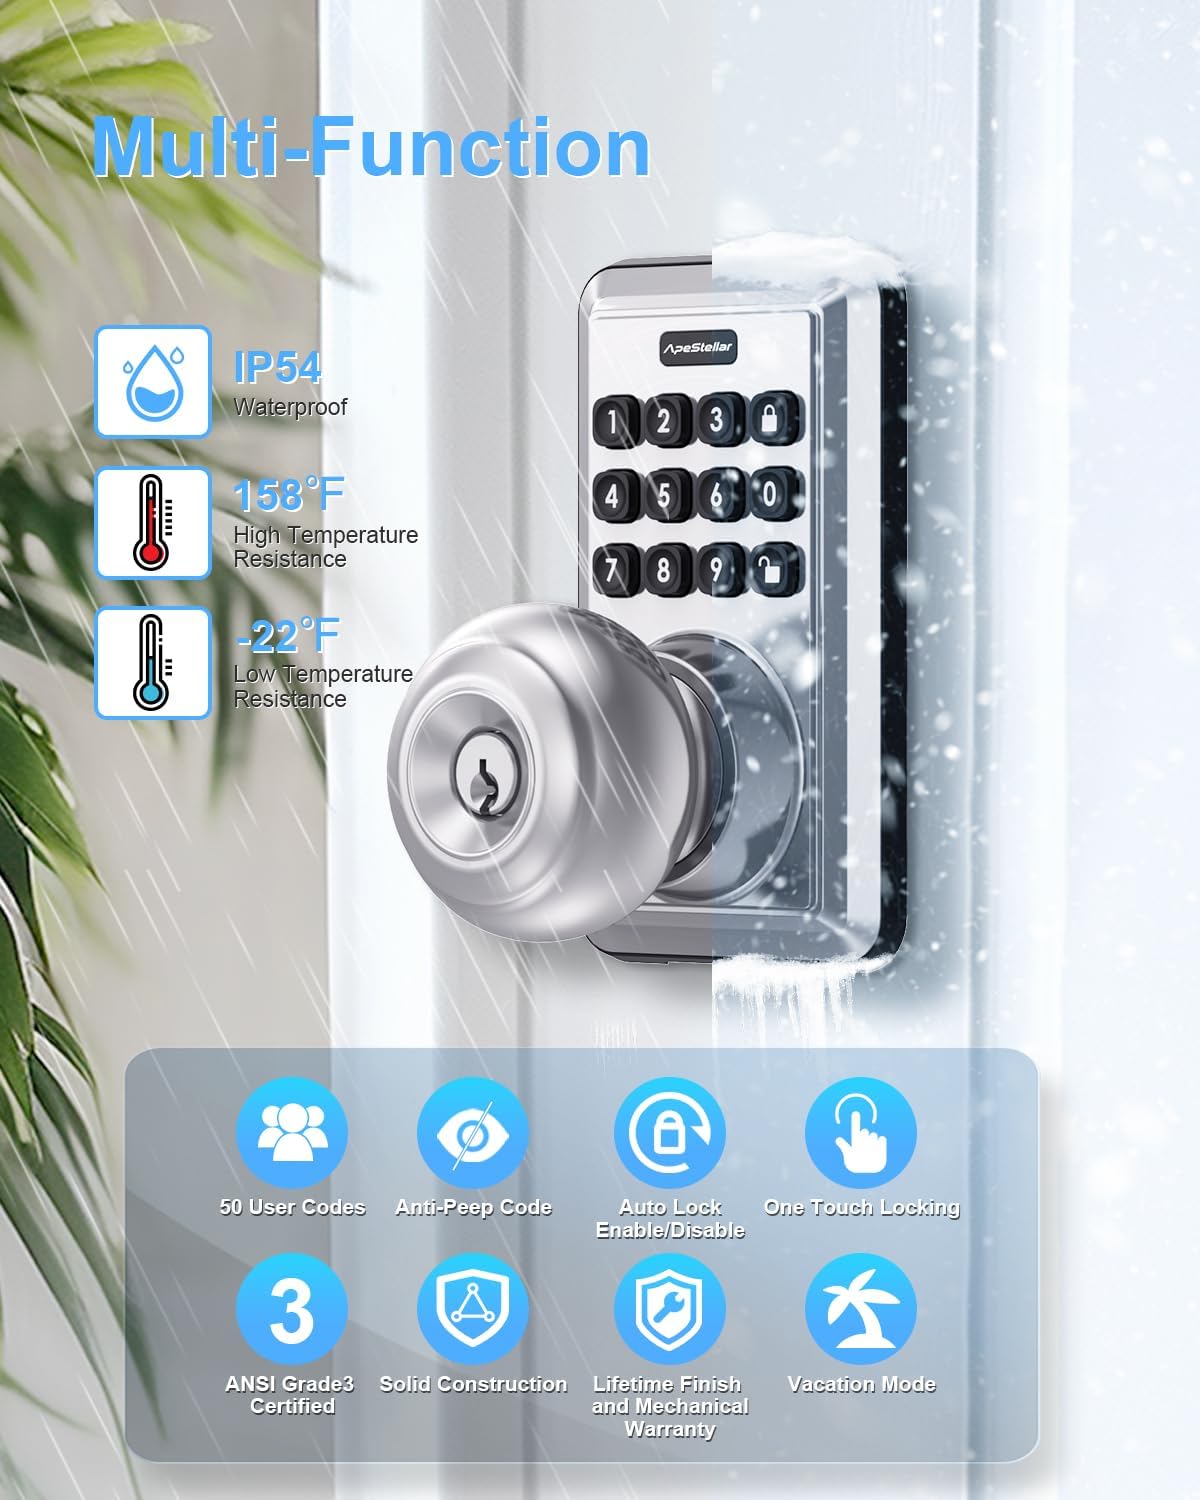
Figure 3.4: Overview of the lock's multi-functional capabilities, including weather resistance and various security features.
4. Installation Guide
4.1 Door Compatibility
Ensure your door meets the following specifications for proper installation:
- Door Holes: Only suitable for 2-1/8" (54mm) door holes.
- Door Thickness: 1-3/8" to 1-3/4" (35mm to 45mm).
- Backset: Adjustable latch fits 2-3/8" or 2-3/4" (60mm or 70mm) backset.

Figure 4.1: Door compatibility and lock dimensions.
4.2 Tools Required
- Phillips Head Screwdriver
4.3 Installation Steps
The installation process typically takes about 15 minutes. Follow the instructions provided in the packaging for detailed steps. A screwdriver is the only tool required.
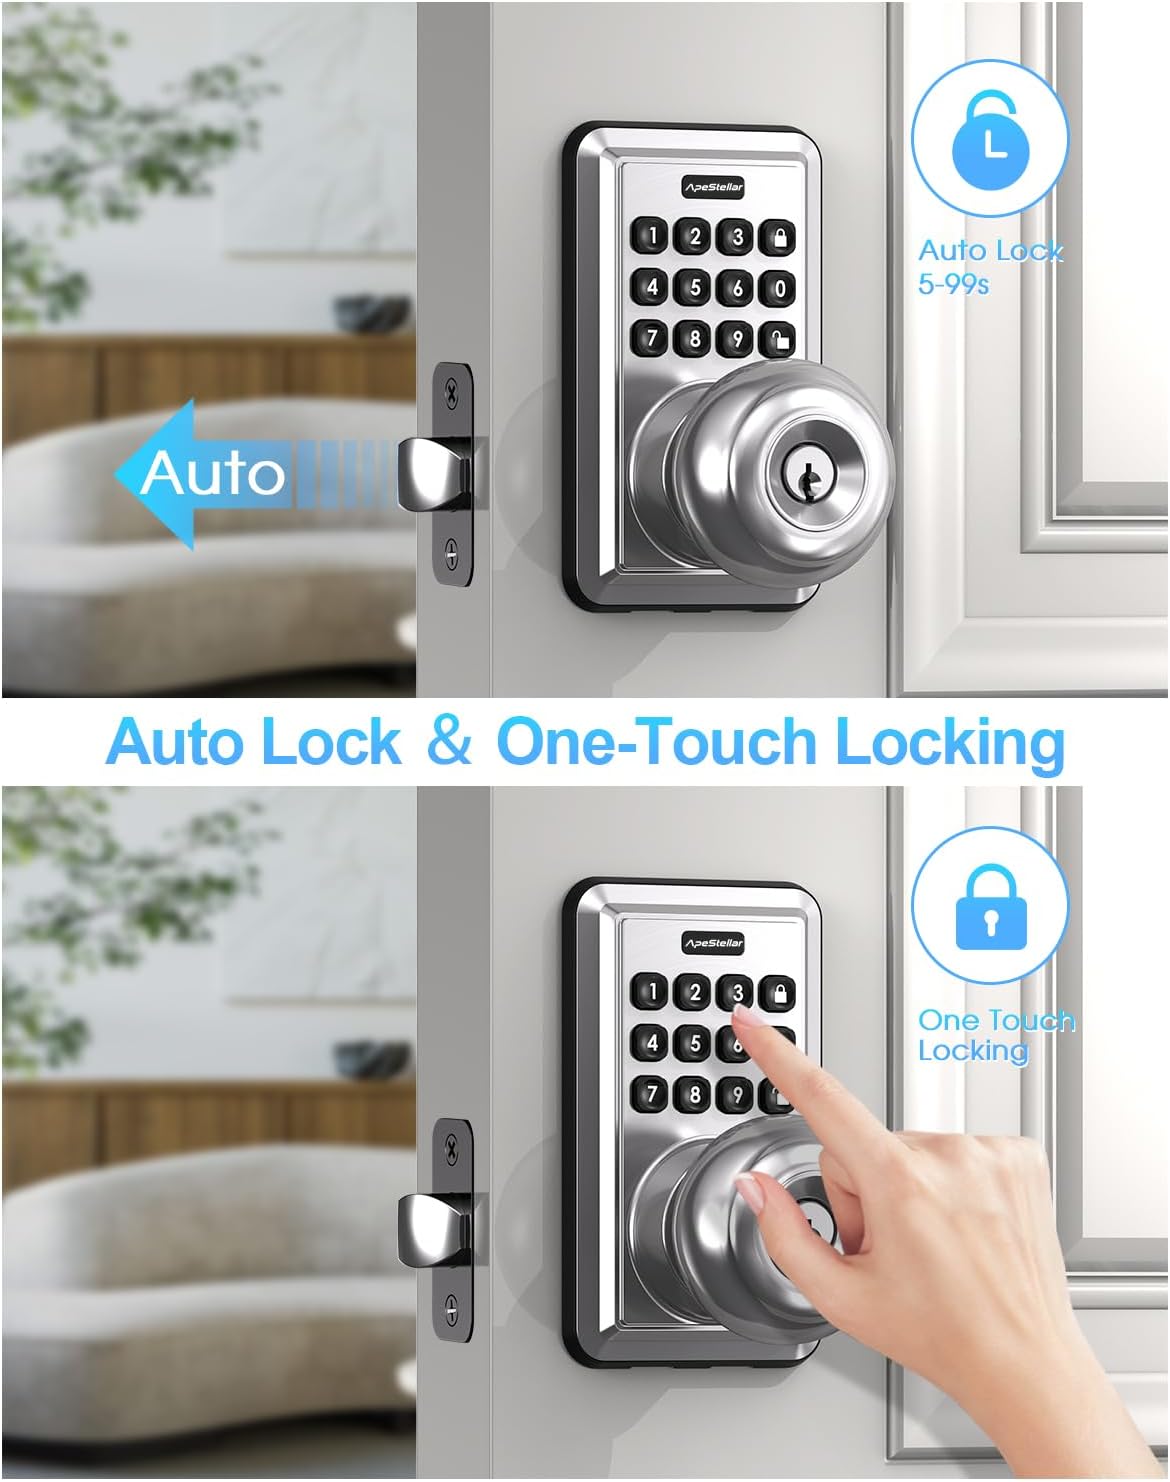
Figure 4.2: The lock is designed for easy, 15-minute installation.
5. Programming and Setup
After installation, you will need to program your lock. Refer to the detailed programming instructions included in your product packaging for specific steps on setting up administrator codes, user codes, and other features.
5.1 Setting Up Codes
- Administrator Code: This is the primary code used to manage all lock functions. It is recommended to change the default admin code immediately after installation.
- User Codes: Create up to 49 unique user codes for family members, guests, or service providers.
- One-Time Codes: Generate temporary codes that expire after a single use, ideal for deliveries or short-term access.

Figure 5.1: One-time user codes provide temporary access.
5.2 Auto-Lock Feature
The lock can be configured to automatically lock after a set period (5-900 seconds) once unlocked. This feature enhances security by ensuring the door is always locked after entry or exit.

Figure 5.2: Auto-lock and one-touch locking features.
5.3 Anti-Peep Code Protection
To prevent others from guessing your code, you can enter random digits before or after your actual code. The lock will still recognize the correct sequence within the longer string of numbers.

Figure 5.3: Anti-peep code entry for enhanced security.
6. Operating Instructions
6.1 Unlocking the Door
- Using a Code: Enter your valid user code or administrator code on the keypad, then turn the knob to open the door.
- Using a Key: Insert the physical key into the keyhole and turn to unlock.
6.2 Locking the Door
- One-Touch Locking: Press the dedicated lock button on the keypad.
- Automatic Locking: If enabled, the lock will automatically engage after the set delay period.
- Manual Locking: From the inside, turn the knob to the locked position.
7. Maintenance
7.1 Battery Replacement
The lock is powered by batteries, offering up to 1 year of battery life under normal usage. When the battery level is low, the lock will provide a warning. Replace batteries promptly to ensure continuous operation.
- Refer to the product packaging for specific battery type and replacement instructions.
7.2 Cleaning
Clean the lock's exterior with a soft, damp cloth. Avoid using abrasive cleaners or solvents that could damage the finish or electronic components.
8. Troubleshooting
If you encounter issues with your ApeStellar Keyless Entry Door Lock, refer to the following common problems and solutions:
- Lock not responding to code:
- Check if batteries are low and replace them.
- Ensure the correct code is being entered.
- Verify the lock is not in vacation mode.
- Lock beeps continuously:
- This may indicate low battery. Replace batteries.
- Door does not lock/unlock smoothly:
- Check for any obstructions in the door frame or strike plate.
- Ensure the lock is properly aligned and installed.
- Keypad not lighting up:
- Check battery level.
For further assistance, please contact ApeStellar customer support.
9. Specifications
| Feature | Specification |
|---|---|
| Brand | ApeStellar |
| Special Feature | Anti-Peeping Password, Auto-Lock, Back-Lit Keypad |
| Lock Type | Combination Lock, Keypad, Pin Tumbler, Door Knob with Keypad, Keyless Door Knob |
| Item Dimensions (L x W x H) | 6.3 x 3.2 x 3.2 inches |
| Material | Zinc |
| Door Hole Compatibility | 2-1/8" (54mm) |
| Door Thickness | 1-3/8" to 1-3/4" (35mm to 45mm) |
| Backset | Adjustable 2-3/8" or 2-3/4" (60mm or 70mm) |
| Weather Resistance | IP54 |
| Battery Life | Up to 1 year (approximate) |
10. Warranty and Support
ApeStellar products are manufactured to high-quality standards. For information regarding warranty coverage, technical support, or replacement parts, please refer to the contact information provided with your product packaging or visit the official ApeStellar website.
Online Support: Visit the ApeStellar Store on Amazon


