
1. Product Overview
The OSALADI 3D Wooden Puzzle Mini DIY Model House Kit is an educational and engaging construction toy designed to enhance hands-on ability and spatial reasoning. This kit allows users to assemble a realistic miniature wooden house model from pre-cut wooden pieces. Once completed, the model serves as a decorative item or a toy for imaginative play.
Key Features:
- Realistic 3D Design: Offers a strong three-dimensional sense compared to traditional puzzles.
- Educational Value: Improves hands-on ability and problem-solving skills.
- Quality Materials: Made from lightweight, durable wood with smooth edges for safe assembly.
- Versatile Use: Functions as both an assembly puzzle and a finished model for display in homes, offices, or bedrooms.
2. Safety Information
Please read and understand all safety instructions before assembly and use.
- Small Parts Warning: This kit contains small parts which may pose a choking hazard for children under 3 years of age. Adult supervision is recommended for younger users (ages 8-13).
- Material Safety: The wooden pieces are designed to be smooth and free of burrs. However, handle with care to avoid splinters.
- Flammability: Keep the wooden model away from open flames or high heat sources.
- Storage: Store unassembled and assembled parts in a dry environment to prevent warping or damage to the wood.
3. Package Contents
Verify that all components are present before beginning assembly.
- Pre-cut wooden puzzle sheets (various pieces for walls, roof, base, etc.)
- Assembly instructions/diagrams (typically printed on the packaging or a separate sheet)
Note: Adhesives are generally not required for this type of interlocking puzzle, but if included or recommended, please follow specific instructions.
4. Setup and Assembly Instructions
Follow these steps carefully to assemble your 3D wooden model house. Refer to the included diagrams for visual guidance.
4.1 Preparation
- Unpack Components: Carefully remove all wooden sheets from the packaging.
- Identify Pieces: Lay out the wooden sheets and familiarize yourself with the different parts. Most pieces are numbered or uniquely shaped to correspond with assembly diagrams.
- Remove Pieces: Gently push out each piece from its wooden frame. If a piece is difficult to remove, use a small, blunt object (like the back of a spoon handle) to apply even pressure, or carefully use a craft knife under adult supervision. Avoid forcing pieces to prevent breakage.
4.2 Assembly Steps
The assembly process typically involves interlocking numbered or shaped tabs and slots. Work systematically, often starting with the base and building upwards.
- Assemble the Base: Locate the base pieces. Interlock them according to the diagrams to form the foundation of the house. Ensure all connections are secure.

Figure 1: Assembled house with dimensions. The base is the flat rectangular piece at the bottom.
- Construct Walls: Identify the wall pieces. Connect them to the base and to each other using the interlocking tabs and slots. Pay attention to the orientation of windows and doors.

Figure 2: Close-up of the assembled house showing wall details and secure interlocking joints.
- Add Interior/Exterior Details: If your model includes interior partitions, stairs, or exterior elements like chimneys or porches, assemble and attach them as indicated in the diagrams.

Figure 3: Detail of roof assembly, showing how pieces interlock to form the structure.
- Attach the Roof: Assemble the roof sections separately if necessary, then carefully attach them to the top of the wall structure. Ensure a snug fit.

Figure 4: Top view of the completed roof structure.
- Final Check: Once all pieces are assembled, gently press on all joints to ensure they are fully interlocked and stable.
If you encounter difficulty, refer to the specific diagrams provided with your kit. Patience and careful handling are key to successful assembly.
5. Operating and Usage
Once assembled, your OSALADI 3D Wooden Model House can be used in several ways:
- Display Piece: Place the finished model on a shelf, desk, or mantelpiece as a unique decorative item. Its natural wood finish complements various interior styles.
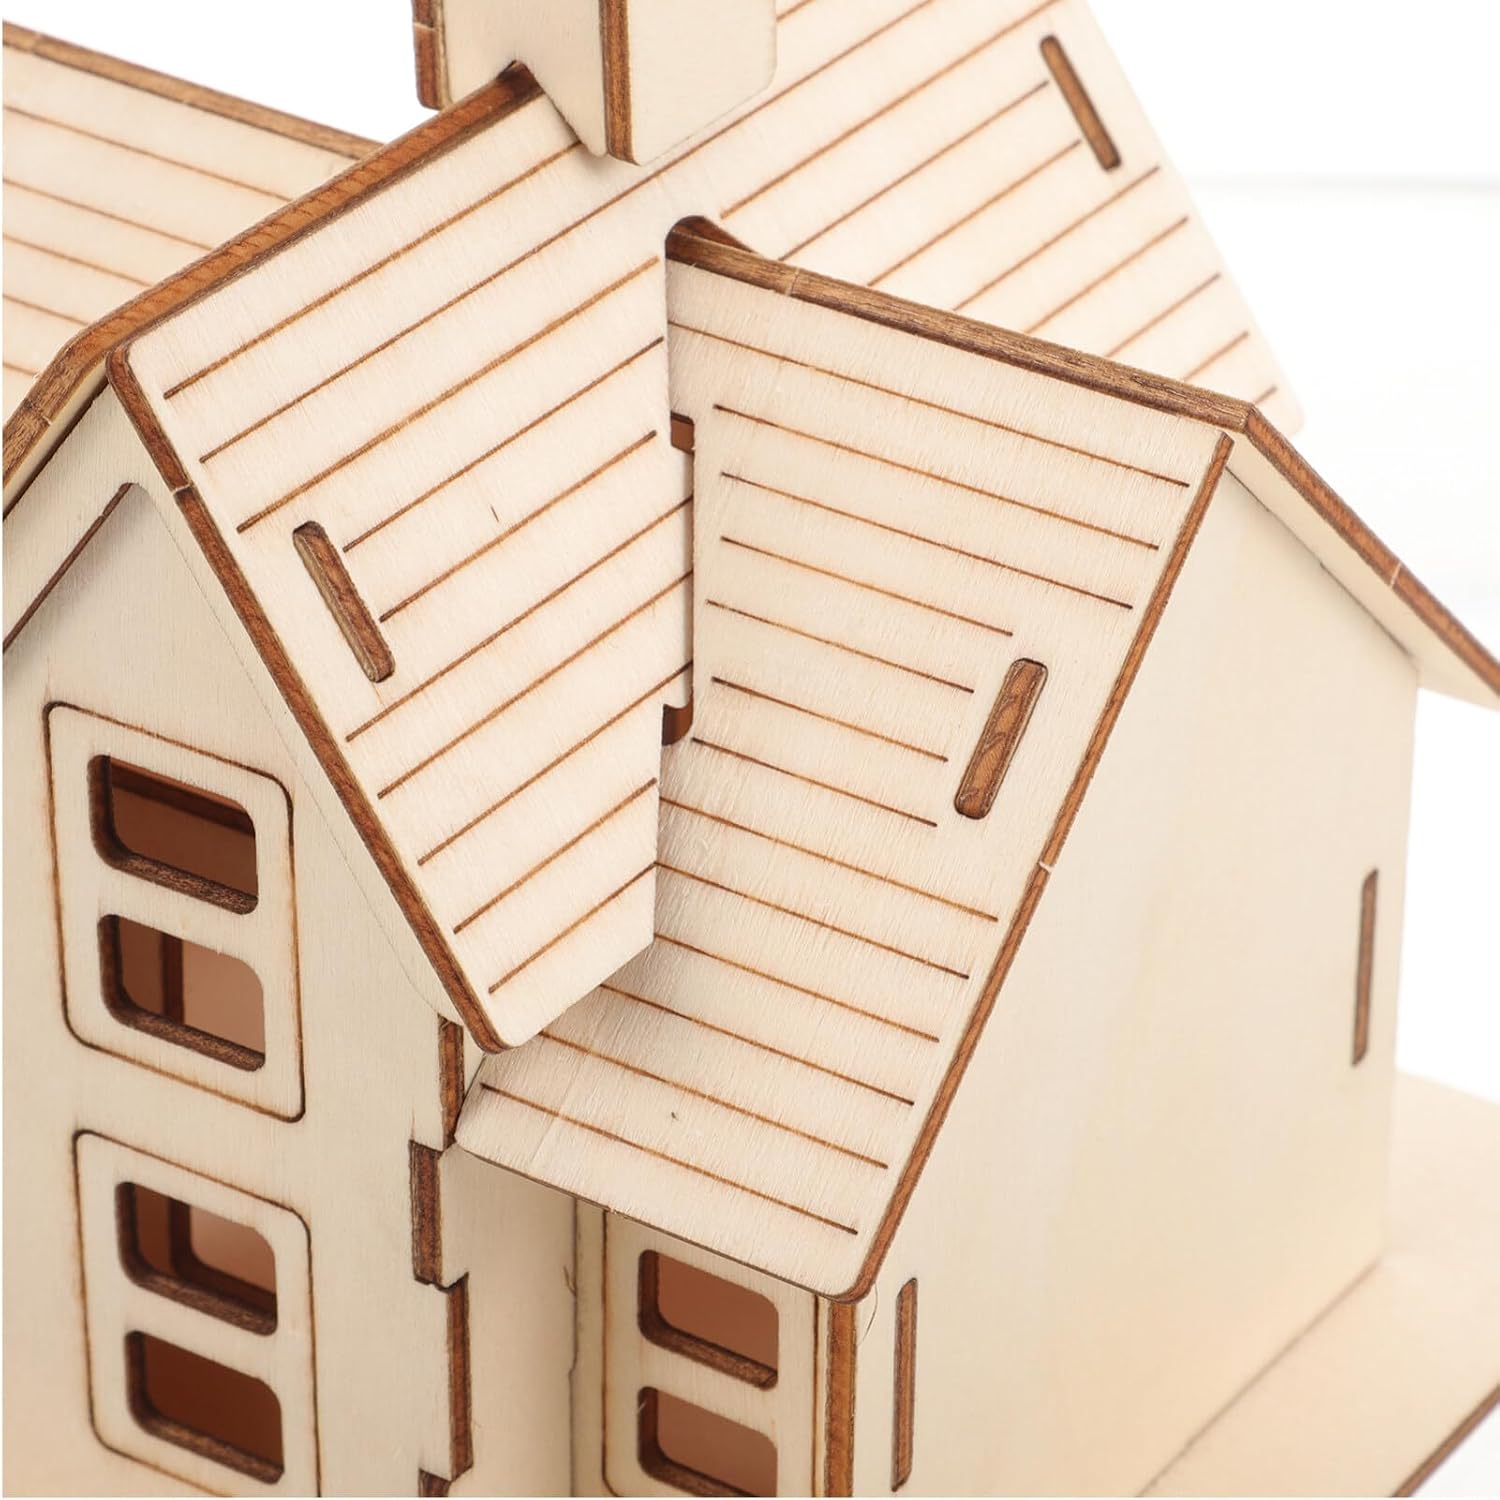
Figure 5: The completed model house as a decorative display.
- Educational Play: Encourage imaginative play by using the house as a miniature dollhouse or a setting for small figures. This can foster creativity and storytelling.
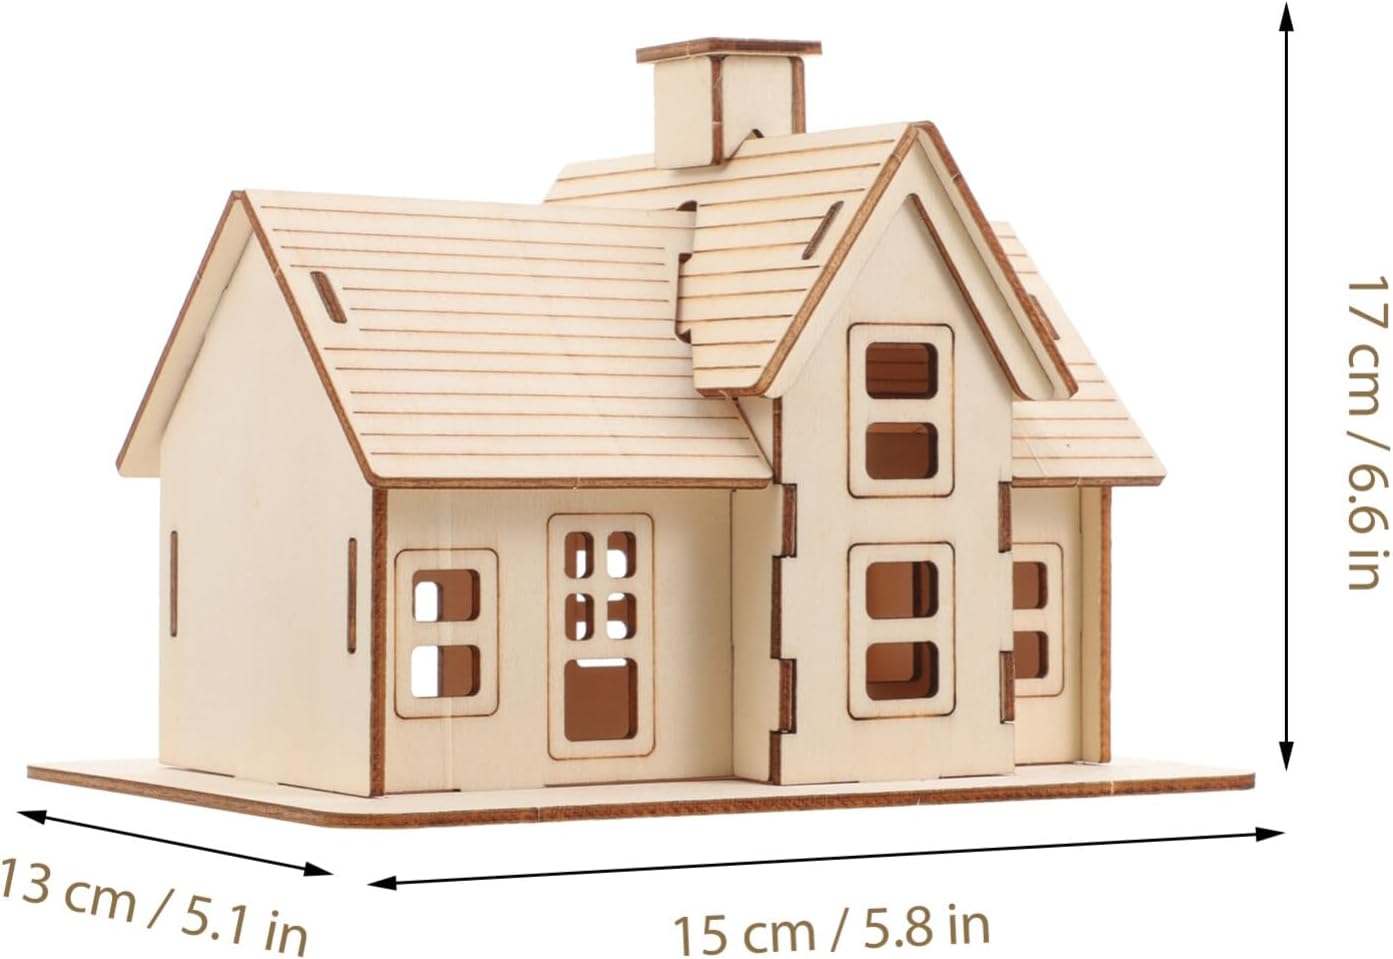
Figure 6: The wooden house being used for imaginative play.
6. Maintenance
Proper care will ensure the longevity of your wooden model house.
- Cleaning: Dust the model regularly with a soft, dry cloth. Avoid using wet cloths or harsh cleaning agents, as these can damage the wood.
- Storage: If disassembling for storage, do so carefully to avoid breaking tabs or slots. Store pieces flat in a dry, cool place away from direct sunlight to prevent warping or fading.
- Repairs: If a piece becomes loose, gently re-interlock it. For minor damage, wood glue can be used sparingly, but this may make future disassembly difficult.
7. Troubleshooting
Here are solutions to common issues you might encounter:
| Problem | Solution |
|---|---|
| Pieces do not fit together easily. | Ensure you are using the correct pieces for the step. Refer to the assembly diagrams. Do not force pieces; gently align tabs with slots. Slight sanding of a tab edge may be necessary if there's a tight fit, but proceed with caution. |
| A piece breaks during removal or assembly. | If a small tab breaks, wood glue can sometimes be used to reattach it. For larger breaks, contact the manufacturer for potential replacement parts if available. |
| Missing pieces. | Carefully check all packaging and surrounding areas. If pieces are genuinely missing, contact the manufacturer's customer support with your purchase details. |
| Finished model is unstable. | Review all connections to ensure every tab is fully inserted into its corresponding slot. Gentle pressure on all joints can help secure the structure. |
8. Specifications
| Attribute | Detail |
|---|---|
| Product Dimensions (Assembled) | 6.63 x 2.3 x 5.07 inches (approximately 16.8 x 5.8 x 12.9 cm) |
| Item Weight | 6.6 ounces (approximately 187 grams) |
| Model Number | 511SRN3PCBDZC237T5014OL7 |
| Material | Wood |
| Recommended Age | 8-13 years (with adult supervision for younger users) |
| Manufacturer | OSALADI |
9. Warranty and Support
For any questions, concerns, or issues regarding your OSALADI 3D Wooden Puzzle Mini DIY Model House Kit, please contact the manufacturer or your retailer directly.
Manufacturer: OSALADI
Please retain your proof of purchase for any warranty claims or support inquiries.