
YABER YABER E1
YABER E1 Mini Projector User Manual
Model: YABER E1 | Brand: YABER
1. Introduction
This manual provides detailed instructions for the operation and maintenance of your YABER E1 Mini Projector. Please read this manual thoroughly before using the product to ensure proper function and longevity.
2. What's in the Box
- 1x YABER E1 Projector
- 1x Remote Control
- 1x Power Cord
- 1x HDMI Cable
- 1x Cleaning Kit
3. Product Overview
Familiarize yourself with the main components of your YABER E1 Mini Projector.

Figure 3.1: Front view of the YABER E1 Mini Projector, showing the lens and sensor.
3.1. Ports and Connections

Figure 3.2: Rear view of the YABER E1 Mini Projector, highlighting the input/output ports.
- HDMI Port: Connect to devices like TV sticks, laptops, gaming consoles (PS3/4/5).
- USB Ports (x2): Connect USB drives for media playback.
- 3.5mm Audio Jack: Connect external speakers or headphones.
- Power Input: Connect the provided power cord.
4. Setup
4.1. Powering On/Off
- Connect the power cord to the projector's power input and then to a power outlet.
- Press the power button on the projector or the remote control to turn it on.
- To turn off, press the power button again.
4.2. Placement and Projection
The projector supports a projection distance of 2.6ft to 16.4ft, allowing for screen sizes from 50 to 200 inches.

Figure 4.1: Example of projector placement for a bedroom setup.
4.3. Electric Focus and Keystone Correction
The YABER E1 features electric focus and ±40° keystone correction for optimal image clarity and shape.
- Use the remote control or the buttons on the projector panel to adjust the focus.
- For keystone correction, use the remote to adjust the image vertically to achieve a rectangular display.

Figure 4.2: Visual representation of electric keystone correction.
5. Operating Instructions
5.1. Connecting to Wi-Fi
The projector supports both 2.4G and 5G Wi-Fi for stable and fast wireless connections.
- Navigate to the Wi-Fi settings menu on the projector.
- Select your desired Wi-Fi network and enter the password.
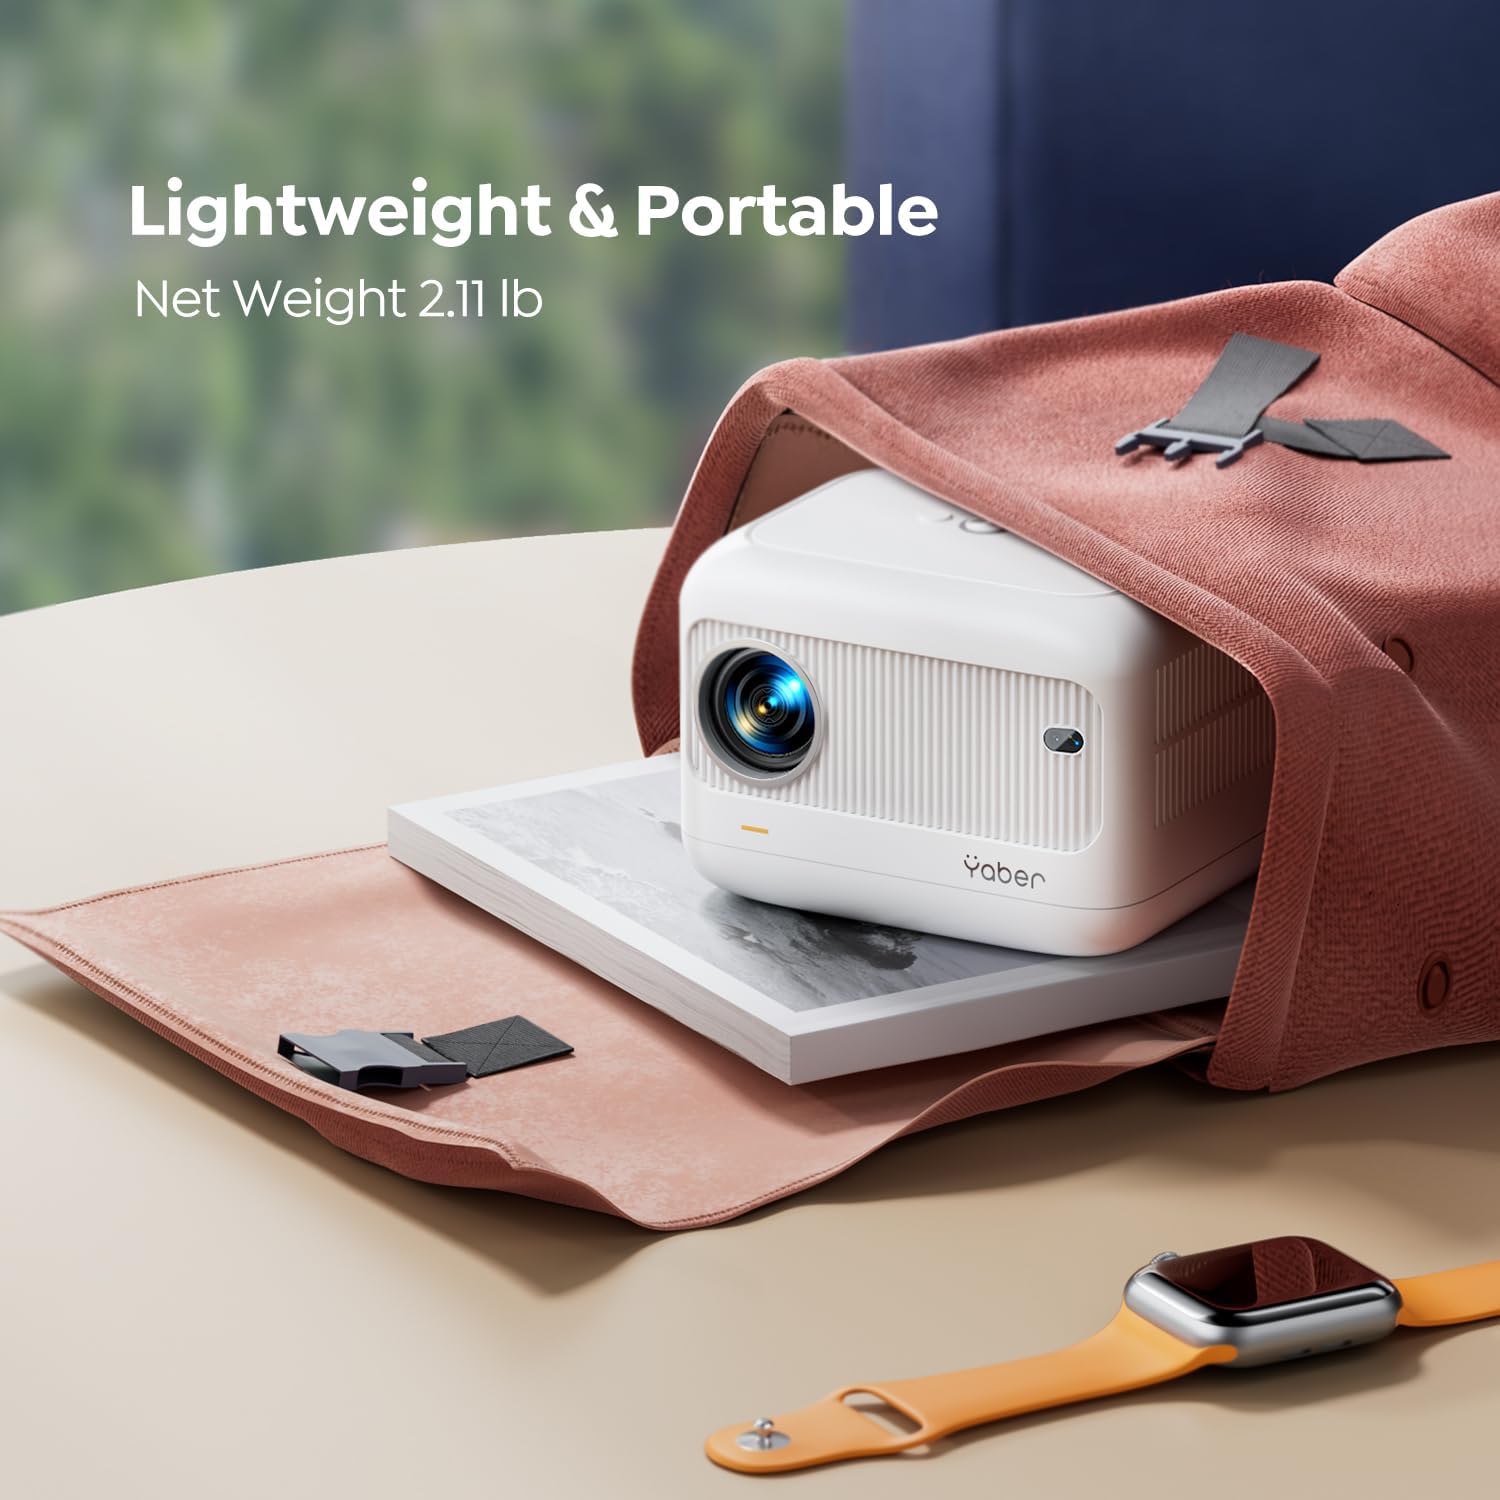
Figure 5.1: Illustration of dual-band Wi-Fi connectivity.
5.2. Bluetooth Connectivity
Connect Bluetooth 5.2 enabled devices such as headphones or speakers for enhanced audio.
- Go to the Bluetooth settings menu.
- Enable Bluetooth and select your device from the available list to pair.

Figure 5.2: Projector connected to external Bluetooth speakers.
5.3. Screen Mirroring
Wirelessly mirror your smartphone (iOS/Android) or PC screen to the projector.
- Ensure both the projector and your device are connected to the same Wi-Fi network.
- Select the appropriate screen mirroring option (e.g., iOS Cast, Miracast) on the projector.
- Follow the on-screen instructions on your device to initiate mirroring.
5.4. Input Sources
Connect various devices using the available ports:
- HDMI: TV Stick, Box, PS3/4/5, PCs, Laptops.
- USB: USB drives for media.
- 3.5mm Audio: External speakers, headphones.

Figure 5.3: Diagram illustrating various compatible devices and connection types.
6. Media Integration
6.1. Product Videos
Below are official product videos demonstrating key features and usage scenarios.
Video 6.1: Official product demonstration of the YABER E1 Projector, highlighting its portability and ease of use.
Video 6.2: Unboxing and testing of the YABER E1 Mini 1080p Projector, showcasing its features and performance.
7. Maintenance
7.1. Cleaning the Lens
Use the provided cleaning kit to gently clean the projector lens. Avoid using abrasive materials or harsh chemicals that could damage the lens coating.
7.2. General Care
- Keep the projector in a cool, dry place away from direct sunlight and excessive dust.
- Ensure proper ventilation around the projector to prevent overheating.
- Avoid dropping or subjecting the projector to strong impacts.
8. Troubleshooting
For common issues like signal, sound, Bluetooth, or Wi-Fi connectivity, consult the following:
- No Image/Poor Image Quality:
- Check all cable connections (HDMI, power).
- Adjust electric focus using the remote or projector buttons.
- Perform keystone correction to ensure a rectangular image.
- Ensure the projection surface is suitable and free from obstructions.
- No Sound:
- Check volume levels on both the projector and the connected source device.
- Verify Bluetooth connection if using external speakers.
- Ensure audio output settings on the source device are correctly configured.
- Wi-Fi/Bluetooth Connectivity Issues:
- Ensure the projector and device are within range of the Wi-Fi router or each other.
- Restart the projector and the connected device.
- Verify Wi-Fi password and network selection.
For further assistance, please contact YABER customer service at service@yaber.com.
9. Specifications
| Feature | Detail |
|---|---|
| Product Dimensions | 6.26 x 4.92 x 4.61 inches |
| Item Weight | 3.3 pounds |
| Model Number | YABER E1 |
| Display Resolution | 1920 x 1080 (Full HD) |
| Connectivity Technology | 3.5mm Jack, Bluetooth 5.2, HDMI, USB, Wi-Fi (2.4G & 5G) |
| Special Features | Electric Focus, ±40° Keystone Correction, Built-in 2*6W Speakers, Wireless Screen Mirroring, Built-In Cooling System |
| Recommended Uses | Home Cinema, Outdoor Activities, Gaming |
10. Warranty and Support
YABER offers a 1-year free replacement policy and 3-year maintenance policy. For any inquiries or support, please contact our professional customer service team 24/7 via email at service@yaber.com.
Related documentsYABER E1


Ask a question about this manual
Ask about setup, troubleshooting, compatibility, parts, safety, or missing instructions. Manuals+ will review the question and use this page’s manual context to help answer it.