
1. Introduction
Thank you for choosing the Tabu Hot & Cold Bottom Loading Water Cooler Dispenser. This appliance provides convenient access to hot and cold water, suitable for various beverages and hydration needs. Its bottom-loading design simplifies bottle replacement, and integrated safety features ensure secure operation. Please read this manual thoroughly before use to ensure proper installation, operation, and maintenance.

Image 1.1: Front view of the Tabu Hot & Cold Bottom Loading Water Cooler Dispenser, showing the dispensing area and lower cabinet.
2. Safety Information
WARNING: To reduce the risk of injury and property damage, the user must read this entire guide before assembling, installing, and operating this dispenser.
2.1 General Safety Precautions
- This appliance is intended for household and office use only.
- Do not operate any appliance with a damaged cord or plug, or after the appliance malfunctions or has been damaged in any manner.
- Ensure the dispenser is placed on a firm, level surface.
- Keep the dispenser away from direct sunlight and heat sources.
- Do not immerse the dispenser, cord, or plug in water or other liquids.
2.2 Electrical Safety
- Plug the dispenser into a grounded 3-prong outlet. Do not remove the grounding prong.
- Do not use an extension cord.
- Always unplug the dispenser before cleaning or servicing.
2.3 Hot Water Safety
This dispenser provides hot water at temperatures between 85-95°C (185-203°F). Exercise extreme caution when dispensing hot water.
- The hot water spout is equipped with a child safety lock. Always engage the safety lock after dispensing hot water.
- Supervise children when they are near the dispenser.
- Always test the water temperature before consuming, especially for children.
- In rare instances, a malfunction could cause hot water to dispense from the cold water spout. Always verify the water temperature before use.

Image 2.1: Detail of the child safety lock mechanism on the hot water dispenser button.
3. Setup
3.1 Unpacking
- Carefully remove the dispenser from its packaging.
- Remove all packing materials, including any protective tape or film.
- Inspect the dispenser for any damage. If damaged, do not use and contact customer support.
3.2 Placement
Choose a suitable location for your water cooler:
- Place the dispenser on a hard, level surface that can support its weight when full.
- Ensure there is at least 10 cm (4 inches) of clearance from the back and sides to allow for proper ventilation.
- Avoid placing the dispenser in direct sunlight or near heat-generating appliances (e.g., oven, dishwasher).
- Do not place the dispenser in an enclosed area or cabinet.

Image 3.1: The water cooler dispenser positioned in a room, demonstrating recommended placement.
3.3 Water Bottle Installation (Bottom Loading)
This dispenser is designed for 3 or 5-gallon water bottles.
- Open the lower cabinet door of the dispenser.
- Place a new 3 or 5-gallon water bottle on the floor next to the dispenser.
- Remove the protective cap from the water bottle.
- Insert the probe assembly (the tube with a cap) into the neck of the water bottle. Ensure the probe is fully inserted and the cap creates a seal.
- Carefully slide the water bottle into the lower cabinet.
- Close the cabinet door.
3.4 Priming the Dispenser
IMPORTANT: Do not plug in the dispenser until it has been properly primed with water.
- After installing the water bottle, wait approximately 5 minutes for the water to fill the internal tanks.
- Place a cup under the cold water spout and press the cold water dispensing button until water flows steadily. This indicates the cold tank is full.
- Repeat the process for the hot water spout. Press the hot water dispensing button (while disengaging the child safety lock) until water flows steadily. This indicates the hot tank is full.
- Once both tanks are primed, you can plug the dispenser into a grounded electrical outlet.
4. Operating Instructions
4.1 Powering On
After priming and plugging in the dispenser:
- Locate the power switches on the back of the unit.
- Flip the switch labeled 'COLD' to the 'ON' position to activate the cold water cooling function.
- Flip the switch labeled 'HOT' to the 'ON' position to activate the hot water heating function.
- Indicator lights on the front panel will illuminate to show the status of heating and cooling.
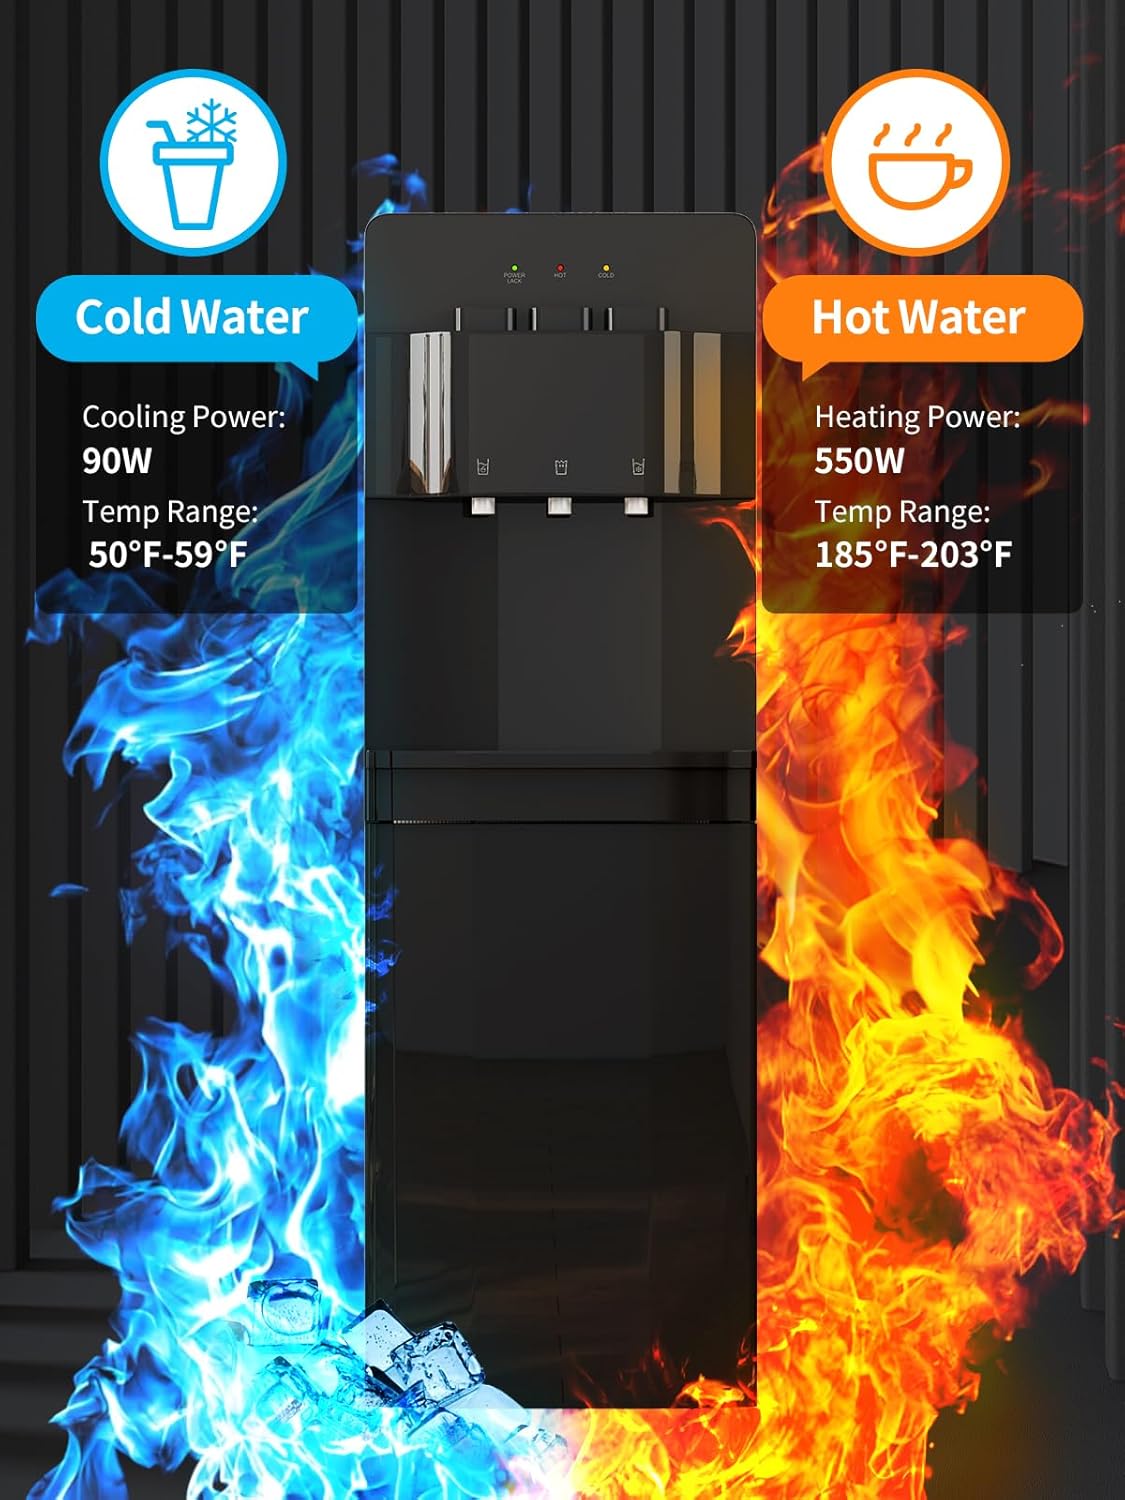
Image 4.1: Front panel illustrating the hot and cold water dispensing zones and their respective temperature ranges.
4.2 Dispensing Cold Water
- Place a cup under the cold water spout.
- Press the cold water dispensing button.
- Release the button once the desired amount of water is dispensed.
4.3 Dispensing Hot Water
CAUTION: Hot water can cause severe burns.
- Place a heat-resistant cup under the hot water spout.
- Simultaneously press the child safety lock button and the hot water dispensing button.
- Release both buttons once the desired amount of hot water is dispensed.
5. Maintenance
Regular maintenance ensures optimal performance and longevity of your dispenser.
5.1 Cleaning the Exterior
- Unplug the dispenser from the power outlet.
- Wipe the exterior surfaces with a soft, damp cloth. For stubborn stains, use a mild, non-abrasive cleaner.
- Dry thoroughly with a clean cloth.
5.2 Cleaning the Drip Tray
- Remove the drip tray from its position below the spouts.
- Empty any accumulated water.
- Wash the drip tray with warm, soapy water.
- Rinse thoroughly and dry before replacing.
5.3 Draining the Tanks (for storage or deep cleaning)
- Unplug the dispenser from the power outlet.
- Remove the water bottle from the lower cabinet.
- Place a large bucket or container under the drain plug located at the back of the dispenser.
- Remove the drain plug to allow water to empty from the tanks.
- Once drained, replace the drain plug securely.
- For deep cleaning, you may flush the tanks with a mild sanitizing solution (e.g., diluted bleach solution) and then rinse thoroughly with clean water before re-priming.
6. Troubleshooting
Before contacting customer support, please refer to the following troubleshooting guide:
| Problem | Possible Cause | Solution |
|---|---|---|
| No hot or cold water | Dispenser not plugged in; Power switches off; Water bottle empty; Tanks not primed. | Ensure dispenser is plugged in and power switches are ON. Replace empty water bottle. Prime the tanks as per Section 3.4. |
| Water not hot enough / not cold enough | Hot/Cold switch off; Insufficient time for heating/cooling; Poor ventilation. | Ensure respective power switch is ON. Allow 15-30 minutes for water to reach desired temperature. Ensure adequate clearance around the dispenser for ventilation. |
| Water is leaking | Water bottle cap not sealed; Drain plug loose; Internal leak. | Ensure the probe assembly is properly sealed in the water bottle. Check and tighten the drain plug. If leaking persists, unplug and contact customer support. |
| Unusual noise | Compressor operation; Air in water lines; Dispenser not level. | Some noise from the compressor is normal. Ensure tanks are fully primed. Check if the dispenser is on a level surface. |
| Water has an unusual taste | New dispenser; Contaminated water bottle; Need for cleaning. | For new dispensers, dispense and discard several cups of water. Ensure water bottle is from a reputable source. Clean the dispenser thoroughly. |
7. Specifications
| Feature | Detail |
|---|---|
| Brand | TABU |
| Model Number | 41006-BTLB |
| Material | Plastic |
| Capacity | 3 or 5 Gallon Bottles |
| Style | Bottom Load |
| Access Location | Bottom |
| Number of Settings | 2 (Hot, Cold) |
| Power Source | Corded Electric |
| Cold Water Temperature | 10-15°C (50-59°F) |
| Hot Water Temperature | 85-95°C (185-203°F) |
| Product Dimensions | 12 x 13 x 38 inches |

Image 7.1: Product dimensions diagram.
8. Warranty & Support
This product comes with a limited manufacturer's warranty. For specific warranty details, please refer to the warranty card included with your purchase or contact Tabu customer support.
For technical assistance, troubleshooting not covered in this manual, or to inquire about replacement parts, please contact Tabu customer support through the retailer where the product was purchased or via the contact information provided on the official Tabu website.