1. Introduction
This manual provides comprehensive instructions for the installation, operation, and maintenance of your Turing TP-MED4M28-1Y 4MP Turret IP Camera. Please read this manual thoroughly before using the product to ensure proper setup and functionality. Keep this manual for future reference.
2. Safety Information
Observe the following safety precautions to prevent injury or damage to the product:
- Ensure the power supply meets the camera's specifications (DC 12V+/-25% or PoE IEEE 802.3af).
- Do not expose the camera to extreme temperatures, humidity, or corrosive environments.
- Avoid direct exposure of the lens to strong light sources, as this may damage the image sensor.
- Do not attempt to disassemble or modify the camera. Refer all servicing to qualified personnel.
- Handle the camera with care to prevent physical shock or vibration.
- Ensure proper grounding to prevent electrical hazards.
3. Package Contents
Verify that all items are present in your package. If any items are missing or damaged, contact your retailer.
- Turing TP-MED4M28-1Y 4MP Turret IP Camera
- Mounting Screws and Wall Plugs
- Waterproof Connector for Ethernet Cable
- Drill Template
- Quick Start Guide
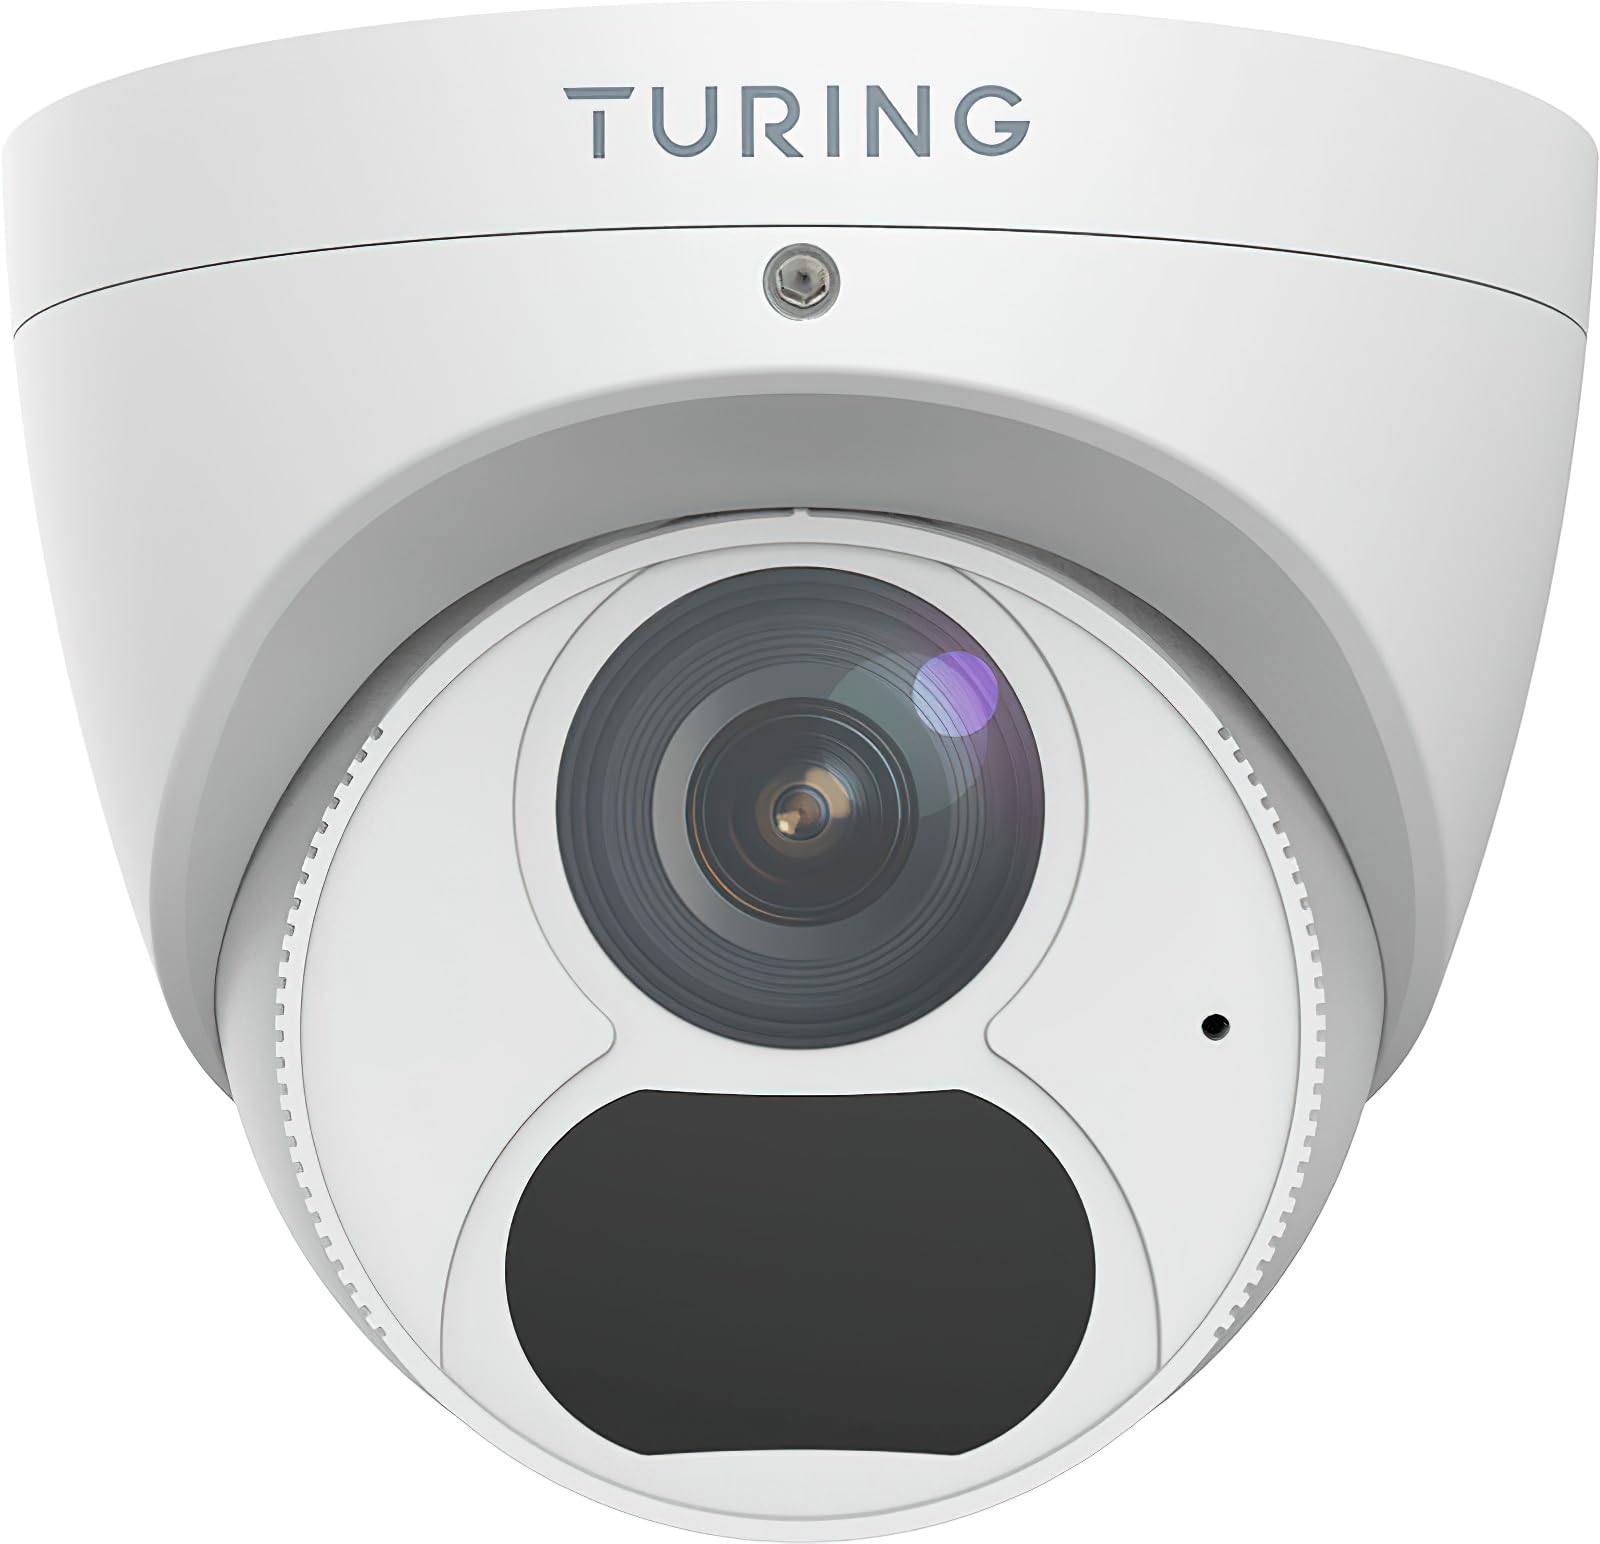
Figure 1: Turing TP-MED4M28-1Y 4MP Turret IP Camera and included accessories. The image shows the camera unit, mounting hardware, and a waterproof connector.
4. Product Overview
The Turing TP-MED4M28-1Y is a 4MP low-light turret IP camera designed for surveillance applications. It features a 2.8mm fixed lens, TwilightVision for enhanced low-light performance, and Smart IR up to 30m (98ft). The camera supports a 256GB microSD card for local storage and integrates with the Turing Vision Core AI platform.
Key Features:
- Max. 4MP (2688x1520) at 30fps resolution
- 2.8mm fixed lens with 101.1° horizontal view
- TwilightVision for optimal image clarity in low light (0.002 Lux)
- Smart IR illumination up to 30m (98ft)
- IP67 weather protection, WDR (Wide Dynamic Range), PoE (Power over Ethernet)
- Built-in microphone for audio monitoring
- Supports up to 256GB microSD card (not included)
- Integrated with Turing Vision Core AI for advanced analytics (1st year license included)
- NDAA Compliant
5. Setup and Installation
Follow these steps for proper installation of your IP camera.
5.1 Mounting the Camera
- Choose a Location: Select a suitable mounting location, typically a ceiling or wall, ensuring a clear field of view and within range of your network connection. The camera is IP67 rated for outdoor use.
- Prepare the Surface: Use the provided drill template to mark the screw holes on the mounting surface. Drill pilot holes as needed.
- Secure the Base: Attach the camera's mounting base to the surface using the supplied screws and wall plugs. Ensure it is firmly secured.
- Cable Management: Route the Ethernet cable through the designated cable entry point. Use the waterproof connector for outdoor installations to protect the Ethernet connection.
5.2 Network Connection and Power
- Connect Ethernet: Connect an Ethernet cable from your network switch or router to the camera's RJ45 port.
- Power Supply:
- PoE (Power over Ethernet): If your network switch supports PoE (IEEE 802.3af), the camera will receive power directly through the Ethernet cable. No separate power adapter is needed.
- DC 12V: If PoE is not available, connect a DC 12V power adapter (not included) to the camera's power input port.
- Initial Boot-up: The camera will power on and initiate its boot sequence. This may take a few minutes.
5.3 Initial Configuration
Refer to the Turing Vision Quick Start Guide or the Turing Vision platform documentation for detailed instructions on adding and configuring your camera within the Turing Vision ecosystem.
- Access the camera via the Turing Vision platform or a web browser using its IP address.
- Change the default password for security.
- Configure network settings, video resolution, and recording schedules.
- Adjust image settings such as WDR, 2D/3D DNR, and defog for optimal video quality.
6. Operating the Camera
The Turing TP-MED4M28-1Y camera is primarily operated and managed through the Turing Vision cloud platform or a compatible NVR/VMS system.
6.1 Live View and Recording
- Access the live video feed through the Turing Vision application or web interface.
- Configure continuous recording, motion-triggered recording, or scheduled recording via the platform settings.
- Review recorded footage by navigating to the playback section within the Turing Vision platform.
6.2 AI Features (Turing Vision Core AI)
With the included Turing CORE AI License, the camera leverages advanced analytics:
- People and Vehicle Search: Utilize the Turing Vision platform to quickly search for specific events involving people or vehicles.
- Intelligent Alerts: Receive real-time notifications for detected events based on configured rules.
- Pattern Detection: Analyze patterns across multiple locations for improved operational efficiency and safety.
6.3 Image Enhancement Features
- TwilightVision: Automatically enhances image clarity in extremely low-light conditions, providing color images where traditional cameras would switch to black and white.
- Smart IR: Adjusts the intensity of the infrared LEDs to prevent overexposure of objects close to the camera, ensuring balanced night vision.
- WDR (Wide Dynamic Range): Balances areas of high contrast in the image, ensuring details are visible in both bright and dark regions simultaneously.
7. Maintenance
Regular maintenance ensures optimal performance and longevity of your camera.
- Lens Cleaning: Gently clean the camera lens with a soft, dry cloth. For stubborn dirt, use a lens cleaning solution and a microfiber cloth. Avoid abrasive materials.
- Firmware Updates: Periodically check for and install firmware updates through the Turing Vision platform or the camera's web interface. Firmware updates often include performance improvements and security enhancements.
- Physical Inspection: Regularly inspect the camera housing and mounting for any signs of damage, loose connections, or corrosion, especially for outdoor installations.
- Storage Management: If using a microSD card, periodically check its status and manage recorded data to prevent it from filling up. Format the card if necessary (this will erase all data).
8. Troubleshooting
If you encounter issues with your camera, refer to the following common problems and solutions:
| Problem | Possible Cause | Solution |
|---|---|---|
| No image/video feed | No power; Network connection issue; Incorrect IP address | Check power supply (PoE or DC 12V). Verify Ethernet cable connection. Ensure camera is on the same network subnet as your viewing device or NVR. |
| Poor image quality | Dirty lens; Incorrect focus (fixed lens, but check for obstructions); Insufficient lighting; Incorrect image settings | Clean the lens. Ensure adequate lighting or verify Smart IR/TwilightVision settings. Adjust WDR, brightness, contrast in camera settings. |
| Cannot connect to Turing Vision | Network issues; Incorrect camera registration; Firewall blocking connection | Verify internet connectivity. Ensure the camera is correctly added to your Turing Vision account. Check firewall settings on your network. |
| MicroSD card not recording | Card full; Card not formatted; Faulty card; Recording schedule not set | Check card capacity. Format the microSD card via camera settings. Replace faulty card. Configure recording schedule. |
If the problem persists, contact Turing technical support for assistance.
9. Specifications
Detailed technical specifications for the Turing TP-MED4M28-1Y camera:
| Feature | Specification |
|---|---|
| Model | TP-MED4M28-1Y |
| Image Sensor | 1/3-inch 4MP 16:9 Progressive Scan CMOS |
| Resolution | Max. 4MP (2688x1520) at 30fps |
| Lens | 2.8 mm fixed lens |
| Angle of View (H/V/D) | 101.1° / 55.3° / 111.1° |
| Minimum Illumination | Color: 0.002 Lux (F1.6, AGC on); 0 Lux with IR on |
| IR Range | Up to 30m (98ft) Smart IR |
| Video Compression | Ultra 265, H.265, H.264, MJPEG |
| Digital Processing | 120 dB WDR, 2D/3D DNR, Defog |
| Audio | Built-in microphone, G.711, Noise suppression |
| Onboard Storage | MicroSD card slot, up to 256 GB (card not included) |
| Power Supply | DC 12V+/-25%, PoE (IEEE 802.3af) |
| Power Consumption | Max. 4.0W |
| Protection | IP67, 4KV Surge Protection |
| Dimensions (Ø x H) | 4.4 x 3.7 inches (111.8 x 94 mm) |
| Weight | 0.93 lbs (0.42 kg) |
| Operating Temperature | -30°C to 60°C (-22°F to 140°F) |
10. Warranty and Support
Turing provides a limited warranty for its products. Please refer to the official Turing website or your purchase documentation for detailed warranty terms and conditions. The first year of Turing CORE AI License is included with this product.
For technical support, product inquiries, or warranty claims, please contact Turing customer service through their official website or the contact information provided with your purchase.
Online Resources: Visit the Turing support portal for FAQs, software downloads, and additional documentation.