1. Introduction
Thank you for choosing the Memphis Audio MX600.6 Powersports Amplifier. This manual provides essential information for the proper installation, operation, and maintenance of your amplifier. Please read this manual thoroughly before attempting installation or operation to ensure optimal performance and prevent damage.
Safety Precautions
- Always disconnect the vehicle's battery negative terminal before starting any electrical work.
- Ensure all wiring is properly routed and secured to prevent pinching or damage.
- Use appropriate gauge wiring for power and ground connections as specified in this manual.
- Avoid mounting the amplifier in locations exposed to excessive heat, moisture, or direct sunlight.
- Consult a professional installer if you are unsure about any part of the installation process.
2. Product Overview
The Memphis Audio MX600.6 is a compact, 6-channel amplifier designed for powersports applications. It features a conformal coated board and an IP66 rating, making it resistant to water and elements. Top-mounted controls allow for easy adjustments.
Key Features
- Compact design for versatile mounting options.
- Conformal coated circuit board for enhanced durability.
- IP66 rated for water and element resistance.
- Top-mounted controls for convenient access.
- Sealed connectors for protection against environmental factors.
- High/low level input compatibility.
- 2/6 Input switch for flexible signal routing.
- Full range amplifier design.
Amplifier Components
Familiarize yourself with the various parts of your MX600.6 amplifier:
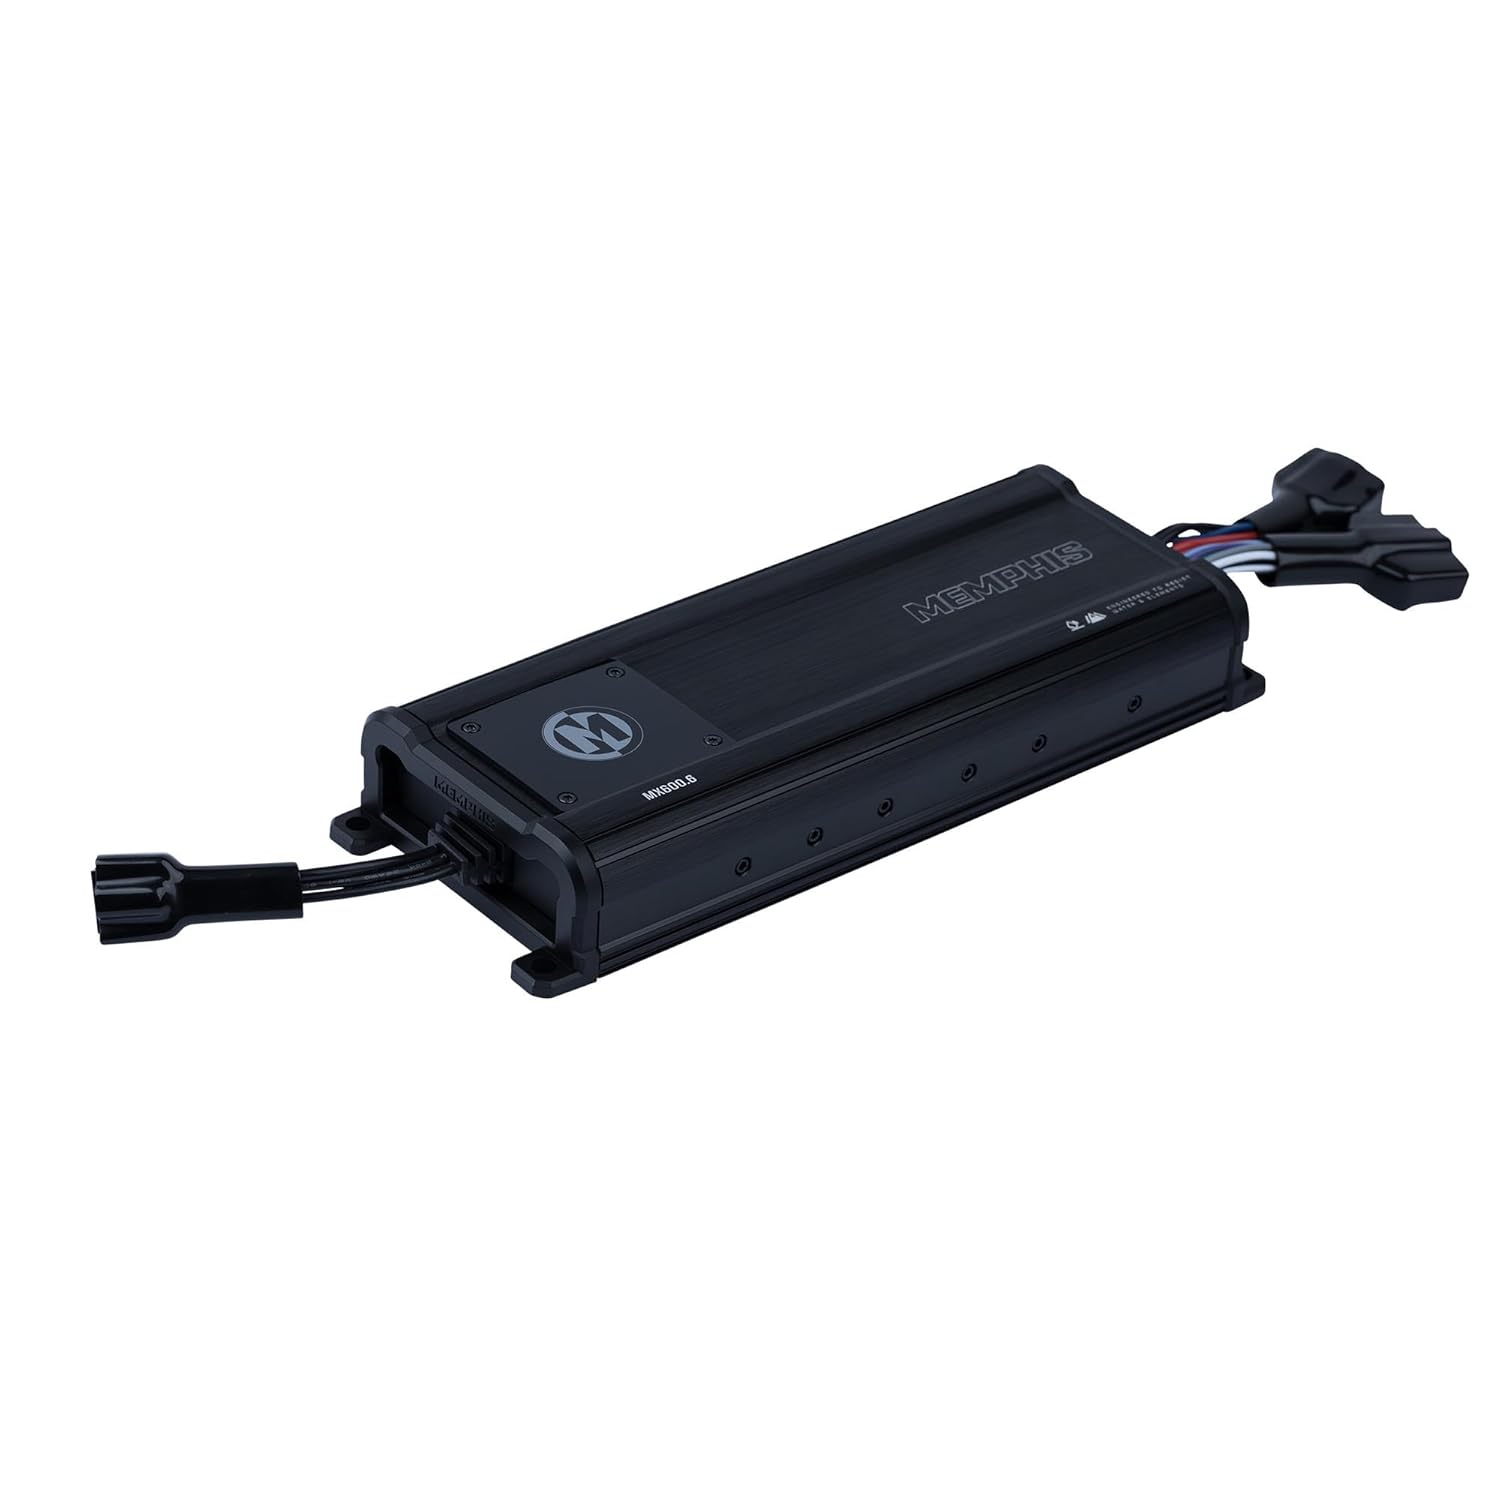
Figure 2.1: Top-down view of the Memphis Audio MX600.6 amplifier, showcasing its compact design and integrated wiring harnesses.
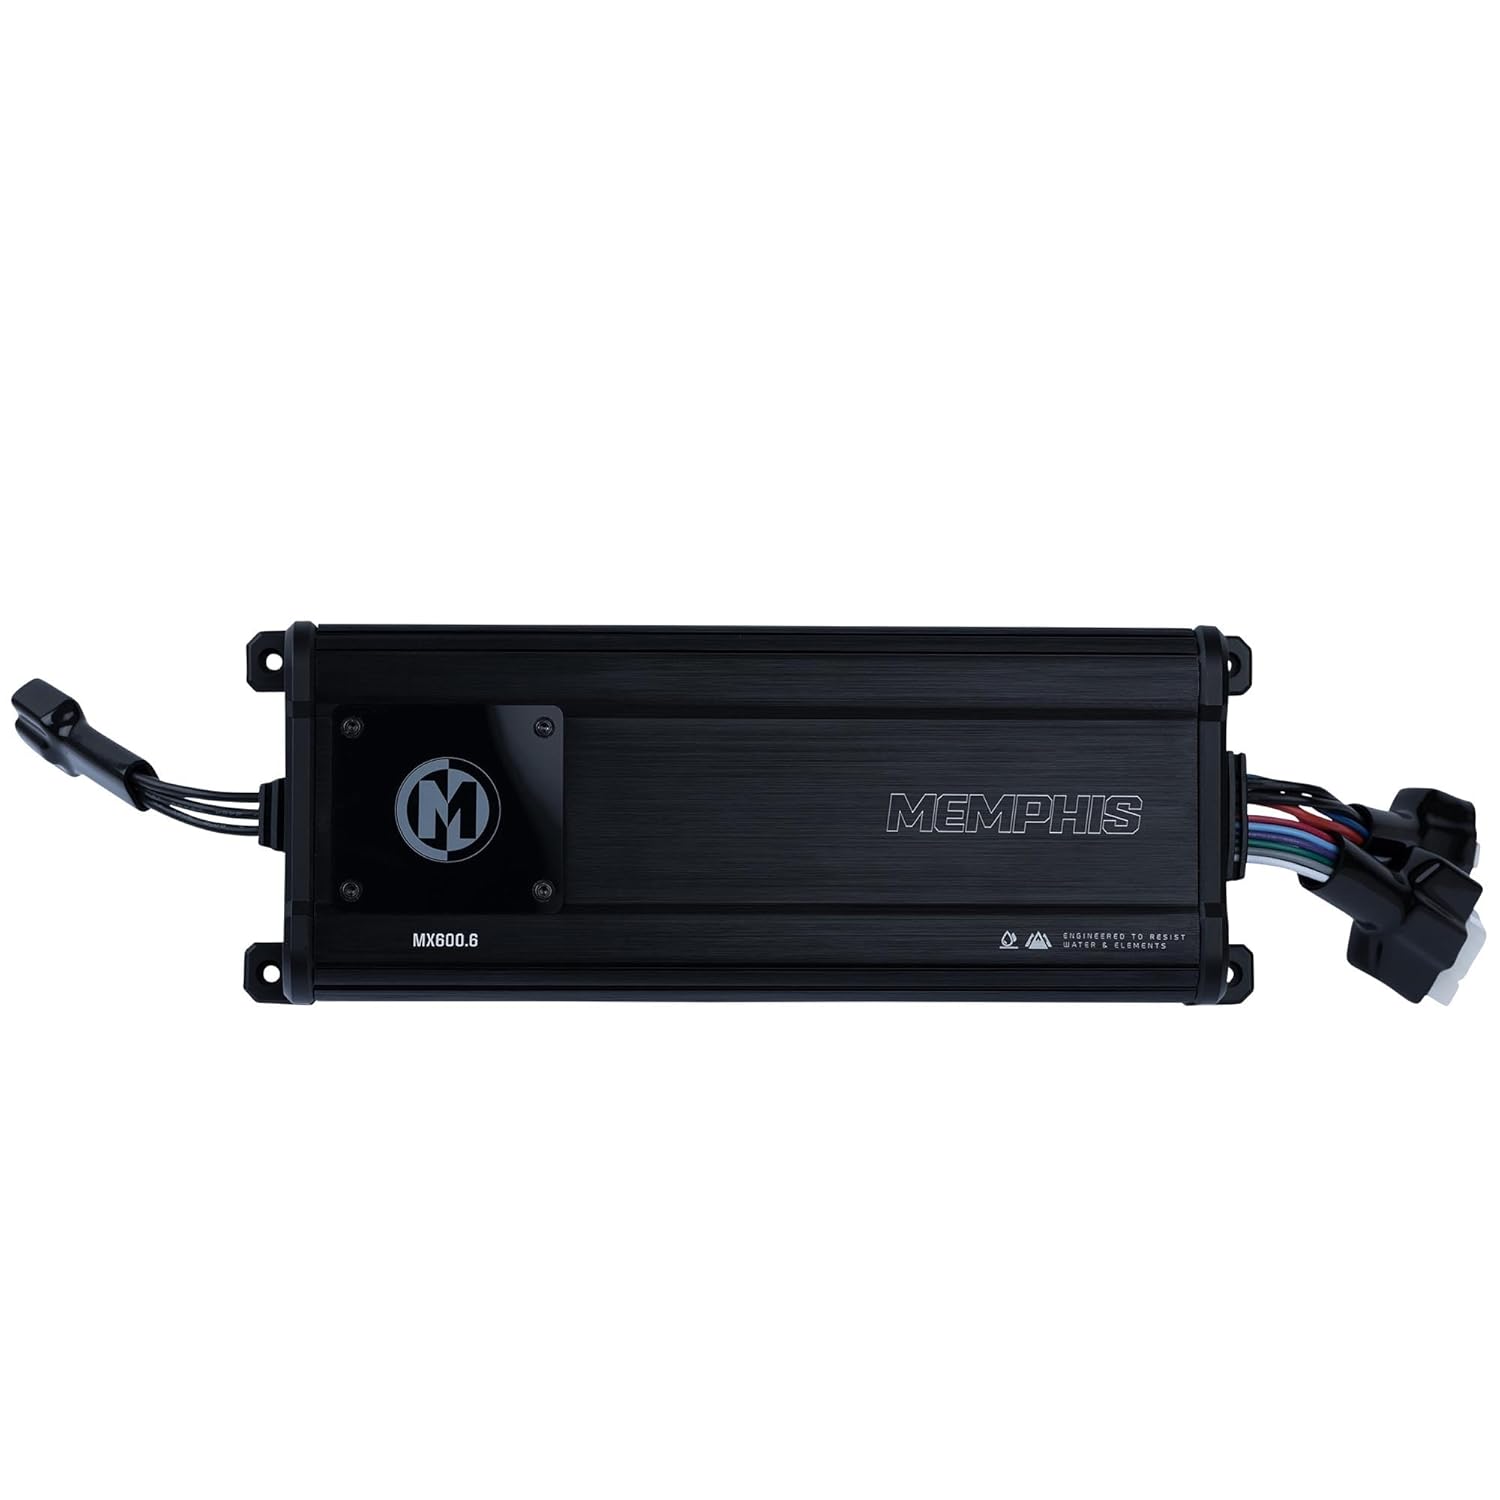
Figure 2.2: Top view of the MX600.6 amplifier, highlighting the protective cover over the control panel and the Memphis logo.
3. Installation
Proper installation is crucial for the performance and longevity of your amplifier. Ensure you have all necessary tools and materials before beginning.
Mounting Location
Choose a mounting location that:
- Provides adequate ventilation around the amplifier.
- Is protected from direct exposure to extreme heat or physical damage.
- Allows for secure fastening of the amplifier.
- Is accessible for wiring and adjustments.
Due to its IP66 rating, the MX600.6 can be mounted in more exposed environments typical of powersports vehicles, but protection from direct, high-pressure water jets is still recommended.
Wiring Connections
The MX600.6 uses sealed connectors for all inputs and outputs. Ensure these connections are secure and properly seated.
Power and Ground Wiring
- Power (B+): Connect the positive (+) terminal of the vehicle's battery to the amplifier's B+ input using an 8-gauge power wire. Install an appropriate fuse (not included) within 18 inches of the battery.
- Ground (GND): Connect the amplifier's GND input to a clean, unpainted metal surface on the vehicle chassis. Ensure a solid, low-resistance connection. Use an 8-gauge ground wire, keeping it as short as possible.
- Remote (REM): Connect the amplifier's REM input to the remote turn-on output of your head unit or a switched 12V source.
Input Signal Wiring
The MX600.6 supports both high-level (speaker level) and low-level (RCA) inputs. Use the provided input harness.
- Low-Level Input: Connect RCA cables from your head unit's pre-amp outputs to the amplifier's input harness.
- High-Level Input: If your head unit does not have RCA outputs, connect the speaker output wires directly to the high-level input wires on the amplifier's harness.
Speaker Output Wiring
Connect your speakers to the amplifier's speaker output harness. Observe correct polarity (+ to + and - to -) for all speakers.
- Channels 1-4: Connect your front and rear speakers.
- Channels 5-6: Connect your subwoofer(s) or additional full-range speakers.
Minimum speaker impedance for Channels 1-4 is 2 Ohms. Minimum speaker impedance for Channels 5-6 is 2 Ohms.
4. Operation and Adjustments
The MX600.6 features top-mounted controls for easy adjustment of gain and crossover settings. These controls are typically located under a protective cover.

Figure 4.1: Detailed view of the MX600.6 control panel, showing input mode switch, frequency adjustments, and sensitivity (gain) knobs for each channel pair.
Input Mode Switch (2CH/4CH/6CH)
This switch determines how the input signal is routed to the amplifier's channels.
- 2CH: Uses only the CH1/2 inputs to drive all 6 channels.
- 4CH: Uses CH1/2 and CH3/4 inputs to drive all 6 channels.
- 6CH: Requires separate inputs for CH1/2, CH3/4, and CH5/6.
Gain (SENS) Adjustment
The gain control (labeled 'SENS') matches the amplifier's input sensitivity to the output level of your head unit. Start with the gain set to minimum (MIN) and slowly increase it until you hear distortion, then back off slightly. This is not a volume control.
Crossover Adjustments (FREQ, HPF, LPF, FULL)
The MX600.6 features adjustable crossovers for each channel pair (CH1/2, CH3/4, CH5/6) to optimize sound output for your speakers.
- FULL: Full range output, no crossover applied.
- HPF (High Pass Filter): Allows frequencies above the set point to pass through. Use for full-range speakers to prevent low frequencies that can cause distortion.
- LPF (Low Pass Filter): Allows frequencies below the set point to pass through. Use for subwoofers.
- FREQ (Frequency) Knob: Adjusts the cutoff frequency for the HPF or LPF, typically ranging from 50Hz to 200Hz.
Status Indicators (PWR, PRT)
- PWR (Power): Illuminates when the amplifier is powered on and operating normally.
- PRT (Protection): Illuminates when the amplifier enters protection mode due to issues like overheating, low impedance, or short circuits. If this light comes on, turn off your audio system and investigate the cause.
5. Maintenance
Regular maintenance helps ensure the longevity and performance of your MX600.6 amplifier.
- Cleaning: Periodically clean the amplifier's exterior with a soft, dry cloth. Avoid using harsh chemicals or abrasive cleaners.
- Inspections: Regularly check all wiring connections for tightness and signs of corrosion or damage. Ensure the mounting hardware remains secure.
- Ventilation: Keep the area around the amplifier clear of obstructions to allow for proper airflow and heat dissipation.
6. Troubleshooting
If you experience issues with your amplifier, refer to the following common problems and solutions before contacting support.
| Problem | Possible Cause | Solution |
|---|---|---|
| No Power (PWR light off) | Blown fuse, poor power/ground connection, no remote turn-on signal. | Check inline fuse, verify power and ground connections, check remote wire for 12V. |
| Protection Mode (PRT light on) | Overheating, speaker short circuit, impedance too low. | Allow amplifier to cool, check speaker wiring for shorts, verify speaker impedance. |
| No Sound Output | No input signal, gain too low, speaker wires disconnected. | Check RCA/high-level input connections, adjust gain, verify speaker connections. |
| Distorted Sound | Gain set too high, improper crossover settings, damaged speakers. | Reduce gain, adjust crossover settings, inspect speakers for damage. |
7. Specifications
Technical specifications for the Memphis Audio MX600.6 amplifier:
| Feature | Specification |
|---|---|
| Model Number | MX600.6 |
| RMS Power @ 4Ω | 50W x 4 + 100W x 2 |
| RMS Power @ 2Ω | 75W x 4 + 150W x 2 |
| Bridged/Mono Power @ 4Ω | 150W x 2 + 300W x 1 |
| THD% | <1% |
| Signal/Noise Ratio | >80dB |
| Frequency Response | 10Hz - 20kHz |
| Input Range | 300mV - 9.7V |
| Dimensions (L x W x H) | 11.7 x 4.33 x 1.75 inches (Product) / 13.58 x 6.69 x 3.94 inches (Shipping) |
| Weight | 5.36 Pounds |
| Voltage | 9.7 Volts (DC) |
| IP Rating | IP66 |
8. Warranty and Support
Warranty Information
Memphis Audio products are designed and manufactured to the highest quality standards. For specific warranty terms and conditions, please refer to the warranty card included with your product or visit the official Memphis Audio website. Keep your purchase receipt as proof of purchase for warranty claims.
Customer Support
If you have any questions, require technical assistance, or need to report a problem with your MX600.6 amplifier, please contact Memphis Audio customer support through their official website or authorized dealer. Provide your product model number and a detailed description of the issue for efficient service.
For more information, visit the Memphis Audio Store on Amazon.


