Introduction
This manual provides comprehensive instructions for the safe and efficient operation of your Nostalgia Retro Countertop Microwave Oven and Nostalgia Retro 3-in-1 Family Size Electric Breakfast Station. Please read all instructions carefully before use and retain this manual for future reference.
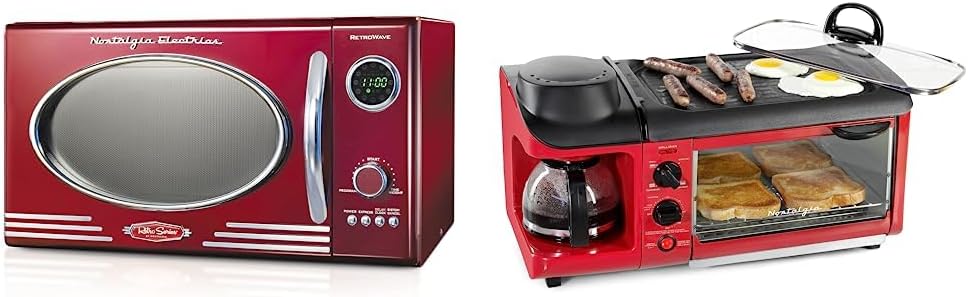
Image: The Nostalgia Retro Countertop Microwave Oven (left) and the Nostalgia Retro 3-in-1 Family Size Electric Breakfast Station (right) displayed together.
Important Safety Instructions
Always follow basic safety precautions when using electrical appliances to reduce the risk of fire, electric shock, injury, or exposure to excessive microwave energy.
- Read all instructions before using the appliance.
- Do not operate any appliance with a damaged cord or plug, or after the appliance malfunctions or has been damaged in any manner.
- Do not immerse cord, plug, or main unit in water or other liquids.
- Close supervision is necessary when any appliance is used by or near children.
- Use this appliance only for its intended use as described in this manual.
- Do not use corrosive chemicals or vapors in this appliance.
- Do not heat sealed containers, as they may explode.
- Always ensure the appliance is unplugged when not in use and before cleaning.
Nostalgia Retro Countertop Microwave Oven
Components

Image: Front view of the Nostalgia Retro Countertop Microwave Oven, highlighting the door, handle, control panel, and display.
- Microwave Unit
- Glass Turntable
- Turntable Ring
- Control Panel with LED Display
- Door Handle
Setup
- Unpack the microwave oven and all accessories. Remove any packing materials from inside the oven cavity.
- Place the turntable ring in the center of the microwave oven cavity.
- Place the glass turntable securely on top of the turntable ring.
- Position the microwave oven on a flat, stable surface, ensuring adequate ventilation around the unit. Maintain at least 4 inches of clearance from the back and sides, and 12 inches from the top.
- Plug the power cord into a grounded electrical outlet.
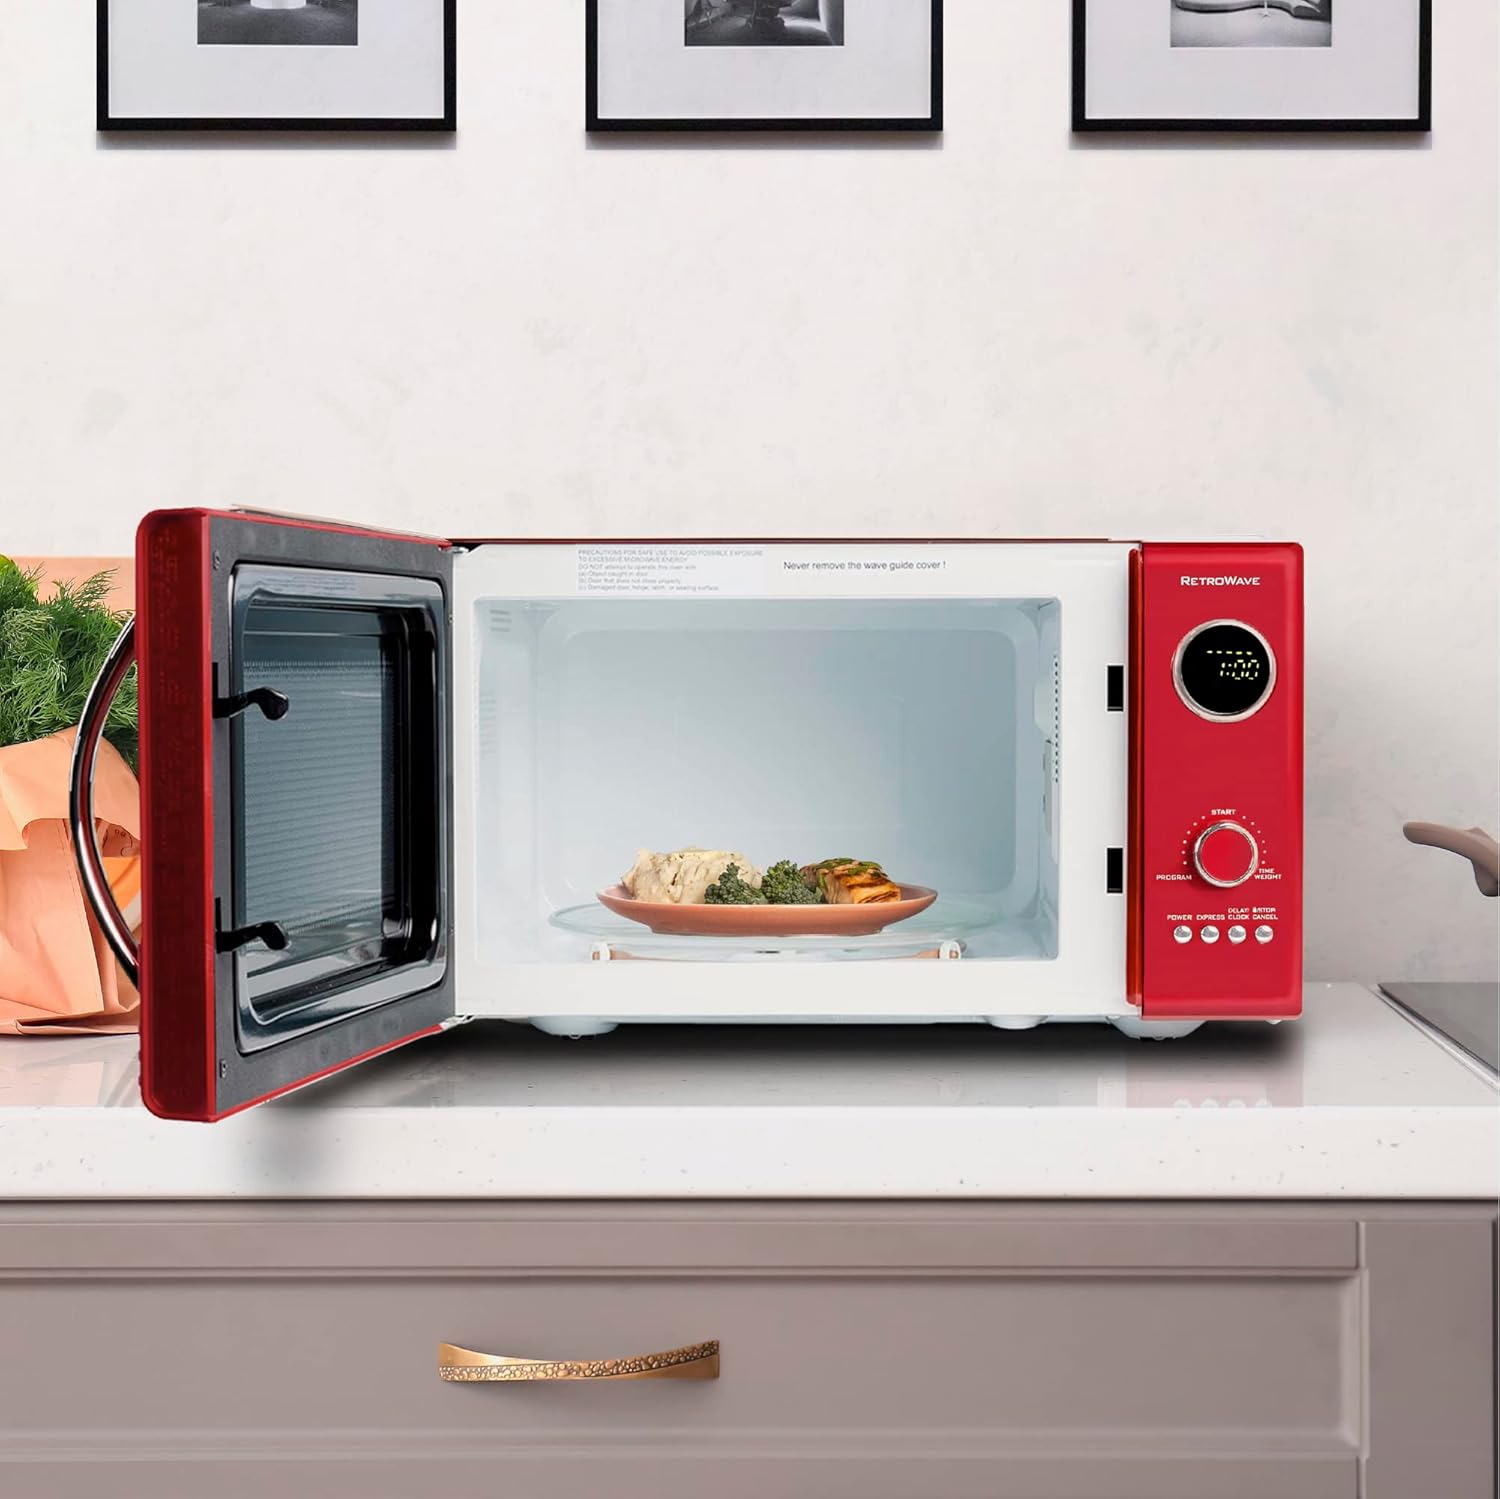
Image: The interior of the Nostalgia Retro Countertop Microwave Oven, showing a plate of food on the glass turntable.
Operating Instructions
The microwave features a digital clock and a jog dial for program selection and time adjustment.
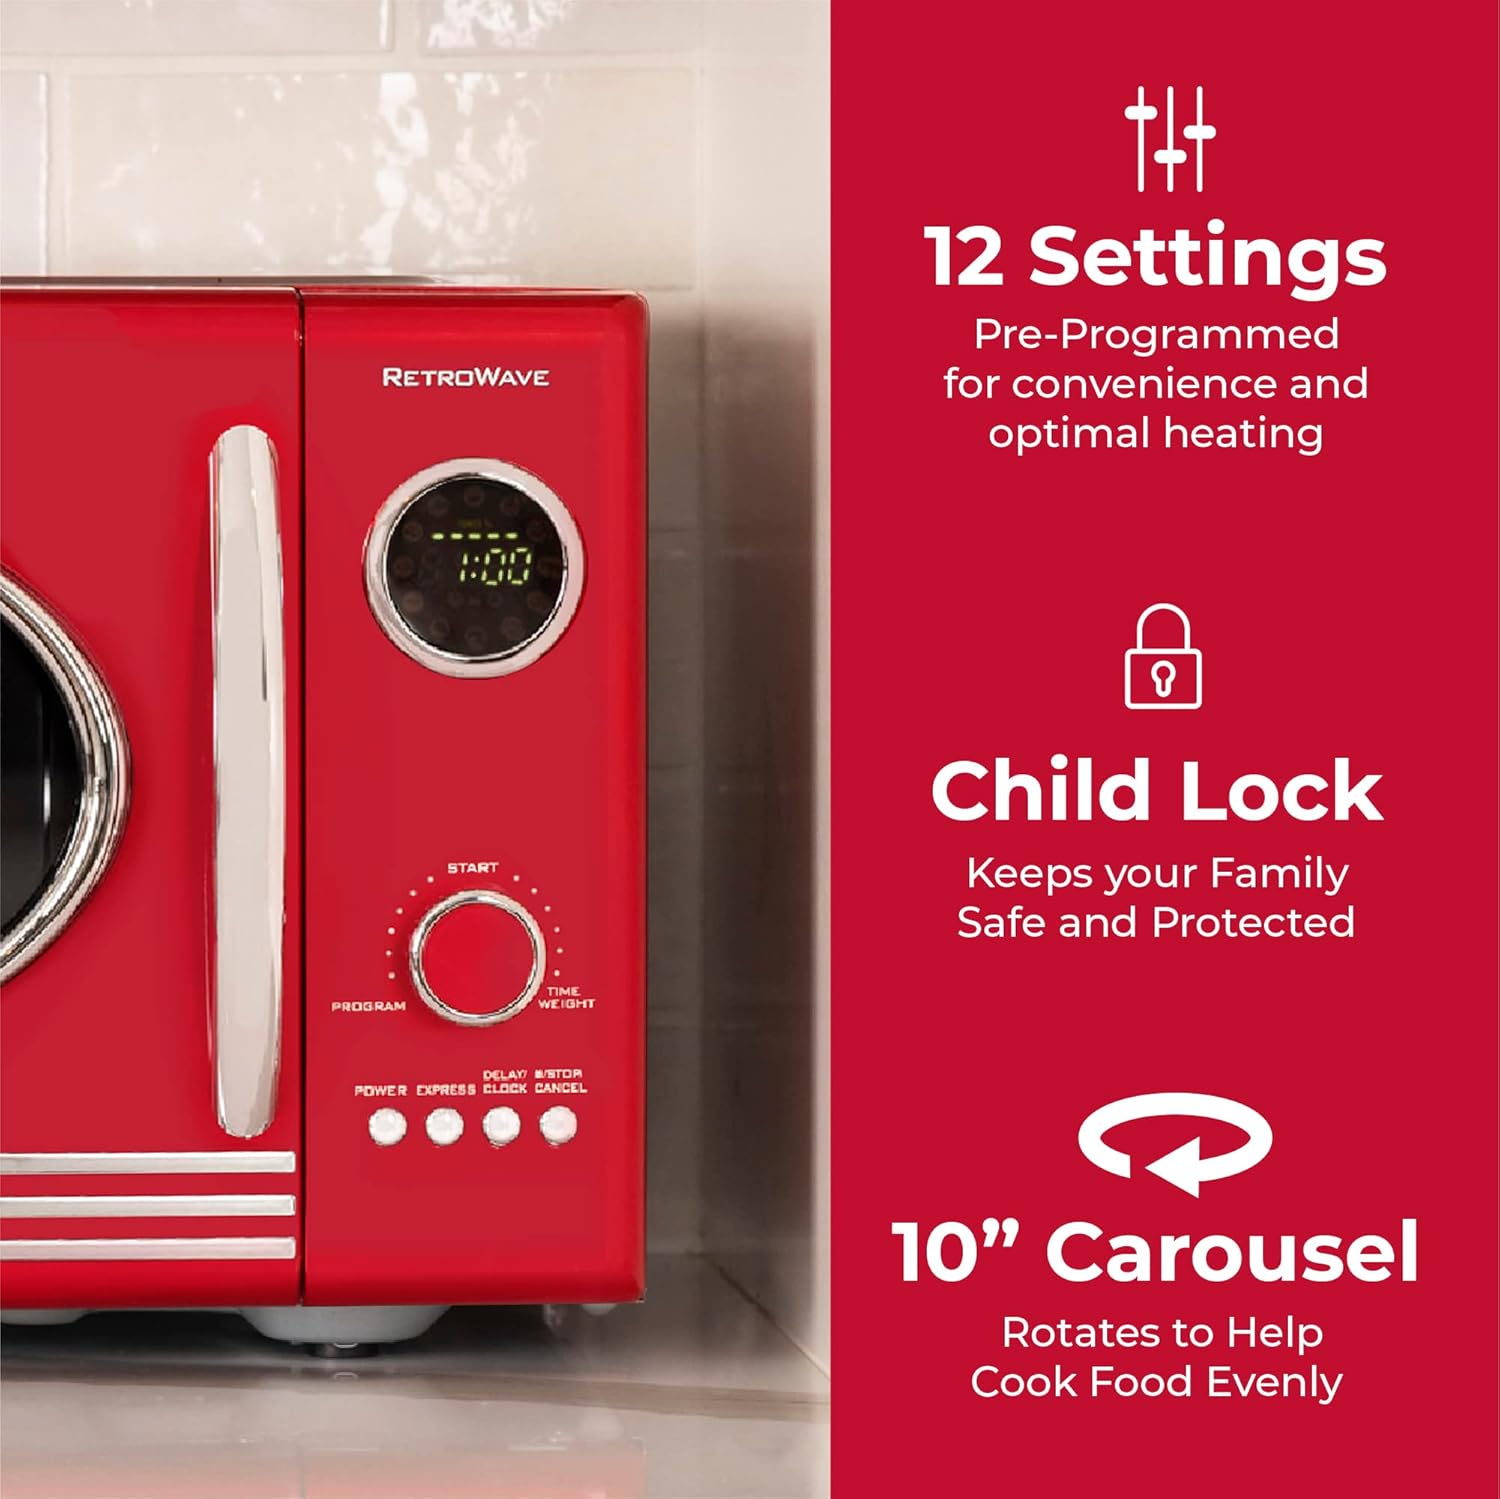
Image: Close-up of the Nostalgia Retro Countertop Microwave Oven's control panel, showing the LED display, jog dial, and buttons for 12 settings, child lock, and 10-inch carousel.
Setting the Clock
- Press the "CLOCK" button.
- Turn the jog dial to set the hour. Press "CLOCK" again.
- Turn the jog dial to set the minutes. Press "CLOCK" to confirm.
Microwave Cooking
- Place food in a microwave-safe container on the glass turntable.
- Close the microwave door securely.
- Manual Cooking: Turn the jog dial to set the desired cooking time. Press the "POWER" button repeatedly to select a power level (1-5). Press "START" to begin cooking.
- Pre-Programmed Settings: The microwave has 12 pre-programmed settings for common foods. Press the "PROGRAM" button repeatedly to cycle through the options (e.g., Popcorn, Pizza, Potato, Veggies). Turn the jog dial to select quantity/weight if applicable. Press "START" to begin.
- Express Cooking: For quick heating, press the "EXPRESS" button to start cooking immediately at full power for 30 seconds. Pressing it multiple times adds 30 seconds per press.
- Delay Timer: To set a delayed start, press "DELAY". Set the delay time using the jog dial, then set your desired cooking program. Press "START".
Child Lock Function
To activate the child lock, press and hold the "CANCEL" button for 3 seconds. The display will show "LOC". To deactivate, press and hold "CANCEL" again for 3 seconds.
Care and Maintenance
- Always unplug the microwave before cleaning.
- Clean the interior and exterior surfaces with a damp cloth and mild soap. Do not use abrasive cleaners.
- The glass turntable and turntable ring can be removed and washed in warm, soapy water or in a dishwasher.
- Regularly wipe the door seals and adjacent parts to remove spills and splatters.
- Do not allow the control panel to become wet.
Troubleshooting
| Problem | Possible Cause | Solution |
|---|---|---|
| Microwave does not start. | Door not closed properly; power cord unplugged; fuse blown. | Ensure door is latched; check power connection; check household fuse/circuit breaker. |
| Food not heating. | Incorrect cooking time/power level; microwave-safe dish not used. | Adjust time/power; use appropriate cookware. |
| Turntable not rotating. | Turntable not seated correctly; food too large/heavy. | Re-position turntable; ensure no obstruction. |
Specifications (Microwave Oven)
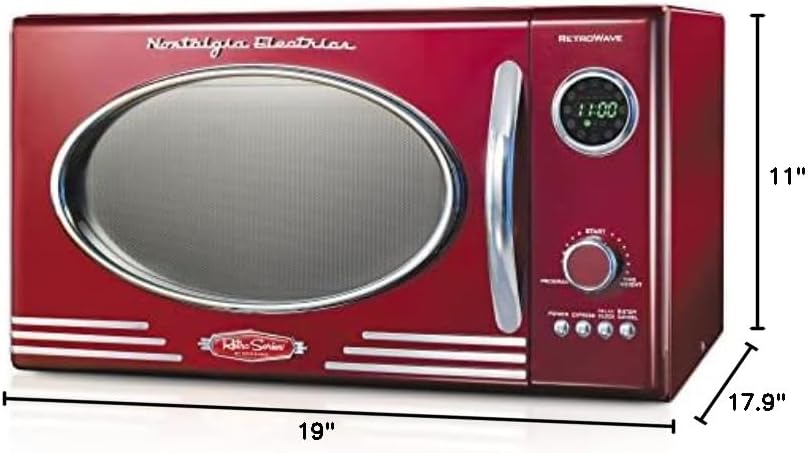
Image: Diagram showing the dimensions of the Nostalgia Retro Countertop Microwave Oven: 19 inches wide, 17.9 inches deep, and 11 inches high.
- Model: Retro Countertop Microwave Oven
- Capacity: 0.9 Cubic Feet
- Wattage: 800 Watts
- Voltage: 120 Volts
- Installation Type: Countertop
- Special Features: Timer, 12 Pre-Programmed Settings, Child Lock
- Dimensions (DxWxH): 17.9"D x 19"W x 11"H
- Inner Material: Ceramic, Glass
- Included Components: Grill, Turntable
Nostalgia Retro 3-in-1 Family Size Electric Breakfast Station
Components

Image: The Nostalgia Retro 3-in-1 Family Size Electric Breakfast Station, showing the coffee maker, toaster oven, and griddle with food.
- Main Unit with Control Dials
- Coffee Maker (with glass carafe, coffee scoop, reusable filter)
- Large Non-Stick Griddle (with glass lid)
- Toaster Oven (with baking rack)
Setup
- Unpack the breakfast station and all accessories.
- Place the unit on a stable, heat-resistant surface.
- Ensure the coffee carafe is in place and the griddle is properly seated.
- Plug the power cord into a grounded electrical outlet.
Operating Instructions

Image: Infographic highlighting the 3-in-1 functionality of the breakfast station, including the toaster oven for 4 slices of bread, 3-cup coffee maker, and family-size griddle.
Coffee Maker
- Fill the water reservoir with fresh water (up to 3 cups).
- Add ground coffee to the reusable filter.
- Place the glass carafe on the warming plate.
- Turn the "COFFEE" switch to the ON position to begin brewing.
Electric Griddle

Image: Close-up of the non-stick griddle surface on the Nostalgia Retro 3-in-1 Family Size Electric Breakfast Station, showing sausages, bacon, and a fried egg cooking.
- Ensure the griddle is clean and dry.
- Turn the "GRILL/OVEN" dial to the desired temperature setting for the griddle.
- Allow the griddle to preheat for a few minutes.
- Place food (e.g., eggs, bacon, sausages) directly on the non-stick surface.
- Use the glass lid to help cook food evenly and retain heat.
Toaster Oven
- Place food (e.g., bread slices, small pizza) on the baking rack inside the toaster oven.
- Close the toaster oven door.
- Turn the "GRILL/OVEN" dial to the desired function (e.g., TOAST, BAKE) and temperature.
- Set the timer dial for the desired cooking duration. The oven will turn off automatically when the timer expires.
Care and Maintenance
- Always unplug the breakfast station before cleaning and allow it to cool completely.
- The non-stick griddle can be removed for easier cleaning. Wash with warm, soapy water and a soft sponge.
- The glass carafe and reusable coffee filter are washable.
- Wipe the exterior of the unit with a damp cloth. Do not immerse the main unit in water.
- Clean the toaster oven interior and baking rack with a damp cloth.
Troubleshooting
| Problem | Possible Cause | Solution |
|---|---|---|
| Coffee not brewing. | Water reservoir empty; coffee switch off; carafe not in place. | Fill reservoir; turn switch on; ensure carafe is correctly positioned. |
| Griddle not heating. | Temperature dial set too low or off; unit not plugged in. | Adjust dial; check power connection. |
| Toaster oven not heating. | Timer not set; temperature dial off. | Set timer and temperature dial. |
Specifications (Breakfast Station)
- Model: Retro 3-in-1 Family Size Electric Breakfast Station
- Coffee Maker Capacity: 3 cups (8 oz each)
- Toaster Oven Capacity: Fits up to 4 slices of bread
- Griddle: Large non-stick surface with glass lid
- Special Features: Integrated coffee maker, griddle, and toaster oven
Warranty and Support
Nostalgia products are designed for reliability and performance. For specific warranty information, please refer to the warranty card included with your purchase or visit the official Nostalgia website. For technical support or service inquiries, please contact Nostalgia customer service.
Website: www.nostalgiaproducts.com


