
1. Introduction
This manual provides essential information for the installation and proper handling of the A-MIND LCD Display Touch Screen Digitizer Assembly Replacement for the Xiaomi Poco X5 Pro. This product is designed to replace faulty, cracked, broken, or non-functional screens, addressing issues such as dead pixels, touch unresponsiveness, and display problems. Please read all instructions carefully before proceeding with installation.
2. Package Contents
Verify that all items listed below are included in your package:
- 1x LCD Display Touch Screen Digitizer Assembly Replacement
- 1x Strong Suction Cup
- 2x Triangle Opening Tools
- 1x Card Pin
- 1x Plastic Spudger
- 1x Free Tape

Image 2.1: Front and back view of the LCD screen replacement for Xiaomi Poco X5 Pro.
3. Compatibility
This LCD screen replacement is specifically designed for the Xiaomi Poco X5 Pro models 22101320G and 22101320I. It features a 6.67-inch display with a resolution of 1080 x 2400 pixels. Please ensure your device model matches these specifications before attempting installation. Using an incorrect model may cause damage to your phone.
4. Important Pre-Installation Notes
Adhering to these notes is crucial for a successful installation and to prevent damage to the product or your device:
- Test Before Installation: Before fully installing the screen, connect the new replacement display to the phone's motherboard. Power on the device and test all functions (display, touch response, colors) to ensure it is working correctly. Do not remove any protective films or tags during this testing phase.
- Static Electricity Precaution: Electronic components are sensitive to static electricity. Before attempting any repair, ground yourself using an ESD (electrostatic discharge) strap. This prevents static electricity from damaging the phone's internal components.
- Eye Protection: Always wear eye protection during the repair process to guard against glass splinters. Exercise caution to avoid cutting your fingers with broken glass.
- Flex Cable Handling: The LCD flex cable is delicate. Do not over-bend it, especially beyond 90 degrees, as this can cause a black display or other malfunctions.
- No Frame Design: This product is supplied without a frame. If you lack experience in screen replacement without a pre-attached frame, it is highly recommended to seek professional assistance from a repair store. Installing a screen without a frame requires precision and can be challenging for inexperienced users.

Image 4.1: Illustration highlighting the 'NO FRAME' design and the recommendation for professional installation.
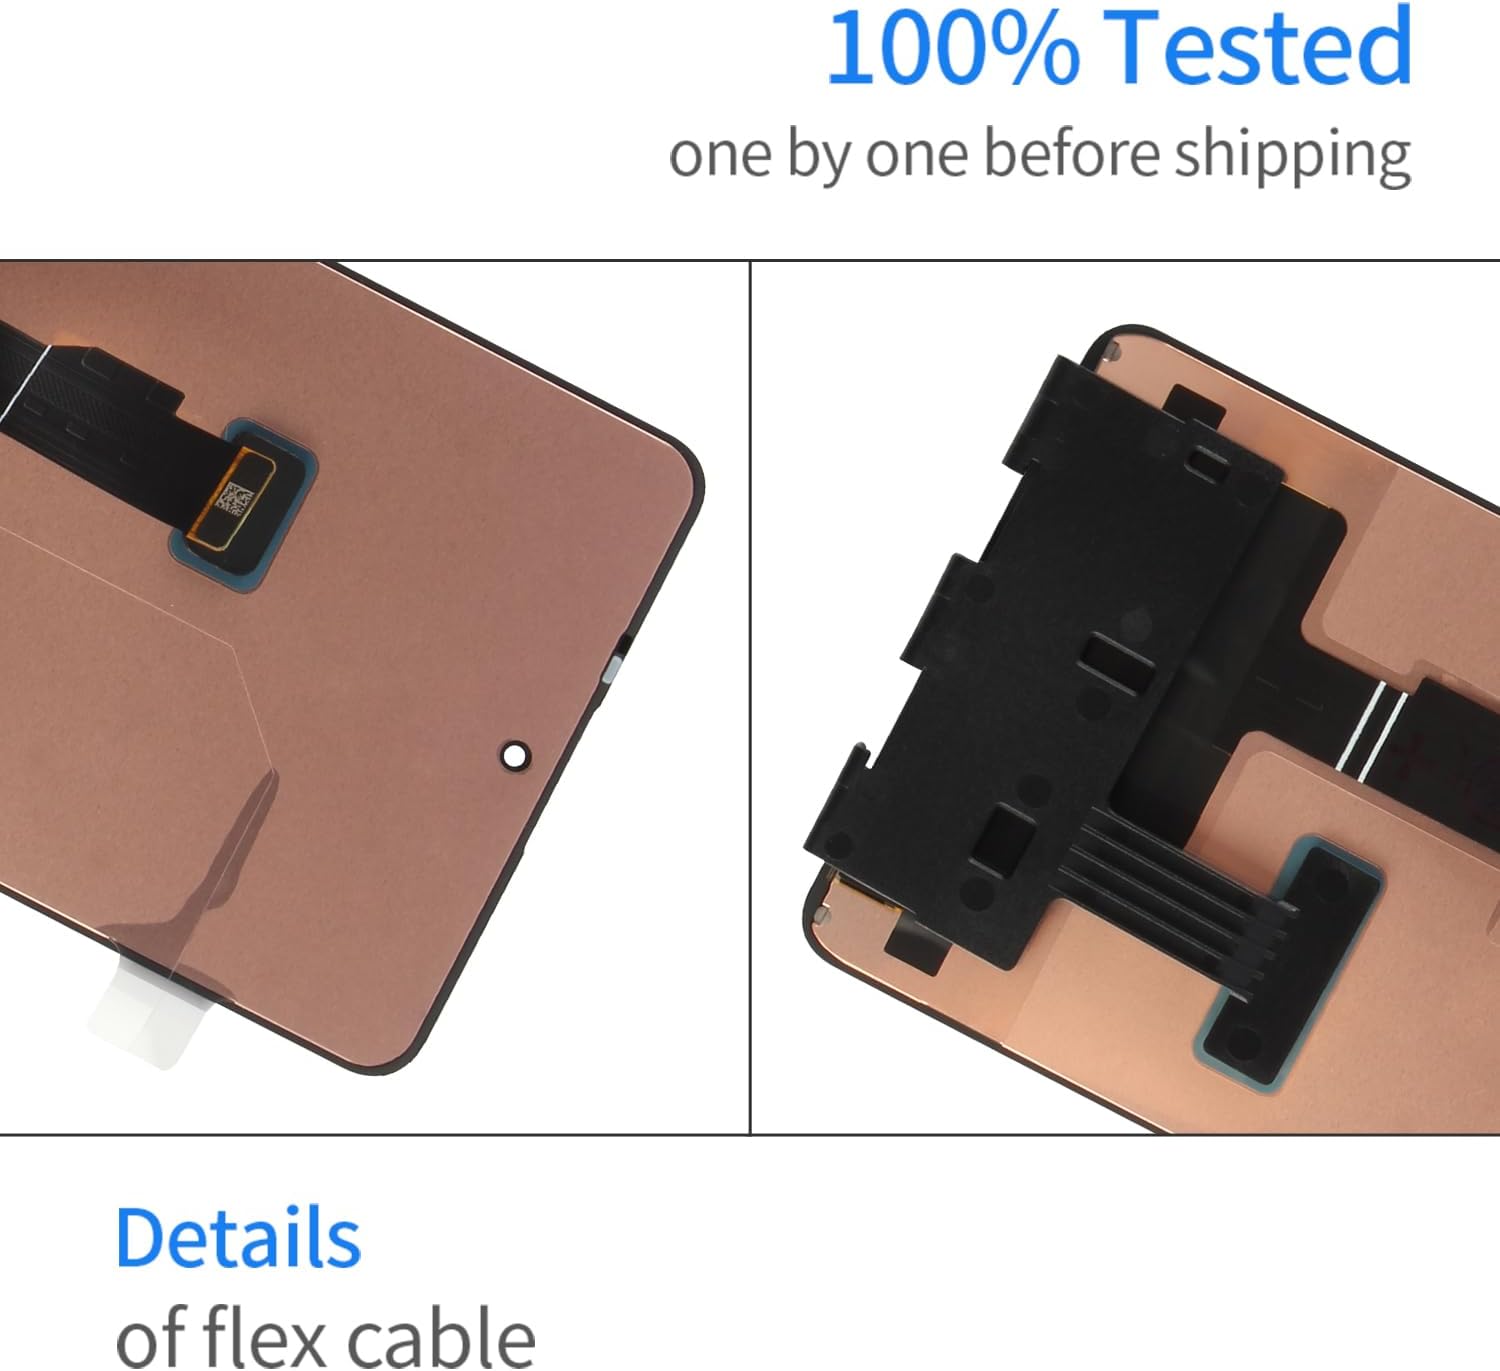
Image 4.2: Detail of the flex cable, emphasizing careful handling.
5. Installation (Setup)
This product does not include detailed step-by-step installation instructions. Screen replacement is a complex procedure that requires specific tools and technical knowledge. We strongly recommend searching for installation videos on platforms like YouTube for visual guidance specific to the Xiaomi Poco X5 Pro screen replacement. Alternatively, consider professional installation to avoid potential damage to your device.
General Steps (Consult video guides for specifics):
- Power off your device completely.
- Remove the SIM card tray.
- Carefully open the phone's back cover using appropriate tools.
- Disconnect the battery connector to prevent short circuits.
- Disconnect the old screen's flex cables from the motherboard.
- Carefully remove the old, damaged screen.
- Clean any adhesive residue from the phone frame.
- Perform the pre-installation test with the new screen (refer to Section 4).
- Apply new adhesive to the phone frame.
- Carefully connect the new screen's flex cables to the motherboard.
- Align and gently press the new screen into the frame.
- Reconnect the battery connector.
- Reassemble the phone's back cover and secure it.
6. Testing (Operating)
After installation, perform a thorough test of the new screen's functionality:
- Power on the device.
- Check for any display abnormalities such as dead pixels, lines, or incorrect colors.
- Test the touch functionality across the entire screen, including multi-touch gestures.
- Verify that the brightness adjustment works correctly.
- Ensure there are no light leaks or gaps between the screen and the frame.

Image 6.1: Example of a tested screen corner, ensuring quality.
7. Troubleshooting
If you encounter issues after installation, consider the following:
- Black Display: If the screen remains black, ensure the flex cable is not over-bent (beyond 90 degrees) and is securely connected to the motherboard. Recheck all connections.
- Touch Unresponsive/Display Issues: Disconnect and reconnect the screen's flex cables. Ensure there is no dust or debris on the connectors. Perform a soft reset of the phone if possible.
- Screen Not Showing: If the screen does not display anything after testing, do not force installation. Contact customer service immediately.
- Physical Damage: If the screen was installed with force or sustained physical damage during installation, it may not function correctly.
8. Specifications
| Model Compatibility | Xiaomi Poco X5 Pro (22101320G, 22101320I) |
| Screen Type | TFT LCD (A+ Screen) |
| Screen Size | 6.67 inches |
| Resolution | 1080 x 2400 pixels |
| Item Weight | 0.8 ounces |
| Package Dimensions | 1 x 1 x 0.1 inches |
9. Warranty and Support
If you encounter any problems with your order or the product, please do not hesitate to contact our customer service team. We are committed to providing assistance within 24 hours.
For quality-related issues, as long as the screen has not sustained any man-made or physical damage, we can arrange for an exchange if it fails to function normally. Please ensure the screen is tested before full installation, as we cannot be responsible for issues once the screen has been permanently installed.