Introduction
Thank you for purchasing the Possini Euro Design 60" Defender Ceiling Fan. This manual provides detailed instructions for the safe installation, operation, and maintenance of your new ceiling fan. Please read all instructions carefully before beginning installation and retain this manual for future reference.
This fan is designed for both indoor and outdoor (damp-rated) use, offering powerful and stylish cooling for various spaces such as patios, porches, gazebos, garages, barns, bedrooms, kitchens, and living rooms.
Safety Information
WARNING: To reduce the risk of fire, electric shock, or personal injury, always follow these instructions:
- Read all instructions and safety information before installing your new fan. Review the accompanying diagrams thoroughly.
- All wiring must be in accordance with national and local electrical codes. If you are unfamiliar with wiring, consult a qualified electrician.
- Before installation, disconnect power by turning off the circuit breakers at the main fuse box.
- The fan must be mounted to a ceiling joist or support structure capable of supporting a minimum of 35 lbs (15.9 kg).
- Ensure the installation site allows for a minimum clearance of 7 feet from the floor to the blade trailing edge.
- Do not operate the fan with damaged blades. Replace all blades if any are damaged.
- This fan is damp location rated. It is not suitable for locations in humid climates with saltwater exposure.
- Do not insert objects into the path of the fan blades while the fan is operating.
Package Contents
Verify that all components are present before beginning installation. If any parts are missing or damaged, contact customer support.
- Fan Motor Assembly (Matte Black finish)
- Eight (8) Hand-Painted Koa Finish Molded ABS Blades
- Downrod (8" included)
- Canopy (5 1/2" wide x 2 1/4" high)
- Full-Function Hand-Held Remote Control System
- Mounting Hardware
Installation Instructions
Before You Begin: Ensure power is disconnected at the circuit breaker. Read the entire manual before proceeding.
1. Mounting the Bracket
Secure the mounting bracket to a ceiling joist or a suitable support structure. The structure must be able to support the fan's weight (approximately 14 lbs).

Image: Full view of the Possini Euro Design 60-inch Defender Ceiling Fan, showing the matte black motor and hand-painted koa finish blades.
2. Assembling the Downrod and Fan Motor
Feed the electrical wires from the fan motor through the downrod. Secure the downrod to the fan motor assembly. The included downrod is 8 inches. The fan height from ceiling to blades is 14 1/4" with the 8" downrod.
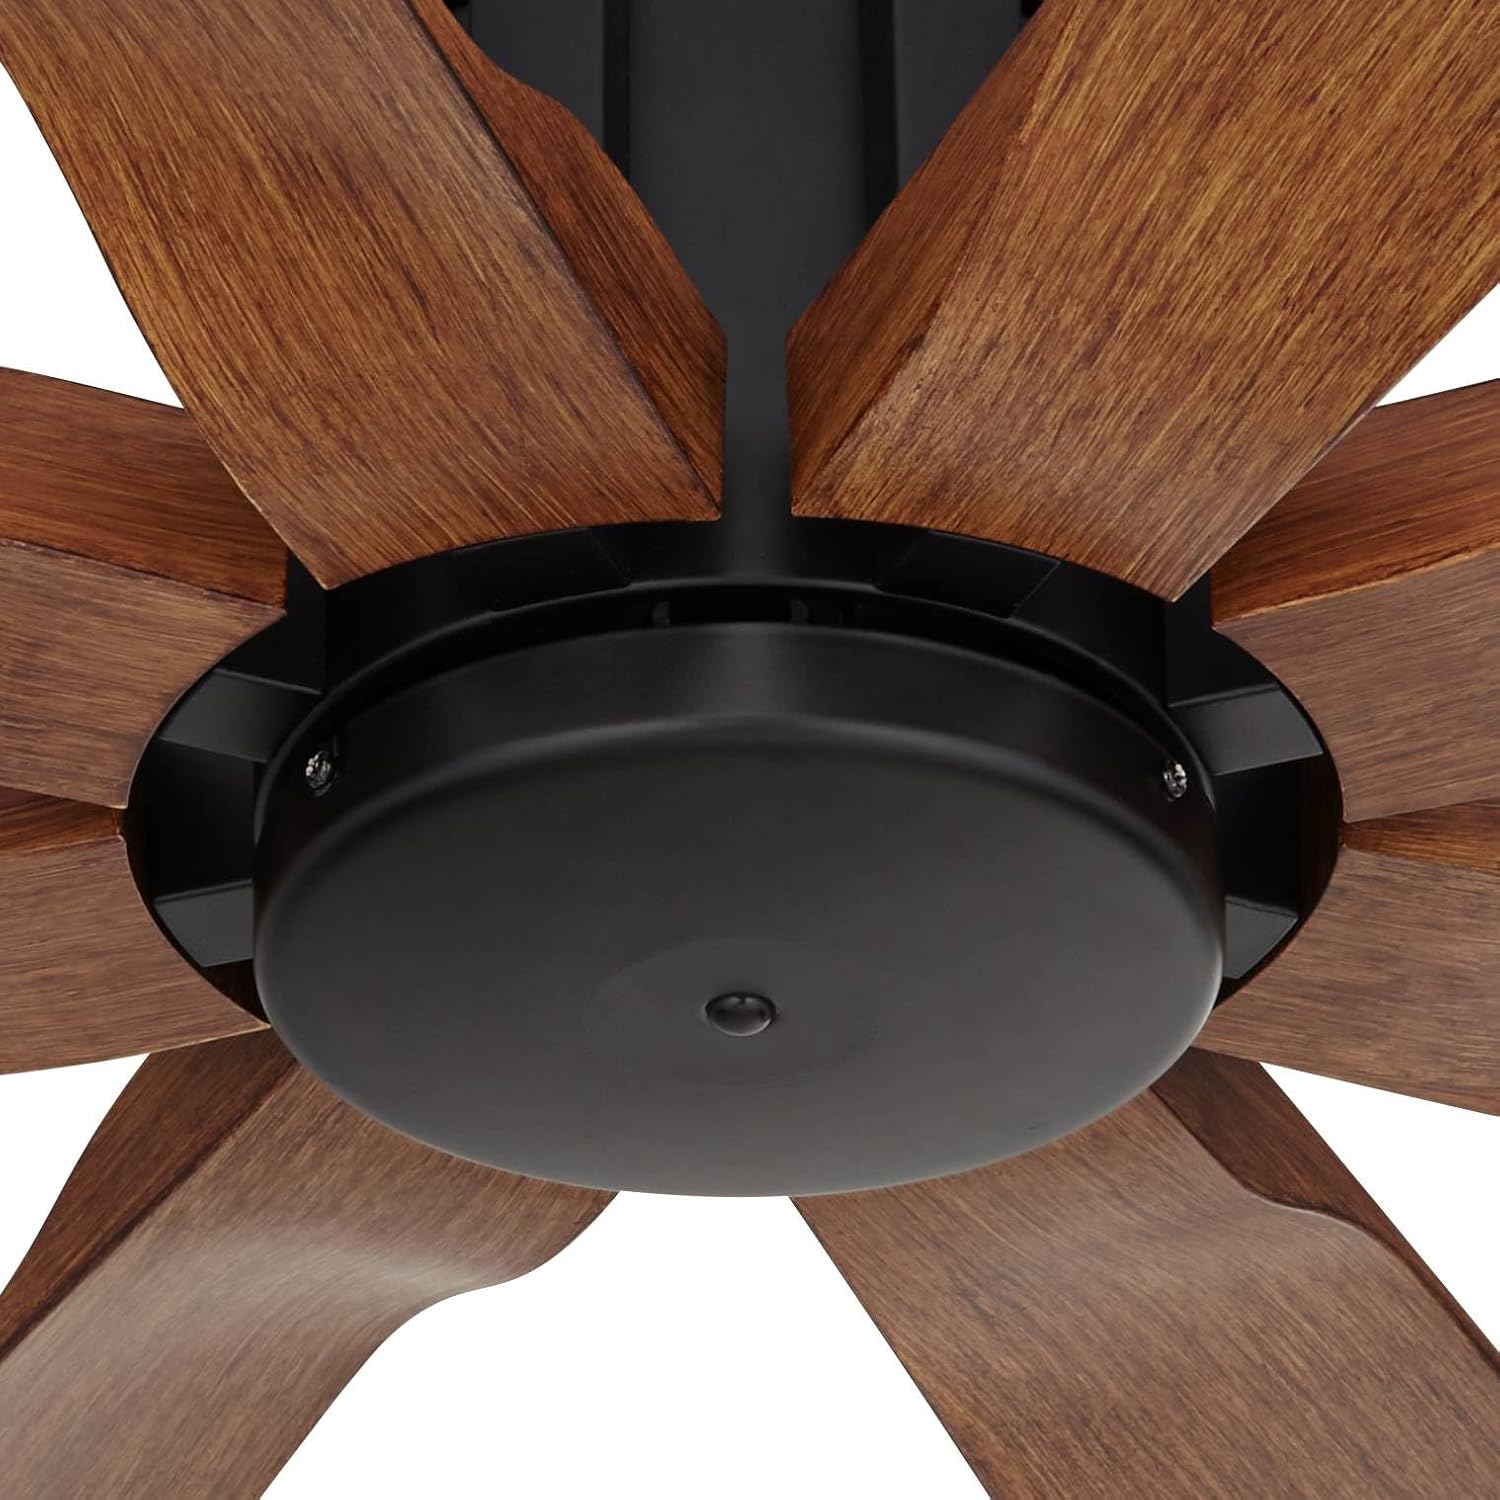
Image: Close-up view of the matte black motor housing and the base where blades attach, illustrating the central component of the fan.
3. Wiring the Fan
Connect the fan's electrical wires to the household wiring according to the wiring diagram provided in the full instruction manual (not included here). Ensure all connections are secure and properly insulated. This fan operates on 120 Volts.
4. Attaching the Canopy
Slide the canopy up and secure it to the mounting bracket, covering the wiring connections. The canopy dimensions are 5 1/2" wide x 2 1/4" high. The maximum slope with the included canopy is 23.5 degrees.
5. Installing the Blades
Attach the eight hand-painted koa finish molded ABS blades to the fan motor assembly using the provided hardware. Ensure all blades are securely fastened.

Image: Close-up detail of a single hand-painted koa finish molded ABS fan blade, highlighting its texture and color.
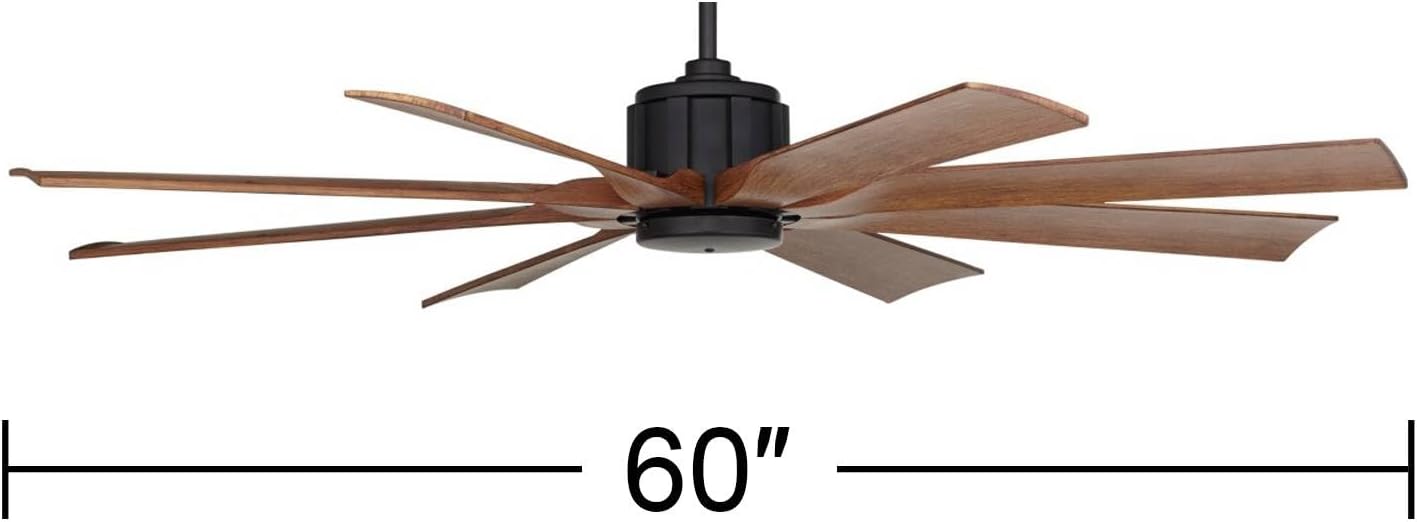
Image: The Possini Euro Design ceiling fan with a graphic overlay indicating its 60-inch blade span, providing a clear visual of its size.
Operating Instructions
Your Possini Euro Design Defender ceiling fan comes with a full-function hand-held remote control system for convenient operation.
Remote Control Functions:
- Power On/Off: Press the power button to turn the fan on or off.
- Fan Speed Control: Use the speed buttons to adjust the fan's rotation speed. This fan features multiple speeds for optimal air circulation.
- Direction Control: A button on the remote or fan housing allows you to reverse the blade direction for seasonal use (downward airflow for cooling in summer, upward airflow for heat distribution in winter).
- Timer Function: (If applicable) Some remotes include a timer to automatically turn off the fan after a set period. Refer to your remote's specific instructions.
Ensure the remote control has fresh batteries for optimal performance.
Maintenance
Regular maintenance ensures the longevity and efficient operation of your ceiling fan.
- Cleaning: Periodically clean the fan blades and motor housing with a soft, damp cloth. Do not use abrasive cleaners or solvents.
- Blade Inspection: Check the blade attachments regularly to ensure they are secure. Loose blades can cause wobbling and noise.
- Motor Lubrication: The fan's DC motor is designed for long-term, maintenance-free operation and does not require lubrication.
- Electrical Connections: Annually inspect all electrical connections for tightness.
IMPORTANT: Always turn off the power to the fan at the circuit breaker before performing any cleaning or maintenance.
Troubleshooting
If you experience issues with your fan, consult the following troubleshooting guide before contacting customer support.
| Problem | Possible Cause | Solution |
|---|---|---|
| Fan does not start | No power to the fan; Loose wire connections; Remote control battery dead. | Check circuit breaker; Verify all wire connections; Replace remote control battery. |
| Fan wobbles | Loose blade screws; Unbalanced blades; Loose mounting bracket. | Tighten all blade screws; Ensure blades are balanced (use balancing kit if necessary); Verify mounting bracket is secure. |
| Remote control not working | Dead battery; Incorrect pairing; Obstruction between remote and receiver. | Replace battery; Re-pair remote with fan (refer to specific remote instructions); Ensure clear line of sight. |
| Noisy operation | Loose screws; Motor housing rubbing; Blades hitting an obstruction. | Check and tighten all screws; Ensure no parts are rubbing; Verify blades have clear path. |
Specifications
| Feature | Detail |
|---|---|
| Model Number | 047J7 |
| Brand | Possini Euro Design |
| Blade Span | 60 inches |
| Blade Pitch | 12 degrees |
| Motor Type | 120 x 25mm DC motor |
| Finish | Matte Black motor, Hand-Painted Koa finish molded ABS blades |
| Downrod Included | 8 inches |
| Fan Height (Ceiling to Blades) | 14 1/4 inches (with 8" downrod) |
| Canopy Dimensions | 5 1/2" wide x 2 1/4" high |
| Max Slope with Canopy | 23.5 degrees |
| Control Method | Full-function hand-held remote control |
| Indoor/Outdoor Usage | Damp location rated (Indoor/Outdoor, not suitable for saltwater exposure) |
| Voltage | 120 Volts |
| Item Weight | 14 pounds |
Warranty and Support
This Possini Euro Design ceiling fan is backed by a lifetime motor warranty, ensuring long-lasting performance. For specific warranty details, technical support, or replacement parts, please contact the manufacturer or your retailer.
Manufacturer: Lamps Plus


