
1. Introduction
Thank you for choosing the AECOJOY 13'x10' Manual Retractable Awning. This awning is designed to provide effective sun shade and UV protection for your outdoor spaces, including patios, balconies, and windows. Its manual operation ensures ease of use, allowing you to extend or retract the canopy as needed. Constructed with durable materials, it offers a reliable solution for enhancing your outdoor living area.

Image 1.1: The AECOJOY 13'x10' Manual Retractable Awning in beige, fully extended over a patio area with outdoor furniture, providing ample shade.
2. Safety Information
- Always ensure the awning is fully retracted during strong winds (exceeding 30mph), heavy rain, or snowfall to prevent damage to the awning and property.
- Do not hang objects from the awning frame or fabric.
- Keep children and pets away from the awning during operation.
- Ensure all mounting hardware is securely fastened before and after installation. Regularly inspect fasteners for tightness.
- If any part of the awning appears damaged, do not operate it. Contact customer service for assistance.
3. Parts List
Please verify that all components are present before beginning assembly.
- Awning Fabric Canopy (280g polyester with PU coating)
- Aluminum Frame Assembly (including roller tube, front bar, and retractable arms)
- Manual Crank Handle
- Wall Mounting Brackets
- Expansion Bolts (for concrete/brick walls)
- Lag Screws (for wooden walls)
- Installation Hardware (nuts, washers, pins, etc.)
- User Manual
4. Setup and Installation
Assembly is required. It is recommended that two people perform the installation for safety and ease.
4.1 Mounting Location
The awning can be installed on concrete, solid brick, or wooden walls. Ensure the mounting surface is structurally sound and capable of supporting the awning's weight and operational forces.
Recommended Installation Height: 8 feet to 13 feet from the ground. If mounting above a patio door, ensure at least 8 inches of clearance above the door frame to prevent interference with door operation.

Image 4.1: Illustration of recommended installation height and clearance for the awning.
4.2 Wall Mounting
Use the appropriate fasteners for your wall type:
- For reinforced concrete or brick walls: Use the provided expansion bolts.
- For wooden walls: Use the provided lag screws. It is recommended to pre-drill 0.25-inch pilot holes for wooden walls.
Follow the detailed instructions in the included assembly manual for precise drilling locations and bracket installation. Ensure the mounting brackets are level and securely fastened to support the awning's weight.

Image 4.2: Wall mounting options for the awning, illustrating the use of expansion bolts and wood screws.
5. Operation
5.1 Retracting and Extending the Awning
The awning is operated manually using the provided crank handle.
- Insert the crank handle into the loop on the side of the awning mechanism.
- To extend the awning, turn the crank handle clockwise. The fabric will unroll, and the arms will extend.
- To retract the awning, turn the crank handle counter-clockwise. The fabric will roll back onto the roller tube, and the arms will fold in.
- Ensure the awning is fully retracted when not in use or during adverse weather conditions.

Image 5.1: Visual guide on operating the manual crank to retract the awning.
5.2 Adjusting the Angle
The awning's pitch angle can be adjusted to optimize shade coverage. The adjustable range is typically between 40 and 90 degrees.
- Locate the adjustment bolts on the awning's arms near the mounting brackets.
- Using the appropriate tool (usually an Allen wrench or spanner), loosen the adjustment bolts.
- Carefully adjust the angle of the arms to achieve the desired pitch.
- Once the desired angle is set, securely tighten the adjustment bolts to lock the position.

Image 5.2: The awning's adjustable angle feature, allowing for pitch adjustments between 40 and 90 degrees.
6. Maintenance
- Fabric Cleaning: Clean the polyester fabric with mild soap and water. Use a soft brush or sponge to remove dirt. Rinse thoroughly with clean water and allow to air dry completely before retracting. Do not use harsh chemicals or abrasive cleaners.
- Frame Inspection: Periodically inspect the aluminum frame for any signs of rust, damage, or loose connections. Tighten any loose bolts or screws.
- Crank Mechanism: Keep the crank mechanism clean and free of debris. Lubricate moving parts annually with a silicone-based spray to ensure smooth operation.
- Winter Storage: In areas with harsh winters, it is recommended to keep the awning retracted and consider using a protective cover to prolong its lifespan.
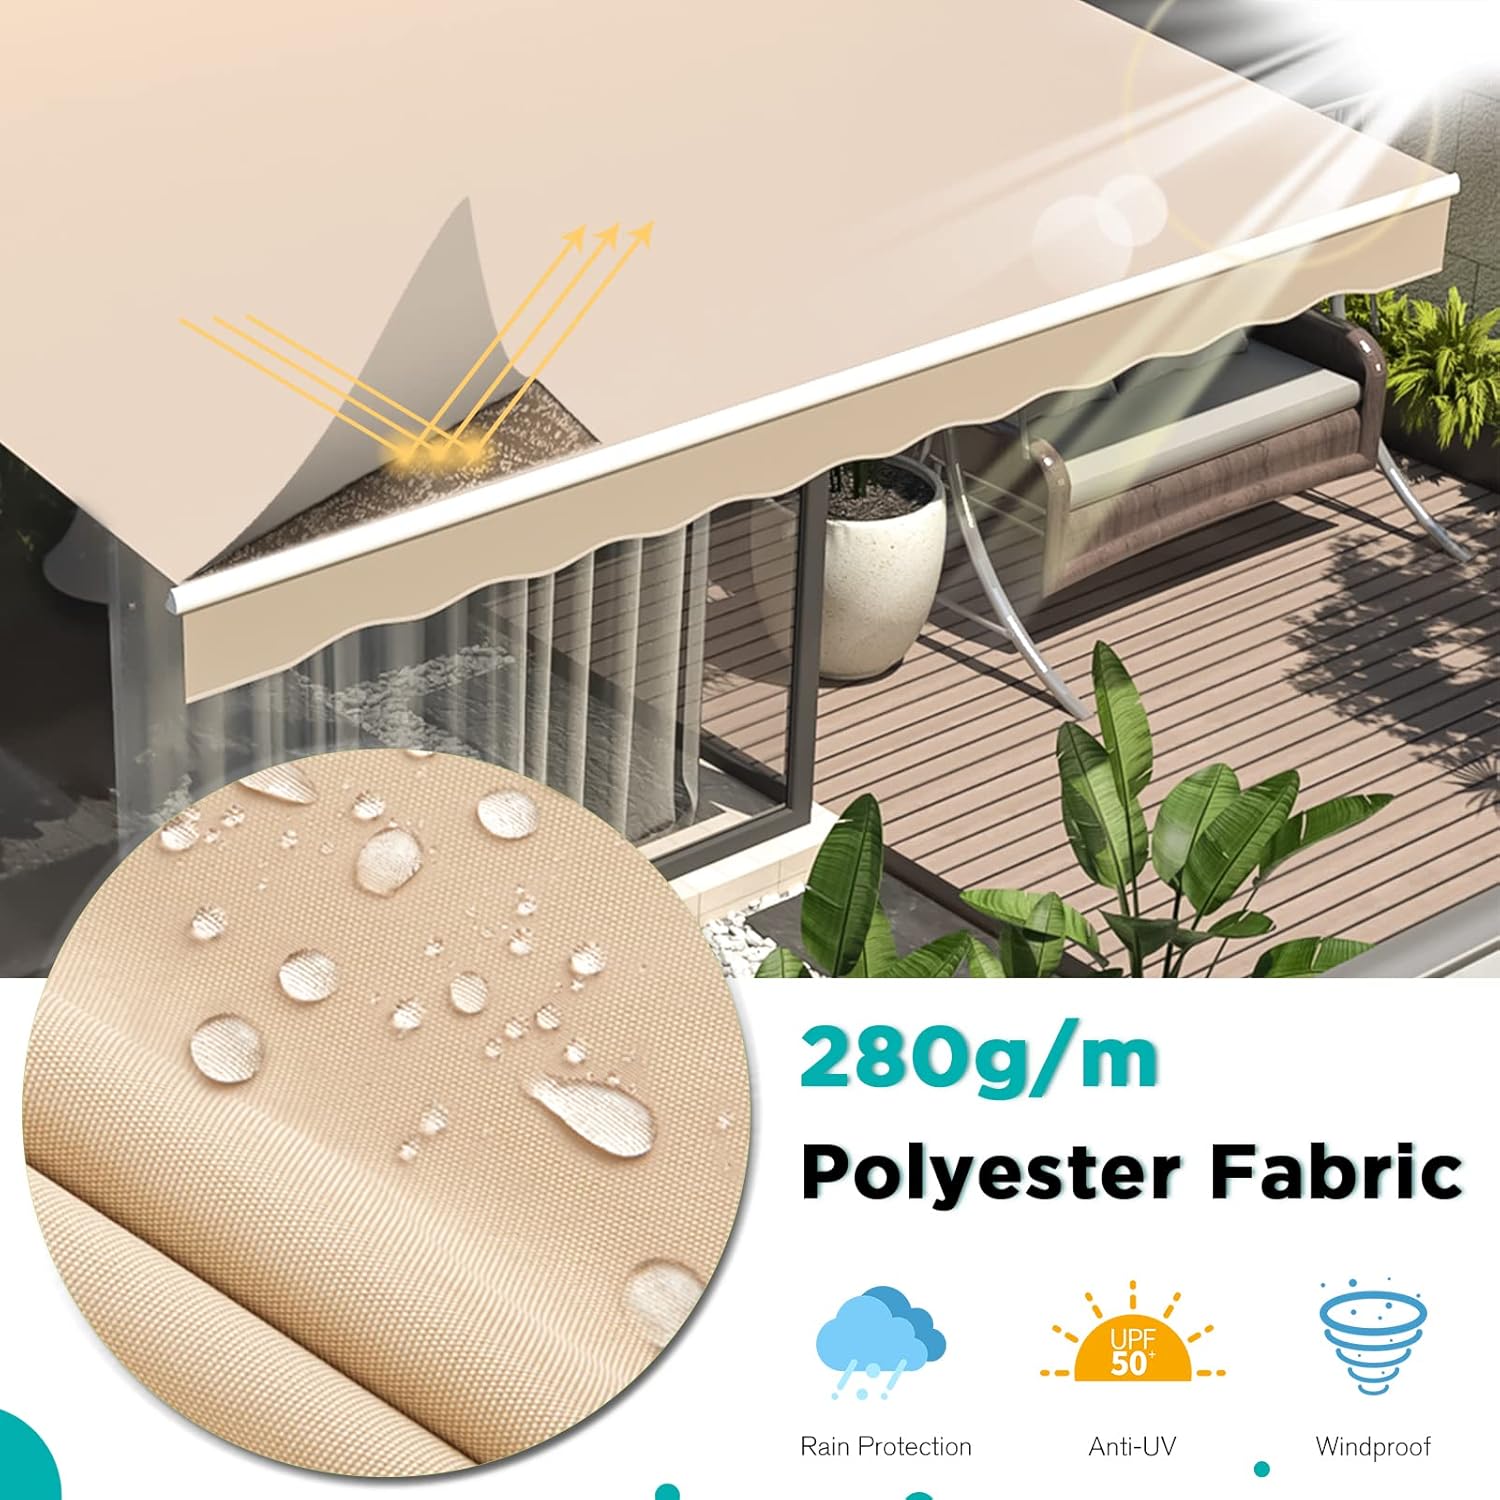
Image 6.1: The 280g polyester fabric with PU coating, highlighting its water-resistant, anti-UV (UPF 50), and windproof properties.
7. Troubleshooting
| Problem | Possible Cause | Solution |
|---|---|---|
| Awning difficult to extend/retract | Debris in mechanism; lack of lubrication; bent arm. | Clean mechanism; apply silicone lubricant; inspect arms for damage. |
| Awning sags or leans | Loose mounting bolts; uneven installation; damaged arm. | Check and tighten all mounting bolts; verify level installation; inspect arms for bending or damage. |
| Fabric does not roll evenly | Fabric misaligned on roller; debris on roller. | Carefully unroll and re-roll the fabric, ensuring it is centered; clean the roller tube. |
| Awning unstable in light wind | Mounting not secure; arms not fully extended/locked. | Ensure mounting is robust and appropriate for wall type; confirm arms are fully extended and locked into position. |
8. Specifications
| Feature | Detail |
|---|---|
| Brand | AECOJOY |
| Model Number | 16013 |
| Size | 13x10FT (156"W x 120"D x 59"H) |
| Color | Beige |
| Material | Polyester, Aluminum |
| Fabric Type | 280g Polyester with PU coating |
| UV Protection | 30UV+ |
| Operation Mode | Manual Crank Handle |
| Wind Resistance | Up to 30mph |
| Minimum Clearance | 8 Feet |
| Assembly Required | Yes |
9. Warranty and Support
For any issues or questions regarding your AECOJOY awning, please contact our customer service. We are committed to providing support and resolving any problems you may encounter.
The product comes with a return policy allowing for refund or replacement within 30 days of purchase. Please refer to your purchase documentation for specific warranty details and contact information.
