1. Important Safety Instructions
Please read this manual carefully before operating your LEXENT Portable Air Conditioning Unit. Keep these instructions for future reference.
- Ensure the unit is placed on a flat, stable surface.
- Do not block air inlets or outlets. Maintain at least 30cm clearance around the unit.
- Only use the unit with a properly grounded power outlet.
- Do not operate the unit with a damaged cord or plug.
- Keep children and pets away from the unit during operation.
- Unplug the unit before cleaning or performing any maintenance.
- This appliance uses R290 refrigerant. Do not puncture the refrigerant circuit.
- For indoor use only.
2. Product Overview
The LEXENT 9000BTU Portable Air Conditioning Unit is a versatile 3-in-1 appliance designed to provide cooling, dehumidification, and fan functions for your home or office.
2.1. Package Contents
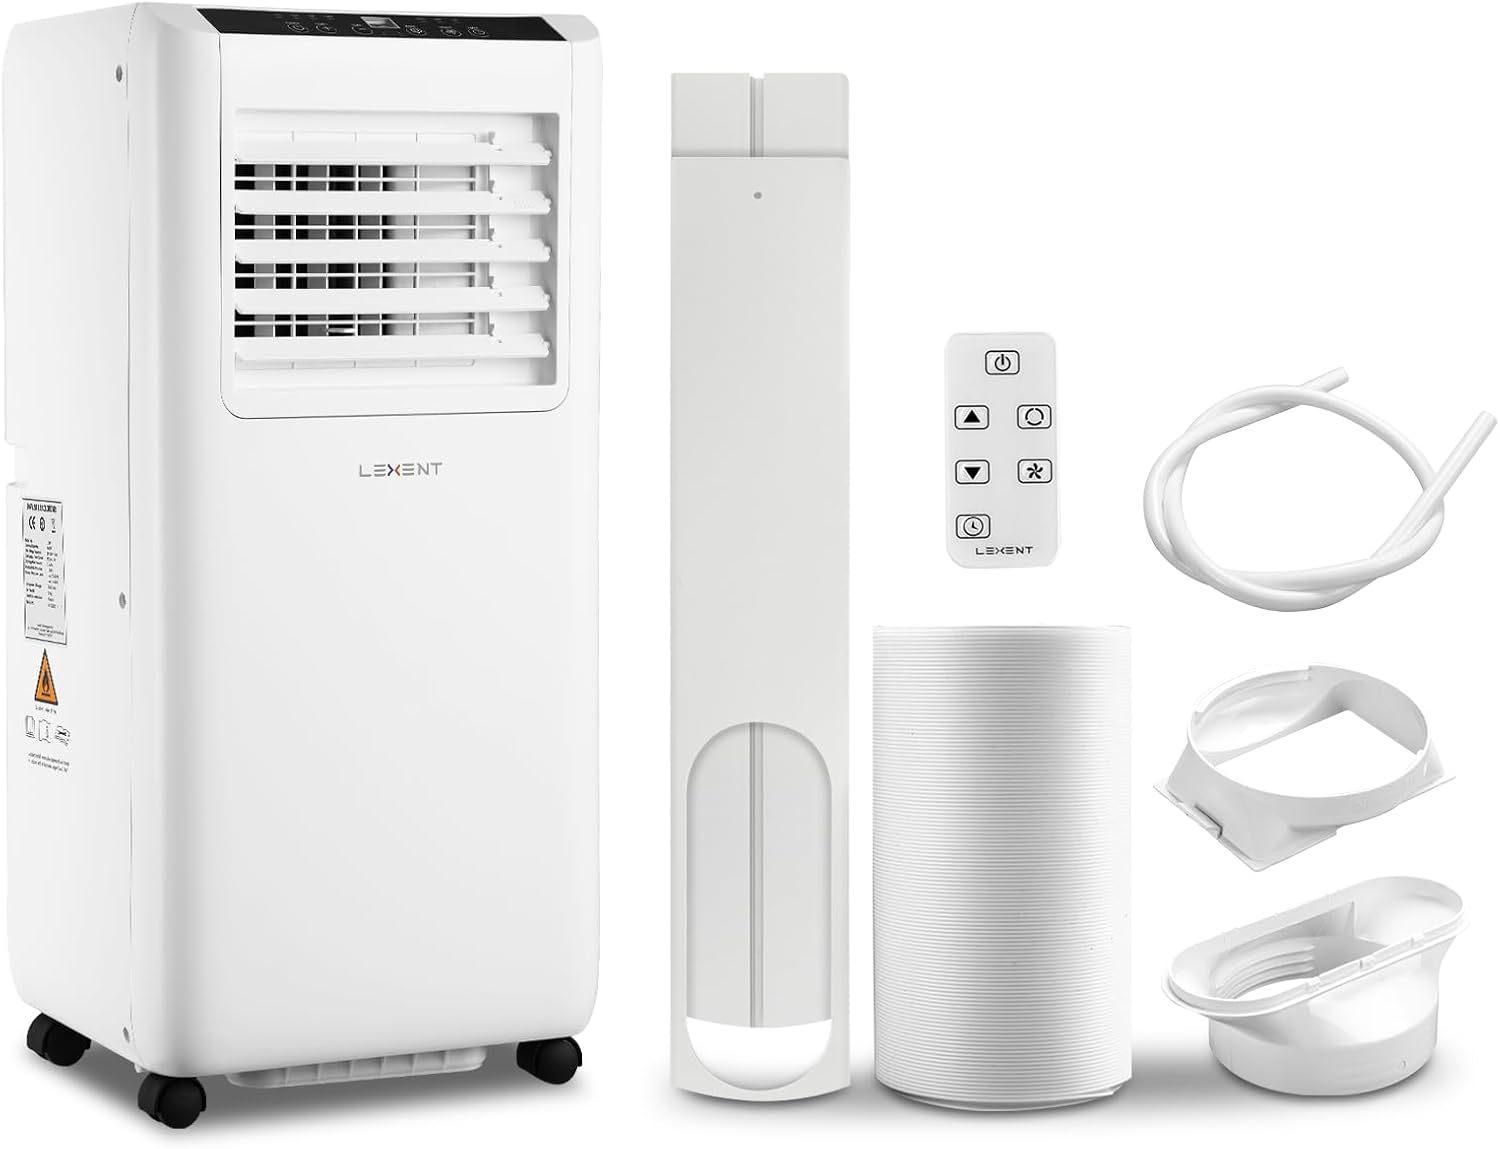
Figure 2.1: LEXENT Portable Air Conditioner Unit and Accessories
This image displays the main portable air conditioning unit along with its essential accessories: the exhaust hose, components of the window sealing kit, a remote control for convenient operation, and a drainage pipe for dehumidification. All components are white, matching the unit.
- Portable Air Conditioner Unit
- Exhaust Hose (170cm length)
- Window Kit (suitable for sliding/double/single hung windows)
- Remote Control
- Drainage Pipe
- User Manual (this document)
2.2. Key Features
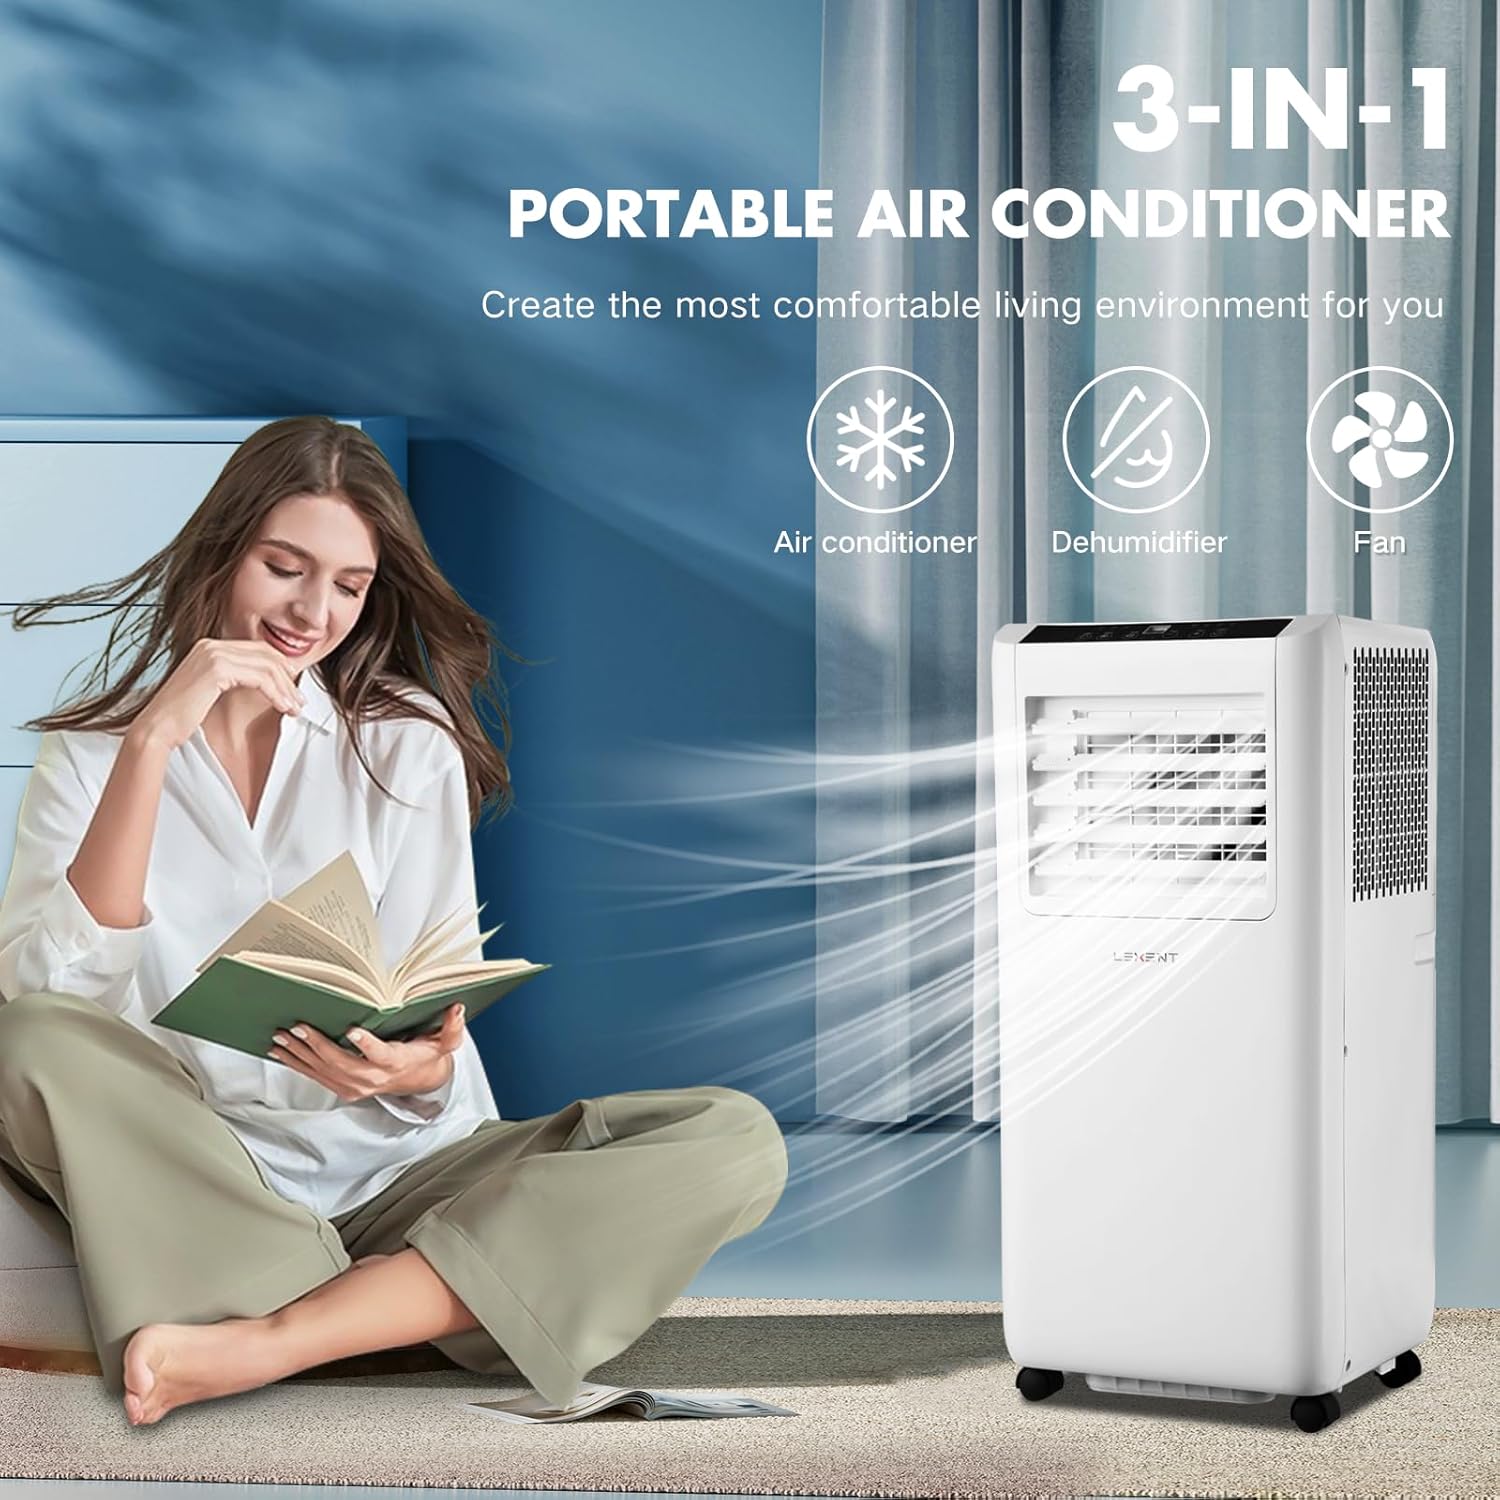
Figure 2.2: 3-in-1 Functionality
This image highlights the unit's three primary functions: air conditioning for cooling, dehumidification to reduce moisture, and a fan mode for air circulation. A person is shown comfortably reading near the unit, emphasizing its ability to create a comfortable environment.
- 3-in-1 Functionality: Offers Cooling, Dehumidification, and Fan modes.
- Powerful Cooling: 9000 BTU capacity, capable of reaching temperatures as low as 16°C.
- Efficient Dehumidification: Removes up to 24L of moisture per day.
- Fan Mode: Two adjustable speeds for enhanced air circulation (up to 270m³ per hour).
- Energy Efficient: Rated Class A for low energy consumption.
- 24-Hour Timer: Allows for scheduled operation.
- LED Display & Remote Control: Easy monitoring and adjustment of settings.
- R290 Refrigerant: Environmentally friendly refrigerant.
- Convenient Mobility: Equipped with wheels for easy movement between rooms (suitable for spaces up to 30m²).
- Low Noise Operation: Operates between 53-64dB, with lower noise at lower power settings.
3. Setup and Installation
Proper installation is crucial for the optimal performance of your portable air conditioner. Follow these steps carefully.
3.1. Choosing a Location
- Place the unit on a firm, level surface.
- Ensure there is at least 30cm of space around the unit for proper airflow.
- Position the unit near a window or opening where the exhaust hose can be vented outdoors.
3.2. Window Kit Installation

Figure 3.1: Window Kit Compatibility and Installation
This image illustrates the two types of windows compatible with the included window kit: double/single hung windows and sliding windows. It also shows the unit's dimensions (330mm depth, 280mm width, 685mm height) and how the exhaust hose connects to the window kit for venting hot air outside.
- Assemble the Window Kit: Extend the adjustable window seal plate to fit your window opening. The included kit is suitable for sliding, double, or single hung windows.
- Attach Exhaust Hose to Unit: Connect one end of the exhaust hose to the air outlet on the back of the air conditioning unit. Twist clockwise to secure.
- Attach Exhaust Hose to Window Kit: Connect the other end of the exhaust hose to the adapter that fits into the window seal plate.
- Install Window Kit: Place the assembled window kit into the window opening and close the window to secure it. Ensure the seal is as tight as possible to prevent hot air from entering the room.
- Position Unit: Move the unit close to the window, ensuring the exhaust hose is not kinked or excessively bent. The maximum length of the exhaust pipe is 170cm.
Note: A separate window kit is available for tilting and casement windows, if needed.
4. Operating Instructions
Your LEXENT Portable Air Conditioner can be controlled via the LED display touch panel on the unit or the included remote control.
4.1. Control Panel and Remote Control
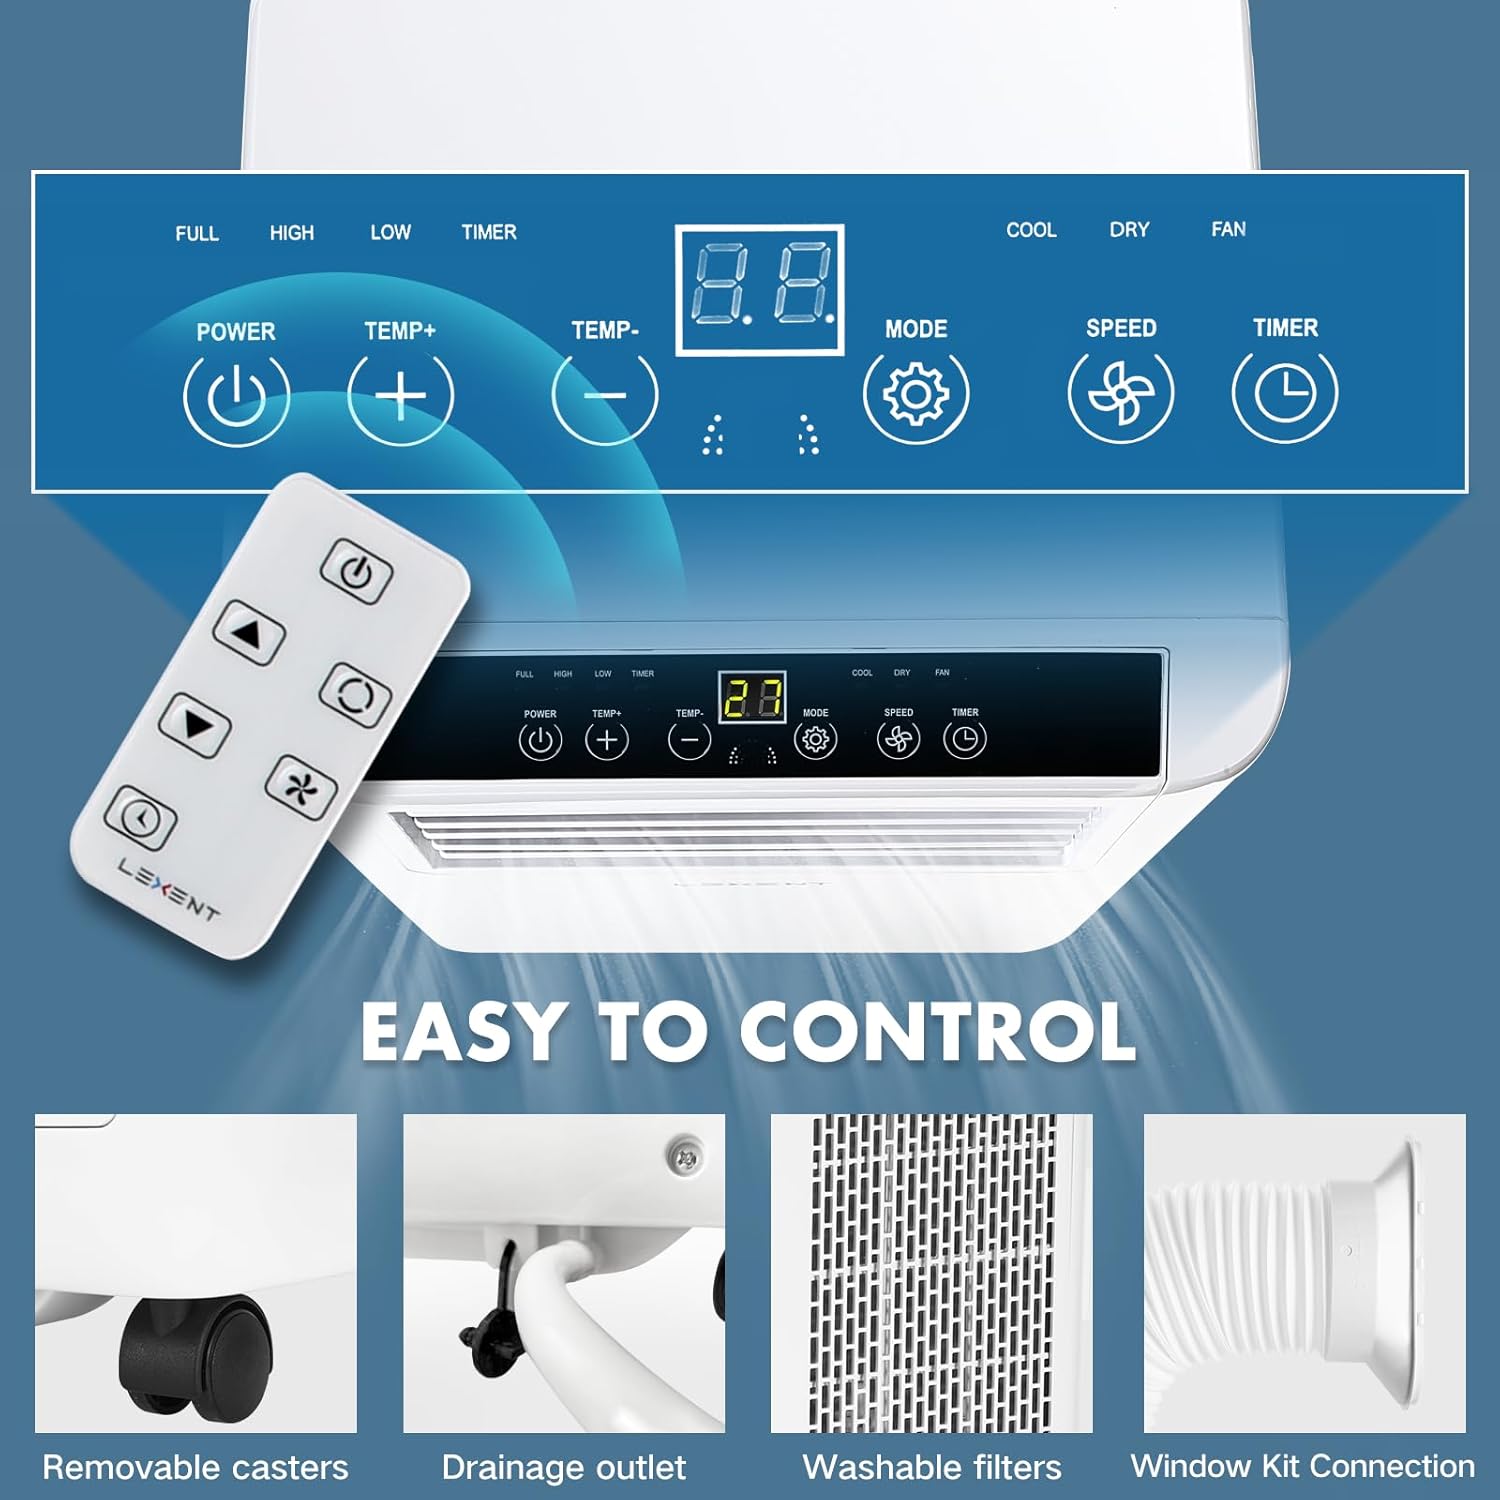
Figure 4.1: Control Panel and Remote Control
This image provides a detailed look at the unit's top control panel, featuring an LED display and touch buttons for POWER, TEMP+, TEMP-, MODE, SPEED, and TIMER. Below it, the remote control is shown with similar function buttons, allowing for convenient operation from a distance.
- Power Button: Turns the unit ON/OFF.
- Temp +/- Buttons: Adjusts the desired temperature in Cooling mode.
- Mode Button: Cycles through Cooling, Dehumidifier, and Fan modes.
- Speed Button: Adjusts fan speed (Low, High) in Fan and Cooling modes.
- Timer Button: Sets the 24-hour ON/OFF timer.
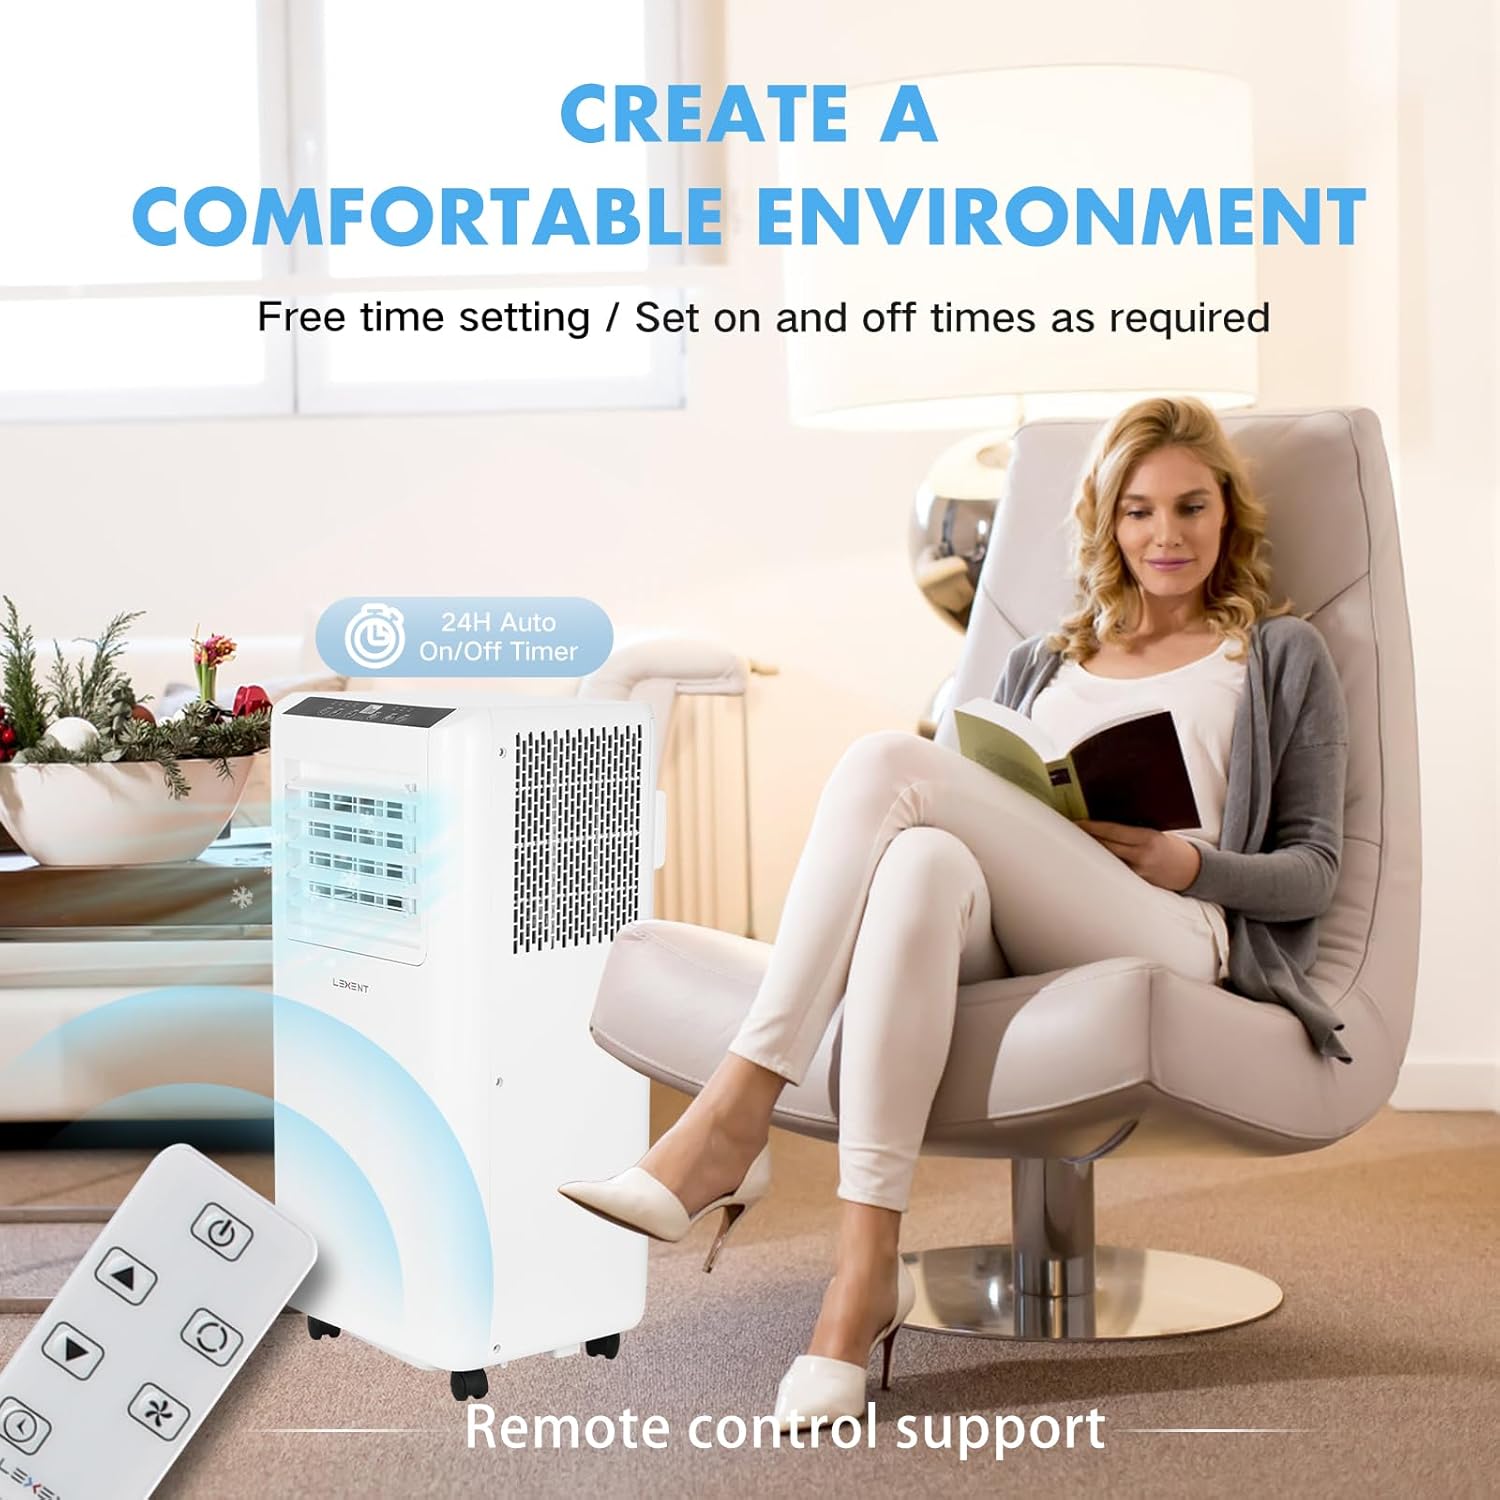
Figure 4.2: Remote Control Operation
This image depicts the convenience of operating the air conditioner with its remote control. A woman is shown relaxing in a chair, adjusting the unit's settings remotely, highlighting the "24H Auto On/Off Timer" feature and the overall ease of creating a comfortable environment.
4.2. Operating Modes

Figure 4.3: Cooling, Drying, and Fan Modes
This image visually explains the three main operational modes of the unit. "Cooling Mode" shows cool air circulating in a living room, aiming to bring temperatures down to 16°C. "Drying Mode" (Dehumidifier) illustrates moisture absorption in a closet, keeping the room dry and mold-free. "Fan Mode" depicts air circulation in a bedroom, providing fast and adjustable wind speed.
- Cooling Mode:
Press the Mode button until the "Cool" indicator lights up. Use the Temp +/- buttons to set your desired temperature (16°C - 31°C). The unit will cool the room to the set temperature.
- Dehumidifier Mode:
Press the Mode button until the "Dry" indicator lights up. In this mode, the unit will automatically adjust humidity levels, removing up to 24L of moisture per day. Ensure the drainage pipe is connected for continuous drainage, or periodically empty the internal water tank if not using continuous drainage.
- Fan Mode:
Press the Mode button until the "Fan" indicator lights up. Use the Speed button to select between low and high fan speeds. This mode circulates air without cooling or dehumidifying.
4.3. Timer Function
The 24-hour timer allows you to set the unit to turn ON or OFF automatically after a specified period.
- To set Auto-OFF: With the unit running, press the Timer button. Use Temp +/- to set the desired hours (1-24) until the unit turns off.
- To set Auto-ON: With the unit OFF, press the Timer button. Use Temp +/- to set the desired hours (1-24) until the unit turns on.
5. Maintenance
Regular maintenance ensures the longevity and efficient operation of your LEXENT Portable Air Conditioner.
5.1. Cleaning the Air Filter

Figure 5.1: Removable and Washable Filter Screen
This image shows a close-up of the air filter screen, emphasizing that it is removable and washable. Regular cleaning of this filter is essential for maintaining air quality and the unit's efficiency.
The air filter should be cleaned every two weeks or more frequently depending on usage and air quality.
- Unplug the unit from the power outlet.
- Locate the air filter panel (usually on the back or side of the unit).
- Remove the filter by gently pulling it out.
- Wash the filter with warm, soapy water. Rinse thoroughly and allow it to air dry completely before reinserting.
- Reinsert the dry filter back into the unit and close the panel.
5.2. Water Drainage

Figure 5.2: Drainage Outlet
This image shows the drainage hole with its sealing cover, located at the bottom rear of the unit. This outlet is used to drain accumulated water, especially when operating in dehumidifier mode, either manually or via continuous drainage with the provided pipe.
In Dehumidifier mode, water will accumulate. You have two options for drainage:
- Continuous Drainage: Connect the provided drainage pipe to the drainage outlet at the bottom rear of the unit. Ensure the pipe leads to a floor drain or a container placed lower than the unit.
- Manual Drainage: If not using continuous drainage, the internal water tank will fill up. When full, the unit may stop operating and display an error code (refer to troubleshooting). Unplug the unit, place a shallow pan under the drainage outlet, remove the sealing cover, and allow the water to drain completely. Replace the cover securely.
6. Troubleshooting
Before contacting customer support, please refer to the following common issues and solutions.
| Problem | Possible Cause | Solution |
|---|---|---|
| Unit does not turn on. | No power, power cord loose, circuit breaker tripped. | Check power connection, ensure outlet is working, reset circuit breaker. |
| Unit is running but not cooling. | Window kit not properly installed, room too large, air filter dirty, doors/windows open. | Ensure exhaust hose is properly vented and sealed. Check room size (max 30m²). Clean air filter. Close all doors and windows. |
| Unit is noisy. | Normal operating noise, unit not on a level surface, fan speed too high. | Some noise (up to 64dB) is normal. Ensure unit is on a flat surface. Reduce fan speed if possible. |
| Water leakage. | Drainage pipe not connected properly, internal water tank full. | Ensure drainage pipe is securely connected and leading to a drain. Empty internal water tank if full. |
| Remote control not working. | Batteries dead or incorrectly inserted, obstruction between remote and unit. | Replace batteries. Ensure no obstructions. Point remote directly at the unit's receiver. |
7. Specifications
| Feature | Specification |
|---|---|
| Brand | LEXENT |
| Model | LC9W |
| Cooling Capacity | 9000 BTU |
| Dehumidification Capacity | 24 L/Day |
| Recommended Room Size | Up to 30 m² |
| Noise Level | 53-64 dB |
| Energy Efficiency Class | A |
| Refrigerant | R290 |
| Product Dimensions (L x W x H) | 33 x 28 x 68 cm |
| Item Weight | 21 kg |
| Voltage | 220 Volts |
| Wattage | 2600 watts |
| Exhaust Hose Length | 170 cm |
8. Warranty and Support
LEXENT products are designed for reliability and performance. For any questions, technical assistance, or warranty claims, please contact LEXENT customer support.
Please refer to your purchase documentation for specific warranty terms and conditions. Keep your proof of purchase for warranty service.
For support, visit the official LEXENT website or contact their customer service line. Contact details are typically found on the product packaging or the brand's official online presence.