
Introduction
Thank you for choosing the HOUSBAY Digital Alarm Clock, Model RS13D. This manual provides detailed instructions for setting up, operating, and maintaining your new alarm clock. Please read this manual thoroughly before use to ensure proper function and to maximize your experience with its features, including the dynamic night light and customizable LED display.

Image: The HOUSBAY Digital Alarm Clock, showcasing its large, multi-color LED time display and the ambient dynamic night light on top.
Product Overview
Key Features
- 9-Color Dynamic Night Light: Offers 7 solid colors and 2 dynamic color modes with 5 adjustable brightness levels.
- Large 1.5-inch LED Display: Clear and easy-to-read numbers with 10 customizable color display modes (6 solid, 3 mixed, 1 dynamic).
- Adjustable Display Dimmer: Brightness can be adjusted from 0% (completely off) to 100% (very bright).
- Adjustable Alarm Volume: Alarm sound level can be set from 30dB to 90dB.
- Large Snooze Button: Conveniently located on top for easy access.
- Slide Dials: Intuitive slide controls for adjusting volume and display dimmer.
- True Battery Backup: Requires 3 AAA batteries (not included) to maintain time, display, night light, and alarm functions during power outages.
Package Contents
- HOUSBAY Digital Alarm Clock (Model RS13D)
- Power Adapter
- User Manual
Setup
1. Power Connection
- Connect the provided power adapter to the DC input port on the back of the alarm clock.
- Plug the power adapter into a standard AC 110V 50Hz wall outlet. The display will illuminate.
2. Battery Backup Installation
For uninterrupted operation during power outages, install backup batteries.
- Locate the battery compartment on the bottom of the alarm clock.
- Open the battery compartment cover.
- Insert 3 AAA batteries (not included), ensuring correct polarity (+/-).
- Close the battery compartment cover securely.

Image: Illustration of the alarm clock powered by an AC outlet and supported by AAA backup batteries, ensuring functionality during power interruptions.
Operating Instructions
1. Setting the Time
- Press the TIME SET button (location may vary, typically on the back or side).
- Use the +/- buttons or a dedicated dial to adjust the hour.
- Press TIME SET again to confirm the hour and move to minute adjustment.
- Adjust the minutes using the +/- buttons or dial.
- Press TIME SET one more time to save the time.
- To switch between 12-hour and 24-hour format, press the 12/24H button (if available) or cycle through options during time setting.
2. Setting Alarms
This clock supports two independent alarms (Alarm 1 and Alarm 2).
- Press the ALARM 1 SET button. The alarm hour will flash.
- Adjust the hour using the +/- buttons or dial.
- Press ALARM 1 SET again to confirm the hour and move to minute adjustment.
- Adjust the minutes using the +/- buttons or dial.
- Press ALARM 1 SET to save the alarm time.
- Repeat the process for ALARM 2 SET if desired.
- To activate or deactivate an alarm, press the corresponding ALARM 1 ON/OFF or ALARM 2 ON/OFF button. An indicator icon will appear on the display when an alarm is active.
3. Adjusting Alarm Volume
The alarm volume can be adjusted using the dedicated slide dial, typically located on the side or back of the unit. Slide the dial to increase or decrease the volume between 30dB and 90dB.
4. Snooze Function
When an alarm sounds, press the large SNOOZE button on the top of the clock. The alarm will pause for a set duration (e.g., 9 minutes) and then sound again. To cancel the snooze and turn off the alarm for the day, press any other button.

Image: A top-down view of the alarm clock, highlighting the easily accessible, large snooze button and the illuminated dynamic night light.
5. Night Light Operation
The clock features a night light with 9 color options and 5 brightness levels.
- Press the NIGHT LIGHT button (or similar) to turn the night light on/off.
- While the night light is on, press the NIGHT LIGHT button repeatedly to cycle through the 7 solid colors and 2 dynamic color modes.
- Use the BRIGHTNESS button or a dedicated slide dial to adjust the night light's intensity through 5 levels.
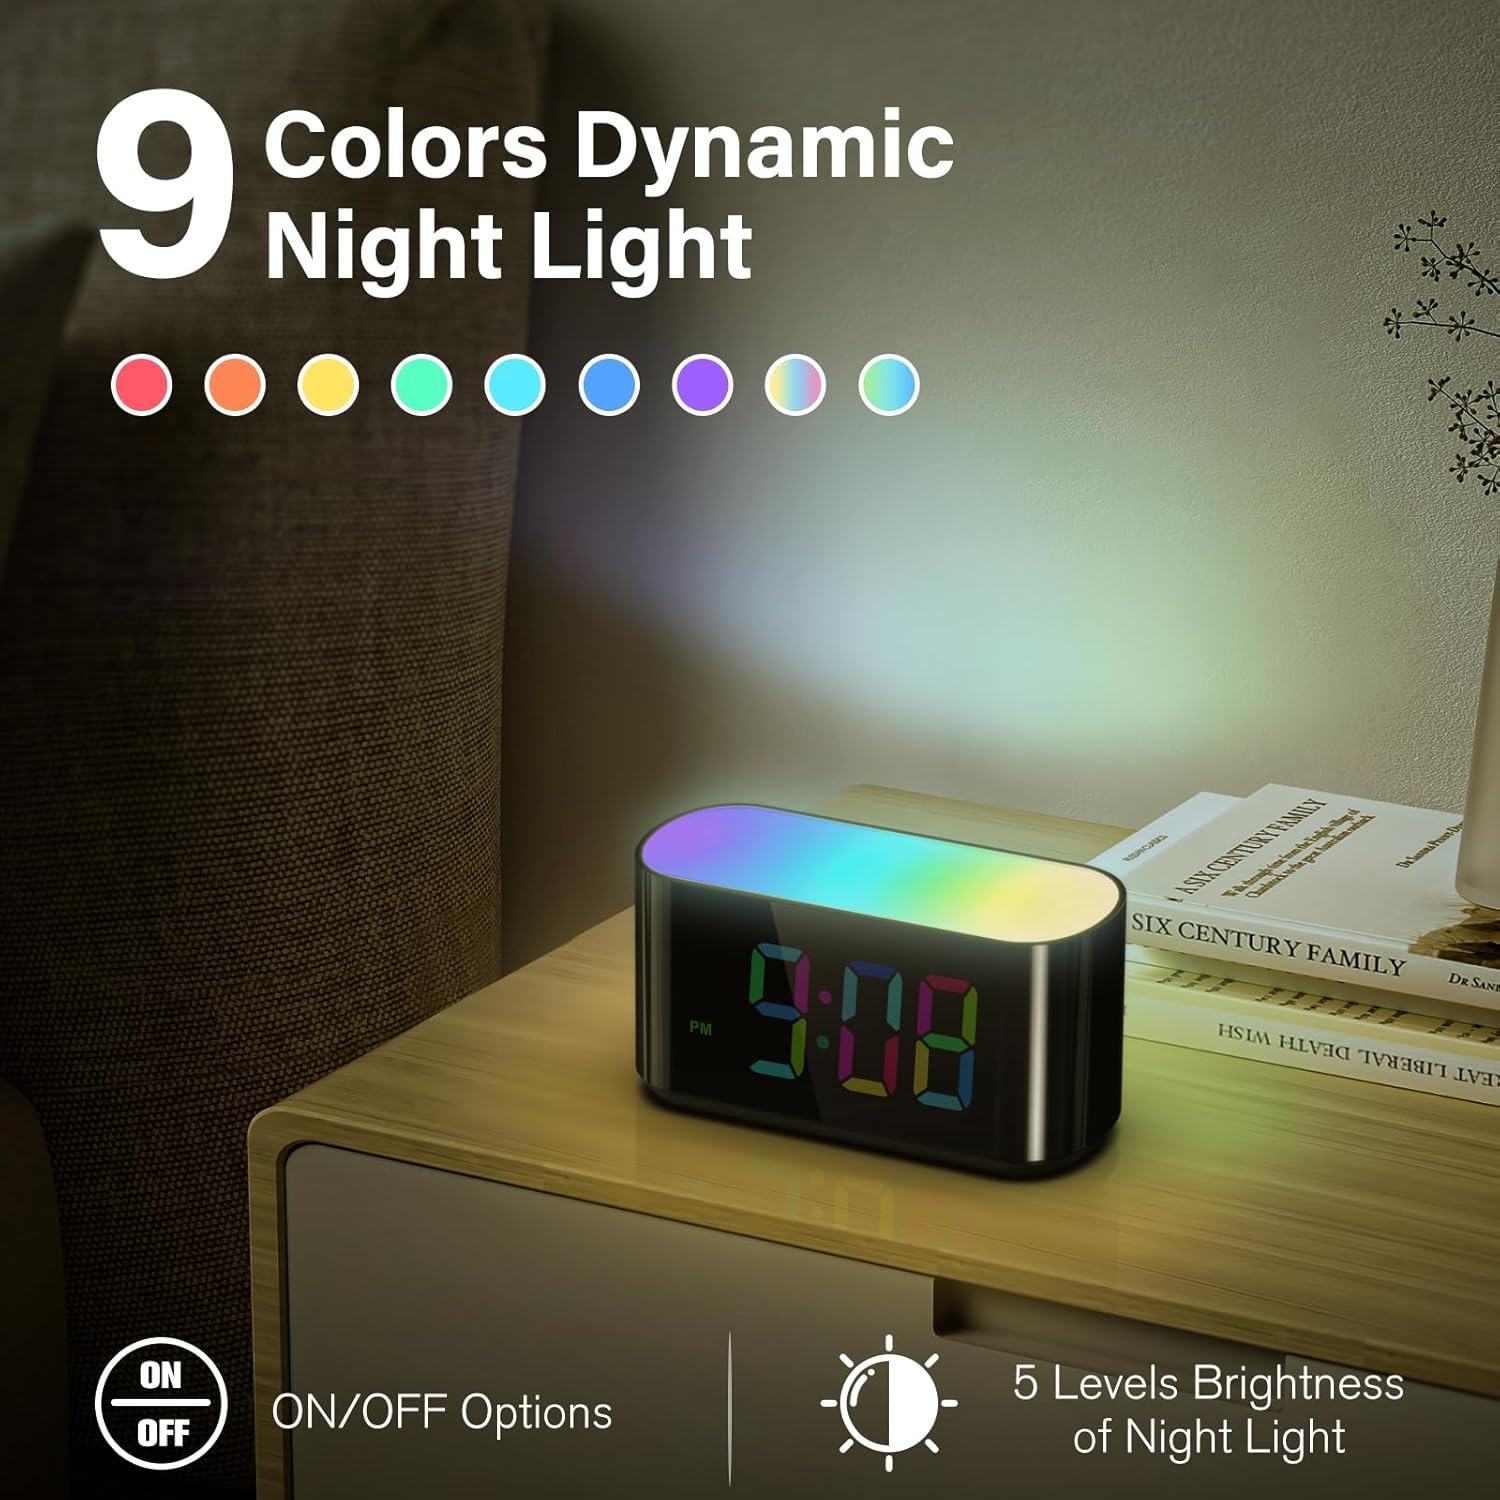
Image: An illustration demonstrating the 9 available dynamic night light colors, showing the clock emitting various hues onto a bedside table.
6. Display Color Modes
The time display offers 10 different color modes.
- Press the DISPLAY COLOR button (or similar) to cycle through the 6 solid colors, 3 mixed color patterns, and 1 dynamic color mode.

Image: A visual representation of the alarm clock's display, showcasing 10 distinct color modes for the digital time, including solid and dynamic options.
7. Adjusting Display Brightness
The display brightness can be adjusted from completely off to very bright.
- Use the dedicated DISPLAY DIMMER slide dial (typically on the side or back) to adjust the brightness level from 0% to 100%.

Image: The alarm clock's display shown at different brightness settings, illustrating the range from fully dark to very bright.
Maintenance
Cleaning
To clean the alarm clock, gently wipe the surface with a soft, dry cloth. Avoid using abrasive cleaners, solvents, or chemical sprays, as these may damage the finish or electronic components.
Battery Replacement
If the clock's display or functions are intermittent during a power outage, the backup batteries may need replacement. Follow the battery backup installation steps in the Setup section to replace the 3 AAA batteries.
Troubleshooting
- Clock not powering on or display is blank:
Ensure the power adapter is securely plugged into both the clock and a working wall outlet. If using battery backup, check if the batteries are correctly installed and not depleted. - Alarm not sounding:
Verify that the alarm is activated (check for the alarm icon on the display). Ensure the alarm volume is not set to its lowest level. - Time or settings reset after power outage:
This indicates that the backup batteries are either not installed or are depleted. Install or replace the 3 AAA backup batteries. - Display or night light colors not changing:
Refer to the 'Operating Instructions' section for correct button presses to cycle through color modes and brightness levels.
Specifications
| Brand | HOUSBAY |
| Model Number | RS13D |
| Display Type | Digital LED |
| Product Dimensions | 2.36"W x 2.75"H |
| Power Source | Corded Electric |
| Battery Backup | 3 x AAA batteries (not included) |
| Material | Acrylonitrile Butadiene Styrene |
| Item Weight | 0.34 Kilograms (12 ounces) |
| Special Features | Adjustable Volume, Alarm, Snooze, 9-Color Night Light, 10-Color Display |
Warranty and Support
For warranty information or technical support, please refer to the documentation included with your purchase or contact HOUSBAY customer service directly. Contact details can typically be found on the product packaging or the official HOUSBAY website.