
1. Introduction
This manual provides essential instructions for the safe and effective use of your Janome Loft 100 Computerized Sewing Machine. Please read this manual thoroughly before operating the machine to ensure proper setup, operation, and maintenance. Retain this manual for future reference.

Image 1.1: Front view of the Janome Loft 100 Computerized Sewing Machine.
2. Setup
2.1 Unpacking and Placement
Carefully remove the machine from its packaging. Place the machine on a stable, level surface with adequate lighting. Ensure there is enough space around the machine for comfortable operation.
2.2 Power Connection
Connect the power cord to the machine's power input and then to a suitable electrical outlet. Use only the power cord supplied with the machine.
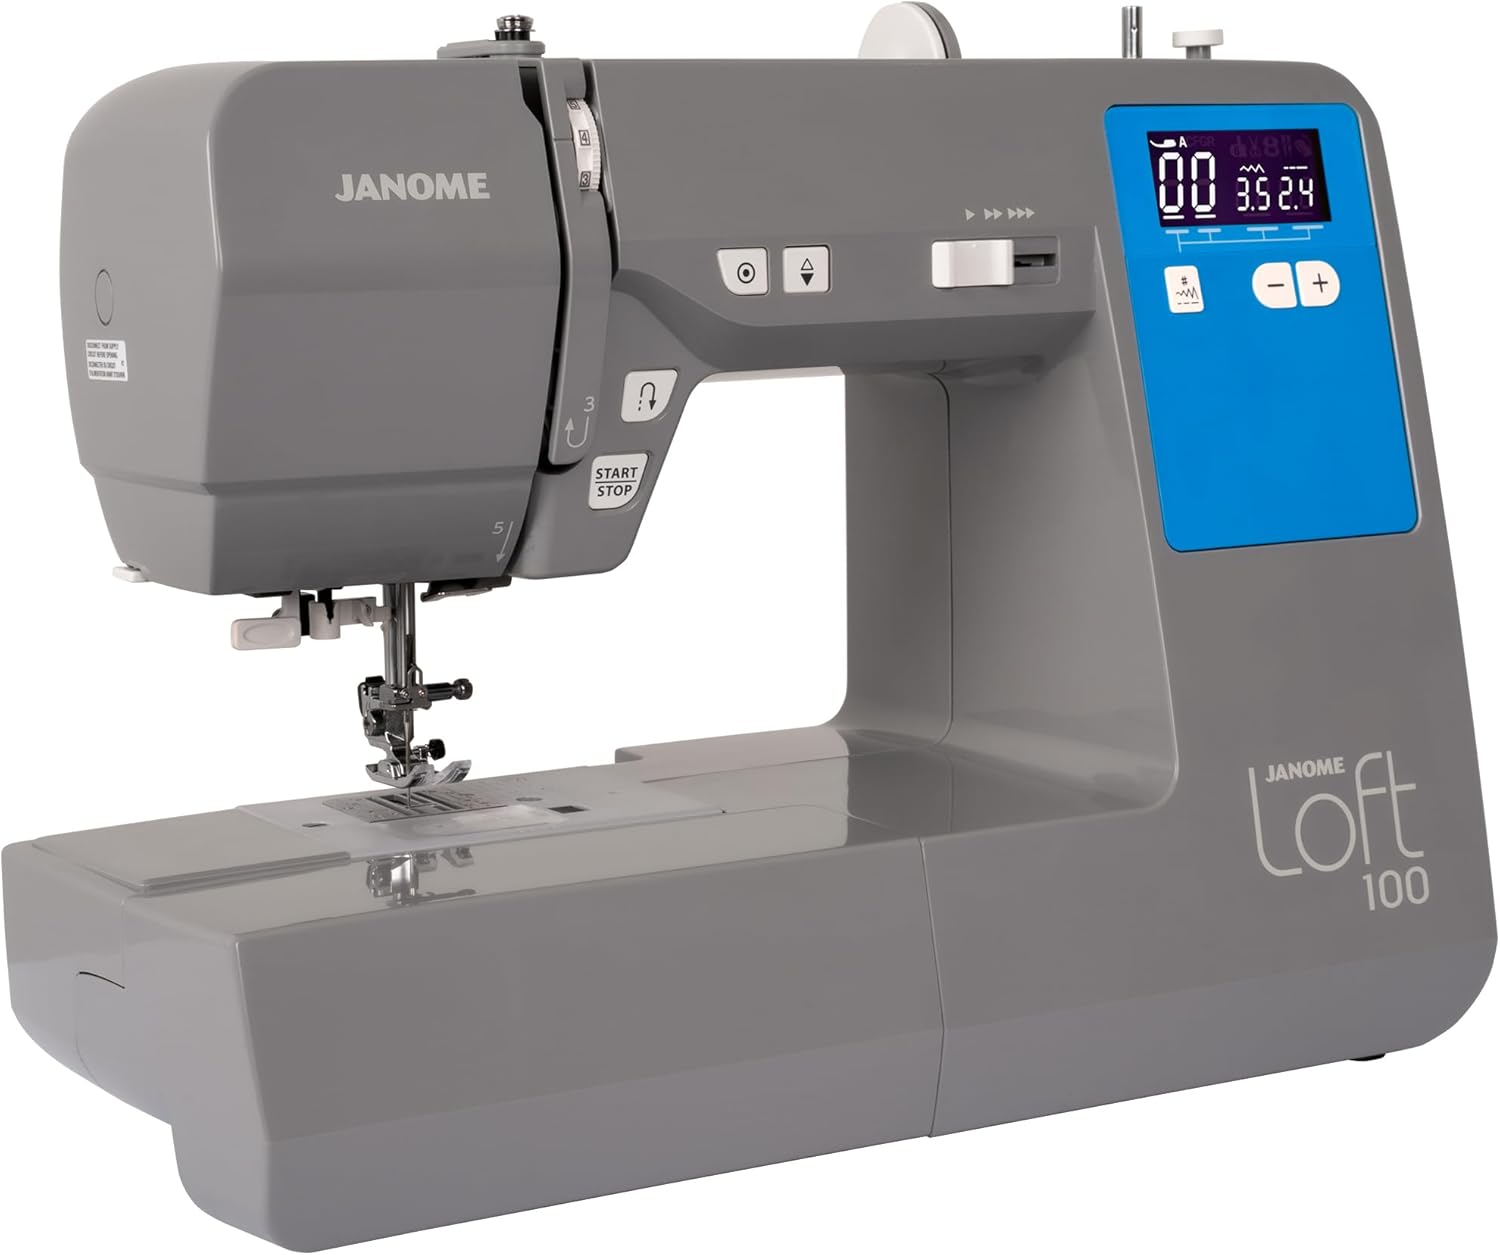
Image 2.1: Side view of the Janome Loft 100, illustrating the power input location.
2.3 Winding the Bobbin
- Place a spool of thread on the spool pin.
- Guide the thread through the upper thread guide and around the bobbin winding tension disc.
- Place an empty bobbin onto the bobbin winder spindle.
- Wrap the thread around the bobbin a few times clockwise.
- Push the bobbin winder spindle to the right.
- Press the Start/Stop button or step on the foot control to begin winding.
- Stop winding when the bobbin is full and push the spindle back to the left. Trim the thread.

Image 2.2: Close-up view of the bobbin winding area and clear bobbin cover.
2.4 Threading the Machine
- Raise the presser foot lifter.
- Place a spool of thread on the spool pin.
- Follow the numbered threading path indicated on the machine, ensuring the thread passes through all guides and the take-up lever.
- Use the built-in needle threader to thread the needle automatically.
- Insert the wound bobbin into the bobbin case under the needle plate. Pull the bobbin thread through the slot.
- Hold the upper thread and turn the handwheel towards you to bring up the bobbin thread.

Image 2.3: Detailed view of the automatic needle threader mechanism.
3. Operating Instructions
3.1 Overview of Controls
The Janome Loft 100 features an intuitive control panel with a backlit LCD screen and easy-access buttons.
- LCD Screen: Displays selected stitch number, recommended presser foot, stitch length, and width.
- Stitch Selection Buttons: Use the '+' and '-' buttons to navigate through the 100 built-in stitches.
- Start/Stop Button: Allows sewing without the foot control.
- Reverse Button: For reinforcing stitches at the beginning and end of seams.
- Needle Up/Down Button: Positions the needle up or down.
- Speed Control Slider: Adjusts the maximum sewing speed.

Image 3.1: Close-up of the backlit LCD screen and stitch adjustment buttons.

Image 3.2: Detailed view of the convenience buttons near the needle area.
3.2 Stitch Selection and Adjustment
Turn on the machine. The LCD screen will display the default stitch. Use the '+' and '-' buttons to scroll through the 100 available stitches. The machine will automatically suggest the appropriate presser foot for the selected stitch. Stitch length and width can be adjusted for most utility stitches.

Image 3.3: Visual representation of the 100 built-in stitches available on the Janome Loft 100.
3.3 Basic Sewing
- Select your desired stitch.
- Place fabric under the presser foot.
- Lower the presser foot.
- Begin sewing by pressing the Start/Stop button or using the foot control.
- Use the reverse button to secure stitches at the beginning and end of seams.
3.4 Buttonhole Function
The Janome Loft 100 includes 7 automatic one-step buttonhole styles. Attach the automatic buttonhole foot and follow the on-screen prompts for precise buttonhole creation.
3.5 Free Arm Sewing
To sew cylindrical items like sleeves or pant hems, remove the accessory box to expose the free arm. This allows fabric to be easily maneuvered around the arm.
3.6 Drop Feed Mechanism
For free-motion quilting or darning, engage the drop feed mechanism to lower the feed dogs. This allows you to move the fabric freely in any direction.
4. Maintenance
4.1 Cleaning the Machine
Regular cleaning helps maintain optimal performance. Turn off and unplug the machine before cleaning.
- Use the provided lint brush to remove lint and dust from the bobbin area and feed dogs.
- Wipe the exterior of the machine with a soft, dry cloth. Avoid using harsh chemicals.
4.2 Needle Replacement
Replace the needle regularly, especially after 8-10 hours of sewing or if it becomes bent or dull. Use only Janome-approved needles appropriate for your fabric type.
- Turn off the machine.
- Loosen the needle clamp screw.
- Remove the old needle.
- Insert a new needle with the flat side facing the back of the machine, pushing it up as far as it will go.
- Tighten the needle clamp screw securely.
5. Troubleshooting
If you encounter issues with your Janome Loft 100, refer to the following common problems and solutions. For more detailed troubleshooting, consult the comprehensive manual or contact customer support.
| Problem | Possible Cause | Solution |
|---|---|---|
| Skipped Stitches | Incorrect needle, bent needle, improper threading. | Replace needle, re-thread machine, ensure correct needle type for fabric. |
| Thread Breaking | Incorrect tension, poor quality thread, needle inserted incorrectly. | Adjust tension, use quality thread, check needle insertion. |
| Fabric Not Feeding | Feed dogs lowered, presser foot not lowered. | Raise feed dogs, lower presser foot. |
| Machine Not Starting | Power cord loose, machine not switched on, bobbin winder engaged. | Check power connections, ensure power switch is ON, disengage bobbin winder. |
6. Specifications
- Model: Janome Loft 100
- Stitch Count: 100 Built-in Stitches
- Buttonholes: 7 One-Step Automatic Buttonholes
- Needle Threader: Built-in Automatic
- Bobbin Type: Top-Loading (Class 15)
- Stitch Width: Up to 7mm
- Display: Backlit LCD Screen
- Dimensions (Product): 8"D x 16"W x 13"H (20.32 cm D x 40.64 cm W x 33.02 cm H)
- Item Weight: Approximately 1 pound (0.45 kg)
- Manufacturer: Janome
- UPC: 732212422416

Image 6.1: Diagram showing the dimensions of the Janome Loft 100.
7. Included Components
The Janome Loft 100 comes with the following accessories:
- General Purpose Foot
- Zipper Foot
- Satin Stitch Foot
- Automatic Buttonhole Foot
- Spool Holders (large and small)
- Extra Spool Pin
- Bobbins (class 15)
- Assorted Needle Set
- Seam Ripper (Buttonhole Opener)
- Lint Brush
- Screwdriver
- Stitch Card
- Instruction Book
- Dust Cover
- Foot Control
- Power Cable
8. Warranty and Support
Your Janome Loft 100 Computerized Sewing Machine is covered by a manufacturer's warranty. Please refer to the warranty card included with your product for specific terms and conditions. For technical assistance, parts, or service, please contact Janome customer support through their official website or authorized service centers. Always provide your model number (Loft 100) and purchase date when seeking support.