
Fafeicy Fafeicyt2h9g8pq6a-11
Fafeicy PT 210 Wireless Bluetooth Thermal Receipt Printer User Manual
Model: PT 210 (Fafeicyt2h9g8pq6a-11)
Brand: Fafeicy
1. Introduction
This manual provides comprehensive instructions for the setup, operation, maintenance, and troubleshooting of your Fafeicy PT 210 Wireless Bluetooth Thermal Receipt Printer. Please read this manual carefully before using the device to ensure proper functionality and longevity.
1.1 Package Contents
- 1 x Fafeicy PT 210 Thermal Receipt Printer
- 1 x User Manual
- 1 x Data Cable (Mini USB)
- 1 x 1500mAh DC PL 484954 2S Lithium Battery (pre-installed or separate)

Image: The Fafeicy PT 210 Thermal Receipt Printer, shown with its lid open, alongside the included Mini USB data cable and a roll of thermal paper.
2. Technical Specifications
| Feature | Specification |
|---|---|
| Model | PT 210 |
| Printing Method | Thermal Printing |
| Resolution | 203 DPI (8 dots/mm) |
| Print Speed | Up to 90 mm/s |
| Max Media Size | 80mm x 58mm (Paper Width x Roll Diameter) |
| Dots per Line | 384 dots per line |
| Connectivity | Bluetooth 4.0, Mini USB |
| Battery | 1500 mAh 7.4V Lithium-ion |
| Charging Time | 2 to 4 hours |
| Supported OS | Android, iOS, Windows (Win2003, Win2000, Win7, WinXP, Win10, VMSTA, Win8), Linux |
| Print Command | ESC/POS compatible command set |
| Barcode Types | UPC A, UPC E, EAN 13, EAN 8, CODE39, TIF, CODEBAR, CODE93, CODE128 |
| 2D Codes | QRCOE, PDF417 |
| Operating Temperature | -10 °C to 50 °C |
| Storage Temperature | -20 °C to 70 °C |
| Storage Humidity | 5% to 95% |
| Lifespan | 50 km (print density < 12.5%) / 10 billion pulses |

Image: Visual representation of the printer's battery specifications, including 1500mAh battery, 2-4 hours full charging time, and 100 hours standby time.
3. Setup Guide
3.1 Initial Setup
- Battery Installation/Preparation: If the battery is not pre-installed, open the battery compartment on the back of the printer and insert the 1500mAh lithium battery. Ensure to remove any yellow insulating tape from the battery terminals before first use.
- Charging the Printer: Connect the printer to a power source using the provided Mini USB data cable. The charging indicator light will illuminate. A full charge typically takes 2 to 4 hours.
- Loading Thermal Paper:
- Open the printer's top cover by pressing the release button or lifting the latch.
- Insert a new roll of 58mm thermal paper, ensuring the paper feeds from the bottom of the roll and the leading edge is straight.
- Pull a small amount of paper out past the print head and close the cover firmly until it clicks into place.

Image: The printer with its battery removed, illustrating the battery compartment for installation or replacement.

Image: A top-down view of the printer with its top cover open, showing the paper loading area.
3.2 Connecting to Your Device
The PT 210 printer supports both Bluetooth and USB connectivity.
3.2.1 Bluetooth Connection (Recommended for Mobile Devices)
- Ensure the printer is powered on.
- On your mobile device (Android or iOS), navigate to the Bluetooth settings and enable Bluetooth.
- Search for available devices. The printer should appear as "PT-210" or a similar identifier.
- Select the printer to pair. If prompted for a PIN, enter "0000" or "1234".
- Once paired, the printer's Bluetooth indicator light will typically become solid.
3.2.2 USB Connection (For Computers)
- Ensure the printer is powered on.
- Connect one end of the Mini USB data cable to the printer's USB port and the other end to an available USB port on your computer.
- Your computer should automatically detect the printer. You may need to install the appropriate printer drivers, which can usually be found on the manufacturer's website or included software CD (if applicable).

Image: The printer demonstrating its extensive compatibility with various devices, including smartphones and laptops, highlighting its wireless and wired connection capabilities.
4. Operating Instructions
4.1 Basic Operation
- Power On/Off: Press and hold the power button (usually marked with a circle and vertical line) to turn the printer on or off.
- Feed Paper: Briefly press the feed button (often marked with an arrow or paper icon) to advance the thermal paper.
- Status Indicators: Observe the LED indicators on the printer for status updates (e.g., power, Bluetooth connection, error).
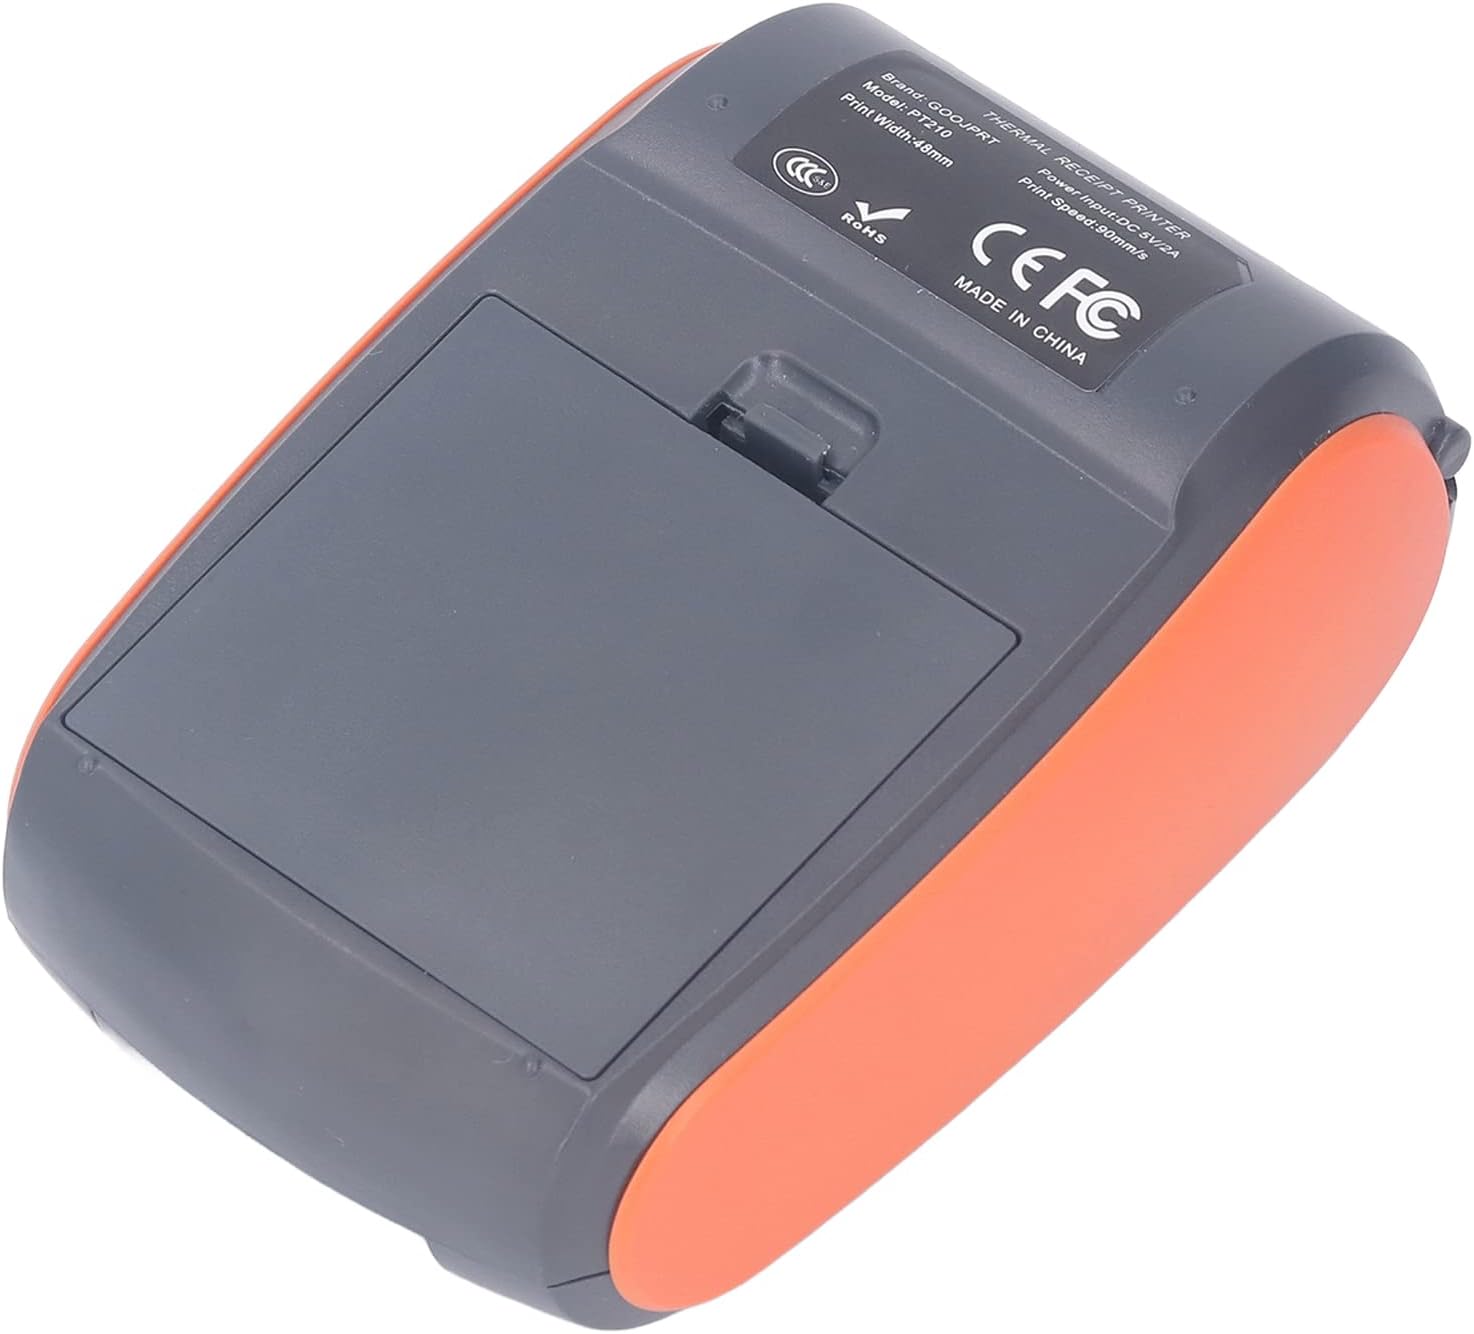
Image: A detailed view of the printer's control panel, showing the power button and the paper feed button, along with status indicators.
4.2 Printing Receipts/Bills
The PT 210 printer is designed for various receipt and bill printing applications, including:
- Taxi tickets
- Management fee receipts
- Restaurant order information
- General retail receipts
- Warehousing and logistics documents
To print, ensure the printer is connected to your device (via Bluetooth or USB) and has sufficient paper and battery charge. Use your compatible application (e.g., POS software, Word, Excel, TXT) to send the print command. The printer will automatically process the data and print the receipt.

Image: The Fafeicy PT 210 printer in a restaurant environment, demonstrating its practical application for printing customer receipts or orders.

Image: A different perspective of the printer in a restaurant, emphasizing its compact size and ease of use in a busy service environment.
5. Maintenance
5.1 Cleaning the Printer
- Exterior Cleaning: Use a soft, damp cloth to wipe the exterior of the printer. Do not use harsh chemicals or abrasive cleaners.
- Print Head Cleaning: If print quality degrades, gently wipe the thermal print head with a cotton swab lightly dampened with isopropyl alcohol. Ensure the print head is completely dry before using the printer again.
5.2 Paper Replacement
When the paper roll is depleted or running low, replace it as follows:
- Open the printer's top cover.
- Remove the empty paper core or remaining small roll.
- Insert a new 58mm thermal paper roll, ensuring the paper feeds correctly.
- Close the top cover firmly.
6. Troubleshooting
This section addresses common issues you might encounter with your PT 210 printer.
| Problem | Possible Cause | Solution |
|---|---|---|
| Printer does not power on. | Low battery or no power. | Charge the printer using the provided USB cable. Ensure the yellow insulating tape is removed from the battery. |
| Cannot connect via Bluetooth. | Bluetooth not enabled, printer not discoverable, incorrect PIN, or interference. | Ensure printer is on and Bluetooth is active. Restart both printer and device. Try pairing again. Enter "0000" or "1234" as PIN. Move closer to the printer. |
| No print output. | No paper, paper loaded incorrectly, printer not connected, or print command not sent. | Check paper roll and reload if necessary. Ensure printer is connected and online. Verify print command from your application. |
| Poor print quality (faint, lines). | Low battery, dirty print head, or incorrect thermal paper. | Charge the printer. Clean the print head as described in the Maintenance section. Ensure you are using thermal paper. |
| Printer jams. | Paper loaded incorrectly, or foreign object. | Open the cover, remove any jammed paper, and reload correctly. Check for any obstructions. |
7. Warranty Information
Specific warranty details for the Fafeicy PT 210 printer may vary by region and retailer. Please refer to the warranty card included with your product or contact your point of purchase for detailed information regarding warranty coverage, terms, and conditions.
8. Customer Support
For technical assistance, product inquiries, or service requests, please contact Fafeicy customer support through their official website or the contact information provided by your retailer. When contacting support, please have your product model number (PT 210 / Fafeicyt2h9g8pq6a-11) and purchase details ready.
You can also visit the Fafeicy brand page on Amazon for more information and related products.
Ask a question about this manual
Ask about setup, troubleshooting, compatibility, parts, safety, or missing instructions. Manuals+ will review the question and use this page’s manual context to help answer it.