1. Product Overview
The AdTech Project Pro is a rechargeable, cordless hot glue gun designed for precision bonding. It features an Opti-Temp heating system and is compatible with Artistick stringless glue sticks. This manual provides essential information for safe and effective use.
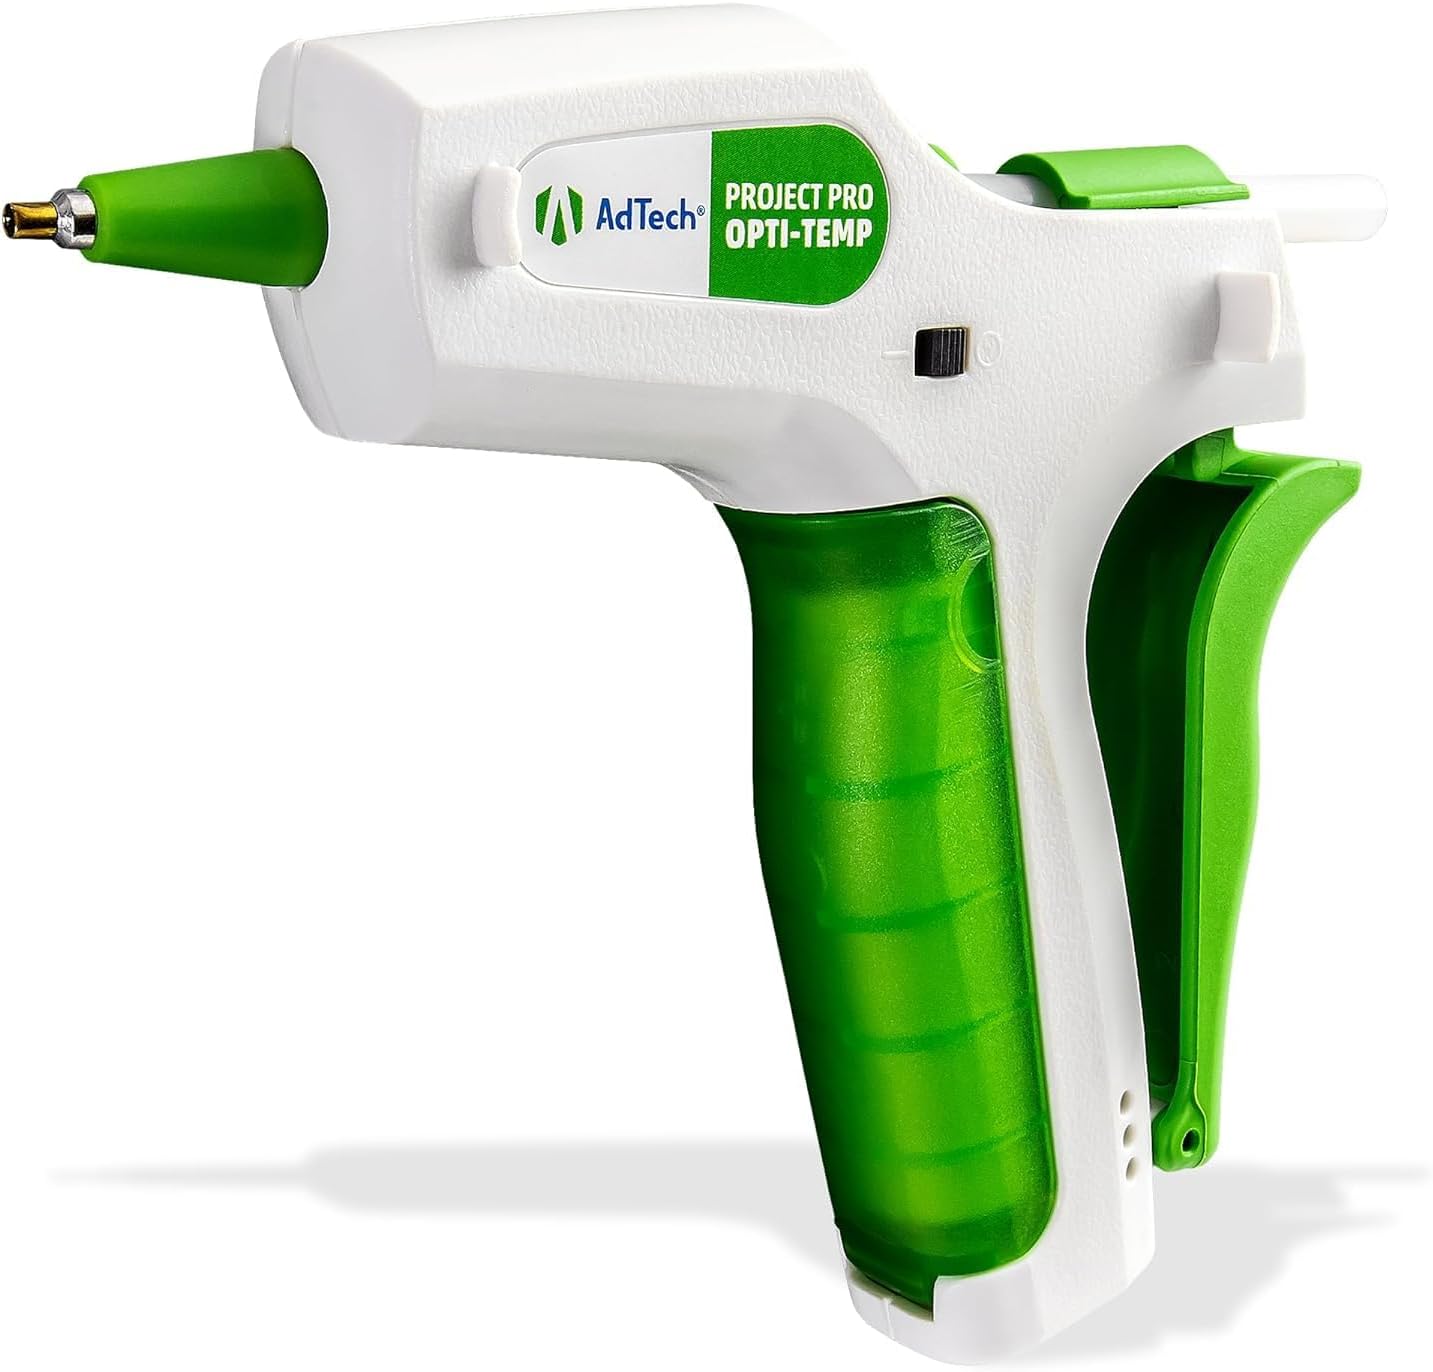
Image 1.1: AdTech Project Pro Rechargeable Cordless Hot Glue Gun. This image displays the complete glue gun unit, highlighting its ergonomic design and green accents.
2. What's Included
- AdTech Project Pro Cordless Hot Glue Gun
- Rechargeable Lithium-Ion Battery (18650 type)
- USB-C Charging Cable
- 10 x 4" Artistick Stringless Glue Sticks

Image 2.1: Kit contents including the glue gun, USB-C cable, battery, and glue sticks, displayed next to the product packaging.
3. Setup and Charging
3.1 Battery Installation
Ensure the glue gun is powered off. Open the battery compartment located in the handle. Insert the provided 18650 Lithium-Ion battery, ensuring the positive (+) and negative (-) terminals align correctly with the markings inside the compartment. Close the compartment securely.

Image 3.1: The AdTech Project Pro glue gun with its handle open, revealing the battery compartment and the removable 18650 Lithium-Ion battery.
3.2 Charging Instructions
For optimal performance, fully charge the battery before initial use.
- Ensure the power switch is in the "off" (O) position.
- Connect the USB-C charging cord to the port on the bottom of the handle and the opposite end to a power source (e.g., USB wall adapter, computer USB port).
- The battery can be charged using the gun's built-in charger or any compatible external 18650 lithium-ion battery charger. A capacity of 2500mAh or more is recommended for replacement batteries, and they must be the same size and type as the provided battery.
LED Indicator Lights:
- Blue Light (top): Illuminates when the gun is switched to the "on" (—) position and the battery has sufficient charge to power the gun, even if not fully charged.
- Red Light (middle): Illuminates when the USB-C cord is plugged into the gun and connected to a power source. It turns off when the battery is fully charged or the charging cord is removed.
- Green Light (bottom): Illuminates when the battery is fully charged and the USB-C cord is still plugged into the gun.

Image 3.2: Detailed instructions for charging the glue gun, including descriptions of the LED indicator lights for battery status.
4. Operating Instructions
4.1 Inserting Glue Sticks
Insert a 4-inch Artistick glue stick into the opening at the back of the glue gun. Push it gently until it stops. The gun is designed for standard mini glue sticks.
4.2 Powering On and Heating
Slide the power switch to the "on" (—) position. The blue LED light will illuminate. Allow the glue gun to heat up for several minutes until it reaches its optimal operating temperature. The Opti-Temp heating system automatically adjusts to the ideal temperature for various materials, eliminating the need to select high or low temperature settings.
4.3 Applying Glue
Once heated, gently squeeze the palm trigger to dispense glue from the precision nozzle. Apply glue to the desired surface. Release the trigger to stop the flow. The precision nozzle allows for accurate glue placement, and the palm trigger provides controlled output.

Image 4.1: A hand holding the AdTech Project Pro glue gun, demonstrating its use for detailed crafting, emphasizing precision control.
4.4 Powering Off
When finished, slide the power switch to the "off" (O) position. Allow the glue gun to cool completely before storing.
5. Safety Information
- The nozzle and melted glue become very hot. Avoid direct contact with skin to prevent burns.
- Always place the glue gun on a heat-resistant surface or use its integrated stand when not in use.
- Do not leave the hot glue gun unattended while powered on.
- Keep out of reach of children. Adult supervision is required if children are using the device.
- Do not attempt to remove a partially used glue stick from the back of the gun while it is hot.
- Use in a well-ventilated area.
- Do not immerse the glue gun in water or other liquids.
- Only use recommended glue sticks with this device.
6. Maintenance
6.1 Cleaning
Ensure the glue gun is completely cool and unplugged before cleaning. Wipe the exterior with a damp cloth. Do not use abrasive cleaners or solvents. If the nozzle has dried glue residue, gently remove it once the gun is slightly warm (not hot) to soften the glue, using a non-metallic tool.
6.2 Storage
Store the glue gun in a cool, dry place, away from direct sunlight and moisture. Ensure it is completely cool before storing. Keep it in its original packaging or a protective case to prevent damage.
7. Troubleshooting
| Problem | Possible Cause | Solution |
|---|---|---|
| Glue gun does not heat up or turn on. | Battery is not charged or improperly installed. Power switch is off. | Ensure battery is fully charged and correctly inserted. Verify power switch is in the "on" position. |
| Glue does not dispense. | Gun not fully heated. Glue stick not fully inserted. | Allow adequate heating time (several minutes). Push glue stick further into the chamber. |
| Battery does not hold charge for long. | Battery degradation over time. | Consider replacing the 18650 Lithium-Ion battery with a new one of similar specifications (2500mAh or more). |
| Battery compartment door is loose or damaged. | Physical impact or wear. | Carefully reassemble if parts are intact. Contact customer support for replacement parts if necessary. |
8. Specifications
- Model: 2060
- Brand: AdTech
- Power Source: Battery Powered (1 Lithium Ion battery, 18650 type)
- Voltage: 12 Volts
- Compatible Material: Cardboard (and various other craft materials)
- Item Weight: 9.1 ounces
- Product Dimensions: 2 x 6 x 5.75 inches
- UPC: 026438548648
- Included Components: Glue Gun, Battery, USB-C Charger, Glue Sticks
9. Warranty and Support
For warranty information and customer support, please visit the official AdTech website:
AdTech products are engineered, designed, and quality-controlled in the USA.