
PEXMOR 26EbikeKit1000-Fro86
Contents
PEXMOR Electric Bike Conversion Kit User Manual
Model: 26EbikeKit1000-Fro86
Brand: PEXMOR
1. Introduction
Thank you for choosing the PEXMOR 48V 1000W 26" Front Wheel Electric Bike Conversion Kit. This kit is designed to transform your standard bicycle into a powerful electric bike, offering enhanced mobility and an enjoyable riding experience. It features a robust brushless hub motor, an intelligent LCD display, and a versatile Pedal Assist System (PAS) for various riding modes.
This manual provides detailed instructions for the proper installation, operation, and maintenance of your new e-bike conversion kit. Please read it thoroughly before beginning the installation process to ensure safe and efficient use.
2. Important Safety Warnings
- Always wear a helmet and appropriate safety gear while riding.
- Familiarize yourself with local traffic laws and regulations regarding electric bicycles.
- Do not operate the e-bike in adverse weather conditions, such as heavy rain or snow.
- Ensure all electrical connections are secure and free from damage before each ride.
- Handle the battery with care. Avoid short-circuiting or exposing it to extreme temperatures.
- Professional installation is recommended if you are unfamiliar with bicycle mechanics or electrical systems.
- Keep hands and clothing clear of moving parts, especially the motor wheel and chain.
3. Package Contents
Please verify that all items listed below are included in your package:
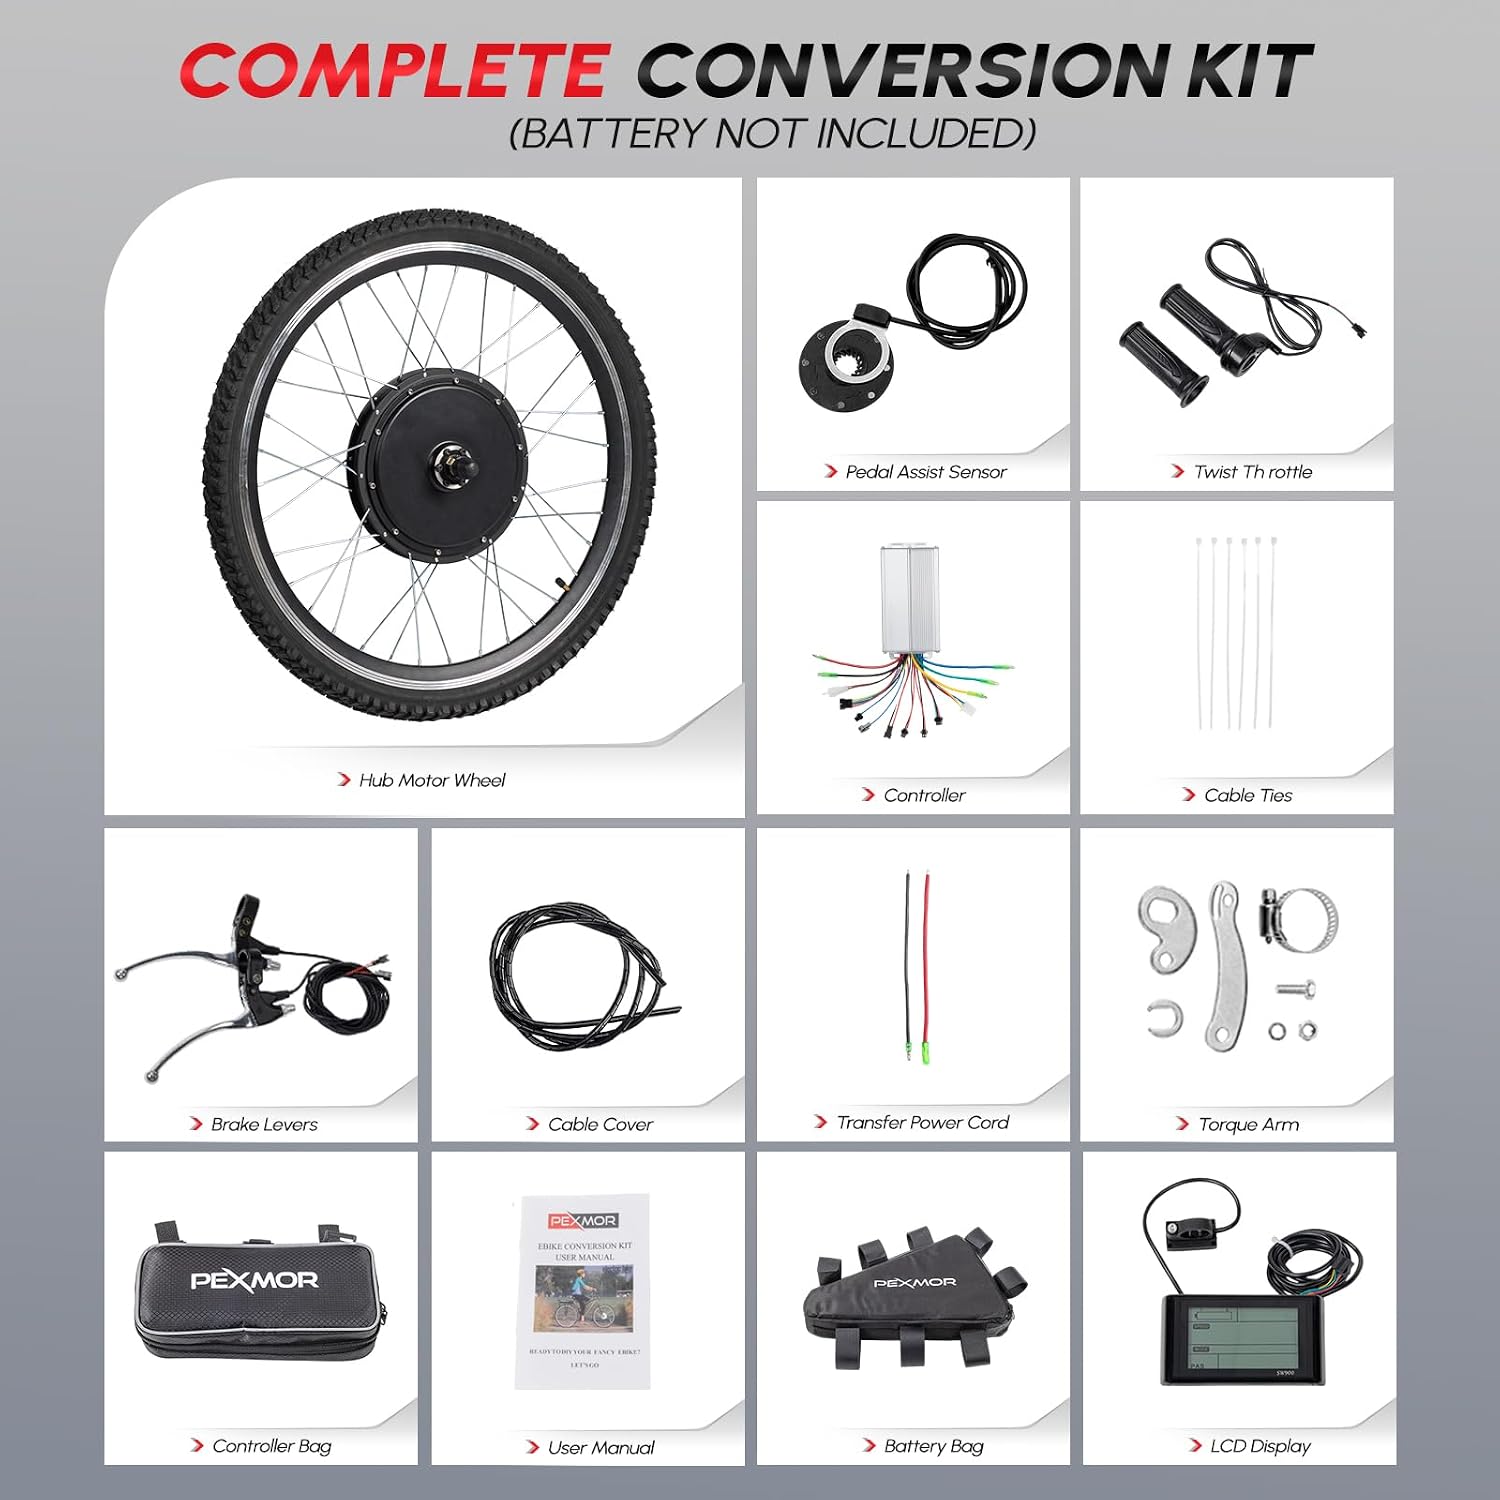
Image: Overview of all components included in the conversion kit.
- Hub Motor Wheel (26" Front Wheel)
- Controller
- Pedal Assist Sensor (PAS)
- Twist Throttle
- Brake Levers
- LCD Display
- Cable Ties
- Power Cord
- Torque Arm
- Controller Bag
- Battery Bag (Note: Battery not included)
- User Manual
- Tool Kit
4. Setup Guide
4.1 Pre-installation Preparation
Before starting the installation, ensure your bicycle is stable. Placing it upside down can provide easier access to the wheels and components. Gather all necessary tools as shown in the video.
Video: Step 1 - Pre-installation Preparation and Checks. This video demonstrates how to prepare your bike for the conversion process.
4.2 Removal and Replacement of Motor Wheel
Carefully remove the existing front wheel from your bicycle. Deflate the tire and remove it along with the inner tube and rim liner. Detach the disc brake from the old wheel. Install the new motor wheel, ensuring the tire, inner tube, and rim liner are correctly fitted. Inflate the tire to the recommended pressure. Loosen the hexagonal screws on both sides of the motor axle. Important: Ensure the black cable from the motor is correctly seated in the notch on the axle to prevent damage during installation.

Image: The main product image showing the complete conversion kit, including the front motor wheel.

Image: Detailed view of the brushless hub motor, highlighting its internal components and power specifications.
4.3 Installation of Brake Lever, Throttle, and Instruments
Replace the original bicycle throttle with the new twist throttle provided in the kit. Secure it by tightening the screw. Install the LCD display onto the handlebar. If the handlebar is thin, use the provided belt to secure the display.

Image: The smart LCD display, illustrating its various readouts and functions.
4.4 Installation and Precaution of PAS
Loosen the pedal shaft screw and remove the dental disc and shaft. Install the PAS (Pedal Assist System) disc. Ensure the arrow on the PAS disc points in the forward direction of pedaling. The PAS disc should rotate with the shaft. If conditions permit, apply glue to secure the PAS disc. Reinstall the dental disc and foot pedal.
Video: Step 4 - Installation and Precaution of PAS. This video guides you through installing the Pedal Assist System.

Image: Detailed view of the twist throttle and pedal assist system sensor, showing how they fit most bike types.
4.5 Installation and Fixation of Controller
Connect all corresponding cables from the controller to the motor, PAS, brake levers, throttle, and display. Ensure all connections are secure. The two blue cables on the controller are for speed limit; if plugged together, the speed will be halved. Leave them unplugged for full speed. Securely fix the controller and manage the cables using ties or by placing it in the provided controller bag.
Video: Step 3 - Electrical Control System Connection and Check. This video demonstrates connecting the controller and testing the system.
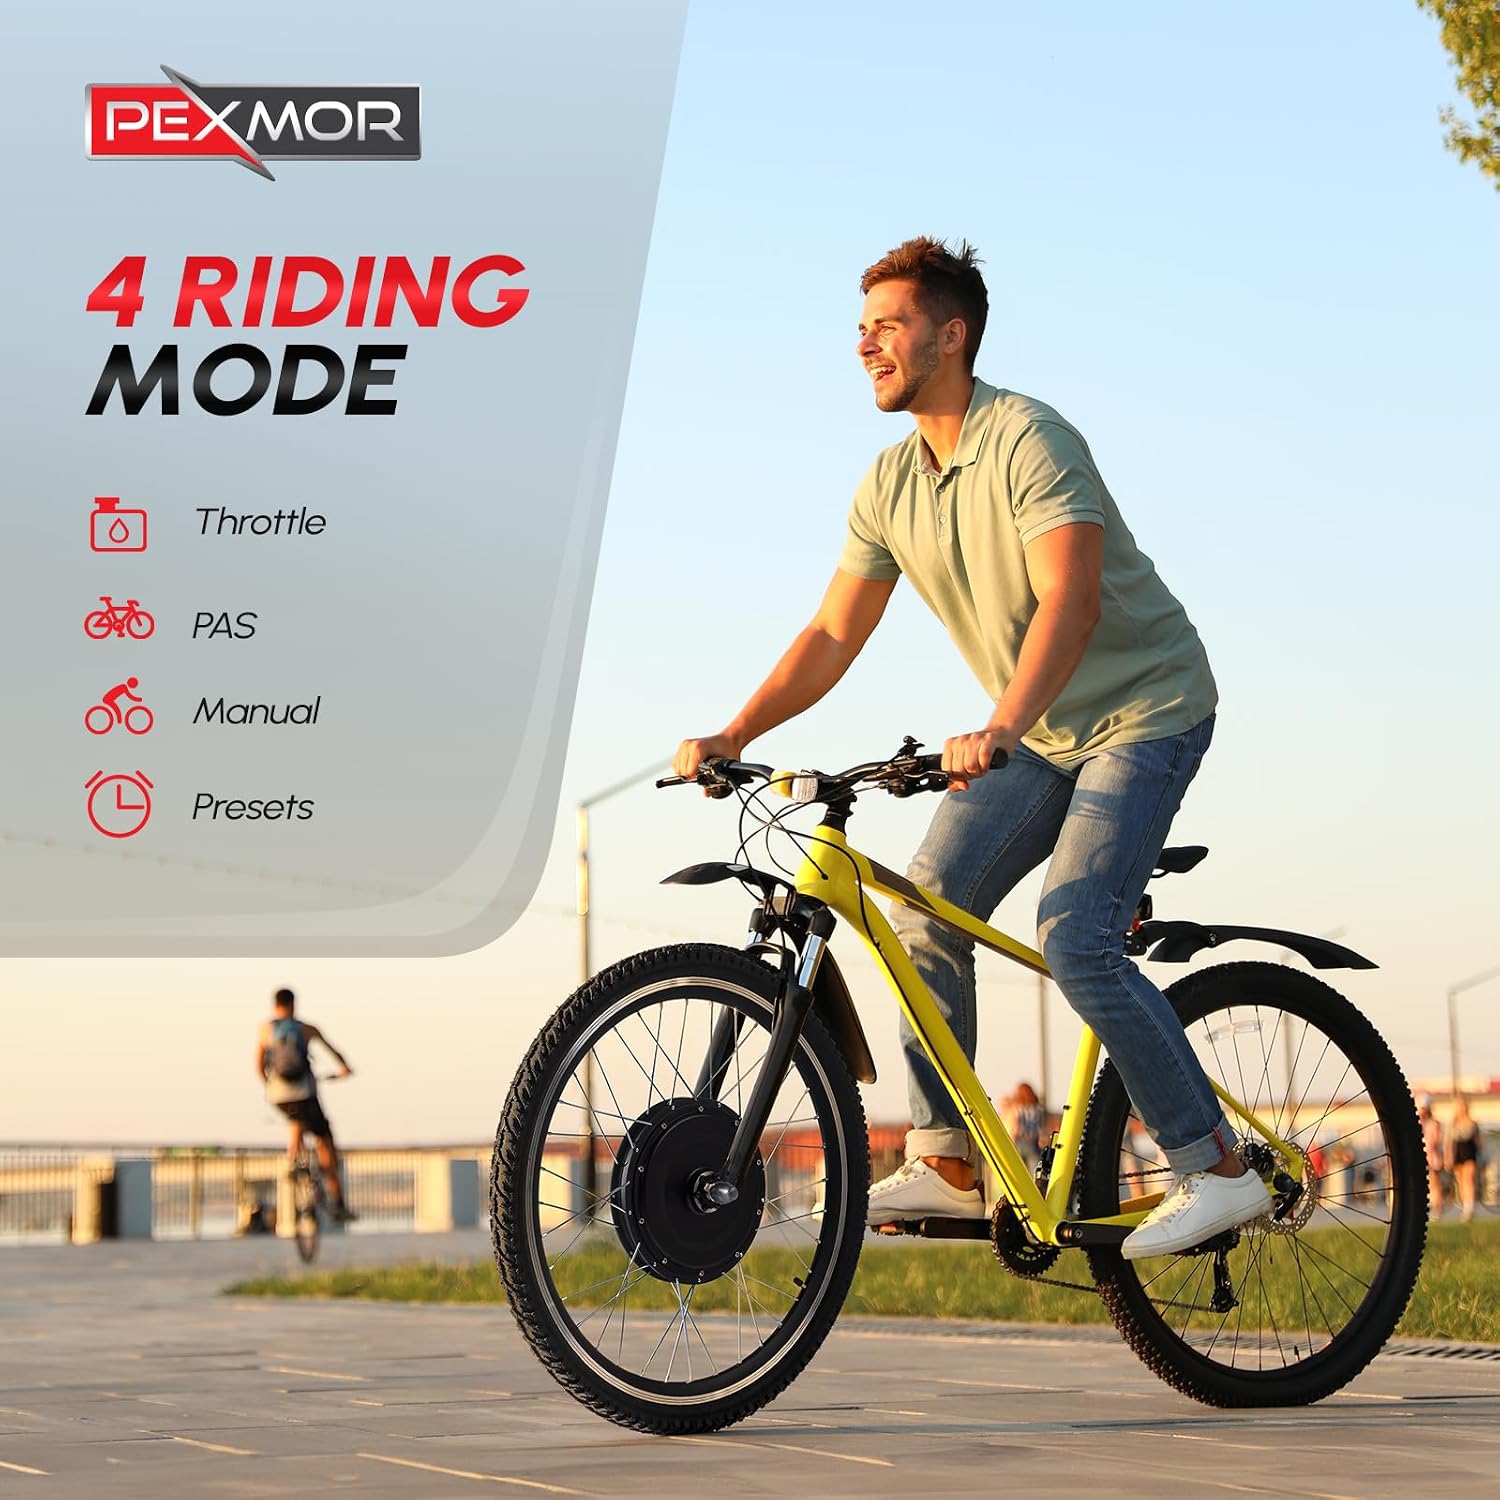
Image: The upgraded 3-mode sine wave controller, showing its high efficiency and low noise operation.
5. Operating Your E-Bike
The LCD display provides essential riding information such as battery power, current speed, and PAS level. Your converted e-bike supports 4 riding modes:
- Throttle Mode: Provides power directly via the twist throttle.
- PAS (Pedal Assist System) Mode: Provides motor assistance as you pedal. The PAS will work in Gear "1" and higher, but not in Gear "0".
- Manual Mode: Ride your bike like a traditional bicycle without motor assistance.
- Presets Mode: Utilize pre-configured power levels for consistent assistance.

Image: Visual representation of the four available riding modes: Throttle, PAS, Manual, and Presets.
6. Maintenance
- Regularly check all electrical connections for tightness and wear.
- Keep the motor and controller clean and dry to prevent corrosion and damage.
- Inspect tires for proper inflation and wear before each ride.
- Ensure brake levers return to their original position after use to avoid accidental motor engagement.
- Periodically check the torque arm for proper installation and tightness to ensure safe operation.
7. Troubleshooting
- Motor Not Working: Check all electrical connections, especially the battery connection. Ensure the brake levers are not engaged, as they cut power to the motor.
- PAS Not Working: Verify the PAS disc is correctly installed with the arrow pointing forward. Ensure the PAS gear on the display is not set to "0".
- Display Not Turning On: Check the battery connection and ensure the battery is charged. Verify the display cable is securely connected to the controller.
- Reduced Speed: Check if the speed limit cables on the controller are plugged together. Unplug them for full speed.
8. Specifications
| Feature | Specification |
|---|---|
| Bike Type | Electric Bike, Commuting Bike, Mountain Bike |
| Brand | PEXMOR |
| Color | black |
| Wheel Size | 26 Inches |
| Frame Material | Aluminum |
| Suspension Type | Rear, Front |
| Special Feature | Aluminum Frame, Electric, mountain bike |
| Included Components | Tool Kit |
| Style | 1000w Front |
| Model Name | 26EbikeKit1000-Fro86 |
| Power Source | Electric motor |
| Maximum Weight Recommendation | 220 Pounds |
| Assembly Required | Yes |
| UPC | 810158426887 |
| Motor Power | 48V 1000W |
| Max Speed | 36 mph (58 km/h) |
| Compatible Dropout Spacing | 100mm/3.93" (Front) |
| Controller Type | Upgrade 3 Modes (Sine Wave) |
9. Warranty and Support
For warranty information and technical support regarding your PEXMOR Electric Bike Conversion Kit, please refer to the contact details provided in the included user manual. You may also visit the official PEXMOR website for additional resources and customer service.
Ask a question about this manual
Ask about setup, troubleshooting, compatibility, parts, safety, or missing instructions. Manuals+ will review the question and use this page’s manual context to help answer it.