1. Product Overview
This manual provides detailed instructions for the AMONIDA Parking Radar Button Cover. This product is a high-quality replacement accessory designed to restore or upgrade the appearance and functionality of your vehicle's parking sensor switch button. Manufactured from durable ABS material, it offers a robust and weather-resistant solution for compatible BMW models.
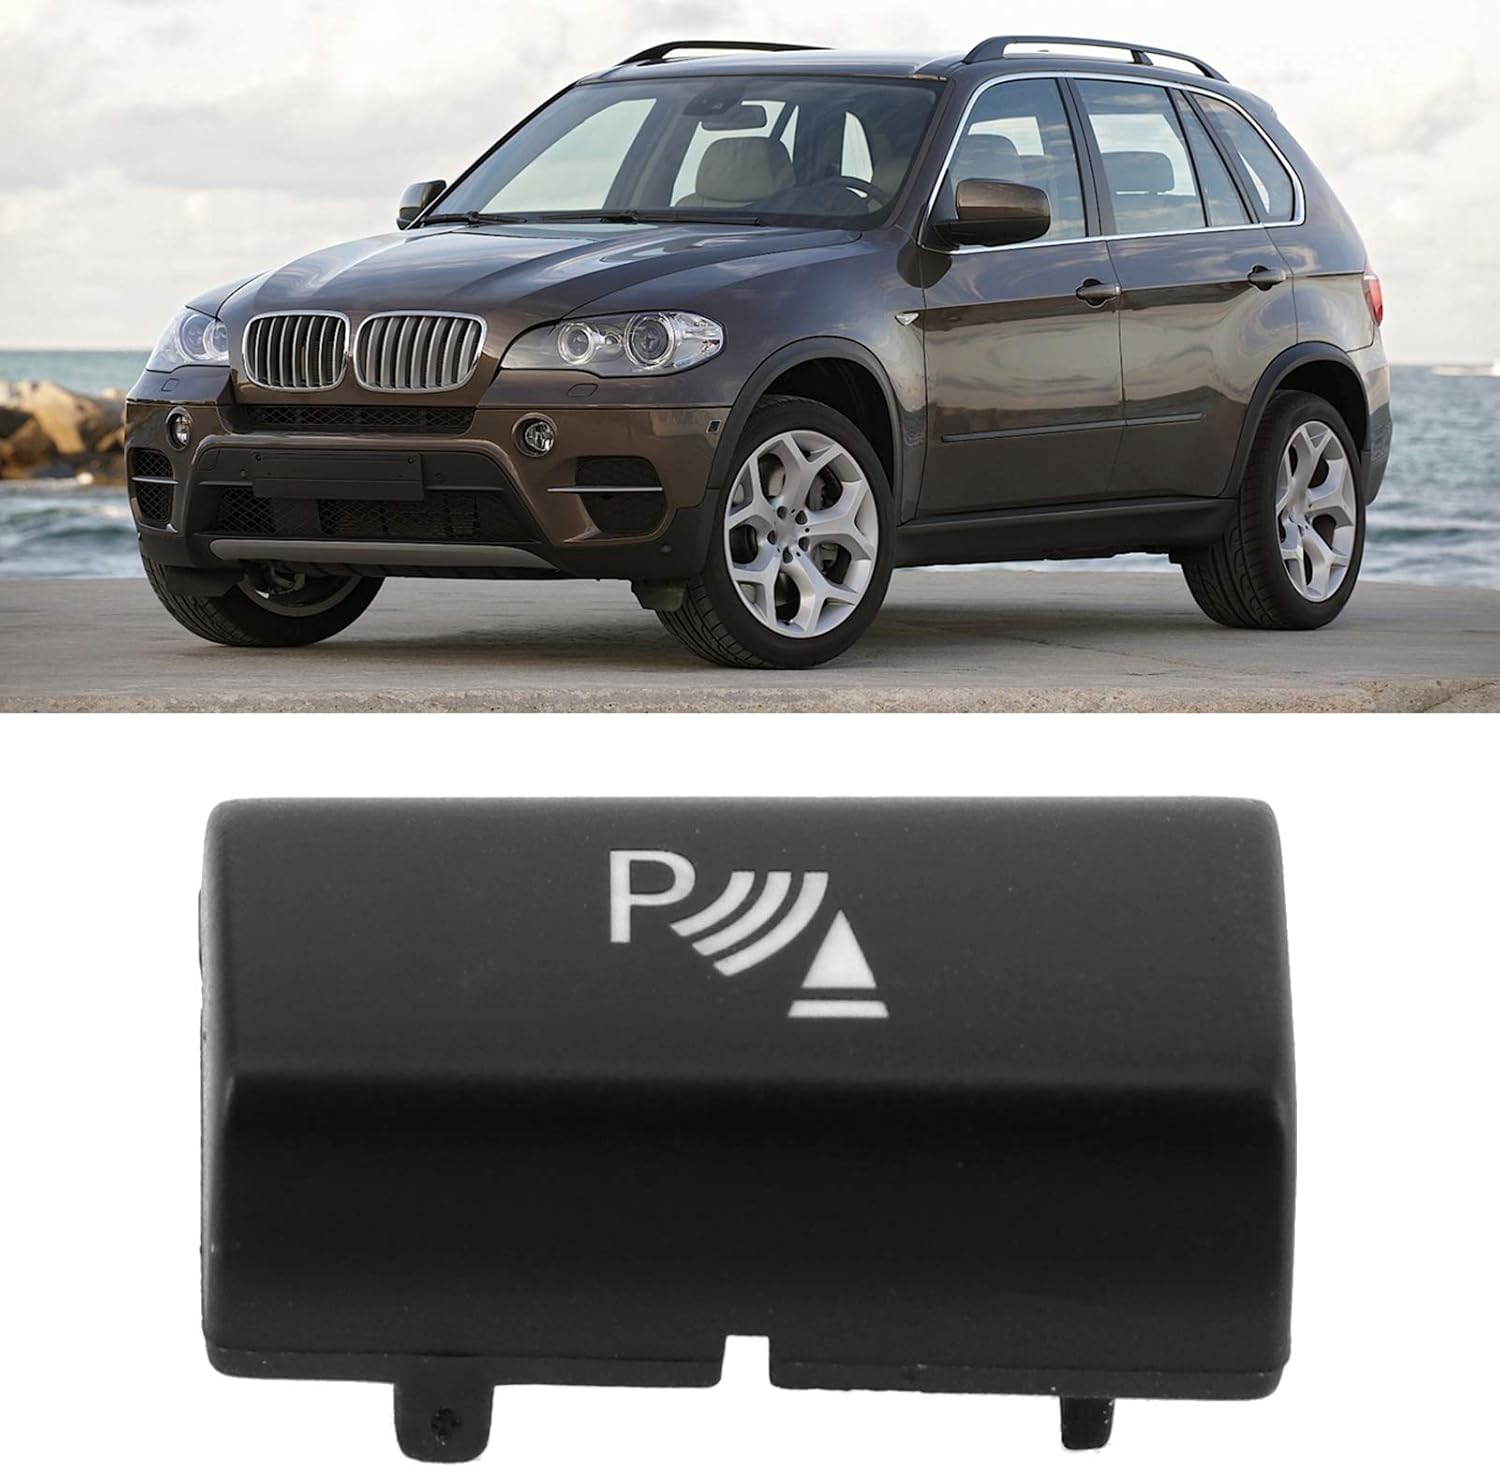
Image 1: The AMONIDA Parking Radar Button Cover shown alongside a compatible BMW X5 vehicle.
2. Safety Information
Please read and understand all safety instructions before installation. Failure to do so may result in damage to the product, vehicle, or personal injury.
- Always ensure the vehicle's ignition is turned off and the parking brake is engaged before beginning any installation.
- If you are unsure about any step of the installation process, consult a qualified automotive technician.
- Keep small parts and packaging materials away from children to prevent choking hazards.
- Do not use excessive force during installation, as this may damage the button cover or the vehicle's dashboard components.
3. Package Contents
Verify that all items are present and undamaged upon opening the package.
- 1 x AMONIDA Parking Radar Button Cover
4. Specifications
| Feature | Detail |
|---|---|
| Product Name | Parking Radar Button Cover |
| Brand | AMONIDA |
| Material | High-Quality ABS Plastic |
| Compatibility | BMW X5 E70 (2006-2013), BMW X6 E71 (2008-2014) |
| Part Type | Replacement Button Trim |
5. Compatibility
This Parking Radar Button Cover is specifically designed for the following BMW models:
- BMW X5 E70: Model years 2006, 2007, 2008, 2009, 2010, 2011, 2012, 2013
- BMW X6 E71: Model years 2008, 2009, 2010, 2011, 2012, 2013, 2014
Please ensure your vehicle's model and year match the listed compatibility before proceeding with installation.

Image 2: The button cover with a visual confirmation of compatibility for BMW X5 E70 and X6 E71 models.
6. Installation (Setup)
The AMONIDA Parking Radar Button Cover is designed for simple, non-damaging installation without the need for complicated tools.
- Prepare the Vehicle: Ensure your vehicle's ignition is off. Locate the existing parking radar button on your dashboard or center console.
- Remove Old Cover (if applicable): Carefully use a plastic trim removal tool or a similar non-marring instrument to gently pry around the edges of the old or damaged button cover. Apply even pressure to avoid damaging the surrounding trim.
- Inspect the Switch: Once the old cover is removed, inspect the underlying switch mechanism for any damage or debris. Clean the area if necessary.
- Align New Cover: Take the new AMONIDA Parking Radar Button Cover. Observe the clips and alignment tabs on the back of the cover.
- Install New Cover: Align the new cover precisely with the switch mechanism. Gently press the cover into place until you hear or feel a secure click. Ensure all edges are flush with the surrounding trim.
- Test Functionality: Turn on the vehicle's ignition and test the parking radar button to ensure it operates correctly.

Image 3: Rear view of the button cover, highlighting the clips for secure installation.

Image 4: The button cover shown installed within a vehicle's dashboard, demonstrating proper fitment.
7. Operation
The AMONIDA Parking Radar Button Cover is a cosmetic and protective component. It does not alter the functionality of your vehicle's parking radar system. Once installed, operate the parking radar button as you normally would to activate or deactivate the parking assistance features.
8. Maintenance
To ensure the longevity and appearance of your AMONIDA Parking Radar Button Cover, follow these simple maintenance guidelines:
- Cleaning: Wipe the button cover periodically with a soft, damp cloth to remove dust and fingerprints.
- Avoid Harsh Chemicals: Do not use abrasive cleaners, solvents, or harsh chemicals, as these can damage the finish of the ABS material.
- Protection: Avoid scratching the surface with sharp objects.
9. Troubleshooting
If you encounter any issues after installing the button cover, consider the following:
- Button Cover Not Fitting Securely: Ensure the cover is correctly aligned with the switch mechanism and that all clips are engaged. Gently press firmly until it clicks into place.
- Parking Radar System Not Functioning: Verify that the underlying parking sensor switch is not damaged and that the new cover is not obstructing its movement. Re-check the installation steps. If the issue persists, the problem may lie with the vehicle's parking radar system itself, not the button cover.
- Cosmetic Imperfections: If the cover appears scratched or damaged upon receipt, do not install it. Contact customer support for assistance.
10. Warranty and Support
For information regarding product warranty, returns, or technical support, please refer to the documentation provided with your purchase or contact the seller directly through the platform where the product was acquired. Keep your proof of purchase for any warranty claims.


