1. Safety Instructions
Read these instructions carefully before using your appliance and keep them for future reference. Failure to follow these instructions may result in electric shock, fire, or injury.
- Do not attempt to operate this oven with the door open as this can result in harmful exposure to microwave energy.
- Do not place any object between the oven front face and the door or allow soil or cleaner residue to accumulate on sealing surfaces.
- Do not operate the oven if it is damaged. It is particularly important that the oven door closes properly and that there is no damage to the: (1) door (bent), (2) hinges and latches (broken or loosened), (3) door seals and sealing surfaces.
- The oven should not be adjusted or repaired by anyone except properly qualified service personnel.
- Ensure the appliance is properly earthed.
- Do not heat liquids or other foods in sealed containers since they are liable to explode.
- Only use utensils that are suitable for use in microwave ovens.
- Regularly clean the oven and remove any food deposits.
- This appliance is not intended for use by persons (including children) with reduced physical, sensory or mental capabilities, or lack of experience and knowledge, unless they have been given supervision or instruction concerning use of the appliance by a person responsible for their safety.
2. Product Overview
The Indesit MWI 3211 IX is an integrated microwave oven designed for efficient and convenient cooking. It features a 22-liter capacity and 750 Watts of power, making it suitable for various heating and cooking tasks.
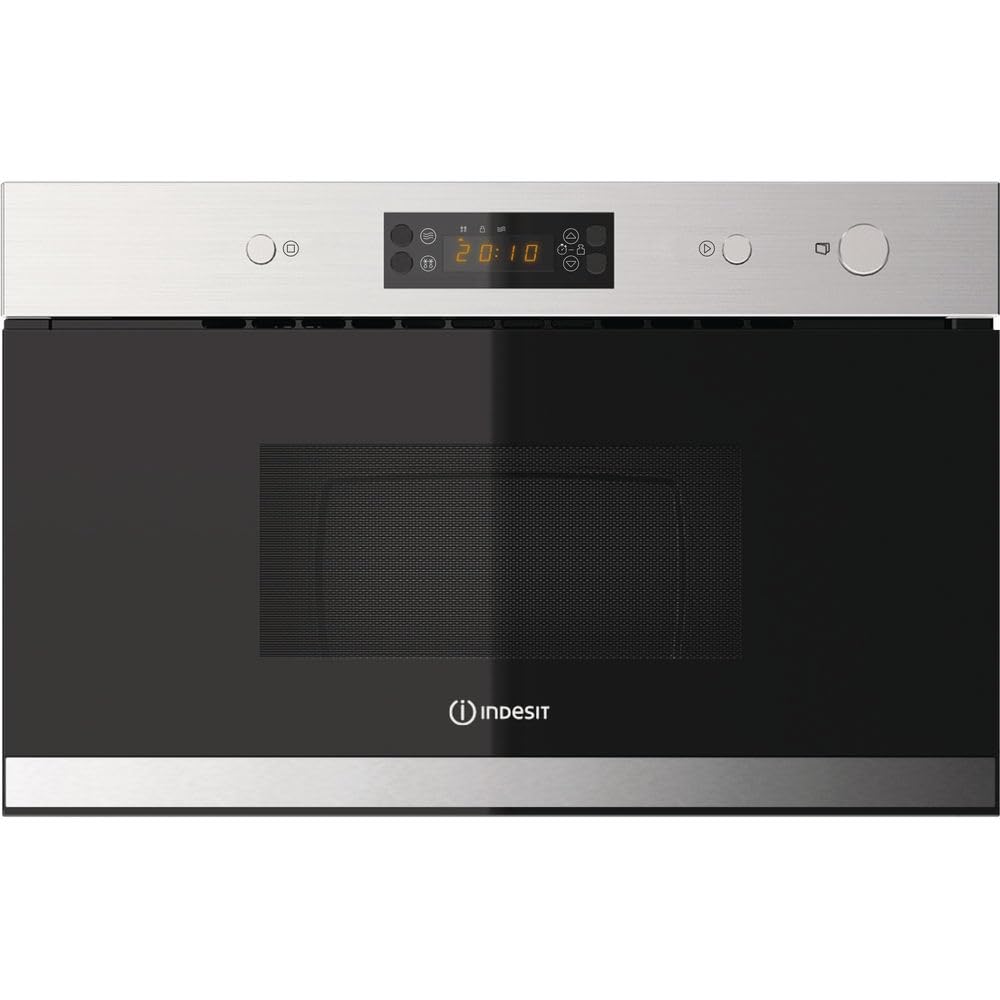
Figure 1: Front view of the Indesit MWI 3211 IX integrated microwave oven. This image shows the stainless steel finish and control panel.
Key Features:
- Integrated Design: Seamlessly fits into your kitchen cabinetry.
- 22 Litre Capacity: Generous interior space for various dishes.
- 750 Watts Power: Efficient heating and cooking performance.
- Defrost Function: Conveniently thaws frozen foods.
- 25 cm Turntable: Ensures even cooking by rotating food.
- Rotary and Touch LED Controls: User-friendly interface for setting time and power.
- Integrated Clock: Displays current time.
- Child Lock: Prevents accidental operation by children.
- 4 Power Levels: Offers flexibility for different cooking needs.
- Stainless Steel Interior: Durable and easy to clean.
3. Setup and Installation
This microwave oven is designed for integrated installation. Professional installation is recommended to ensure proper fit and electrical connection.
3.1 Unpacking
- Remove all packaging materials from the oven cavity and the accessories.
- Check the oven for any damage, such as dents or a misaligned door. Do not operate the oven if it is damaged.
- Ensure all components listed in the "What's in the Box" section are present.
3.2 Installation Requirements
- The microwave must be installed in a cabinet opening that meets the specified dimensions (refer to the "Specifications" section).
- Ensure adequate ventilation around the appliance. Do not block ventilation openings.
- The appliance must be connected to a properly earthed electrical outlet. The voltage (230 Volts) and frequency must match the ratings on the appliance's rating plate.
3.3 First Use
- After installation, clean the interior of the oven with a damp cloth.
- Place the turntable and turntable support ring inside the oven cavity.
- Plug the appliance into the power outlet. The display will show "0:00" or similar, indicating it's ready to be set.
- Set the current time using the control panel (refer to the "Operating Instructions" section for details on setting the clock).
4. Operating Instructions
Familiarize yourself with the control panel before operating the microwave oven.
4.1 Setting the Clock
- Press the "Clock" button (if available) or refer to the specific icon on your touch panel.
- Use the rotary knob or touch controls to set the hour.
- Press the "Clock" button again to confirm the hour.
- Use the rotary knob or touch controls to set the minutes.
- Press the "Clock" button one last time to confirm the minutes and start the clock.
4.2 Microwave Cooking
- Place food in a microwave-safe container on the turntable.
- Close the oven door securely.
- Select the desired power level (e.g., 750W for full power, or lower for gentle heating). The oven has 4 power levels.
- Set the cooking time using the rotary knob or touch controls.
- Press the "Start" button to begin cooking.
- The oven will beep when cooking is complete. Open the door and carefully remove the food.
4.3 Defrost Function
The defrost function allows you to thaw frozen food quickly and efficiently.
- Place the frozen food on the turntable.
- Press the "Defrost" button (usually indicated by a snowflake icon).
- Use the rotary knob or touch controls to select the weight of the food or the desired defrost time.
- Press "Start". The oven may pause during defrosting to allow you to turn or separate the food.
4.4 Child Lock
To prevent accidental operation, especially by children, activate the child lock.
- To activate: Press and hold the "Stop/Cancel" button or the designated child lock button for approximately 3 seconds until a lock icon appears on the display.
- To deactivate: Press and hold the "Stop/Cancel" button or the child lock button again for approximately 3 seconds until the lock icon disappears.
5. Maintenance and Cleaning
Regular cleaning and maintenance will ensure the longevity and optimal performance of your microwave oven.
5.1 Cleaning the Oven Interior
- Always unplug the oven before cleaning.
- Wipe the interior cavity after each use with a damp cloth to prevent food residue from drying and sticking.
- For stubborn stains, use a mild detergent or a microwave-safe cleaner. Avoid abrasive cleaners, scouring pads, or harsh chemicals.
- To remove odors, place a bowl of water with lemon slices or vinegar inside and microwave for a few minutes.
5.2 Cleaning the Oven Exterior
- Clean the exterior surfaces with a soft, damp cloth. For stainless steel, use a specialized stainless steel cleaner.
- Wipe the door seals and sealing surfaces regularly to ensure proper door closure.
- Do not allow water to seep into the ventilation openings.
5.3 Turntable Care
- The glass turntable and roller ring can be removed for cleaning.
- Wash them in warm, soapy water or in the dishwasher.
- Ensure they are completely dry before placing them back in the oven.
6. Troubleshooting
If you encounter problems with your microwave oven, consult the following table before contacting customer service.
| Problem | Possible Cause | Solution |
|---|---|---|
| Oven does not start |
|
|
| Food not heating |
|
|
| Turntable not rotating |
|
|
| Unusual noises during operation |
|
|
7. Specifications
| Feature | Detail |
|---|---|
| Model Name | MWI 3211 IX |
| Brand | Indesit |
| Type | Integrated Microwave Oven |
| Capacity | 22 Litres |
| Microwave Power | 750 Watts |
| Power Levels | 4 |
| Voltage | 230 Volts |
| Material (Exterior) | Stainless Steel |
| Material (Interior) | Stainless Steel |
| Color | Silver |
| Turntable Diameter | 25 cm |
| Dimensions (L x W x H) | 32 x 59.5 x 38.2 cm |
| Weight | 21 kg |
| Special Features | Defrost Function, Turntable, Integrated Clock, Child Lock |
| Model Number | 859991027010 |
8. Warranty and Support
This Indesit appliance comes with a manufacturer's warranty. Please refer to the warranty card included with your product for specific terms and conditions, including the duration and coverage.
Customer Support:
For technical assistance, spare parts, or to schedule a service appointment, please contact Indesit customer service. Contact details can typically be found on the Indesit official website or in the documentation provided with your appliance.
When contacting support, please have your model number (MWI 3211 IX) and serial number ready to expedite the process.


