1. Introduction
Thank you for choosing the Silvercrest SMW 700 D3 Microwave Oven. This manual provides essential information for the safe and efficient operation, maintenance, and troubleshooting of your new appliance. Please read this manual thoroughly before first use and keep it for future reference.
2. Safety Instructions
- Always place the microwave oven on a stable, level, heat-resistant surface.
- Ensure adequate ventilation around the appliance. Do not block air vents.
- Do not operate the microwave oven if the door seal or door is damaged. Contact qualified service personnel for repair.
- Do not heat liquids or other foods in sealed containers as they are liable to explode.
- Never use the microwave oven without food inside, as this can damage the appliance.
- Do not attempt to cook eggs in their shell or whole hard-boiled eggs in the microwave oven as they may explode, even after microwave heating has ended.
- Always use microwave-safe cookware. Metal containers or foil can cause arcing.
- Supervise children closely when the microwave oven is in use.
- Unplug the appliance from the power outlet when not in use and before cleaning.
3. Product Overview
The Silvercrest SMW 700 D3 is a compact and efficient microwave oven designed for heating and defrosting various food items. It features intuitive rotary knobs for power level and time settings, a 17-liter capacity, and a glass turntable for even cooking.
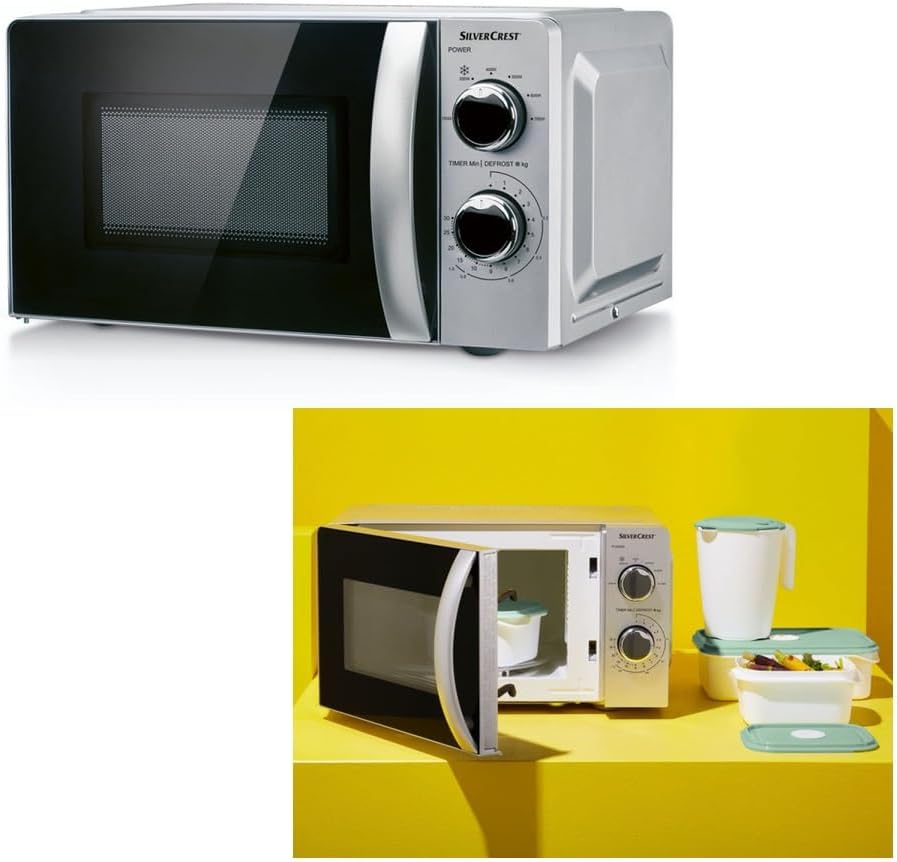
Image 1: Front view of the Silvercrest SMW 700 D3 Microwave Oven. The appliance is silver-grey with a black door and two prominent rotary knobs on the right for power and timer settings. The Silvercrest logo is visible above the control panel.
Image 2: The Silvercrest SMW 700 D3 Microwave Oven with its door open, revealing the interior cavity and the glass turntable. A small container is placed inside, demonstrating its capacity. Various food storage containers are visible next to the microwave.
4. Setup
- Unpacking: Carefully remove the microwave oven and all packaging materials. Keep packaging for future transport if needed.
- Placement: Place the microwave oven on a flat, stable, and heat-resistant surface. Ensure there is at least 10 cm of clear space on the back and sides, and 30 cm above the oven for proper ventilation.
- Power Connection: Plug the power cord into a grounded electrical outlet (220-240 V~, 50 Hz).
- Initial Cleaning: Before first use, wipe the interior and exterior surfaces with a damp cloth. Clean the glass turntable and roller ring with warm soapy water.
5. Operating Instructions
5.1. Power Level Settings
The microwave oven offers 6 power levels, adjustable via the upper rotary knob:
- 150 W: Very low power, suitable for softening ice cream or butter.
- 300 W: Low power, ideal for gentle defrosting or simmering.
- 400 W: Medium-low power, good for reheating delicate foods.
- 500 W: Medium power, for general reheating and cooking.
- 600 W: Medium-high power, for faster cooking and reheating.
- 700 W: High power, for rapid heating and cooking.
5.2. Timer and Cooking Time
The lower rotary knob controls the cooking time, ranging from 0 to 30 minutes. It also includes defrosting by weight settings.
5.3. General Operation
- Place the food in a microwave-safe container on the glass turntable.
- Close the microwave door securely.
- Turn the upper rotary knob to select the desired power level.
- Turn the lower rotary knob to set the desired cooking time. The microwave will start automatically.
- When the set time expires, the microwave will emit an audible signal and stop heating.
- Carefully remove the food, as the container and food may be hot. Use oven mitts if necessary.
5.4. Defrosting Function
The lower rotary knob also features defrosting settings based on weight (kg). Select the appropriate weight for the food you wish to defrost. The microwave will automatically adjust the defrosting time.
6. Maintenance and Cleaning
Regular cleaning ensures optimal performance and extends the life of your microwave oven.
- Before Cleaning: Always unplug the microwave oven from the power outlet.
- Interior: Wipe the interior cavity with a damp cloth after each use to remove food splatters. For stubborn stains, use a mild detergent solution. Do not use abrasive cleaners or metal brushes.
- Exterior: Clean the exterior surface with a soft, damp cloth.
- Door Seal: Regularly clean the door seal and adjacent parts to ensure proper sealing.
- Turntable and Roller Ring: The glass turntable and roller ring can be removed and washed in warm soapy water or in a dishwasher. Ensure they are completely dry before placing them back in the oven.
7. Troubleshooting
If you encounter issues with your microwave oven, refer to the following table:
| Problem | Possible Cause | Solution |
|---|---|---|
| Microwave does not start | Power cord not plugged in; Door not closed properly; Fuse blown or circuit breaker tripped. | Ensure power cord is securely plugged in; Close the door firmly; Check household fuse/circuit breaker. |
| Food not heating | Incorrect power level or cooking time set; Microwave-safe cookware not used. | Adjust power level and cooking time; Use appropriate microwave-safe dishes. |
| Turntable not rotating | Turntable or roller ring not correctly placed; Debris under turntable. | Ensure turntable and roller ring are seated correctly; Clean under the turntable. |
| Unusual noise during operation | Food container touching interior walls; Turntable not centered. | Adjust food container position; Re-center the turntable. |
If the problem persists after attempting these solutions, please contact customer support.
8. Specifications
| Feature | Specification |
|---|---|
| Model Name | SMW 700 D3 |
| Input Power | 1100 W |
| Output Power | 700 W |
| Voltage | 220-240 V~, 50 Hz |
| Capacity | 17 Liters |
| Power Levels | 6 (150W, 300W, 400W, 500W, 600W, 700W) |
| Timer | 0-30 minutes |
| Dimensions (L x W x H) | Approx. 44.6 x 24.1 x 35.9 cm |
| Weight | Approx. 9.9 kg |
| Material | Steel, Glass, Plastic |
| Controller Type | Rotary Dial |


