
Introduction
This manual provides essential information for the safe and effective assembly, operation, and maintenance of your VEVOR GT1110 26-inch Push Lawn Sweeper. Please read these instructions thoroughly before using the product and retain this manual for future reference.
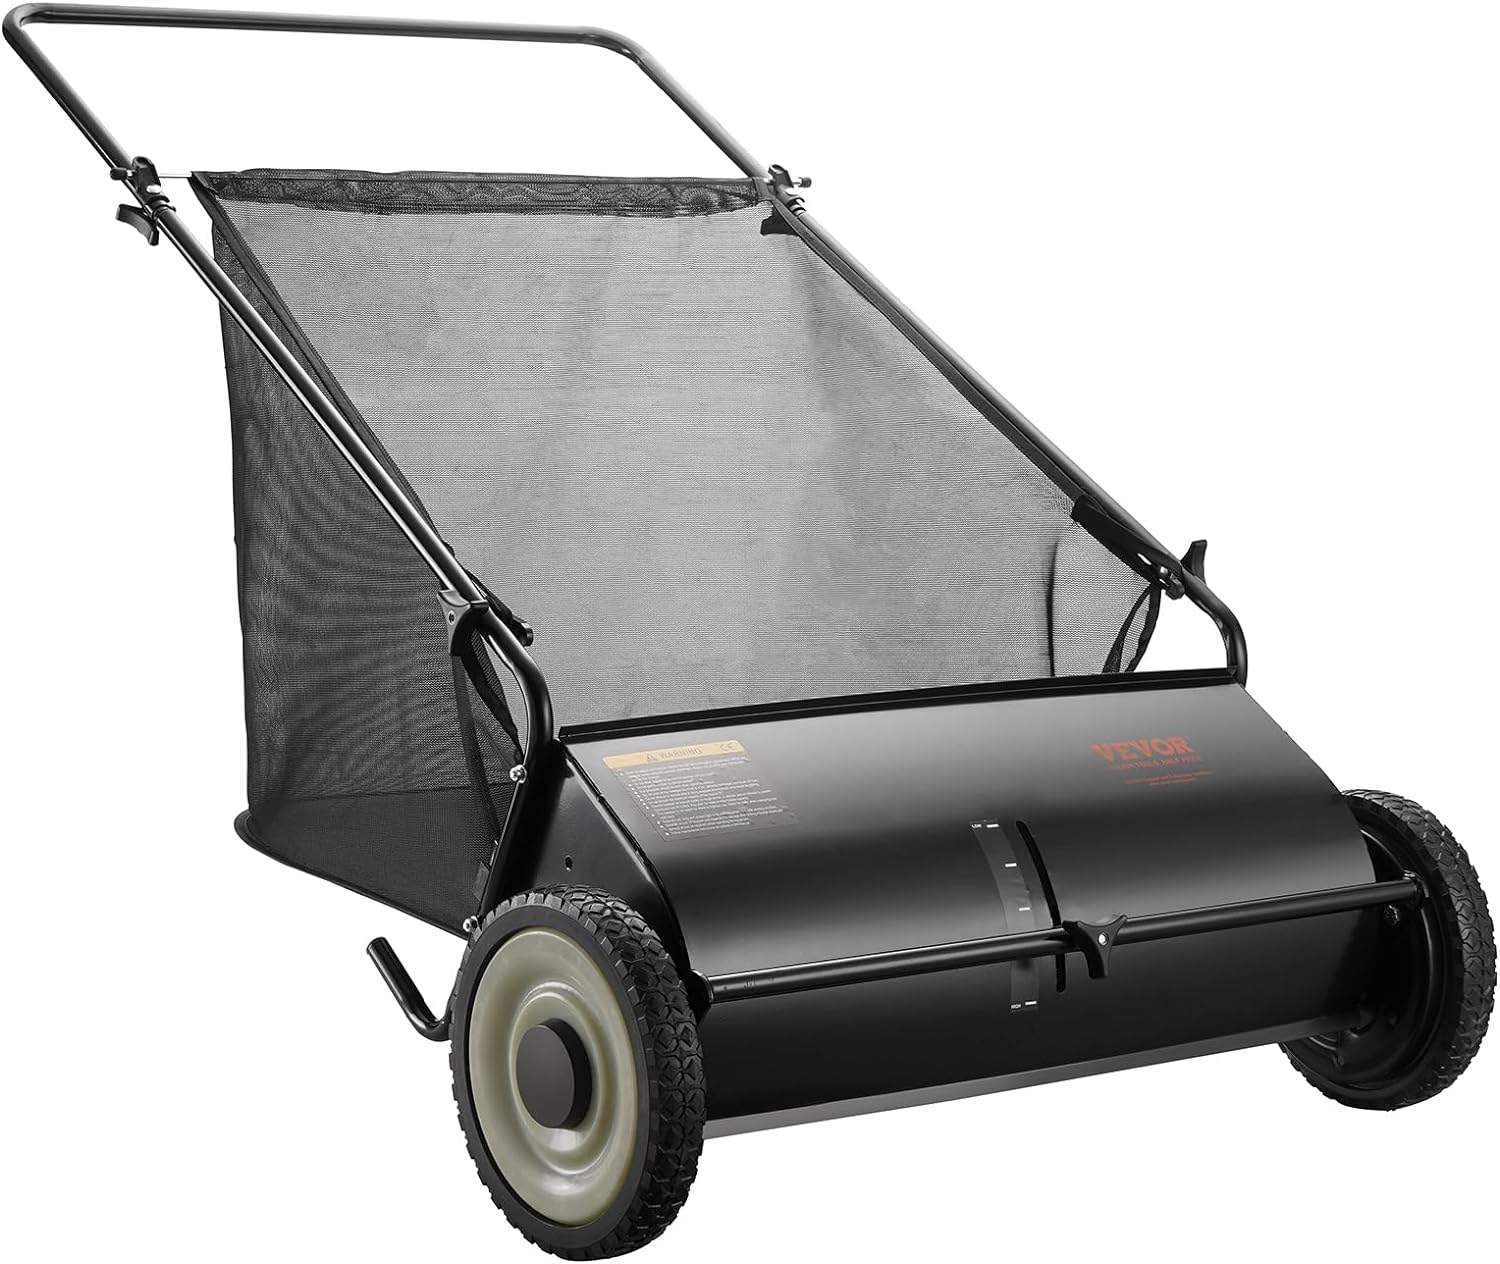
Image 1: VEVOR GT1110 26-inch Push Lawn Sweeper, showing the main unit with collection bag and handle.
Important Safety Information
To ensure safe operation, always adhere to the following safety guidelines:
- Keep children, other people, and animals at a minimum safety distance of 5 meters (approximately 16 feet) from the appliance during operation.
- Exercise caution to avoid slipping or falling, especially when operating the sweeper backward.
- Before use, inspect the area where the appliance will be used and remove any objects that could be caught by the brushes or thrown out by the unit.
- Always wear appropriate personal protective equipment, including sturdy shoes with non-slip soles, durable long trousers, gloves, and protective goggles.
- Wear safety glasses or eye protection at all times during operation, adjustments, or repairs.
- Use extreme caution when working on or crossing gravel driveways, pavements, or roads. Remain alert to hidden hazards or traffic.
- When changing, lifting, or emptying the sweepings container, ensure it is standing securely to prevent tipping.
- When working on slopes, always operate the machine across the slope. The maximum recommended inclination is 30 degrees.
- Be especially careful when changing direction on a slope, turning the appliance, or pulling it towards you.
Setup and Assembly
The VEVOR GT1110 lawn sweeper requires minimal assembly. Typically, this involves attaching the handle and the collection bag to the main unit.
- Unpack Components: Carefully remove all parts from the packaging. Verify that all components are present according to the packing list (refer to your product packaging for a complete list).
- Attach Handle: Securely attach the handle assembly to the main sweeper body. Ensure all locking mechanisms or bolts are tightened.
- Install Collection Bag: Mount the 7 ft³ non-woven mesh collection bag onto the designated frame. Ensure it is properly seated and secured to prevent detachment during operation.

Image 2: Illustration of the 7 ft³ hopper bag being installed or removed from the sweeper frame.
Operating Instructions
Follow these steps for effective operation of your VEVOR GT1110 Push Lawn Sweeper:
- Adjust Sweeping Height:
The sweeper features an adjustable spinning brush height. Locate the adjustment knob and turn it to raise or lower the brushes. Adjust the height based on the type and density of debris and the terrain. A lower setting is generally for shorter grass and finer debris, while a higher setting is for longer grass or larger debris.

Image 3: Demonstrates adjusting the sweeping height using the knob, showing both low and high settings.

Image 4: A detailed view of the height adjustment knob and the visible height indication scale for precise settings.
- Begin Sweeping:
Grasp the ergonomic handle firmly. Push the sweeper forward at a steady pace. The four spinning brushes will collect leaves, grass clippings, small twigs, and other dry debris into the collection bag.
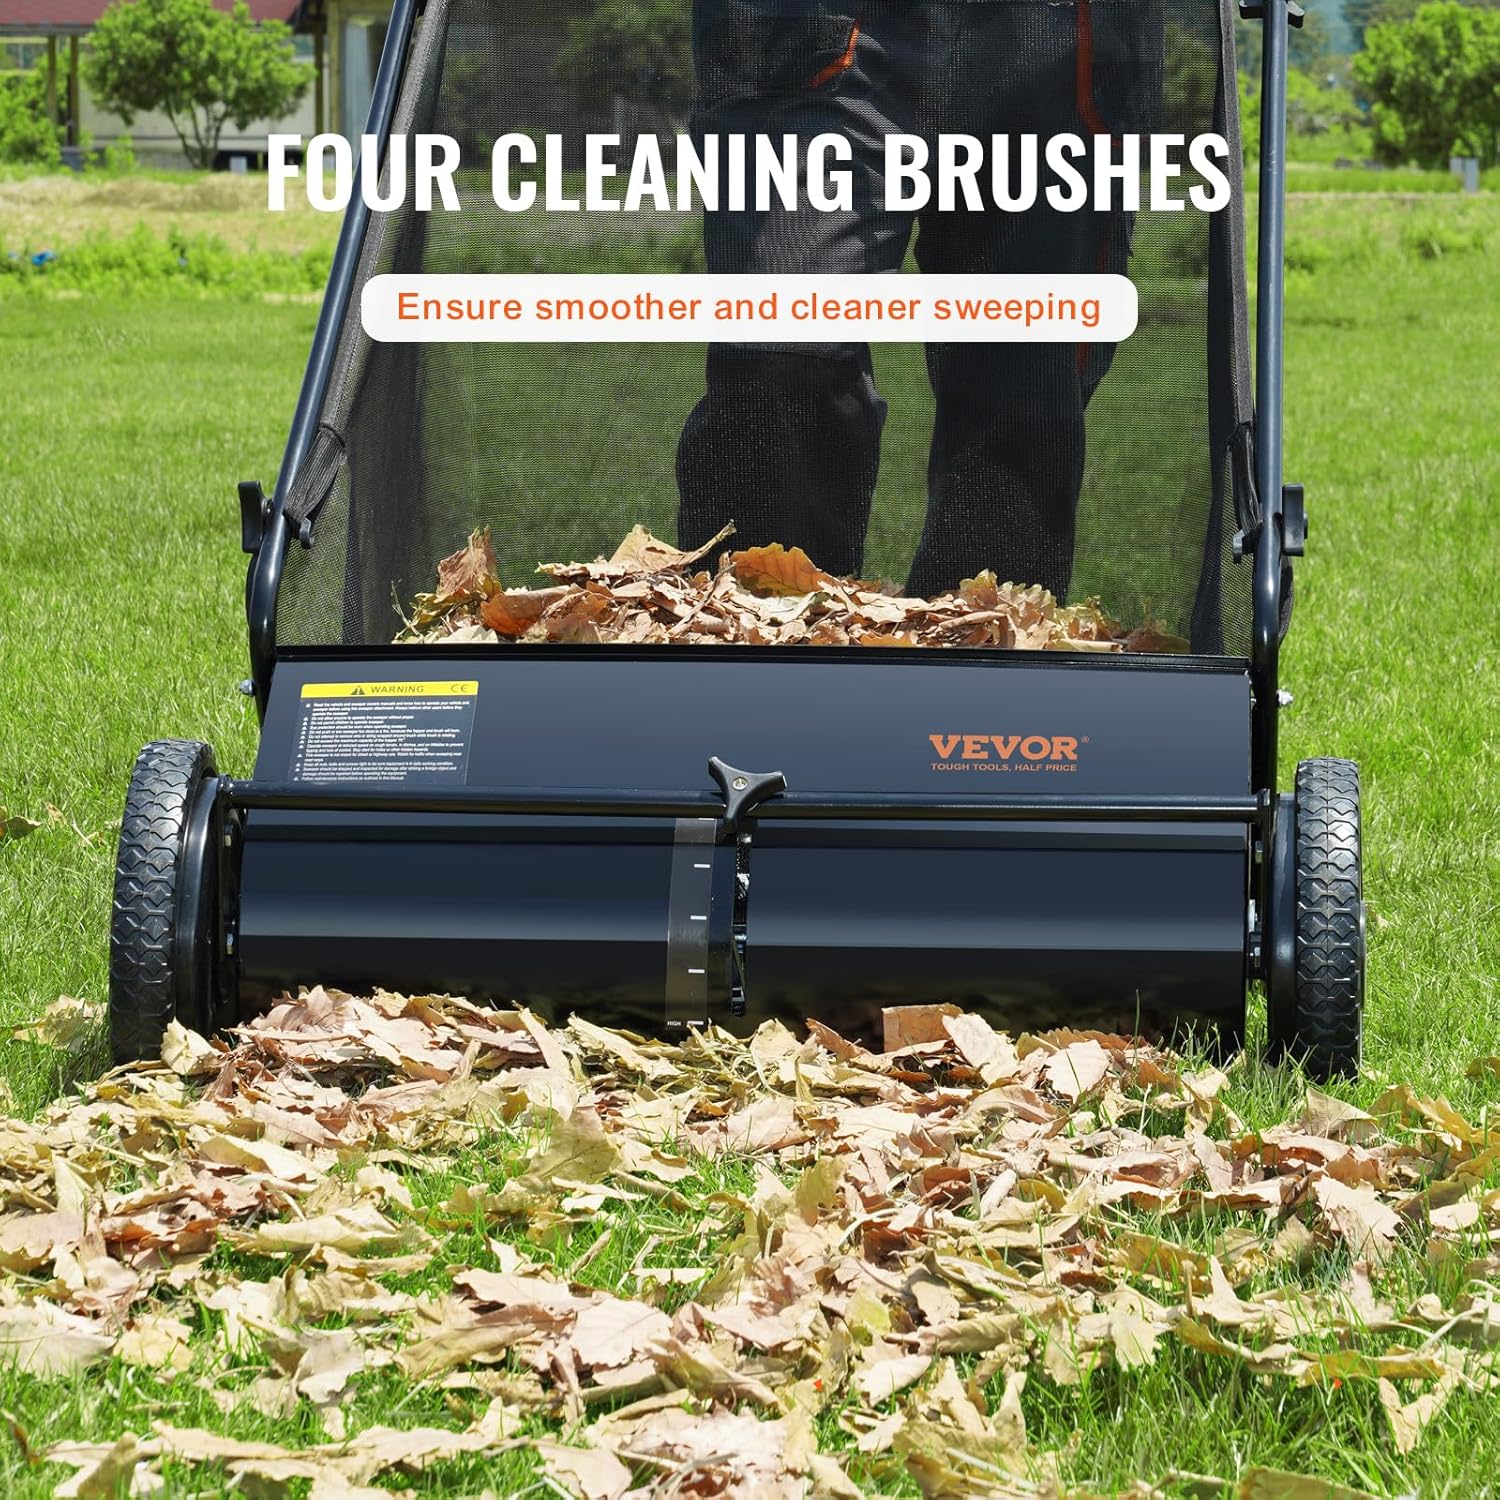
Image 5: The sweeper in action, showing the four brushes effectively collecting leaves from the lawn.
- Empty Collection Bag:
When the 7 ft³ collection bag is full, it can be easily removed from the frame for quick dumping. Empty the debris into a suitable receptacle.
- Optimal Use:
For best results, sweep in straight lines, overlapping slightly on each pass. Avoid sweeping wet debris as it can clog the brushes and bag.

Image 6: A user operating the VEVOR lawn sweeper, demonstrating the push sweeping motion.
Maintenance
Regular maintenance ensures the longevity and optimal performance of your lawn sweeper.
- Cleaning: After each use, clean the brushes and the collection bag. Remove any tangled grass, twigs, or debris from the brushes. The non-woven mesh bag can be shaken out or rinsed if necessary.
- Storage: Store the sweeper in a dry, covered area to protect it from weather elements. This prevents rust on metal components and preserves the integrity of the collection bag and wheels.
- Inspection: Periodically inspect all bolts, nuts, and moving parts for tightness and wear. Tighten any loose fasteners. Check the condition of the rubber wheels and steel pipes for any damage.
- Lubrication: Apply a light lubricant to moving parts, such as wheel axles and brush mechanisms, as needed to ensure smooth operation.
Troubleshooting
| Problem | Possible Cause | Solution |
|---|---|---|
| Sweeper not picking up debris effectively. |
|
|
| Difficult to push. |
|
|
| Debris falling out of the front. |
|
|
Specifications
| Feature | Detail |
|---|---|
| Brand | VEVOR |
| Model Number | GT1110 |
| Sweeping Width | 26 inches (66 cm) |
| Hopper Capacity | 7 cubic feet (ft³) |
| Power Source | Manual |
| Material | Iron (frame), Non-woven mesh (bag) |
| Color | Black |
| Wheel Size | 10 inches (25.4 cm) |
| Item Weight | 33 pounds (15 kg) |
| Product Dimensions (L x W x H) | 55.91 x 31.89 x 29.53 inches (142 x 81 x 75 cm) |

Image 7: Technical diagram illustrating the key dimensions of the VEVOR GT1110 lawn sweeper.
Warranty and Support
For specific warranty details and terms, please refer to the documentation included with your purchase or contact VEVOR customer support directly. VEVOR offers various protection plans that may be purchased separately.
For product support, spare parts, or further assistance, please visit the official VEVOR website or contact their customer service department.
You can find more information and contact details on the VEVOR Brand Store.