1. Product Overview
The Tyger Auto LanderX Running Boards are designed to provide a secure and convenient step for entering and exiting your truck. Constructed from heavy-duty carbon steel with a textured black finish, these running boards offer durability and enhanced corrosion resistance. The unique triangular tubing design boosts structural strength, and the 5-inch drop ensures effortless access.
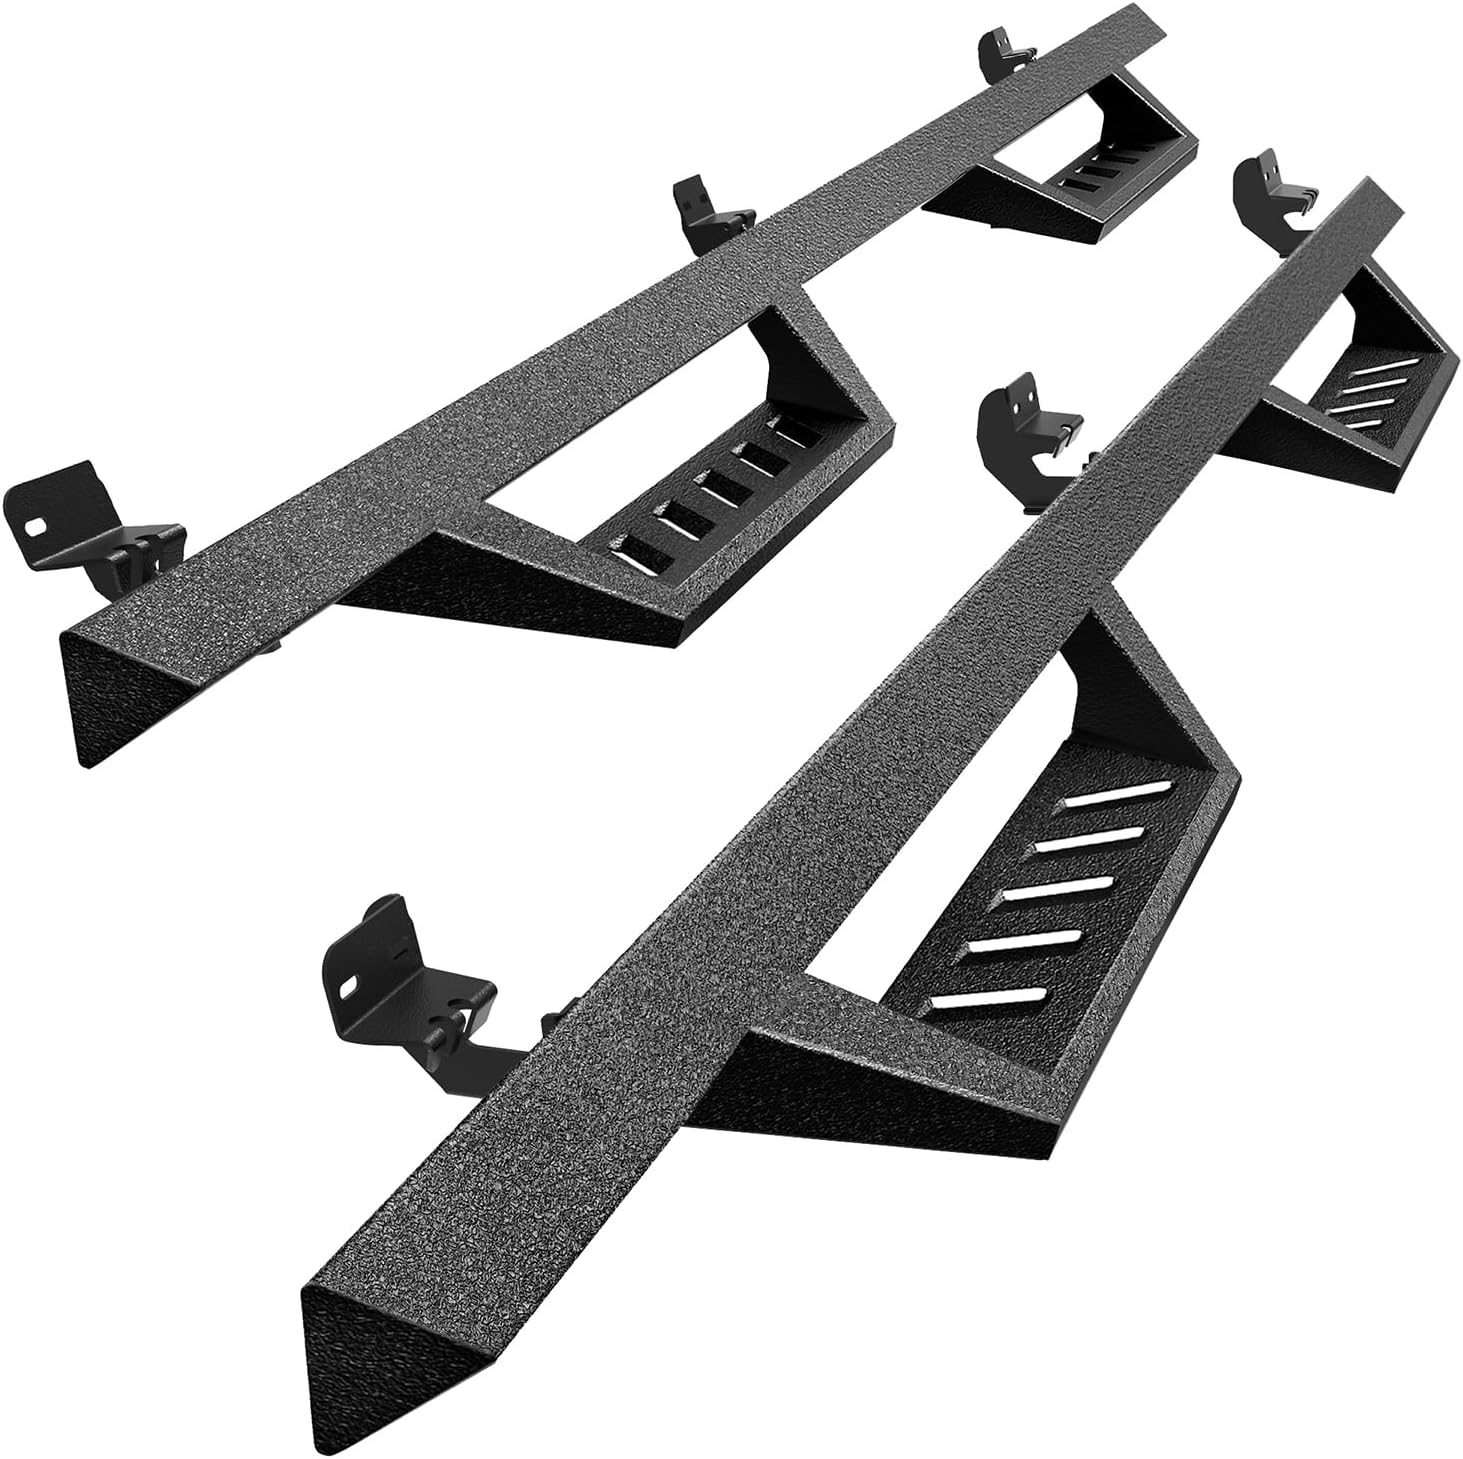
Image 1.1: Tyger Auto LanderX Running Boards. This image displays the pair of textured black running boards with their triangular tube structure and integrated drop steps.
2. Compatibility and Fitment
These running boards are compatible with the following Crew Cab models:
- 2009-2018 Dodge Ram 1500
- 2010-2026 Ram 2500 3500
- 2019-2024 Ram 1500 Classic
Important Cab Size Note:
- Only fits Crew Cab models with 4 full-size doors.
- Not compatible with Quad Cab or Mega Cab models.
- Not compatible with Chassis Cab and Diesel models.
- Not compatible with 5th Gen 2019-UP Ram 1500.

Image 2.1: Crew Cab Compatibility Diagram. This diagram illustrates the difference between Quad Cab, Crew Cab, and Mega Cab configurations, highlighting that only Crew Cab (with 4 full doors) is compatible.
For 2009-2011 and some 2012 models, minor drilling of 1/4'' holes through the pinch weld may be required for support brackets.
3. Parts List
Ensure all components are present before beginning installation:
- Driver Side Running Board (1)
- Passenger Side Running Board (1)
- Mounting Brackets (Set for driver and passenger sides)
- All necessary hardware (bolts, washers, nuts)
- Installation Guide (this manual)
Refer to the detailed parts diagram in the included paper instruction manual for specific quantities and types of hardware.
4. Tools Required
The following tools are typically required for installation:
- Socket Wrench Set
- Torque Wrench
- Drill (for specific models, as noted in compatibility)
- Measuring Tape
- Safety Glasses
- Gloves
5. Installation Instructions
It is recommended to have a second person assist with the installation due to the size and weight of the running boards.
Step 5.1: Prepare the Vehicle
- Park the vehicle on a flat, level surface and engage the parking brake.
- Locate the factory mounting points along the rocker panel of your truck. These are typically threaded holes.
- For 2009-2011 and some 2012 models, if necessary, drill 1/4'' holes through the pinch weld for additional support brackets.
Step 5.2: Install Mounting Brackets
- Identify the correct mounting brackets for each position (front, middle, rear) on both the driver and passenger sides. Refer to the paper manual for specific bracket identification.
- Attach the brackets to the vehicle's frame using the provided hardware. Hand-tighten all bolts initially to allow for adjustment.
Video 5.1: Tyger Auto LanderX Running Boards Installation Overview. This video provides a visual guide to the installation process, demonstrating how to attach the brackets and running boards to the vehicle.
Step 5.3: Attach Running Boards
- Carefully lift one running board and align it with the installed mounting brackets.
- Secure the running board to the brackets using the remaining hardware. Again, hand-tighten all bolts.
- Adjust the position of the running board to ensure it is level and properly aligned with the vehicle.
Step 5.4: Final Tightening
- Once satisfied with the alignment, fully tighten all bolts on both the brackets and the running boards. Refer to the paper manual for specific torque specifications.
- Repeat the entire process for the opposite side of the vehicle.

Image 5.2: Heavy-Duty Steel Brackets. This image shows the robust steel brackets with pre-drilled threaded holes designed for secure and easy installation onto the vehicle's frame.
6. Maintenance
To ensure the longevity and appearance of your Tyger Auto LanderX Running Boards, follow these maintenance guidelines:
- Regular Cleaning: Wash the running boards regularly with mild soap and water to remove dirt, road salt, and debris. Avoid abrasive cleaners or harsh chemicals that could damage the textured black finish.
- Inspect Hardware: Periodically check all mounting hardware for tightness. Vibrations from driving can sometimes loosen bolts over time. Re-tighten as necessary.
- Check for Damage: Inspect the running boards for any signs of damage, such as dents, scratches, or corrosion. Address any issues promptly to prevent further deterioration.
- Protective Coating: The dual-stage E-coating powder textured black finish provides excellent rust and corrosion resistance. Avoid scratching this coating to maintain protection.
7. Troubleshooting
If you encounter any issues during or after installation, consider the following:
- Running Board Not Level: Loosen the mounting bolts, adjust the running board's position until level, and then re-tighten all hardware securely.
- Loose Fit: Ensure all bolts are fully tightened to the recommended torque specifications. Check that the correct brackets are used for each mounting point.
- Missing Parts: If any parts are missing from your package, contact Tyger Auto customer support immediately.
- Fitment Issues: Double-check your vehicle's make, model, and cab type against the compatibility section (Section 2). Ensure you have a Crew Cab model.
8. Specifications
| Feature | Detail |
|---|---|
| Model Number | TG-LX3D82348 |
| Material | Heavy-Duty Carbon Steel |
| Exterior Finish | Dual-Stage E-Coating Powder Textured Black |
| Item Dimensions (L x W x H) | 84.96 x 6.38 x 5.12 inches |
| Item Weight | 44.1 Pounds |
| Weight Limit | 500 Pounds |
| Drop Step Height | 5 inches |
| Ground Clearance (approx.) | 14 inches |

Image 8.1: Product Dimensions Diagram. This image provides a visual representation of the running board's length, width, and height.
9. Warranty and Support
Tyger Auto backs this product with a 5-year warranty for US customers against manufacturing defects. For warranty claims, technical assistance, or any questions regarding your LanderX Running Boards, please contact Tyger Auto customer support through their official website or the retailer where the product was purchased.
Please retain your proof of purchase for warranty validation.


