1. Safety Information
Please read all instructions carefully before installation and use. Failure to follow these instructions may result in injury or damage to the product.
- Professional Installation Recommended: Due to the weight and wall-mounting requirements, professional installation is highly recommended to ensure secure and safe attachment.
- Structural Integrity: Ensure the wall or mounting surface is structurally sound and capable of supporting the awning's weight and wind loads. Consult a structural engineer if unsure.
- Wind and Weather Conditions: Retract the awning during strong winds, heavy rain, snow, or hail to prevent damage to the awning and property. This awning is designed for sun and light rain protection, not severe weather.
- Clearance: Ensure adequate clearance from windows, doors, and other obstructions when extending or retracting the awning.
- Children and Pets: Keep children and pets away from the awning during operation. Do not allow them to hang from or play on the awning.
- Maintenance: Regularly inspect all mounting hardware and moving parts for signs of wear, looseness, or damage. Tighten fasteners as needed.
- Electrical Safety: If any electrical components are added (e.g., lighting), ensure they are installed by a qualified electrician and comply with local regulations. This specific model is hand-powered.
2. Product Overview
The Toboli Articulated Arm Awning provides effective sun and light rain protection for your balcony or terrace. Its robust construction and durable materials ensure longevity and reliable performance.
- Dimensions: 3.5 x 3 metres (width x projection).
- Material: Frame made of durable aluminium, articulated arms made of steel, and a 280 g/m² PU-coated polyester canvas.
- Protection: Watertight and UV resistant, offering a sun protection factor of 30+.
- Operation: Manually operated via a hand crank for smooth extension and retraction.
- Adjustability: Inclination angle can be adjusted from 70° to 80° to optimize shade.
- Colour: Anthracite.

Figure 2.1: The Toboli Articulated Arm Awning in its fully extended position, showcasing its design and coverage.

Figure 2.2: Visual representation of the awning's key features: UV protection, waterproof fabric, and wind resistance (when retracted).
3. Components List
Before beginning installation, ensure all components are present and undamaged. Refer to the packaging for a complete list of included parts.
- Awning Cassette/Roller Tube Assembly
- Articulated Arms (2 units)
- Front Bar
- Wall Mounting Brackets (quantity as per design)
- Hand Crank
- Mounting Hardware (bolts, washers, nuts, wall anchors)
- Fabric Canopy (pre-installed)

Figure 3.1: Example of the wall mounting brackets used to secure the awning to a vertical surface.

Figure 3.2: The heavy-duty wall anchors provided for secure installation into suitable masonry or concrete.

Figure 3.3: The awning shown with the manual hand crank, which is used for extending and retracting the canopy.
4. Setup and Installation
Installation of this wall-mounted awning requires careful planning and execution. It is strongly recommended that installation be performed by at least two people, or by a qualified professional.
4.1 Tools Required (Not Included)
- Drill with appropriate masonry bits
- Level
- Measuring tape
- Pencil or marker
- Wrenches/Socket set
- Ladder
- Safety glasses and gloves
4.2 Choosing a Location
Select a wall location that is structurally sound, free from obstructions, and provides the desired shade coverage. Ensure there is sufficient vertical clearance for the awning when retracted and extended.
4.3 Mounting the Brackets
- Determine the desired height for the awning. Mark the positions for the mounting brackets, ensuring they are level and spaced correctly according to the awning's width.
- Using the appropriate drill bit for your wall material, drill pilot holes at the marked locations.
- Insert the wall anchors into the drilled holes.
- Securely fasten the mounting brackets to the wall using the provided bolts and washers. Ensure they are tightened firmly.
4.4 Attaching the Awning
- With assistance, carefully lift the awning assembly and hook it onto the mounted brackets.
- Secure the awning to the brackets using the remaining hardware, ensuring all connections are tight and secure.
- Attach the hand crank mechanism to the designated point on the awning.
4.5 Adjusting Inclination
The awning's inclination angle can be adjusted between 70° and 80°. Consult the specific adjustment points on your awning's arms or cassette for detailed instructions on how to loosen, adjust, and re-tighten the angle setting bolts.
5. Operating Instructions
The Toboli Articulated Arm Awning is operated manually using the provided hand crank.
5.1 Extending the Awning
- Insert the hook end of the hand crank into the eyelet on the awning's gear mechanism.
- Turn the hand crank clockwise to extend the awning. The articulated arms will unfold, and the fabric will roll out.
- Continue cranking until the awning reaches the desired extension or is fully extended. Do not force the crank past its natural stopping point.

Figure 5.1: A close-up view of the hand crank connection point on the awning's mechanism.
5.2 Retracting the Awning
- Insert the hook end of the hand crank into the eyelet on the awning's gear mechanism.
- Turn the hand crank counter-clockwise to retract the awning. The articulated arms will fold, and the fabric will roll back into the cassette.
- Continue cranking until the awning is fully retracted and snug against the wall. This protects the fabric and mechanism from weather elements.

Figure 5.2: The awning shown in its fully retracted position, compact against the wall.
6. Maintenance
Regular maintenance will prolong the life and appearance of your awning.
- Cleaning the Fabric:
- Clean the fabric with mild soap and lukewarm water. Use a soft brush or sponge.
- Rinse thoroughly with clean water.
- Allow the fabric to dry completely before retracting to prevent mildew.
- Do not use harsh chemicals, bleach, or abrasive cleaners.
- Frame and Moving Parts:
- Wipe down the aluminium frame and steel arms with a damp cloth to remove dirt and debris.
- Periodically lubricate moving parts (e.g., articulated arm joints, gear mechanism) with a silicone-based spray lubricant to ensure smooth operation.
- Inspect all bolts and fasteners regularly and tighten if necessary.
- Winter Storage: In areas with harsh winters, it is advisable to keep the awning fully retracted during the off-season to protect it from heavy snow and ice accumulation.
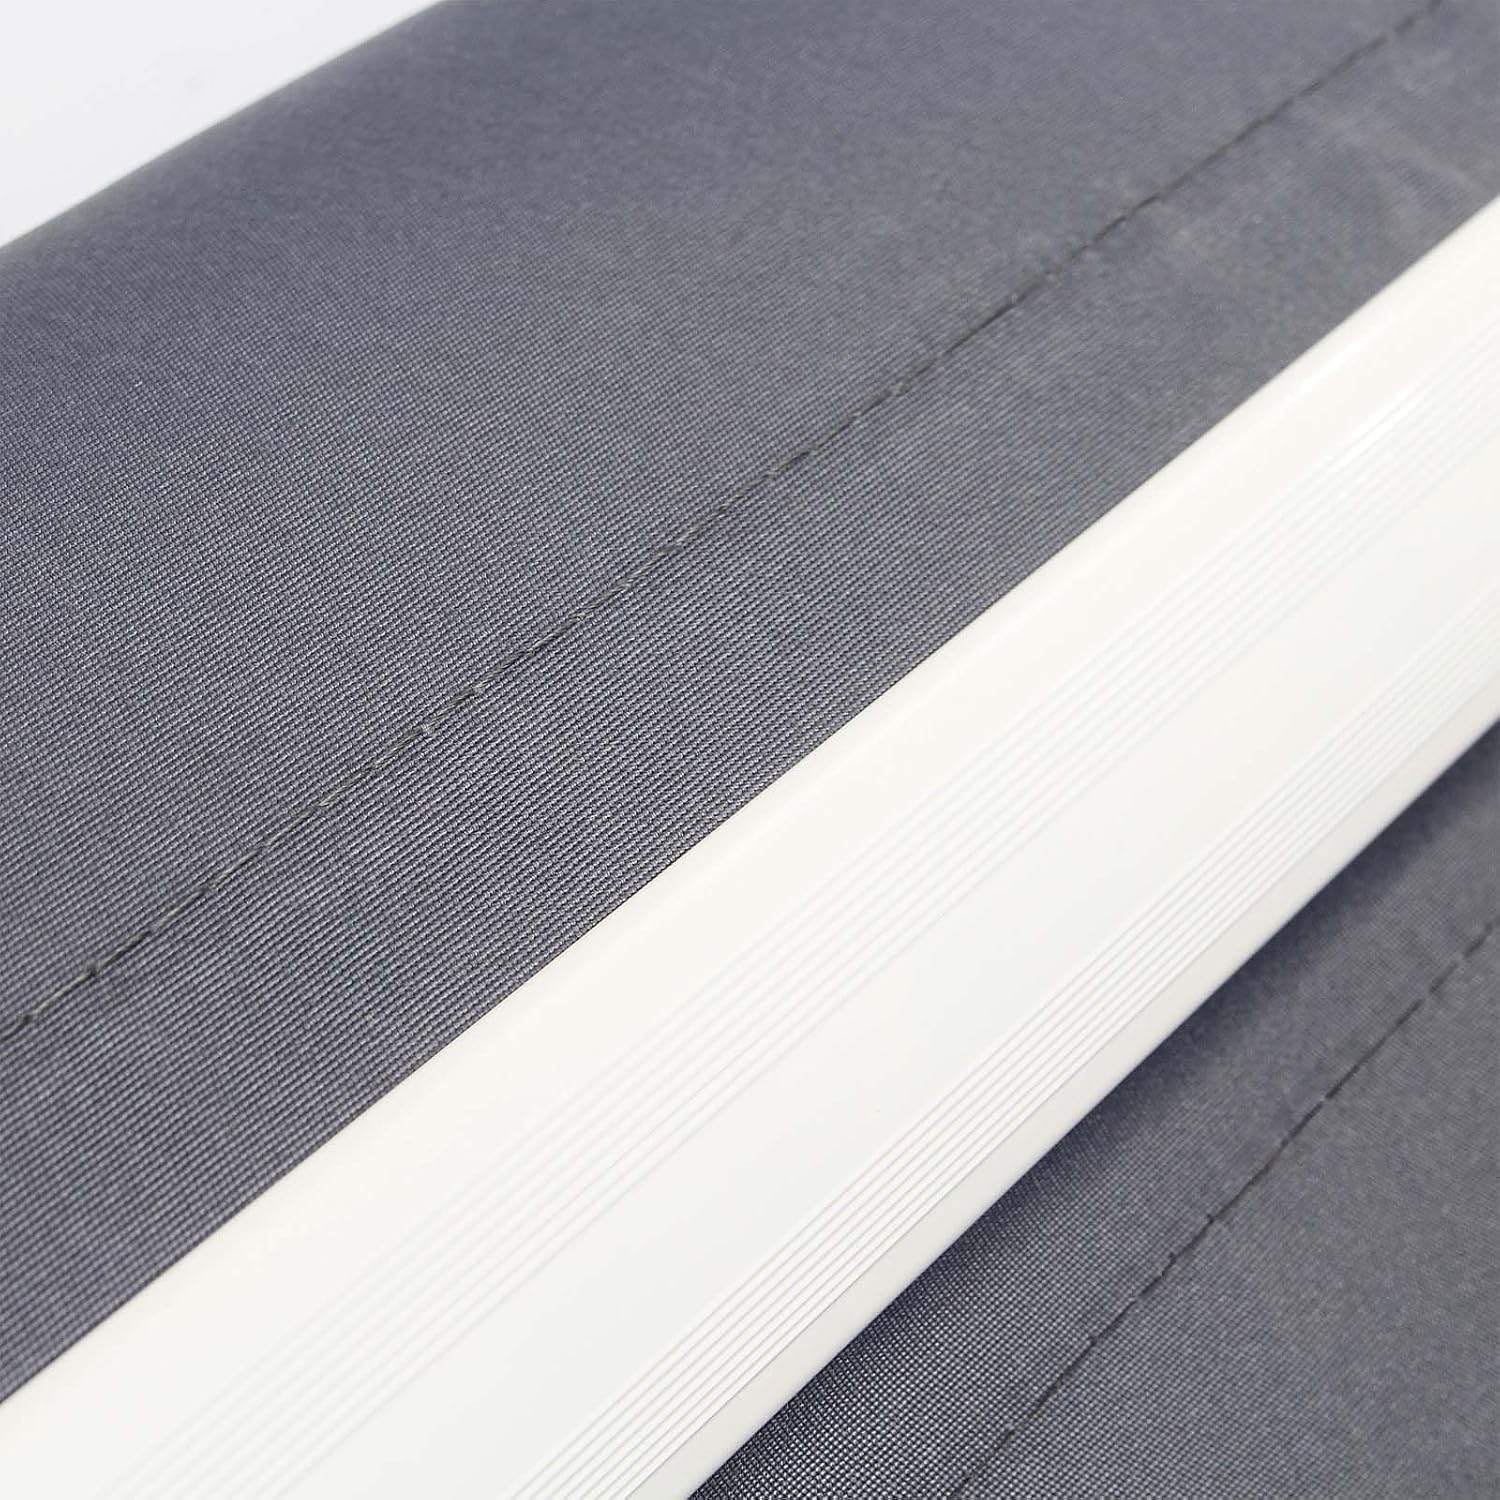
Figure 6.1: Detail of the awning fabric and the roller bar, highlighting areas to inspect for cleanliness and wear.
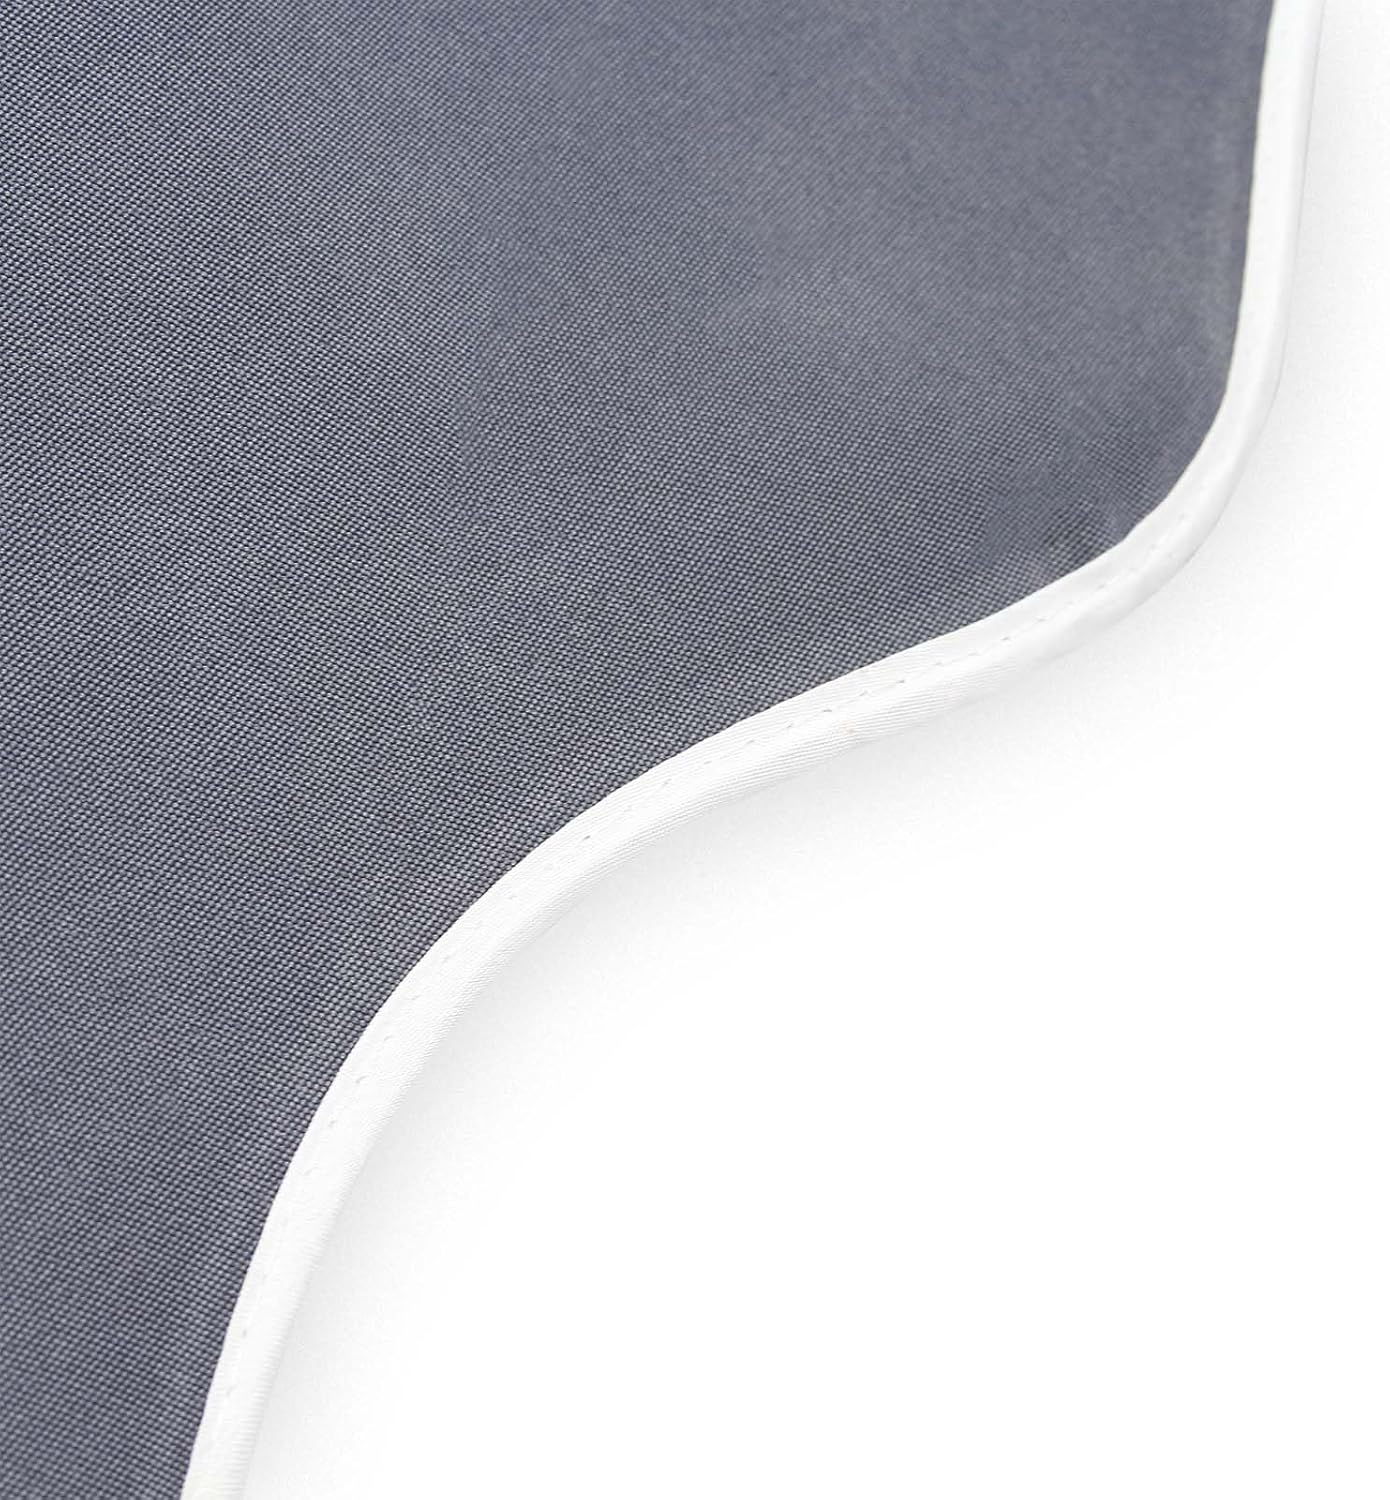
Figure 6.2: The stitched edge of the awning fabric, which should be checked for fraying or damage during maintenance.
7. Troubleshooting
If you encounter issues with your awning, refer to the following common problems and solutions.
| Problem | Possible Cause | Solution |
|---|---|---|
| Awning does not extend/retract smoothly. |
|
|
| Fabric sags or wrinkles. |
|
|
| Awning makes grinding noise during operation. |
|
|
8. Specifications
- Model Number: 63902
- Dimensions (W x P): 3.5 x 3 metres
- Material: Polyurethane (PU coated polyester fabric), Aluminium (frame), Steel (articulated arms)
- Fabric Weight: 280 g/m²
- Sun Protection Factor: 30+
- Power Source: Hand-powered
- Adjustable Inclination: 70° to 80°
- Colour: Anthracite
- Manufacturer: WilTec
- ASIN: B0C74JHJ19
- UPC/EAN: 4251548145906
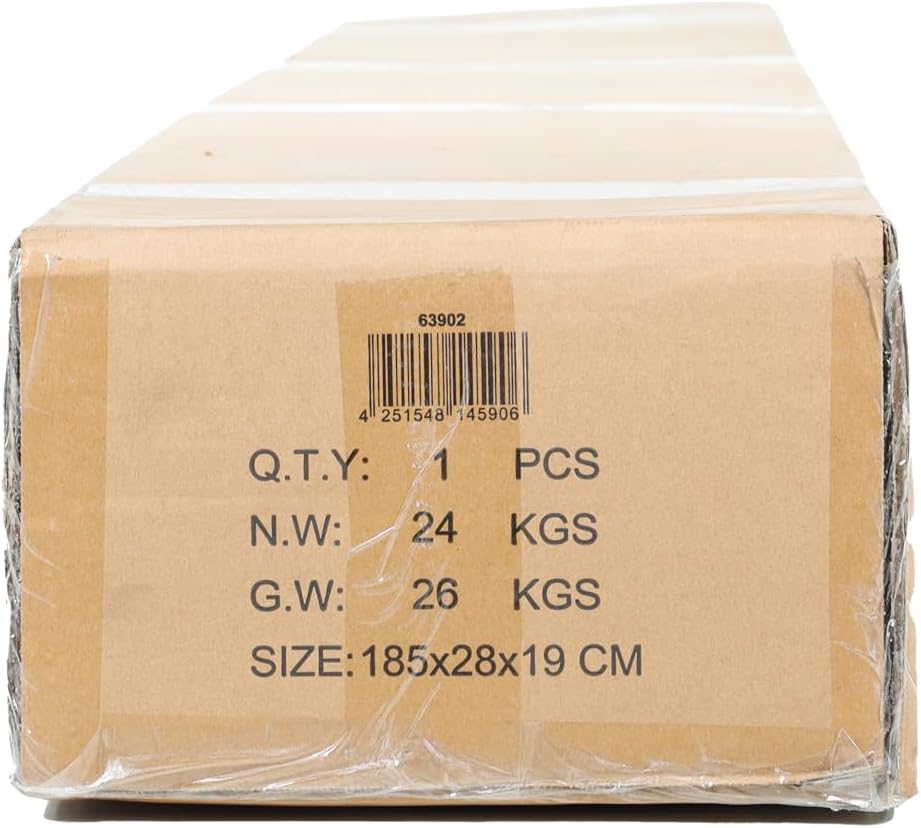
Figure 8.1: Product packaging displaying key specifications such as net weight (N.W.), gross weight (G.W.), and package dimensions.
9. Warranty and Support
For warranty information or technical support, please contact the manufacturer, WilTec, or your point of purchase. Keep your proof of purchase for any warranty claims.
Manufacturer: WilTec Wildanger Technik GmbH
Website: www.wiltec.de (General website, specific support contact may vary)
Product Model: Toboli Articulated Arm Awning 3.5x3 m
Model Number: 63902


