
Golpart EA_502B
Golpart Heavy Duty Rolling Garment Rack User Manual
Model: EA_502B
Brand: Golpart
1. Introduction
This manual provides instructions for the assembly, operation, and maintenance of your Golpart Heavy Duty Rolling Garment Rack. Designed for robust storage, this rack features adjustable shelving, double hanging rods, and a high load capacity, making it ideal for organizing clothes in various spaces.

Image: The Golpart Heavy Duty Rolling Garment Rack, fully assembled and in use, showcasing its double hanging rods and three tiers of shelving.
2. Safety Information
- Ensure all parts are securely fastened before loading the rack.
- Do not exceed the maximum load capacity of 500 lbs (150 lbs per shelf, 100 lbs per hanging rod).
- Distribute weight evenly across shelves and hanging rods to prevent tipping.
- Use the lockable wheels to secure the rack in place when not moving it.
- Keep small parts away from children during assembly.
3. Package Contents
Please verify that all components are present before beginning assembly.
- Main Poles (various sections)
- Wire Shelves (3 tiers)
- Hanging Rods (2)
- Plastic Clips/Sleeves
- 360° Swivel Wheels (4, with 2 lockable)
- Assembly Tool (Wrench)

Image: An exploded view of the garment rack components, including shelves, poles, hanging rods, wheels, and plastic clips.
4. Assembly Instructions
For detailed visual instructions, please refer to the official installation video below. A PDF installation manual is also available: Installation Manual (PDF).
4.1. Video Guide
Video: Official installation guide for the Golpart Rolling Garment Rack, demonstrating step-by-step assembly.
4.2. Step-by-Step Assembly
- Attach Wheels: Screw the 360° swivel wheels into the bottom of the main poles. Ensure the two lockable wheels are placed on the same side for easier access.
- Install Plastic Clips: Place the plastic clips onto the main poles at the desired height for your first shelf. Ensure the arrows on the clips point upwards and the flanges fit perfectly into the grooves on the poles. Only use single rings for clip placement, avoid double rings.
- Assemble Wire Shelves: Slide the wire shelf down slowly over the poles until the four sleeves fit snugly onto the plastic clips. The end with a notch should face downwards.
- Attach Hanging Rods: Secure the hanging rods to the designated points on the shelves or poles as per your desired configuration.
- Repeat for Additional Tiers: Continue installing plastic clips and shelves for the remaining tiers, adjusting heights as needed.
- Secure Shelves: Gently tap the corners of each shelf with a rubber mallet (not included) or a towel-wrapped hammer to ensure they are firmly seated and stable.

Image: Detail of the lockable caster wheel, highlighting its 360-degree swivel and locking mechanism.

Image: Visual guide demonstrating correct plastic clip installation and shelf assembly, emphasizing proper alignment and groove fitting.
5. Operating Instructions
5.1. Adjusting Shelf Height
The wire shelves are fully adjustable. To change a shelf's height, remove all items from the shelf, lift the shelf off the clips, reposition the plastic clips to the desired height on the poles (ensuring they are level), and then re-seat the shelf firmly onto the clips.

Image: Illustration demonstrating the adjustability of the wire shelves, allowing customization of storage space.
5.2. Mobility and Stability
To move the garment rack, unlock the two lockable wheels by flipping their levers. Once the rack is in the desired position, engage the wheel locks to secure it and prevent accidental movement.
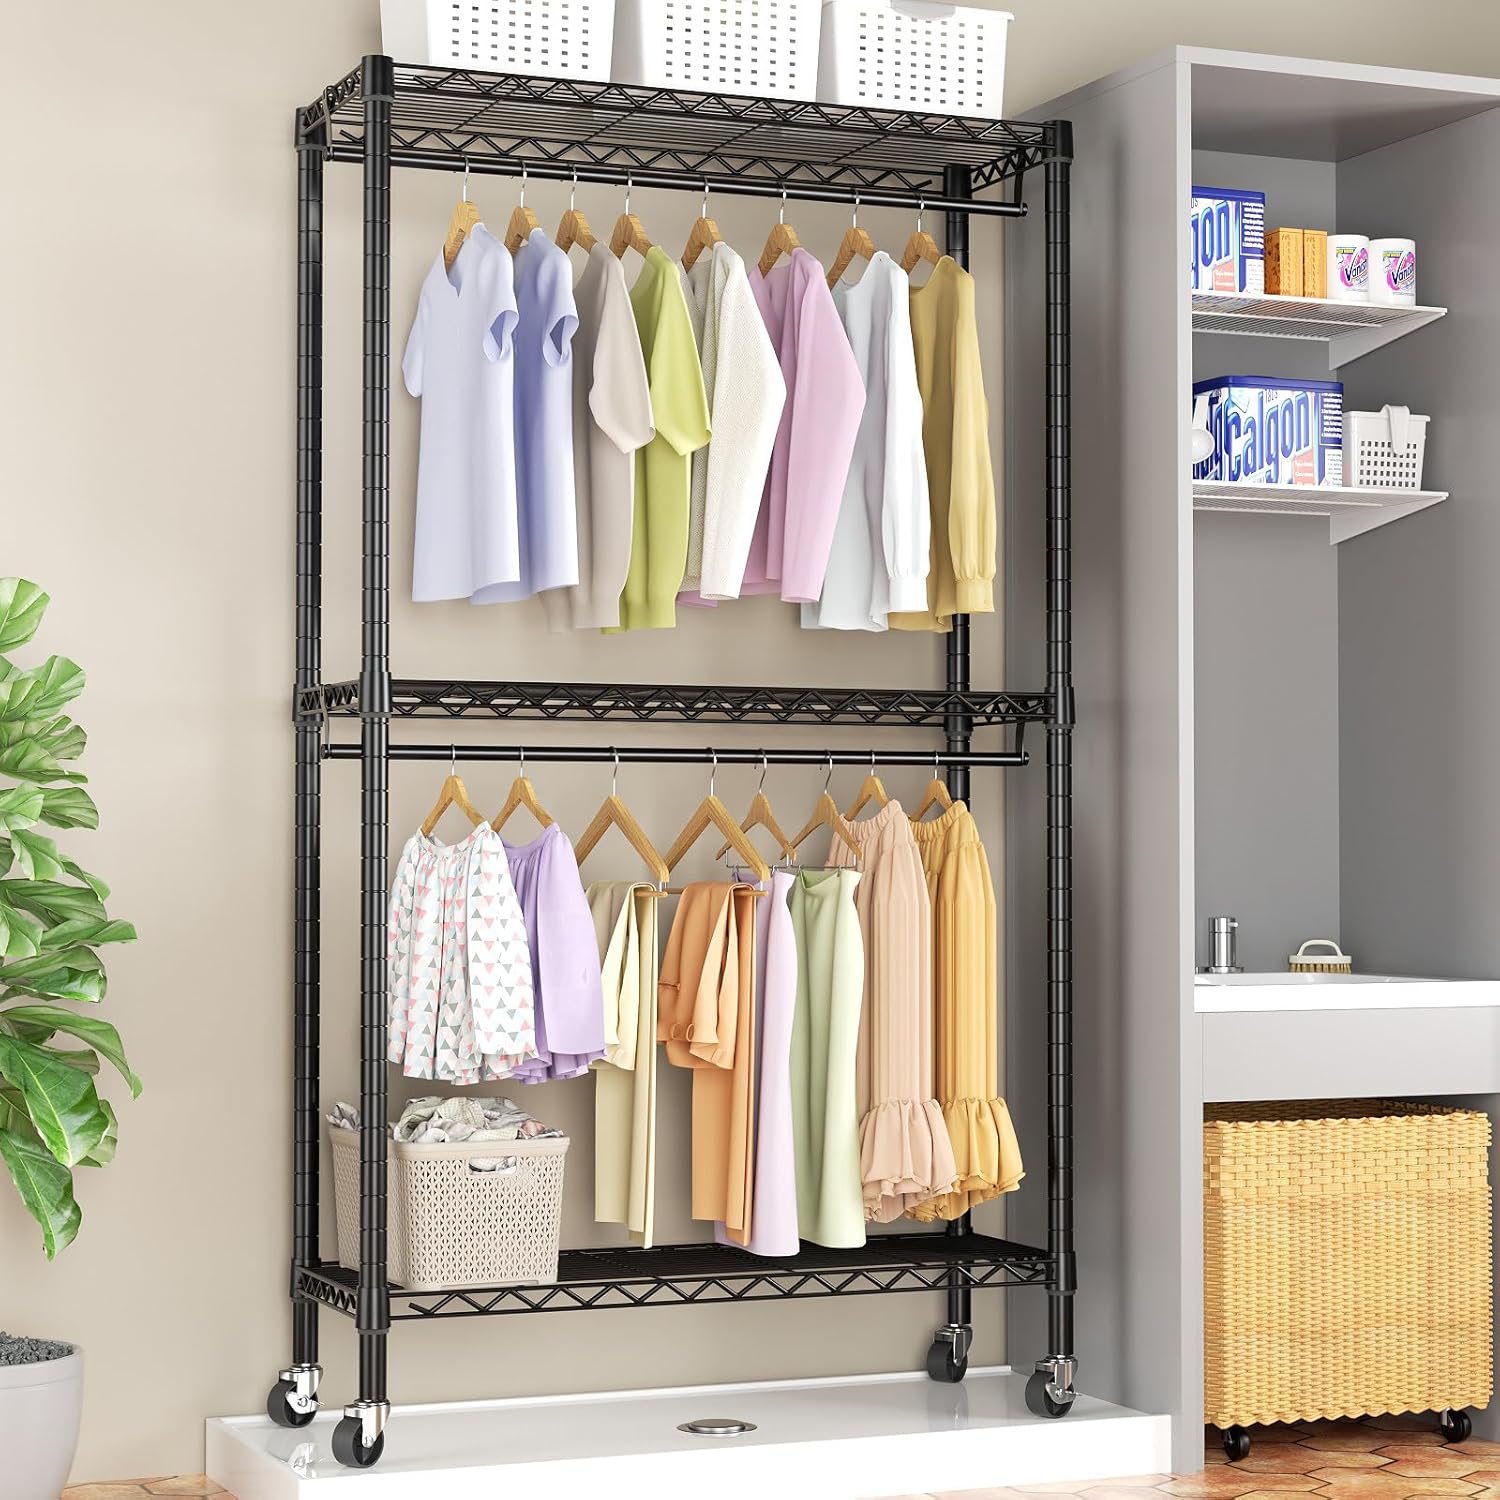
Image: The Golpart Garment Rack positioned in a room, demonstrating its ease of movement and stable placement.
6. Maintenance
- Cleaning: Wipe down the carbon steel frame and wire shelves with a soft, damp cloth. Avoid abrasive cleaners or harsh chemicals that could damage the black coating.
- Rust Prevention: The rack is coated for water and rust resistance. However, to prolong its lifespan, avoid prolonged exposure to excessive moisture.
- Regular Checks: Periodically check all connections and fasteners to ensure they remain tight and secure.
7. Troubleshooting
| Problem | Possible Cause | Solution |
|---|---|---|
| Rack is unstable/wobbly | Shelves not fully seated on clips; clips not properly aligned in grooves; uneven weight distribution. | Ensure plastic clips are correctly installed and shelves are firmly pressed down onto them. Redistribute items evenly. |
| Difficulty moving rack | Wheels are locked; debris in wheels. | Unlock the two lockable wheels. Clean any debris from the wheel casters. |
| Shelf slides down | Plastic clips not securely fastened or not in groove; excessive weight. | Re-install clips ensuring they snap into the pole grooves. Reduce weight on the shelf. |
8. Specifications
| Feature | Detail |
|---|---|
| Brand | Golpart |
| Color | Black |
| Material | Carbon Steel |
| Recommended Uses For Product | Bedroom, Cloakroom, Laundry-room, Walk-in Closet for Organizing Clothes, Coats, Hats, Shoes, Tie & Belt, Bag, Pants |
| Product Dimensions | 18"D x 30"W x 79.13"H |
| Installation Type | Free Standing |
| Special Feature | Portable, Heavy-Duty, Rolling, Adjustable Wire Shelves, Lockable, Freestanding, Easy to Put Together |
| Style | Modern |
| Finish Type | Black |
| Load Capacity | 500 Pounds |
| Number of Shelves | 3 |
| Furniture Finish | Grey |
| Frame Material | Alloy Steel |
| Assembly Required | Yes |
| Item Weight | 22.22 Pounds |
| Maximum Weight Recommendation | 500 Pounds |
| Manufacturer | Golpart |
| UPC | 619185835538 |
| Part Number | EA_502B |
| Item model number | EA_502B |
| Size | Double Rods 18"D x 30"W x 79.13"H |
| Shape | Rectangular |
| Item Package Quantity | 1 |
| Mounting Type | freestanding |
| Usage | Bedroom, Cloakroom, Laundry-room, Walk-in Closet for Organizing Clothes, Coats, Hats, Shoes, Tie & Belt, Bag, Pants |
| Included Components | Garment Rack |
| Batteries Included? | No |
| Batteries Required? | No |
| Date First Available | June 5, 2023 |
9. Warranty and Support
For warranty information or further support, please contact Golpart customer service through their official channels or visit the Golpart Store on Amazon.
Related documentsEA_502B


Ask a question about this manual
Ask about setup, troubleshooting, compatibility, parts, safety, or missing instructions. Manuals+ will review the question and use this page’s manual context to help answer it.