1. Introduction
This instruction manual provides essential information for the safe and effective installation, maintenance, and care of your Luxuypon Replacement Rammer Bellows. Please read this manual thoroughly before attempting any installation or maintenance procedures. Proper use and maintenance will ensure the longevity and optimal performance of the product.
2. Product Overview
The Luxuypon Replacement Rammer Bellows is a high-quality component designed to replace worn or damaged bellows on specific Wacker rammer models. This part is crucial for protecting the internal mechanisms of the rammer from dust, debris, and moisture, ensuring consistent operation and extending the life of your equipment.
It is engineered to meet or exceed the specifications of OEM part number 0177355, providing a reliable and durable replacement solution.

Figure 2.1: Luxuypon Replacement Rammer Bellows, side view. This image displays the corrugated structure of the bellows, essential for its flexibility and protective function.
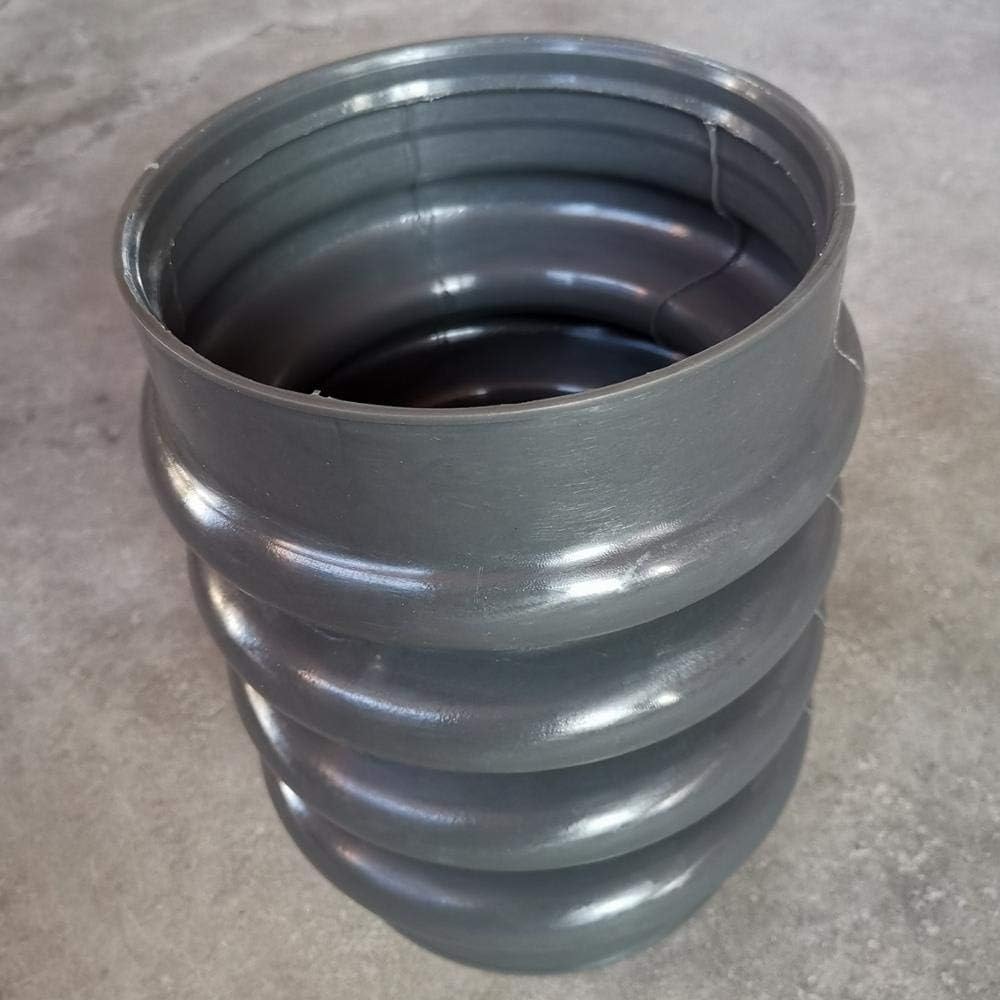
Figure 2.2: Luxuypon Replacement Rammer Bellows, top view. This view highlights the opening and internal diameter of the bellows, indicating where it connects to the rammer's components.
3. Compatibility
This replacement bellows is compatible with the following Wacker rammer models:
- Wacker BS500
- Wacker BS50-2
- Wacker BS50-4
It is designed as a direct replacement for Wacker OEM part number 0177355. Please verify your rammer model and the OEM part number before purchase and installation to ensure proper fitment.
4. Installation Instructions
Safety First: Always ensure the rammer is turned off, cooled down, and disconnected from any power source (if applicable) before beginning installation. Wear appropriate personal protective equipment (PPE), including gloves and eye protection.
4.1. Tools Required (Typical)
- Wrench set
- Screwdriver set
- Pry tool (optional, for stubborn parts)
- Clean rags
4.2. Removal of Old Bellows
- Locate the existing bellows on your Wacker rammer. It typically connects the engine/handle assembly to the foot plate.
- Carefully inspect how the bellows is attached. There may be clamps, bolts, or other fasteners securing it at both ends.
- Using appropriate tools, loosen and remove all fasteners securing the old bellows.
- Gently detach the old bellows from both connection points. Note the orientation and any seals or gaskets that may be present.
- Clean the mating surfaces on the rammer thoroughly to remove any dirt, grease, or old gasket material.
4.3. Installation of New Bellows
- Ensure the new Luxuypon bellows is clean and free from any damage.
- Position the new bellows onto one of the connection points, ensuring it seats correctly. If there are specific orientations (e.g., a wider end), match it to the original setup.
- Secure this end with the appropriate fasteners, but do not fully tighten yet.
- Stretch or compress the bellows as needed to align it with the second connection point.
- Attach the second end of the bellows and secure it with its fasteners.
- Once both ends are in place, progressively tighten all fasteners evenly to ensure a secure and airtight seal. Avoid over-tightening, which can damage the bellows or fasteners.
- Perform a visual inspection to confirm the bellows is properly seated and there are no gaps or twists.
5. Maintenance
Regular maintenance of the bellows is essential for the optimal performance and longevity of your Wacker rammer.
- Daily Inspection: Before each use, visually inspect the bellows for any signs of cracks, tears, punctures, or excessive wear. Look for any loose connections or fasteners.
- Cleaning: After use, especially in dusty or muddy conditions, clean the exterior of the bellows with a damp cloth to remove accumulated dirt and debris. Avoid using harsh chemicals or solvents that could degrade the material.
- Storage: When not in use, store the rammer in a clean, dry place, away from direct sunlight and extreme temperatures. This helps prevent material degradation of the bellows.
- Replacement: Replace the bellows immediately if any damage is detected. A compromised bellows can lead to internal damage to the rammer's engine or compaction mechanism.
6. Troubleshooting
This section addresses common issues related to the replacement bellows.
- Issue: Bellows does not fit correctly.
- Solution: Double-check the compatibility section (Section 3) to ensure the bellows is the correct model for your Wacker rammer. Verify the OEM part number. Ensure all old gasket material or debris has been removed from the mating surfaces.
- Issue: Bellows appears damaged shortly after installation.
- Solution: Inspect the installation process. Ensure no sharp edges or components are rubbing against the bellows. Verify that fasteners were tightened correctly, not over-tightened or unevenly tightened, which can cause stress points.
- Issue: Rammer performance is reduced after bellows replacement.
- Solution: A damaged or improperly installed bellows can affect rammer performance by allowing dirt ingress or altering air pressure dynamics. Re-inspect the bellows for any damage or improper seating. Ensure all connections are secure. If the issue persists, consult a qualified technician.
7. Specifications
| Product Type | Replacement Rammer Bellows |
| Brand | Luxuypon |
| Compatible Wacker Models | BS500, BS50-2, BS50-4 |
| OEM Part Number Equivalent | 0177355 |
| Dimensions (Approximate) | Inner Diameter (ID): 135mm / 124mm, Height (H): 210mm |
| Package Contents | 1 x Replacement Bellows |
8. Warranty and Support
This product is manufactured to high-quality standards. While specific warranty details are not provided in this manual, if you encounter any issues or have questions regarding the Luxuypon Replacement Rammer Bellows, please contact your seller or the manufacturer directly through the platform where the purchase was made.
Please have your purchase details and product information ready when contacting support to facilitate a quicker resolution.