
Introduction
Thank you for choosing the Benkut 7-Ring Modern LED Chandelier. This manual provides essential information for the safe installation, operation, and maintenance of your new lighting fixture. Please read these instructions thoroughly before installation and retain them for future reference.
This modern LED chandelier features a sleek design with seven adjustable rings, offering dimmable lighting and adjustable color temperature (3000K-6500K) via a remote control. It is designed for indoor use in areas such as foyers, living rooms, and staircases.
Important Safety Information
- WARNING: Risk of electric shock. Disconnect power at the circuit breaker before installation or servicing.
- All wiring must be in accordance with national and local electrical codes. If you are unsure about wiring, consult a qualified electrician.
- This fixture is intended for indoor use only. Do not expose to water or moisture.
- Ensure the mounting surface can support the weight of the fixture.
- Do not attempt to modify the fixture. Any modifications may void the warranty and create a safety hazard.
- Handle with care. The rings are made of aluminum and acrylic and can be damaged if dropped or mishandled.
What's in the Box
Verify that all components are present before beginning installation.
- Benkut 7-Ring LED Chandelier (Pre-assembled rings and canopy)
- Remote Control
- Mounting Hardware (screws, wire nuts, etc.)
- Instruction Manual

Figure 1: Included Components
Specifications
| Feature | Detail |
|---|---|
| Model Number | P60-7BDC1 |
| Brand | Benkut |
| Power Source | AC/DC |
| Voltage | 110 Volts |
| Wattage | 155 Watts |
| Brightness | 8100 Lumens |
| Color Temperature | 3000K (Warm White) - 6500K (Cool White) |
| Dimming Range | 10% - 100% |
| Control Method | Remote Control |
| Material | Aluminum, Metal, Acrylic |
| Number of Rings | 7 |
| Ring Diameters | 13.78", 15.7", 19.7", 21.65", 23.7", 29.5", 31.5" |
| Adjustable Height | 1 inch to 110 inches (ultra-long cables) |
| Item Weight | 20.2 Pounds |
| Indoor/Outdoor Use | Indoor Only |

Figure 2: Product Specifications and Dimensions
Setup and Installation
Professional installation is recommended. Ensure power is disconnected at the circuit breaker before proceeding.
- Prepare the Mounting Location: Ensure the ceiling junction box is securely mounted and capable of supporting the chandelier's weight (20.2 lbs).
- Unpack Components: Carefully remove all parts from the packaging. Lay them out on a clean, soft surface to prevent scratches.
- Mount the Canopy: Attach the mounting bracket to the ceiling junction box using the provided screws. Then, secure the chandelier canopy to the mounting bracket.
- Electrical Connection: Connect the chandelier's electrical wires to your household wiring according to local electrical codes. Typically, this involves connecting live to live, neutral to neutral, and ground to ground. Use appropriate wire nuts.
- Adjust Ring Height: The chandelier features adjustable cables for each ring. To adjust the height, press the small button on the cable gripper located on the canopy and slide the cable to the desired length. Release the button to lock the cable. You can adjust each ring independently to create various configurations.
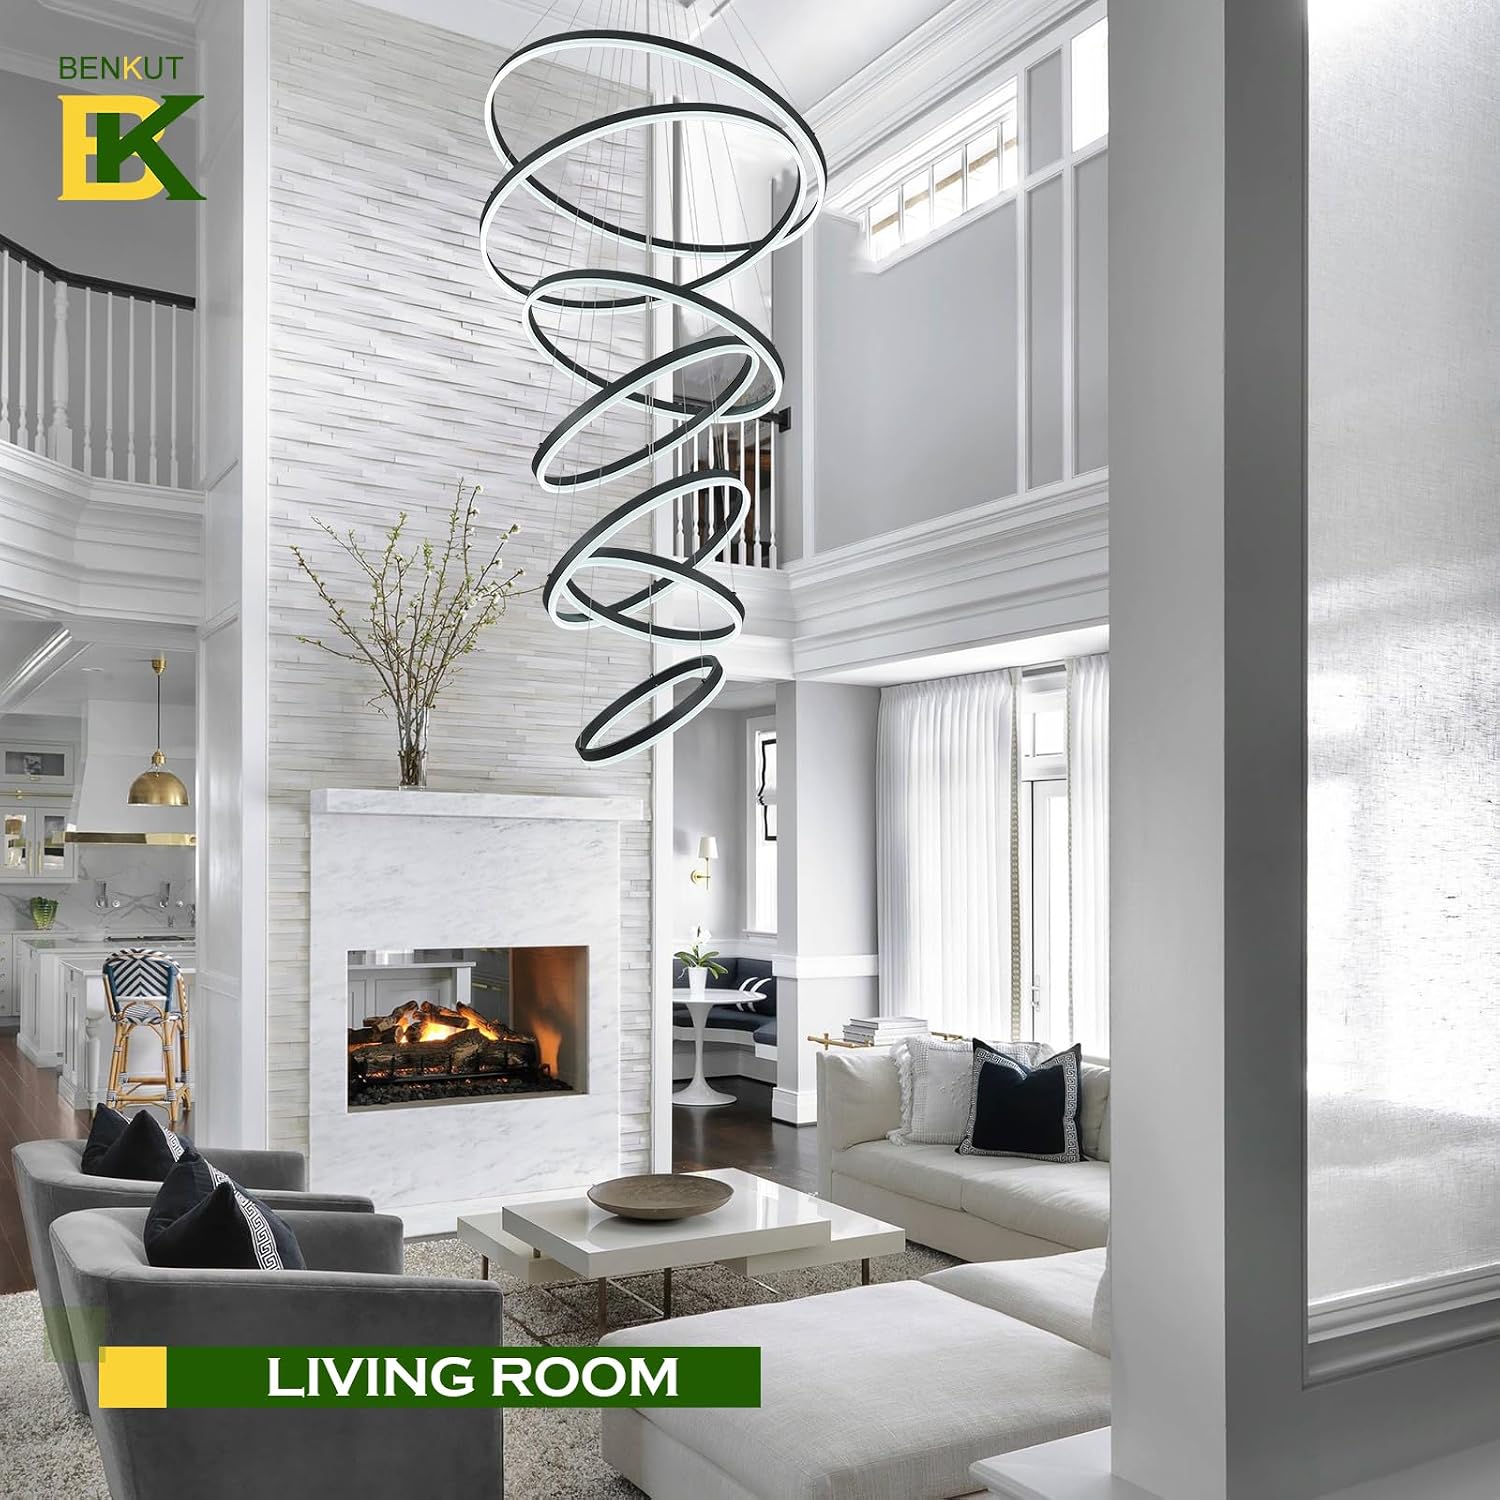
Figure 3: Adjusting Ring Height
- Secure the Canopy: Once wiring and height adjustments are complete, secure the canopy to the ceiling, ensuring all wires are tucked safely inside.
- Initial Cable Straightening: The load-bearing wires may appear slightly bent or kinked upon initial suspension. These cables will typically straighten out over time due to gravity.
Video 1: Benkut LED Chandelier 7 Rings Installation Overview. This video demonstrates the general appearance and functionality of the chandelier, including its adjustable rings and lighting options. Note: This video is a general overview and not a step-by-step installation guide.
Operating Instructions
Your Benkut LED Chandelier is controlled by the included remote control. Ensure the remote has working batteries.
Remote Control Functions:
- Power On/Off: Press the power button to turn the chandelier on or off.
- Brightness Adjustment (Dimming): Use the brightness up/down buttons to adjust the light intensity from 10% to 100%.
- Color Temperature Adjustment: Cycle through 3000K (Warm White), 4500K (Neutral White), and 6500K (Cool White) using the dedicated color temperature buttons.

Figure 4: Remote Control and Lighting Options
Note: This chandelier is designed to be controlled by its dedicated remote. It is not compatible with standard dimmable wall switches. It should be connected to a regular on/off switch if not using the remote for power control.
Video 2: Benkut LED Chandelier 7 Rings Showcase. This video demonstrates the dimming and color temperature adjustment features of the chandelier using the remote control.
Maintenance
- Cleaning: Ensure the power is off before cleaning. Use a soft, dry, or slightly damp cloth to wipe the rings and canopy. Do not use abrasive cleaners, solvents, or polishes as they may damage the finish.
- Bulb Replacement: The LED light source is integrated and not user-replaceable. If the LEDs fail, contact customer support for assistance.
- Cable Inspection: Periodically check the suspension cables for any signs of wear or damage.
Troubleshooting
| Problem | Possible Cause | Solution |
|---|---|---|
| Chandelier does not light up. | No power supply. Loose wiring connection. Remote control battery is dead. | Check circuit breaker. Verify all electrical connections are secure (ensure power is off first). Replace remote control batteries. |
| Light flickers or is dim. | Incorrect dimming switch used. Loose wiring. | Ensure the chandelier is connected to a standard on/off switch, not a dimmable wall switch. Use the provided remote for dimming. Check wiring connections. |
| Remote control not working. | Dead batteries. Obstruction between remote and receiver. | Replace batteries. Ensure a clear line of sight to the chandelier's receiver (usually in the canopy). |
| Cables are not straight. | Initial installation condition. | This is normal. The cables will straighten over time due to gravity. |
Warranty and Support
This Benkut chandelier comes with a 1-year manufacturer's warranty from the date of purchase, covering defects in materials and workmanship.
For warranty claims, technical support, or replacement parts, please contact Benkut customer service through the retailer where the product was purchased or visit the official Benkut website.
Please have your model number (P60-7BDC1) and proof of purchase ready when contacting support.