
Feonase BED583
Feonase Queen Size Bed Frame User Manual
Model: BED583
Product Overview
The Feonase Queen Size Bed Frame (Model: BED583) is an upholstered platform bed designed for comfort and modern living. It features a wingback headboard with integrated Type-C and USB charging ports, solid wood slats for mattress support, and a reinforced metal frame for durability and noise reduction. This bed frame eliminates the need for a box spring.

Image: Front view of the Feonase Queen Size Bed Frame, highlighting its upholstered design and integrated headboard shelf.
Safety Information
Please read and understand all safety warnings before assembly and use.
- Do not exceed the maximum weight capacity of 1000 lbs (453.6 kg).
- Exercise caution during assembly to avoid sharp edges and potential pinch points.
- Ensure all bolts and fasteners are securely tightened before use. Periodically check and re-tighten as needed.
- Keep small parts away from children during assembly.
Package Contents
Verify all components are present before beginning assembly:
- Headboard
- Metal Bed Frame components
- Solid Wood Slats
- Installation Tools & Accessories (hardware)
- Installation Manual (this document)
Note: Mattress is NOT included.
Assembly Instructions
Assembly typically takes approximately one hour for one person. Having an additional person may simplify the process. Most bolts are pre-installed; simply loosen, align, and tighten.
- Unpack and Identify Parts: Carefully remove all components from the packaging. Lay them out and identify each part using the included hardware list. Some parts may not be explicitly labeled but can be identified by their appearance in the diagrams.
- Assemble the Headboard: Attach the wingback sides to the main headboard panel. Ensure the integrated shelf is correctly oriented.
- Connect Side Rails: Attach the side rails to the assembled headboard. Ensure a secure connection.
- Install Center Support: Assemble and install the central cross support structure. This provides crucial stability for the bed frame.
- Attach Bed Legs: Securely attach the bold bed legs to the frame. Ensure they are tightened to prevent wobbling.
- Place Wood Slats: Lay the solid wood slats across the frame. The slats are equipped with Velcro and EVA mute bars to prevent friction and noise. Press them firmly onto the Velcro strips on the frame.
- Final Tightening: Once all components are in place, go back and ensure all bolts and connections are fully tightened.

Image: Detailed view of the bed frame's internal structure, including solid wood slats, central support, and legs.

Image: Detail of the Velcro and EVA mute bars on the wooden slats for noise reduction and quick installation.
Operating Instructions
Using the Integrated Charging Ports
The headboard features built-in Type-C and USB charging ports for convenient power access. Simply plug your device's charging cable into the appropriate port. These ports are designed to keep your mobile phone, tablets, and other electronic devices charged without requiring an additional wall outlet.

Image: The headboard's integrated Type-C and USB charging stations in use.
Utilizing the Wingback Shelf
The top storage shelf of the wingback headboard provides ample space for small items such as phones, clocks, glasses, and decorative pieces. The wide wingback design helps prevent items from falling off, offering thoughtful protection for your belongings.
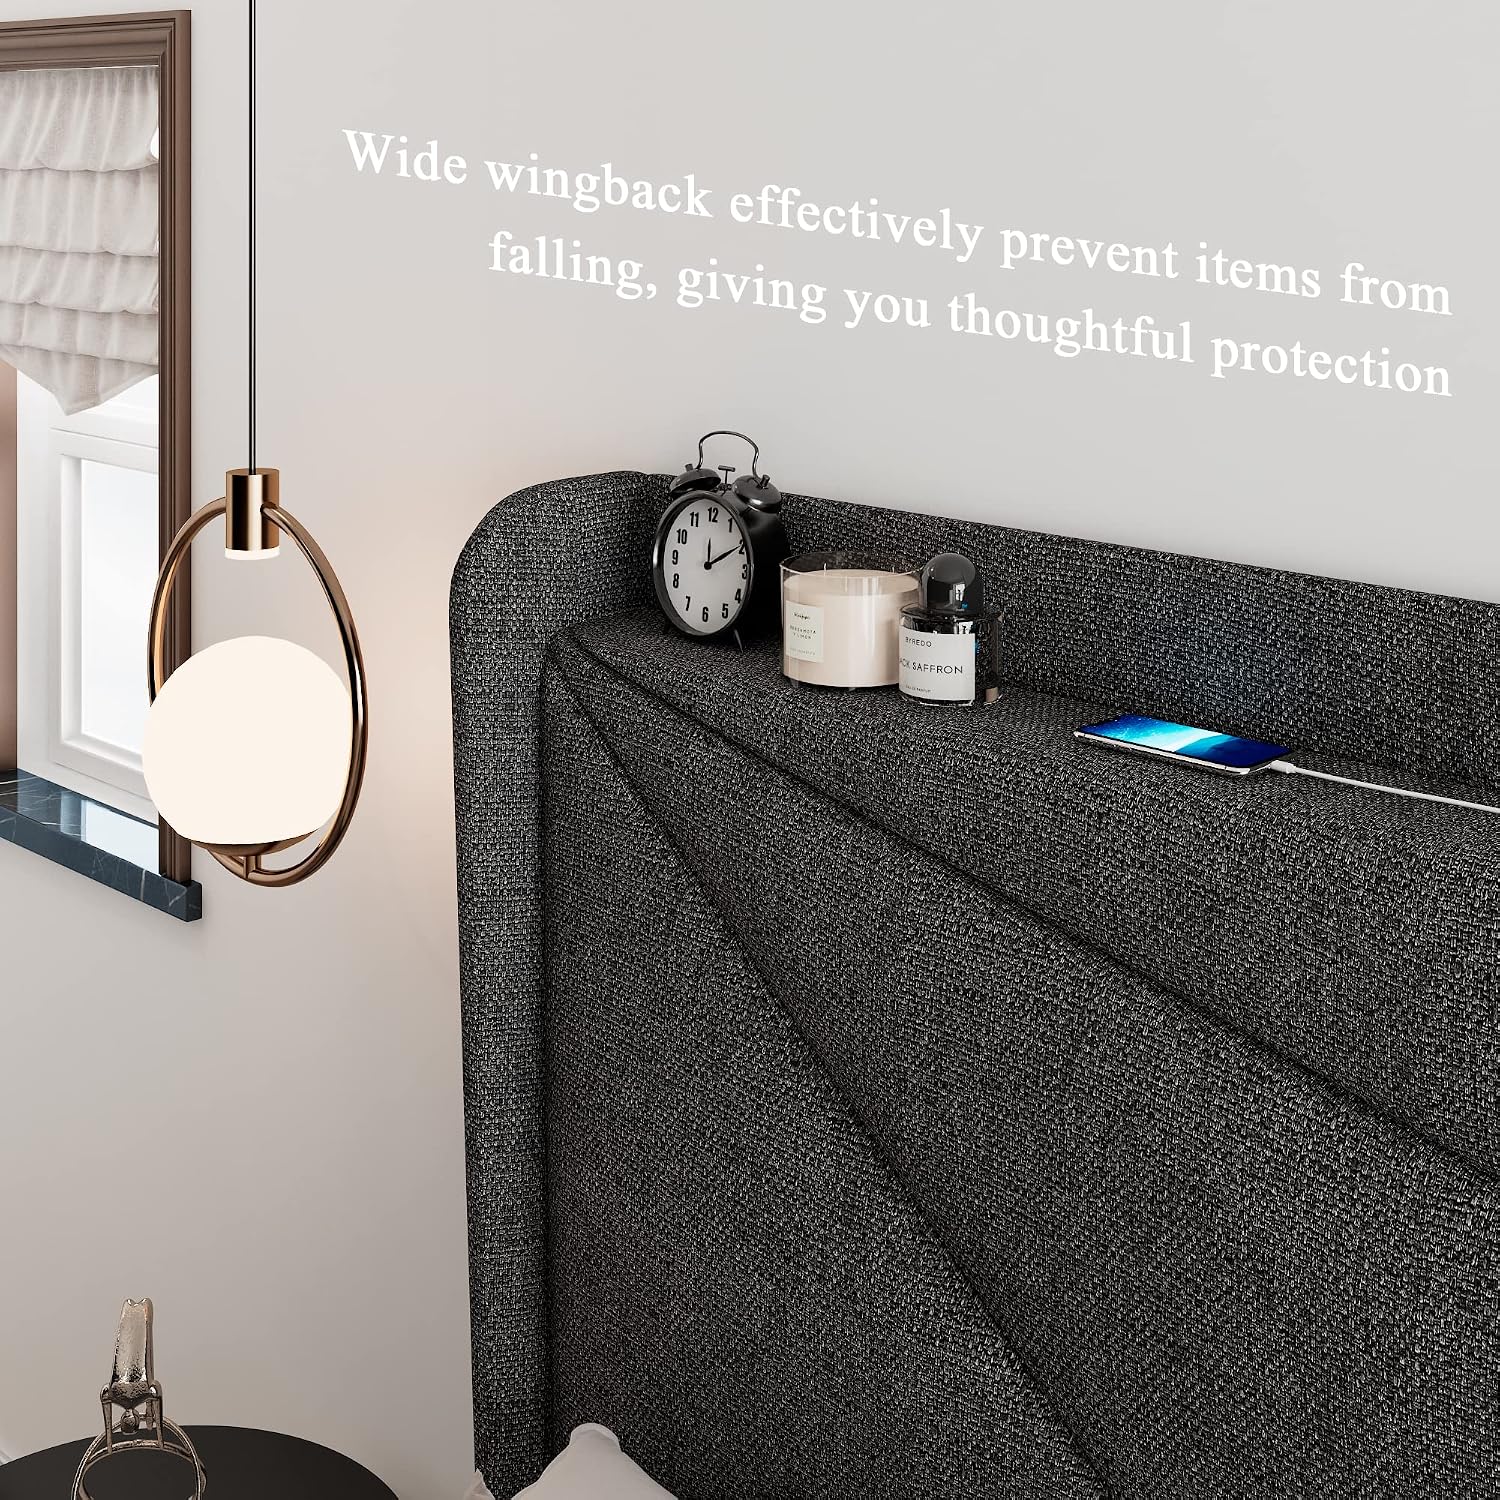
Image: The wide wingback headboard shelf, designed to prevent items from falling.
Maintenance
- Cleaning: For the upholstered fabric, gently spot clean with a damp cloth and mild detergent if necessary. Avoid harsh chemicals or abrasive cleaners. For the metal frame and wood slats, wipe with a dry or slightly damp cloth.
- Regular Checks: Periodically inspect all bolts and connections to ensure they remain tight. Re-tighten any loose fasteners to maintain stability and prevent noise.
- Weight Distribution: Distribute weight evenly across the bed frame to prolong its lifespan and maintain structural integrity.
Troubleshooting
| Problem | Possible Cause | Solution |
|---|---|---|
| Bed frame is squeaking or making noise. | Loose connections; friction between slats and frame. | Ensure all bolts are securely tightened. The slats are designed with Velcro and EVA mute bars to prevent noise; ensure they are properly seated. |
| Mattress is slipping. | Slats not properly secured or mattress not compatible. | Ensure all slats are firmly attached to the Velcro strips. Verify your mattress size is compatible with the Queen frame (80" x 60"). |
| USB/Type-C ports not working. | Power connection issue; faulty port. | Ensure the bed frame's power cord is securely plugged into a working wall outlet. If the issue persists, contact customer support. |
| Difficulty during assembly. | Misaligned parts; unclear instructions. | Refer to the detailed assembly diagrams. Ensure parts are correctly oriented before tightening. Do not fully tighten bolts until all parts are loosely assembled. |
Specifications
| Brand | Feonase |
| Model Number | BED583 |
| Size | Queen |
| Product Dimensions | 82"L x 62"W x 49"H |
| Color | Dark Gray |
| Material | Fabric, Wood, Iron |
| Weight Capacity | 1000 lbs |
| Special Features | Squeak Resistant, Storage Wingback Headboard, USB Port, Type-C Port, Upgraded Heavy-Duty Structure |
| Assembly Required | Yes |
| Compatible Mattress Size | Queen, 80" x 60" x 8"-14" |
Warranty and Support
Feonase products are designed for quality and durability. For specific warranty details, please refer to the warranty card included with your purchase or visit the official Feonase website.
For customer support, technical assistance, or to inquire about replacement parts, please contact Feonase customer service through the retailer where you purchased the product or via the contact information provided on the Feonase brand store page.
Customer Support: Visit Feonase Store on Amazon
Ask a question about this manual
Ask about setup, troubleshooting, compatibility, parts, safety, or missing instructions. Manuals+ will review the question and use this page’s manual context to help answer it.