
1. Introduction
Thank you for choosing the JIGATONEDA Wireless Doorbell. This self-powered doorbell system offers convenience and reliability with no batteries required for the push button. It features a long wireless range, multiple chime options, adjustable volume levels, and a durable, weatherproof design. This manual provides detailed instructions for setup, operation, maintenance, and troubleshooting to ensure optimal performance of your doorbell system.

Figure 1.1: JIGATONEDA Wireless Doorbell System (Button and Receiver)
2. Product Components
The JIGATONEDA Wireless Doorbell package includes the following components:
- 1 × Doorbell Button (Transmitter)
- 1 × Doorbell Chime (Receiver)
- 1 × Backplate for Doorbell Button
- 1 × Waterproof Cover for Doorbell Button
- 2 × Adhesive Tapes for mounting
- 2 × Screws for mounting
- 2 × Anchors for screws
- 1 × User Manual

Figure 2.1: Included Components and Overview of Installation Methods
3. Setup & Installation
The JIGATONEDA Wireless Doorbell offers two primary installation methods: adhesive mounting and screw mounting. The push button is self-powered, requiring no batteries.
3.1. Doorbell Button (Transmitter) Installation
The doorbell button is designed to be self-powered, generating electricity when pressed. It is also weatherproof for outdoor use.

Figure 3.1: Self-Powered Push Button Mechanism
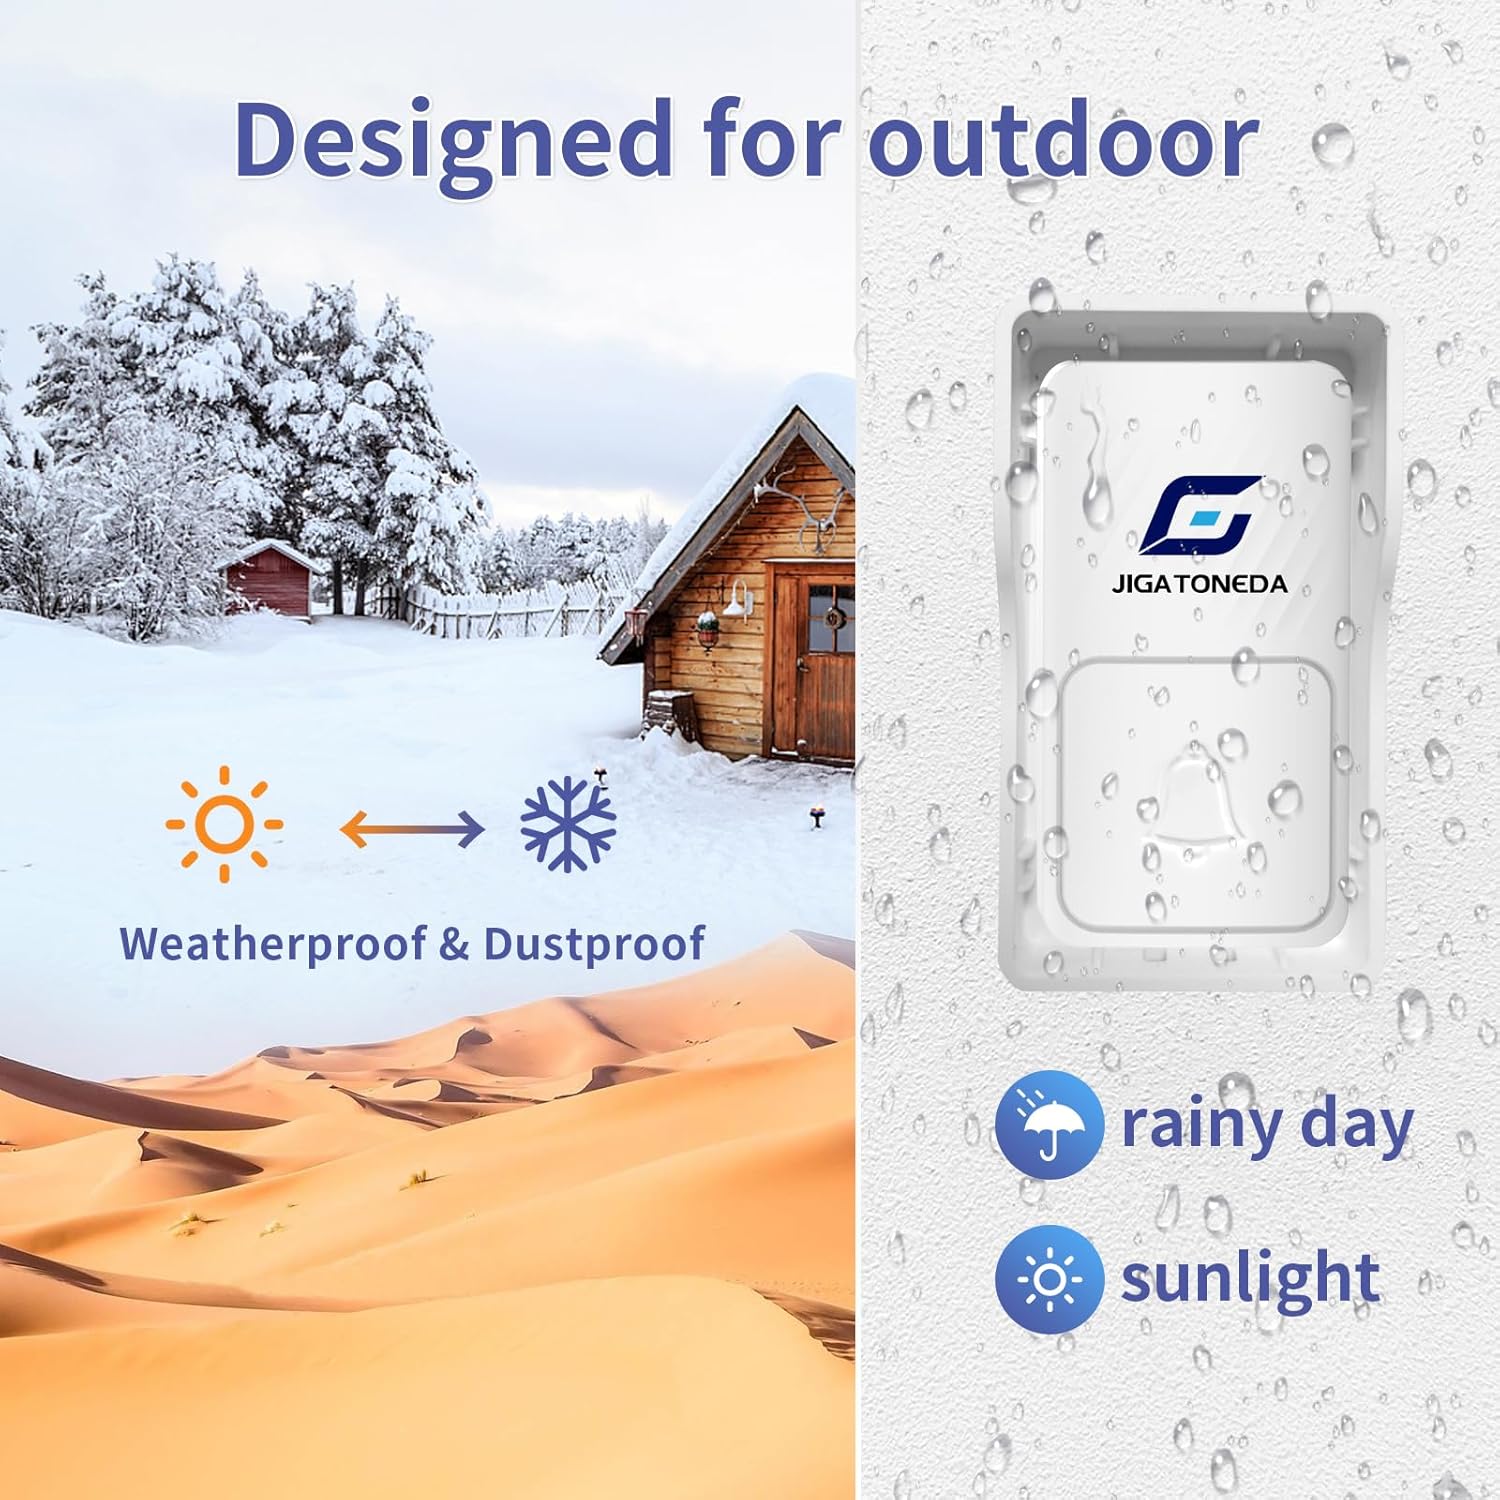
Figure 3.2: Weatherproof Design for Outdoor Environments
Adhesive Mounting:
- Clean the desired mounting surface thoroughly to ensure it is dry and free of dust or grease.
- Attach the backplate to the doorbell button.
- Peel off the protective film from one side of the adhesive tape and apply it firmly to the back of the backplate.
- Peel off the protective film from the other side of the adhesive tape.
- Press the doorbell button firmly onto the cleaned surface for at least 30 seconds.
Screw Mounting:
- Clean the desired mounting surface.
- Attach the backplate to the doorbell button.
- Mark the positions for drilling holes using the backplate as a template.
- Drill two holes at the marked positions. Insert the provided anchors if installing into drywall or masonry.
- Secure the backplate to the wall using the provided screws.
- Snap the doorbell button onto the secured backplate.
3.2. Doorbell Chime (Receiver) Installation
The doorbell chime is a plug-in unit. Simply plug the receiver into any standard electrical outlet within range of the doorbell button. Ensure the outlet is easily accessible and not obstructed.

Figure 3.3: Compact Size of Receiver, designed not to block adjacent outlets.
The system has an ultra-long wireless range of up to 1000ft (300m) in open areas, allowing flexible placement of the receiver within your home or property.
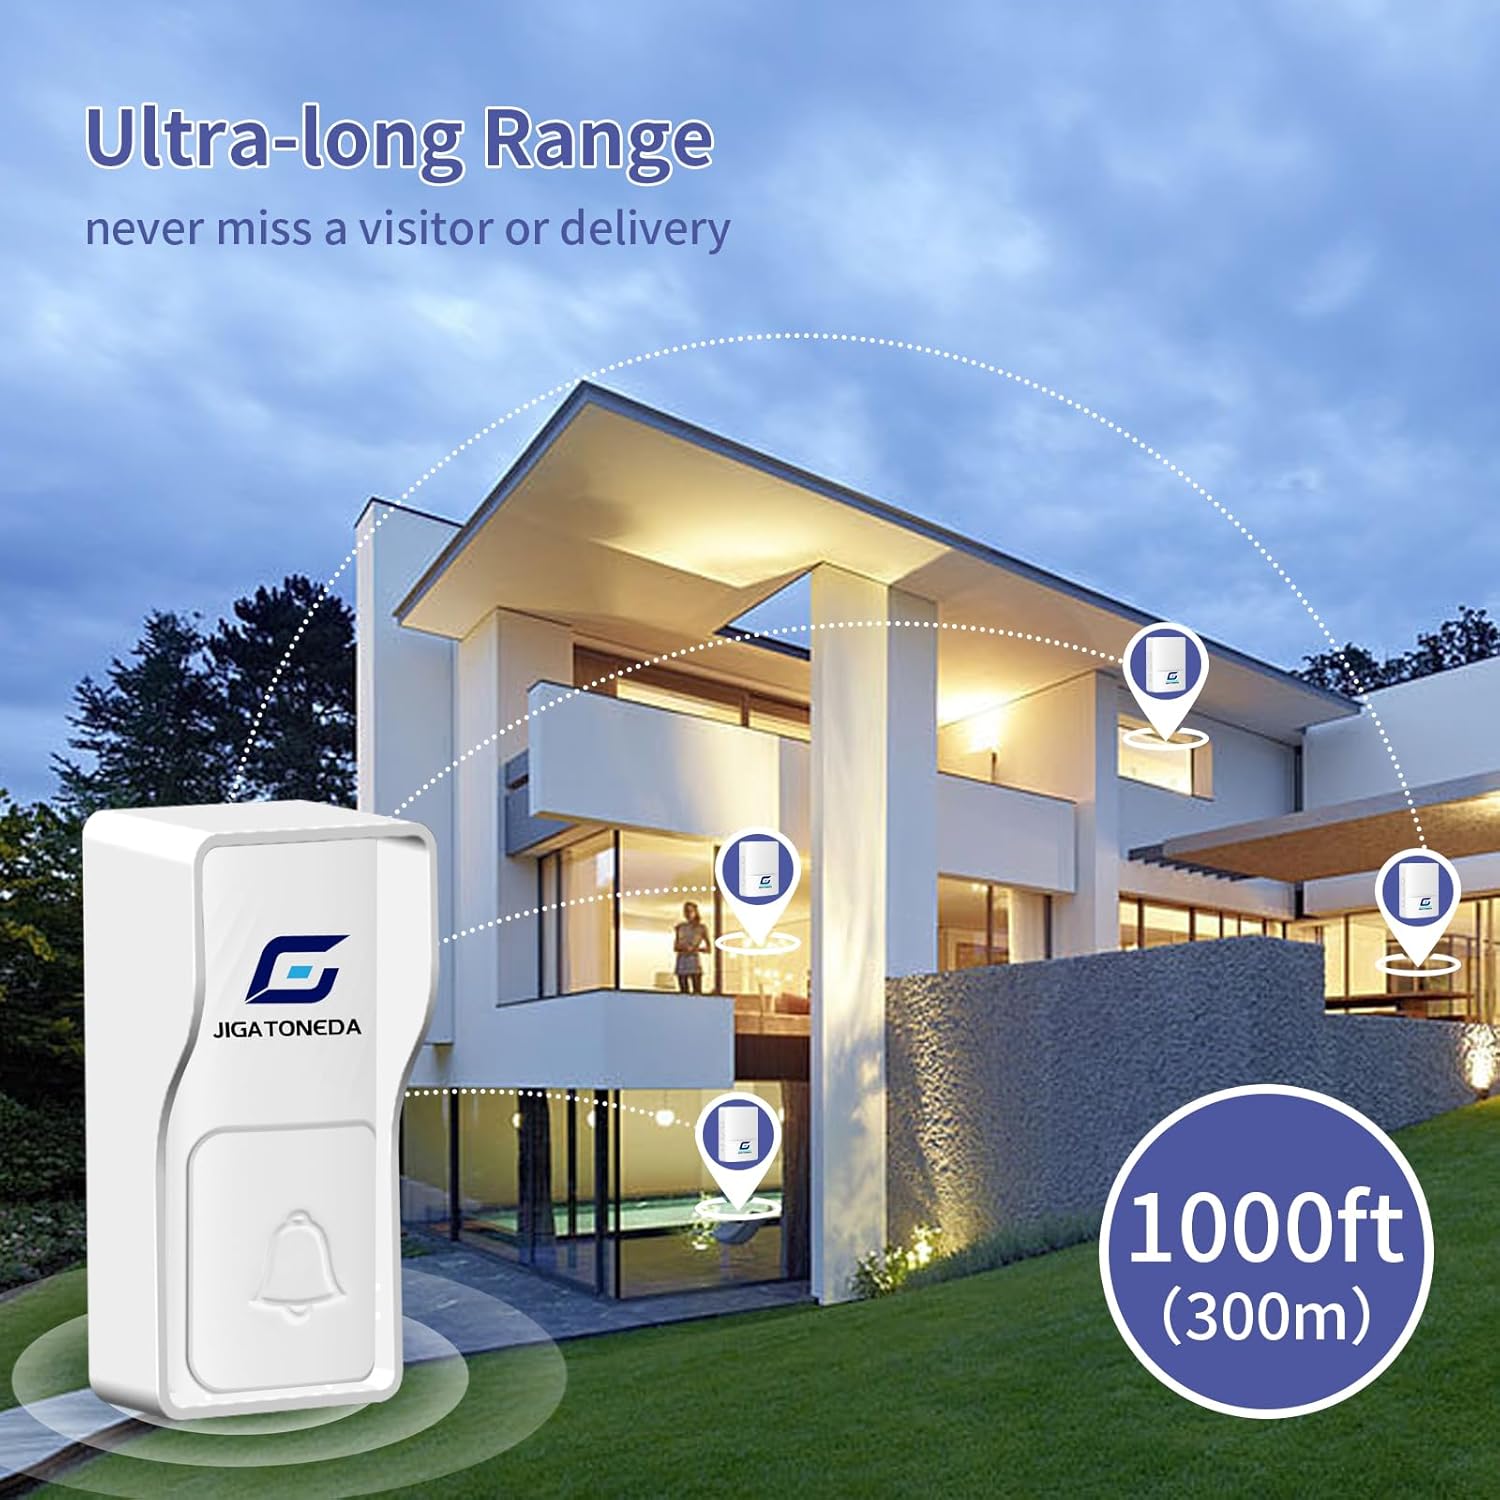
Figure 3.4: Illustrates the 1000ft (300m) wireless range for the doorbell system.
4. Operating Instructions
Once installed, your JIGATONEDA Wireless Doorbell is ready for use. The receiver unit has buttons for melody selection, volume control, and mode selection.

Figure 4.1: Side view of the receiver showing Melody Selection, Volume Control, Mode, and LED Indicator buttons.
4.1. Melody Selection
The doorbell chime offers 50 unique melodies. To change the melody:
- Press the Melody Selection button (top button on the side of the receiver) repeatedly to cycle through the available tunes.
- The receiver will play each melody as you press the button. Stop pressing when you hear your desired melody.

Figure 4.2: The doorbell offers 50 unique melodies and 4 volume levels.
4.2. Volume Control
There are 4 adjustable volume levels, ranging from 0dB (mute) to 110dB. To adjust the volume:
- Press the Volume Control button (middle button on the side of the receiver) repeatedly to cycle through the volume levels.
- The volume will increase or decrease with each press.
4.3. Mute Mode and Working Modes
The doorbell receiver supports different working modes, including a mute mode where only the LED flashes.
- Press the Mode button (bottom button on the side of the receiver) repeatedly to select different working modes:
- Mode 1: LED light flashing only (Mute Mode).
- Mode 2: Sound only.
- Mode 3: LED light flashing and sound.

Figure 4.3: Visual representation of Mute Mode (0dB) and Max Volume Mode (110dB).

Figure 4.4: Instructions for pressing the Mode button to select different working modes.
4.4. List of Melodies
The following table lists the 50 available melodies:

Figure 4.5: Comprehensive list of the 50 available melodies.
5. Pairing Additional Units
The JIGATONEDA Wireless Doorbell system allows for pairing multiple doorbell buttons to one receiver, or multiple receivers to one doorbell button, providing flexibility for larger homes or properties.
5.1. Pairing Process
To pair an additional doorbell button with an existing receiver, or an additional receiver with an existing button:
- Plug in the receiver unit you wish to pair.
- On the receiver, long-press the bottom button (Mode button) for 5 seconds until a blue light comes on, indicating it is in pairing mode.
- While the receiver's blue light is on, immediately press the doorbell button (transmitter) you wish to pair. The receiver should chime, confirming successful pairing.
- If pairing multiple buttons to one receiver, repeat steps 2 and 3 for each additional button.
- If pairing multiple receivers to one button, repeat steps 2 and 3 for each additional receiver. Alternatively, all receivers can be put into pairing mode simultaneously, and then the button can be pressed once to pair with all activated receivers.

Figure 5.1: The doorbell system is suitable for various locations including homes, offices, and warehouses.

Figure 5.2: Example of multiple doorbell placements around a home.
6. Maintenance
To ensure the longevity and optimal performance of your JIGATONEDA Wireless Doorbell, follow these simple maintenance guidelines:
- Cleaning: Wipe the doorbell button and receiver with a soft, damp cloth. Avoid using harsh chemicals or abrasive cleaners, as these can damage the surface.
- Weather Protection: While the doorbell button is designed to be weatherproof, regularly check the waterproof cover for any signs of damage or wear, especially if exposed to extreme weather conditions (heavy rain, snow, direct sunlight). Ensure it is securely in place.
- Placement: Periodically check that the doorbell button is still securely mounted and has not become loose due to environmental factors.
7. Troubleshooting
If you encounter any issues with your JIGATONEDA Wireless Doorbell, please refer to the following troubleshooting steps:
| Problem | Possible Cause | Solution |
|---|---|---|
| Doorbell does not ring | Receiver unplugged or power outage. | Ensure receiver is securely plugged into a working outlet. |
| Receiver is in mute mode. | Press the Volume Control button to increase volume or the Mode button to change out of LED-only mode. | |
| Doorbell button and receiver are not paired. | Refer to Section 5.1 for pairing instructions. | |
| Short wireless range | Obstructions (thick walls, metal objects) between button and receiver. | Relocate receiver or button to minimize obstructions. Avoid placing near large metal structures. |
| Interference from other wireless devices. | Move the doorbell system away from other electronic devices that may cause interference. | |
| Button feels stiff or unresponsive | Debris or dirt accumulated around the button. | Clean the button area and ensure the waterproof cover is properly seated. |
If the problem persists after trying these solutions, please contact JIGATONEDA customer service for further assistance.
8. Specifications
Key technical specifications for the JIGATONEDA Wireless Doorbell:
| Feature | Specification |
|---|---|
| Model Number | doorbell |
| Dimensions (Button) | 3.39 x 2.68 x 1.46 inches (approx. 86 x 68 x 37 mm) |
| Dimensions (Receiver) | 3.39 x 2.68 x 1.46 inches (approx. 86 x 68 x 37 mm) |
| Item Weight | 6.9 ounces |
| Color | White |
| Material | ABS |
| Wireless Range | Up to 1000ft (300m) in open areas |
| Chimes | 50 selectable melodies |
| Volume Levels | 4 adjustable levels (0dB to 110dB) |
| Power Source (Button) | Self-powered (no batteries required) |
| Power Source (Receiver) | Plug-in (AC powered) |
| Waterproof Rating (Button) | Weatherproof with protective cover |
9. Warranty & Support
JIGATONEDA is committed to providing high-quality products and excellent customer service.
9.1. Warranty Information
This product comes with a 3-year warranty from the date of purchase. This warranty covers manufacturing defects and malfunctions under normal use. It does not cover damage caused by misuse, accidents, unauthorized modifications, or improper installation.
9.2. Customer Support
If you have any questions, concerns, or require assistance with your JIGATONEDA Wireless Doorbell, please do not hesitate to contact our customer service team. We are available to help you resolve any issues and ensure your satisfaction.
For support, please reach out through the platform where you purchased the product or visit the official JIGATONEDA store online. Our team aims to provide 24-hour customer service.

Figure 9.1: Information on warranty and how to contact customer service.